
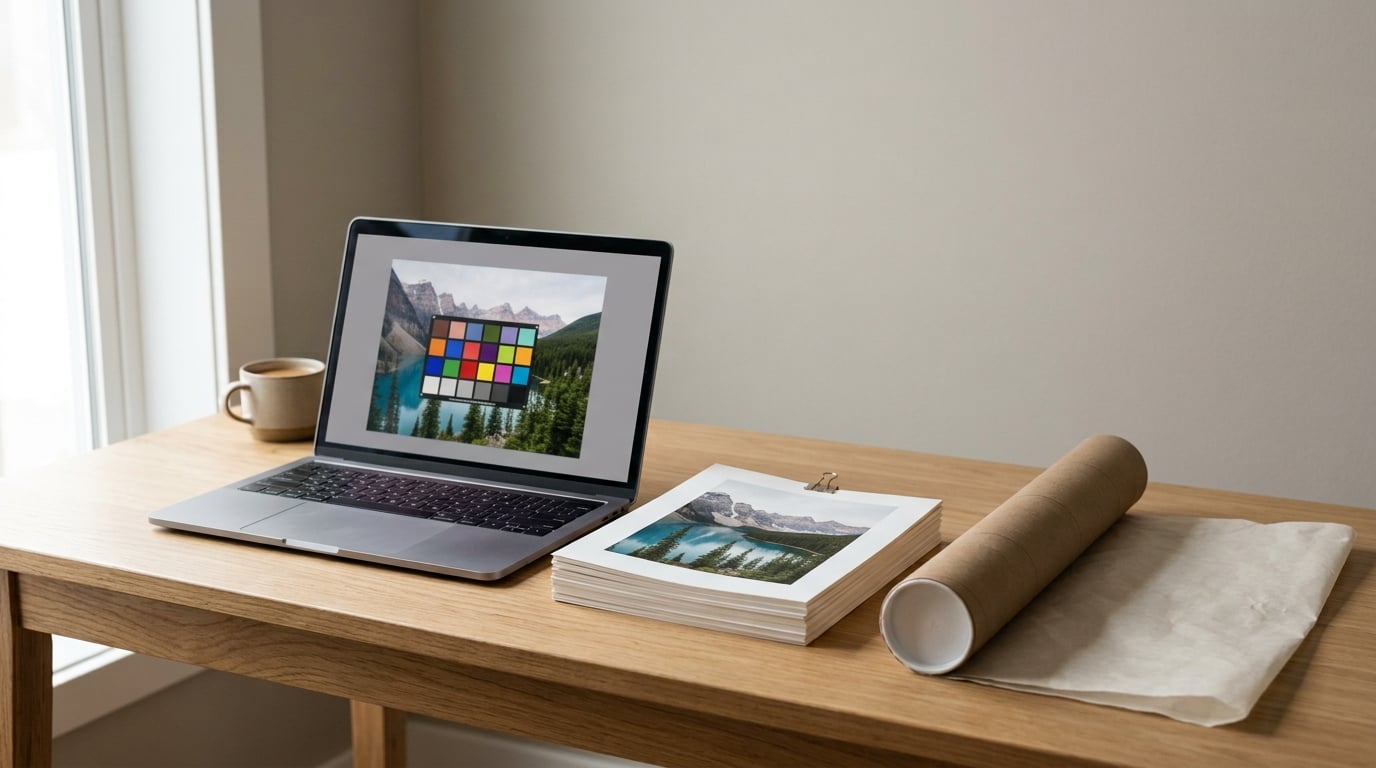
You can sell prints online by preparing a high-resolution, color-corrected master file, handing production to a print lab or a print-on-demand service, listing each work on a marketplace or your own storefront, and pricing it so the commission, packaging and postage are already covered. That is the whole machine, and it costs almost nothing to start.
This guide is for painters, illustrators and photographers with finished work they can no longer sell as an original. The realistic version of this business looks like a long, slow grind of a few sales a month rather than an income that replaces a day job, so the steps below are ordered to get you to a first order, then to a repeatable process.
Table of Contents
- What You Need
- How to Sell Prints Online Step by Step
- Choose where to sell your prints online
- Prepare print-ready files and accurate listings
- Set prices that protect your profit
- Build a trustworthy checkout and delivery policy
- Package, post and track each order
- Promote your work and improve conversion
- Review sales and scale carefully
- Use realistic expectations
- Common Mistakes
- Frequently Asked Questions
- What is the easiest way to sell prints online?
- Should I sell fine-art prints on a marketplace or my own website?
- How much should I charge for a photography print?
- Do print-on-demand services handle framing and shipping?
- Should I sell signed, open-edition, or limited-edition prints?
- How do I safely post a photographic print?
- Start With One Print and One Sales Channel
What You Need
Almost everything you need is software you already have. The list below is what a print lab, a platform or a buyer will ask for, so have it ready before you publish a single listing.
- A high-resolution master file. Export a full-resolution TIFF or PSD, not a web JPEG. At 300 DPI an 8×10 inch print needs roughly 2400 by 3000 pixels, and an 18×24 inch print needs about 5400 by 7200 pixels.
- A color workflow. Work in sRGB for screen and print-on-demand services, and keep a calibrated monitor and a print you have checked against the file. Color mismatch is the number one complaint sellers hear about.
- Print specifications. Decide your sizes, paper or canvas, border width, whether prints are signed, and whether they ship flat or in a tube. Note the archival rating your chosen lab uses.
- A cost sheet. One row per product with production cost, packaging, postage, and the commission each platform takes. Without it you cannot price anything sensibly.
- Packaging supplies. Rigid mailers or tubes, corner protection, and a sheet of glassine or acid-free tissue between prints.
- Shipping and returns terms. Processing time, regions you ship to, what happens if a print arrives damaged, and how a buyer contacts you.
- A payment and record-keeping setup. A business account for payouts, a spreadsheet that logs every sale, and a separate folder of receipts.
If a print arrives flat and you have a tube on hand, use it. Creases in a rolled-then-folded print are almost impossible to argue about later.
How to Sell Prints Online Step by Step
Choose where to sell your prints online
Start with one channel. Selling everywhere at once means shipping to four sets of rules, learning four fee structures and maintaining four sets of listings, and it is the fastest way to give up in month two.
Pick a print-on-demand service if you want zero upfront cost and the shortest path to a sale. A print partner or local lab gives you better margins and more control but puts packing and postage on your desk. Your own storefront keeps the largest margin and gives you the customer relationship, at the cost of traffic, payment integration and tax handling nobody does for you.
There is a fourth route that gets skipped: selling directly to an audience you already have. Photographers on photography forums report that direct messages and email sales to an existing following bring in more of their print revenue than any marketplace, because there is no commission and no price competition. That route only works once you have people watching, so treat it as step seven, not step one.
Beginners in art business forums describe marketplaces as a launchpad rather than a destination. The pattern that works is to test an idea cheaply in public, learn which images people click, then move the winners to a channel you control.
Prepare print-ready files and accurate listings
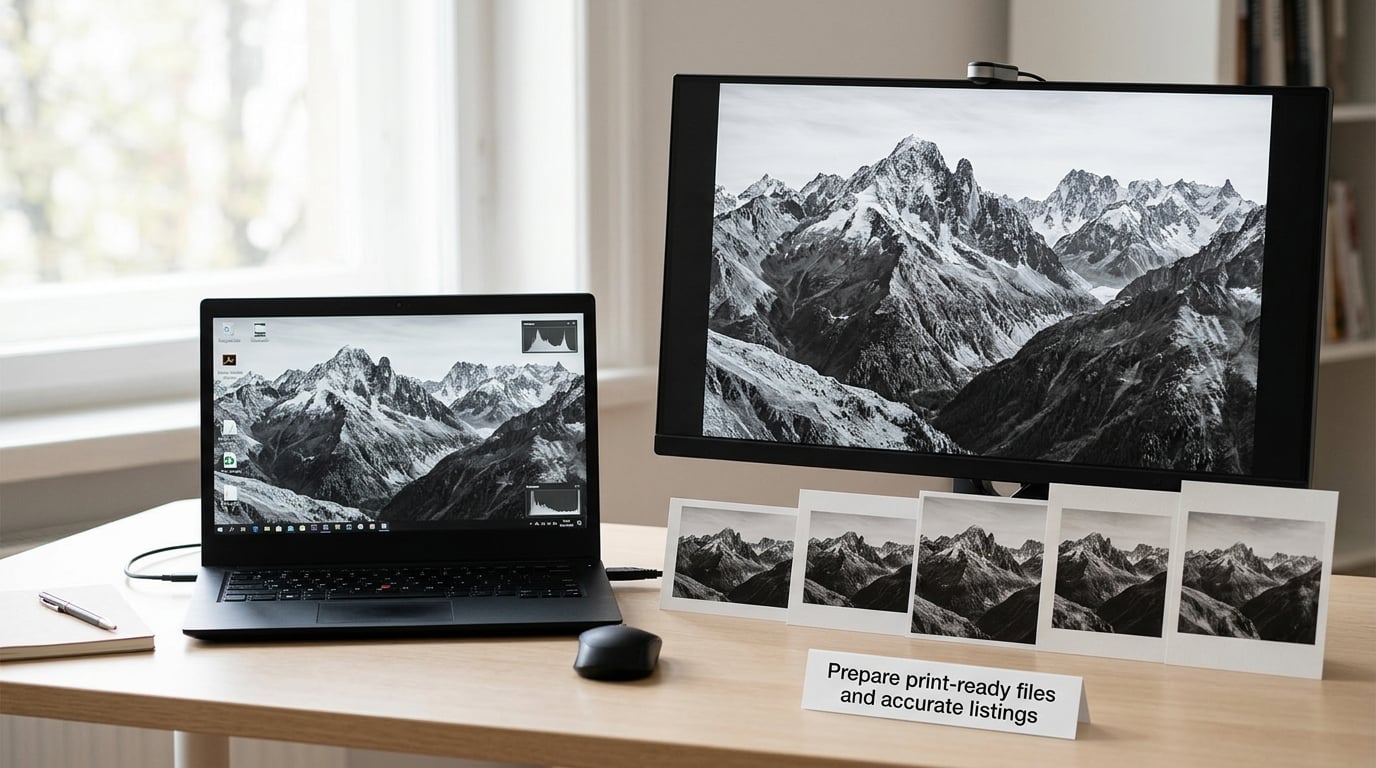
Prepare one master file per image and never edit it after you upload. Crop once, save a flattened high-resolution version for the printer, and keep a working file with your adjustments. Name files systematically, like filename-18×24-v3.tif, because a messy folder becomes a reprint charge later.
Check the image at the size you intend to sell. A 300 DPI figure is only true at the final output size, and a cropped square loses resolution you cannot get back. If a pixel dimension comes up short, print smaller rather than interpolating.
A listing is the product page, so treat it like one. Say what the photograph is of, where it was made, and why the moment mattered, then list the facts a buyer needs: paper type, print size, border, edition type, whether it ships framed or flat, and the delivery time you actually keep. Vague listings are why people view a piece and then leave.
Add a photograph of the print in a room or a hand, not just the file on a white background. Buyers are deciding about an object that will hang on a wall, and a flat file image gives them nothing to measure against.
Set prices that protect your profit
Price from your costs forward, never from a competitor’s number backward. Build the landed cost first: production, plus packaging, plus postage, plus the platform commission, plus payment processing. Then add the profit you want to keep.
Here is the arithmetic without any currency attached. If your landed cost eats 60% of the price, the platform takes 25% and payment processing takes 3%, you are left with 12%. Most beginners discover their landed cost is far higher than the print itself, usually because postage for a large flat print costs more than the print.
As a working rule, unframed paper prints often need a price of roughly two to three times landed cost to leave a workable margin, and framed pieces can carry more because the frame is a visible part of the value. Use a round number at the end, because buyers filter by round numbers and the last two digits do not change the decision.
Platform commission runs from a low single-digit percentage on some models to 30% or more on others, and some add a per-listing fee on top. Curated art marketplaces sit at the expensive end of that range, general craft marketplaces sit in the middle with listing fees attached, and self-hosted stores sit at the cheap end while shifting the payment and support work onto you. Check the current numbers on each platform before you list, because they change more often than anything else in this business.
Build a trustworthy checkout and delivery policy
Most abandoned checkouts are policy questions the buyer could not answer. Put your processing time, your delivery estimate for each region you serve, your returns position, and your contact details on the same page as the buy button, in plain words.
Be specific about what happens when a print arrives creased. Say who pays for a reprint, how the buyer sends a photograph, and how long you take to respond. Sellers who write that policy in advance get far fewer difficult messages than sellers who improvise one at a time.
State the tax position plainly too, for example that sales tax is added at checkout where the law requires it, and that buyers outside your country may owe import duty. Nobody minds paying a charge they were warned about.
Package, post and track each order
A repeatable routine beats a careful mood. Check the print against your master in daylight, confirm the edition number if it is a limited edition, sign it where you said you would, and let the ink settle before it goes into any sleeve.
Slide a sheet of glassine or tissue over the face, add corner protection, and roll prints the right way round for a tube so the image does not curl against itself. Flat mailers work for smaller sizes; anything rigid or large earns a tube, and the extra postage is cheaper than a refund. Cardboard on both sides of a flat print stops the courier bending it.
Photograph the packed order, record the tracking number against the order, and keep the receipt in the same spreadsheet as the sale. That three-second habit is the only thing that makes a damage claim winnable. International parcels are worth paying extra tracking for, and any buyer who asks to upgrade postage gets a real, not estimated, cost passed on to them.
Promote your work and improve conversion
Marketplace search is a text problem. Your title should say what the image is and who might hang it, and your first line of description should repeat that in different words. Tags should describe the subject, the mood and the room, not the medium over and over.
Social posts do the opposite job. They sell the story behind the frame: where you stood, what the light was doing, why that particular second mattered. Post the same work in different framings and let the captions carry the context, and always send people to a page that explains the print rather than to your profile grid.
Track three numbers and nothing else: impressions, click-through rate, and completed orders. If impressions are healthy and clicks are not, the listing photos are the problem. If clicks are healthy and orders are not, the price or the delivery terms are. Artists on photography forums call this the views-without-sales problem, and it is almost always one of those two things rather than a lack of effort.
Review sales and scale carefully
Once a month, calculate what you actually kept on each sale after commission, production, packaging, postage and taxes. That number, not your listing price, is your real business, and it tells you which products to push and which to quietly retire.
Discount carefully. An occasional bundle of two or three related prints raises the average order without cutting the price of the piece you are proudest of, and it moves leftover sizes that will never sell alone. Deep discounting trains buyers to wait, so keep full price on your best work.
Scale by adding formats rather than new work: more sizes of the images that already sell, a framed option, a paper-and-canvas choice, or a downloadable hi-res file for buyers who want their own. Only open a second sales channel once the first one runs without you thinking about it.
Use realistic expectations
Most sellers report months, not weeks, to a first sale. A few weeks of listings with no orders is normal, and the people who keep going are the ones who treat it as a numbers problem rather than a verdict on their art.
The bill on the way in is the other thing people underestimate. A first print run, a scanner and a framing setup can cost more than a year of platform fees, and forum advice is consistent that using a lab beats buying a printer for a beginner with no volume. Money and legal questions come up too: sales of original work are usually taxable income in most places, thresholds and rules for goods and services vary by country and state, and a short conversation with a local accountant early is cheaper than guessing later. Keep receipts for production, packaging, postage and platform payouts from the first sale.
Common Mistakes
Most lost print businesses come down to a short list of repeated errors, and each one has a straightforward correction.
- Uploading low-resolution files. Check the pixel dimensions at the final print size before uploading, not in the image viewer. If the numbers do not work, sell a smaller size.
- Pricing from a competitor’s number. Build your landed cost first, then set the price above it. Underpricing is the fastest way to lose money on work that sells.
- Vague listings. State the medium, size, edition, framing and delivery time in the first two lines. Buyers are filtering for exactly those words.
- No written policy. Publish processing times, regions served, returns and damage claims. Unwritten policies turn into arguments.
- Untracked posting on a large print. Use tracking on anything in a tube and on any international parcel, and photograph the packed order.
- Thin packaging. Rigid mailer or tube, corner protection, tissue over the face. A crease costs more than the packaging.
- Color mismatch. Proof against a calibrated monitor, keep a reference print, and tell buyers which profile the file uses.
- Discounting without limits. Use bundles and free postage instead of price cuts, so the value of the work stays intact.
- Selling everywhere at once. Pick one channel until it works. Three half-maintained storefronts will not beat one that is kept current.
These are the questions sellers ask most often, and the answers that hold up in practice rather than in theory.
Frequently Asked Questions
What is the easiest way to sell prints online?
The easiest route is a print-on-demand service paired with a marketplace that already has buyers searching. You upload one file, pick sizes and finishes, set a price and a live listing exists, with the service handling production, packing and postage. The trade is a commission on every sale and less control over materials. This works best while you are learning which images sell, because the cost of trying something is close to zero.
Should I sell fine-art prints on a marketplace or my own website?
Use a marketplace first, because it brings traffic you do not have to generate yourself, and the commission is the cost of that traffic. Move your best-selling work to your own site once it earns consistent sales, so you keep the customer relationship and a larger share of the price. Your own store is not free: payment processing, tax handling, support and shipping all land on you.
How much should I charge for a photography print?
Start from your landed cost, which is the print plus packaging plus postage plus the platform commission and payment fees, then add your margin. A common working rule is to charge roughly two to three times landed cost for an unframed paper print, with framed work priced higher because the frame is part of what the buyer receives. Round the final figure, and raise the price rather than cutting it when sales are slow.
Do print-on-demand services handle framing and shipping?
Yes, that is the main reason to use one. The service produces the print, applies the frame or mount you selected, packs it to their specification and sends it to the buyer under their own branding, while you receive the payment less their commission. Your job is limited to the file, the listing, the price and the policy. If a parcel arrives damaged, follow their reprint process rather than handling it yourself.
Should I sell signed, open-edition, or limited-edition prints?
Limited editions earn more per sale because scarcity is part of the product, but they need a firm edition size, a numbering scheme such as 3 of 25, and a record of who bought which number. Open editions are easier to manage and work well for themes you intend to revisit. Signing every print is a small cost and adds value quietly. Many sellers do all three: an open edition, a numbered edition and the original.
How do I safely post a photographic print?
Send flat prints in a rigid mailer with cardboard on both sides, and roll larger works into a tube with tissue or glassine over the face and corner protection inside. Add tracking, especially for tubes and anything crossing a border, and photograph the packed order before it leaves. Record the tracking number against the sale in your spreadsheet so any damage claim has proof behind it.
Start With One Print and One Sales Channel
Pick the single image you would happily have on your own wall, choose one channel, and publish one honest listing for it this week.
Build the cost sheet before you set the price, photograph the print in a room rather than as a flat file, and write the delivery and damage policy while the details are fresh. Then place a real order through your own shop, from checkout to the doorstep, so you discover every snag while there is nothing at stake.
Once that one print has sold once, the whole process exists and you are no longer guessing. Add a second image, then a third, and keep the spreadsheet that tells you what you actually kept. That is how to sell prints online without spending money on a system that has not earned its keep.