
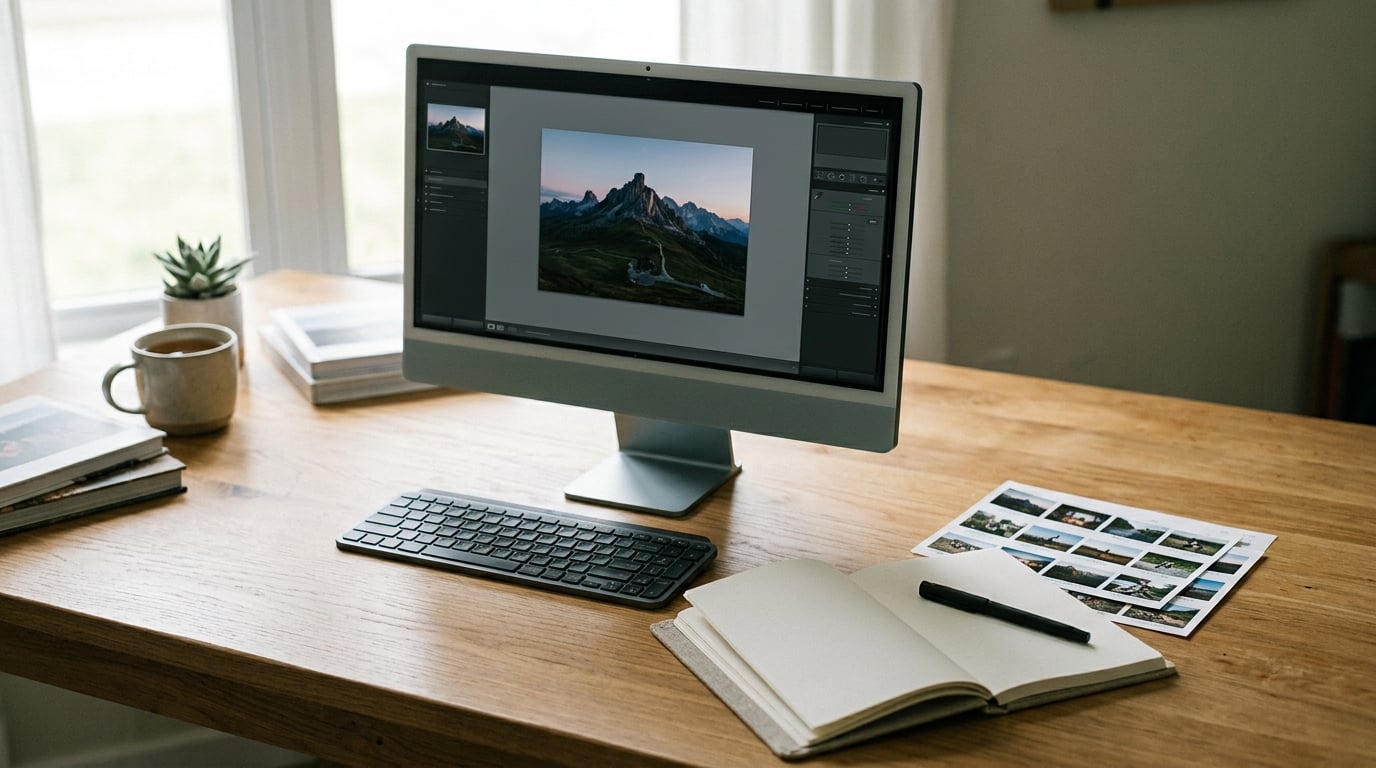
To critique your own photos, set the frame aside for a day, then judge it in three separate passes: technical, compositional, and story. Describe what is actually in the image before you decide whether you like it, and finish by writing one change you will make on the next shoot. Fifteen focused minutes beats an hour of squinting.
The hard part is not the checklist. It is that you were there, you were excited, you drove two hours for it, and now you have to be honest. Forum photographers describe the same wall: a photo you spent real time and money on does not look weak to you, no matter what the histogram says.
So here is the short version of the method before the detail. Create distance from the work. Look at it in passes rather than in one judgement. Compare the finished image against the intention you had when you pressed the shutter. Review it inside a set, because a single frame always flatters itself. Then write one line about what to change next time.
Table of Contents
What You Need
You need four things, and none of them are expensive.
- The image file, not the back-of-camera preview. A 3-inch screen in bright sunlight flatters everything. Open the file on a real display at 100 percent.
- A neutral viewing setup. Turn off Night Shift, Night Light, or True Tone on your monitor, and set the viewing app to a standard color profile. These features are warm and they hide shadow noise.
- A contact sheet or comparison view. In Lightroom, View > Contact Sheet (Ctrl+Shift+C) or Grid view. The point is to see the frame in company, not alone.
- A written record. A note in your phone, a dedicated document, or a page in a paper notebook. A column in a spreadsheet works too: date, frame, what works, what failed, one change.
That last item is the one people skip, and it is the one that turns a feeling into progress. Memory edits itself in your favor, so the honest version has to exist somewhere outside your head.
Step-by-Step: How to Critique Your Own Photos
1. Separate Your First Impression From the Evidence
Notice your gut reaction, write it down in one word, then ignore it for the rest of the session. “Exciting” or “I like this one” is data about you, not about the photograph.
Then describe the frame in plain, specific language: a person stands in the lower left third, facing a wall of pale green, backlit, with a long shadow running out of frame. That description is the evidence. The word “nice” is not.
You know the step worked if you can describe the image without using any evaluative word at all. If your description needs “beautiful” to make sense, you are still narrating instead of looking.
2. Check the Image at Different Scales
View the photo at three sizes in order: fit to screen, 100 percent on the subject, then 200 percent on the eyes or the detail that matters.
Full-frame view tells you whether the composition holds together. The 100 percent view tells you about focus, sharpness, noise, and shadow detail. The 200 percent view usually settles arguments. A frame that looks clean at full size often shows a soft edge on a moving subject once you go large.
Working up the scales in order stops a strong close-up from hiding a weak overall structure, which is the reverse trap most people fall into.
3. Evaluate the Composition
Start with visual hierarchy: what does the eye hit first, and was that your intent? Then work through balance, leading lines, foreground, background, negative space, and the edges of the frame.
Edges deserve their own check. A bright sliver of sky at the left border, half a person at the top, or a lamp post sprouting out of someone’s head will pull attention every single time, and it is the easiest thing to fix by reframing or cropping.
Then ask about negative space. Space around the subject should be doing work, holding a shape or a direction, not just sitting there. In a portrait, a wide swath of empty wall behind the head often fights the person rather than isolating them.
One useful discipline is to turn the image to black and white on screen. Color often disguises structural problems. Once saturation is gone, a leaning horizon or an awkward gap between two shapes is obvious.
4. Evaluate Light, Color, and Contrast
Decide whether the light supports the subject. Flat overhead midday light gives you color and texture and takes away shape; low side light gives you shape and long shadows. Neither is wrong, but a flat-lit frame usually lacks depth for a reason you can name.
Check the white balance against something you know should be neutral, such as a white wall or a shirt. Open the histogram too: a pile-up at the far right means highlight clipping, and a pile-up hard against the left means the shadows have collapsed into black with no detail left.
For color relationships, most people are over-cooked. Pull one saturation slider down and see whether the frame gains depth or loses energy. A restrained palette of two or three hues usually reads as intentional; a frame using every hue at once reads as accidental.
Contrast is the same argument at the tonal end. If the midtones are heavy, the image can feel muddy at any size. Lift the midtones slightly before you start pulling clarity or texture.
5. Look for the Story and Emotional Effect
Ask three questions in order. What do I see? What do I feel? What do I think the photograph is about?
If the third answer takes longer than the first, you have your finding. A frame of a person walking away from a car in the rain may look technically perfect while telling you nothing, because nothing in the composition indicates direction, weather, or separation.
Also check the decisive moment. A gesture caught a half second early or late changes what the photograph means, and that is a fault you can correct by shooting more frames next time, not by editing.
Experienced photographers in critique communities tend to treat this layer as the first one rather than the last, and they are right more often than not. Technical perfection cannot rescue a photograph with no message.
6. Compare Intention With Result
Write down what you were after before you look again. Aiming for isolation, for context, for a sense of scale, for a specific color story, or simply for a record of the day. Then look at what the frame actually delivers.
Where intention and result diverge, sort the gap into one of two kinds. A creative discovery, where the frame does something you did not plan and you like it, is a win. An execution error, where the frame missed something you were reaching for, is the useful kind, because it points at a specific habit you can change.
Doing this in writing matters. Most photographers cannot recall a month later what they were trying to achieve, so the same divergence gets judged twice in completely different ways.
7. Write One Specific Change for the Next Photograph
End with exactly one change, phrased so you can act on it: not “improve composition” but “wait for the walkers to clear the left edge before firing.” One is enough, because two or three turn the note into a list you will abandon.
Record the evidence behind it, so future you can tell whether the fix worked or whether you just liked a different frame. Then log the date, the frame, what works, what failed, and the one change. Review that log monthly and you will see the same three or four faults repeating, which is where nearly all real improvement comes from.
Give the plan a test on the next outing rather than an intention. If you wrote “lower the camera to waist height for the street shots,” you either did it on Tuesday or you did not.
Common Mistakes
Vague verdicts. “A bit flat” and “the crop is off” cannot be acted on. “The shadows on the left face are two stops under and the wall behind is clipped” can. Push yourself to name the fault, the cause, and the fix in one sentence.
Editing before critiquing. Once you have adjusted an image, you can no longer see what the camera captured, and you start critiquing your own taste instead of your own shooting. Critique the raw file first, note the faults, then decide which ones editing can fix and which ones only the next shoot can.
Changing everything at once. If a review produces nine corrections, nothing gets tested. Pick the one with the biggest effect on the image and leave the rest alone.
Confusing technical perfection with communication. A tack-sharp frame with clipped highlights and no subject can still be a failure. Judge technical quality and message separately, and require both to pass.
Counting praise as feedback. Friends who say “great shot” give you nothing to work with. Ask a specific question instead: which frame is your favorite, and which one would you crop? A forced choice produces an answer you can use.
Reading a critique as a verdict on you. The frame is the subject, not the photographer. When you post for feedback, state your intent in the caption, because a comment about a photo made without that context is often answering a different question than the one you asked.
One habit ties this together. Bring your next review session to a set rather than a single frame. A single image always looks more finished than it is; a sequence of twenty from the same walk shows you your real patterns, and it is much harder to fool yourself at that scale.
Frequently Asked Questions
How long should I wait before critiquing my own photos?
For culling, wait about 24 hours so the adrenaline is gone. For critique you want to learn from, wait two weeks or more. For judging your style and what belongs in a portfolio, give it two months or even a year. Longer distance means more of the original excitement has drained out, and what is left is closer to what a stranger would see.
Should I critique a photo before or after editing it?
Before. Once you have adjusted exposure, crop, and color, you are judging your own editing choices rather than your shooting, and the original faults are harder to see. Critique the raw file, list what is wrong, then decide which problems editing can fix and which ones only the next shoot can solve.
Can ChatGPT or another AI tool critique my photos?
Partly. Vision models are quick and consistent at spotting clipped highlights, a tilted horizon, a color cast, and whether the subject is sharp. They cannot tell you whether the photograph means anything, whether the moment was right, or whether it fits the series you are building. Use them as a fast first pass on technical faults, then do the intent work yourself.
How do I know which photos from a shoot are actually worth keeping?
Look at them in grid or contact sheet view, where twenty frames sit side by side and the weak ones stand out on their own. Group the near-identical frames from a burst or a Live Photo cluster, and compare each cluster down to the best two or three. Then check those finalists at full size before you commit to processing them.
How do I stay objective about photos I am emotionally attached to?
Separate the memory from the file. Write down what you remember about the moment, then set that aside and critique only what is in the frame. Reviewing inside a set also helps, because twenty images from the same hour are much harder to flatter than one favorite. If it still feels subjective, ask someone else which frame they would keep and compare the answer with yours.
Conclusion
Start tonight rather than after the next shoot. Open one frame from the last roll, write down what you remember about it, set that aside, and describe only what is in the picture. Name one thing that works, name one fault, and put a single change on paper that you can test on the next outing.
Repeat that in batches, and the pattern shows up on its own. After a dozen sessions, you are not guessing at what to improve anymore. You are reading a list you wrote.