
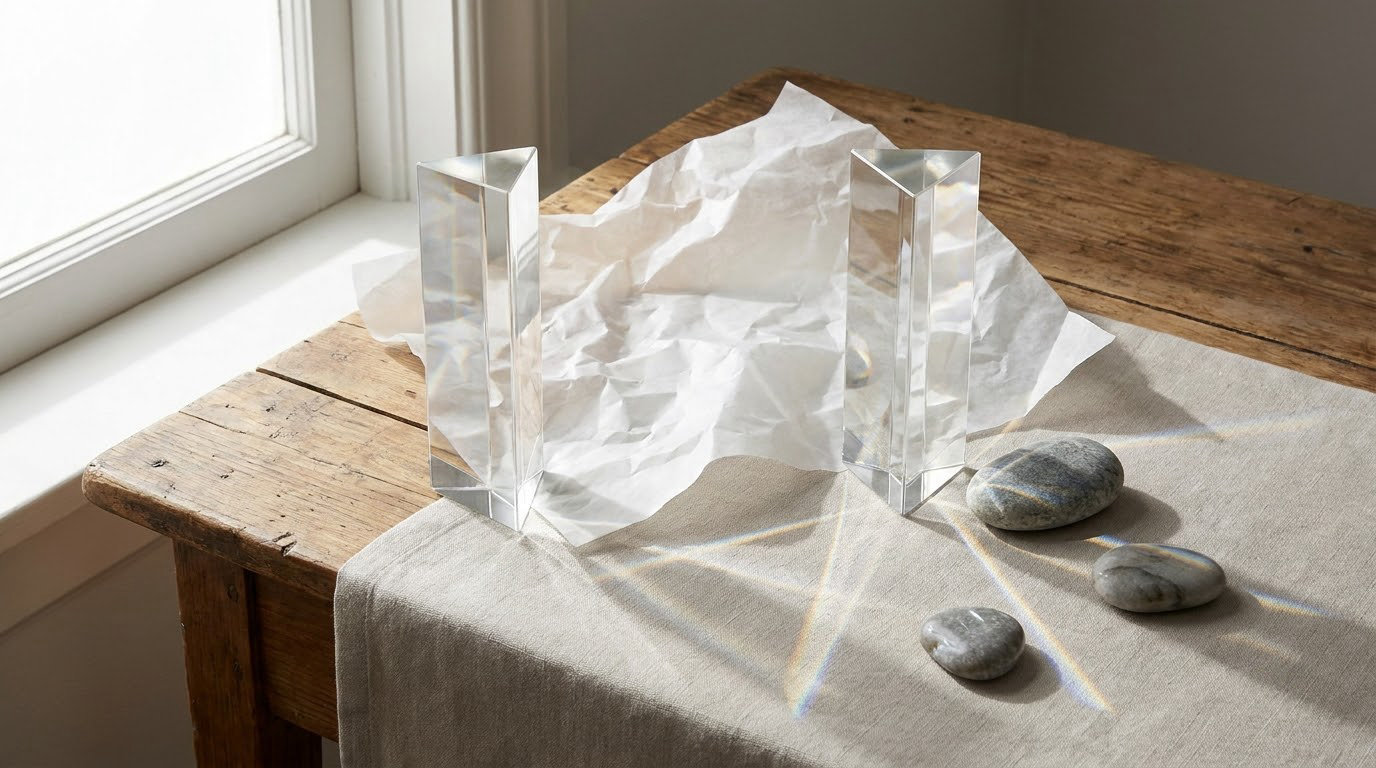
Abstract photography is about photographing shapes, colors, lines and textures instead of whole, recognizable objects. Knowing how to shoot abstract photography comes down to four levers: get physically closer, remove context and scale, control the light, and slow the shutter or move the camera on purpose. None of it needs expensive gear, and a phone will get you most of the way there. Give it about an hour with one subject and you will have a small series worth looking at.
It is a strange genre to teach because there is no correct exposure. A blurry frame and a razor-sharp frame can both be abstract, and both can be boring. What separates a good abstract photograph from a bad snapshot is intent, and that is exactly what the techniques below are built around.
Table of Contents
- What You Need
- How to Shoot Abstract Photography: Step by Step
- Common Mistakes
- Frequently Asked Questions
- What equipment is best for shooting abstract photography?
- Can I create abstract photography with intentional camera movement?
- How do I make abstract photography look intentional rather than accidentally blurry?
- Is a tripod necessary for abstract photography?
- Should abstract photos be edited into black and white?
- Conclusion
What You Need
The equipment list for this genre is genuinely short. Whatever camera you already own will work, including a phone, because nothing in abstract photography depends on autofocus speed or burst rate.
- A camera or phone. Anything that shoots RAW if it can, and manual or semi-manual exposure if it can. On a phone, a manual mode app gives you shutter control, which matters for the motion techniques below.
- A lens. Use whatever you have. A 28mm wide-angle, a 35mm prime and a 200mm telephoto each produce a different kind of abstraction, and step 7 explains how.
- A tripod. Optional for sharp work, near-essential for intentional camera movement and multiple exposures. Even a cheap one changes what you can attempt.
- Neutral surfaces. A sheet of white or black card, a plain wall, a sheet of glass. These stop your subject from merging into a busy background.
- Simple household materials. Glass of water, a metal spoon, translucent fabric, a plastic bag, coloured cellophane wrap, foil, a strip of tape.
- Coloured filters or gels. Genuinely optional. Tissue paper over the lens or a gel over a lamp gives you colour shifts you cannot reach with white balance alone.
- Editing software. Anything that crops, adjusts curves and converts to monochrome. A phone editor covers the essentials.
How to Shoot Abstract Photography: Step by Step
These eight steps work in order. The first two decide what you are looking for, the middle five decide how you photograph it, and the last one decides whether the result holds together as a series.
1. Define the Visual Idea
Pick one visual quality and let it govern every frame. Repetition, contrast, movement, transparency and layered shapes are the five that give the most consistent results, and choosing one before you raise the camera is what separates an intentional series from a folder of unrelated experiments.
Write it down in a single sentence. “Curved shadows in one colour” or “overlapping translucent layers” forces decisions later, when the light is doing something unhelpful. Most disappointing abstract sessions are really two competing ideas that never got resolved.
2. Look for Strong Patterns and Shapes
Look for curves, hard lines, grids, shadow edges and repeated forms, then frame so tightly that nothing in the surroundings gives the subject away. If a viewer can tell what the object is and how big it is, the image is a close-up rather than an abstract photograph.
Fill the frame edge to edge. Repeat a pattern until it breaks, and let the break be the interesting part. A row of identical shapes is a texture until one of them is out of line.
3. Use Motion to Create Abstract Images
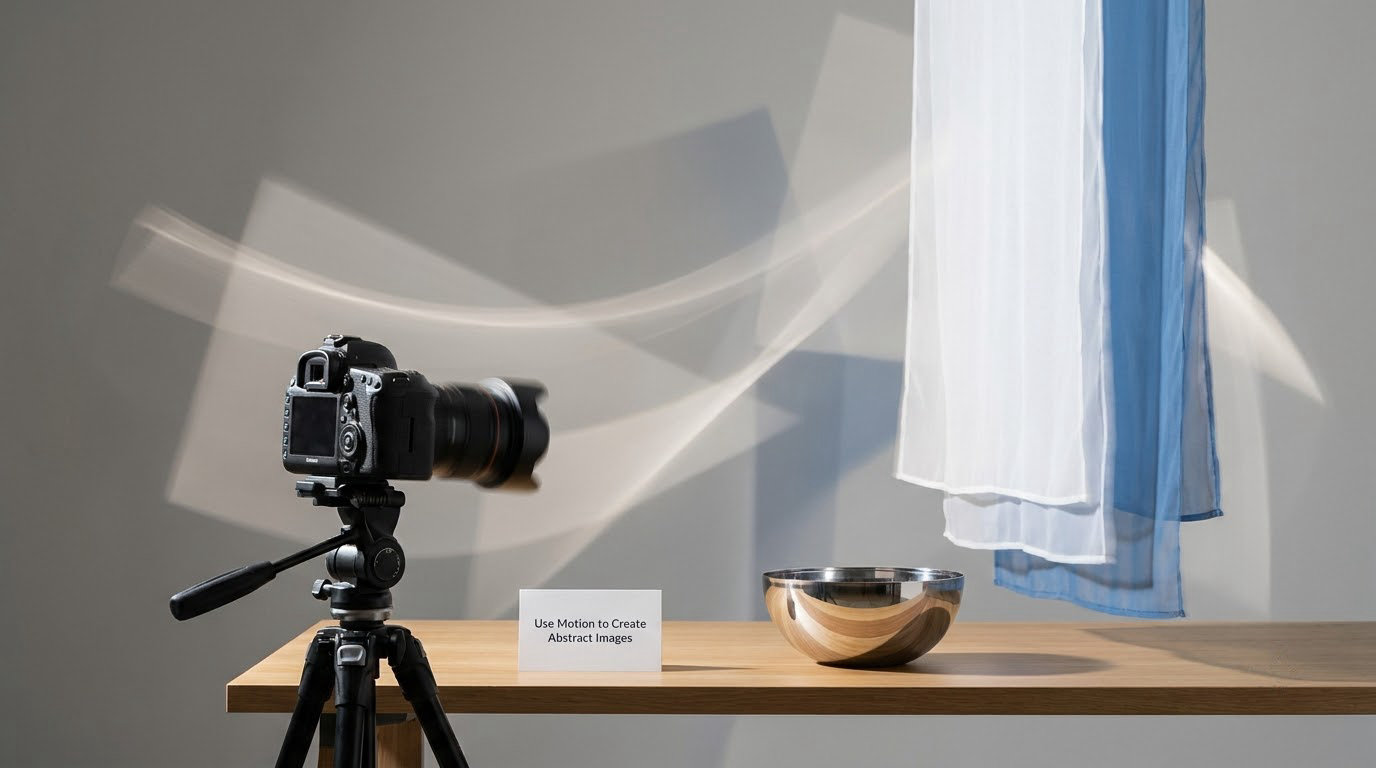
There are three sources of movement in an abstract photograph: your subject moves, you move, or the exposure runs long. All three work, and mixing them is where the interesting frames appear.
For intentional camera movement, set up the tripod, choose a subject with strong lines, dial the shutter to somewhere around a quarter to half second, then push or pull the camera during the exposure. Start small. A few centimetres of travel usually reads as deliberate, while half a metre reads as a mistake.
Review every frame at full size. You are looking for two things at once: enough residual structure that the viewer can still read a form, and enough blur that the image is clearly not a literal record. When the structure disappears completely, drop the shutter speed by a stop and try again.
4. Experiment with Light and Shadow
Hard light draws edges and throws geometric shadows. Soft light wraps around a surface and reveals texture instead. Neither is better; they produce different abstractions, so shoot the same subject under both and compare.
Do not wait for golden hour. Harsh midday sun is one of the best tools available for abstract work because it collapses everything into bright planes and dark shapes. Underexposing by one or two stops lets shadows swallow detail and gives you a low-key image with a single bright edge.
Gels and projected shapes go further. A patterned card in front of a lamp throws a hard-edged shape onto your subject, and moving it a few centimetres changes the geometry entirely.
5. Work with Texture, Color, and Reflections
Glass, water, brushed metal, crumpled foil, dust on glass and textured walls all give you a surface to photograph rather than an object to identify. Fill the frame with it and shoot across the surface so raking light picks out the relief.
Reflections add a second image in the frame and complicate the read in a useful way. Keep your own reflection out of it by pressing close to the glass, using a long lens, or shooting at an angle where your silhouette falls behind the camera. A polarising filter helps with glass and water, though it costs you a stop or two.
Restrain the palette. Two colours that disagree with each other will fight harder than five that agree.
6. Combine Multiple Exposures
Multiple exposures let you record several translucent or geometric elements in one frame, which is how layered abstract images are built. Work on a tripod, keep the camera completely still, and shoot two or three frames with the lights in different positions and everything else blacked out.
Balance the exposure so each layer sits at a similar brightness. Too much overlap and the result turns into grey mush, so leave space between the shapes and overlap only where you want density.
7. Use a Lens Intentionally
Focal length changes what abstraction looks like, not just how close you can get. A wide-angle lens exaggerates perspective and pushes near edges away from you, so a doorway or a bend in a wall becomes a shape rather than a structure. A telephoto lens compresses layers until distant elements appear stacked against near ones, which is where clean geometric abstracts come from.
Depth of field is a creative control here too. Wide open at close focus gives you one sharp plane surrounded by soft colour. Stopping down keeps everything legible, which suits pattern work. Choose focus distance with the same care as aperture, because where the sharp area sits is part of the composition.
8. Edit for Cohesion, Not Artificial Noise
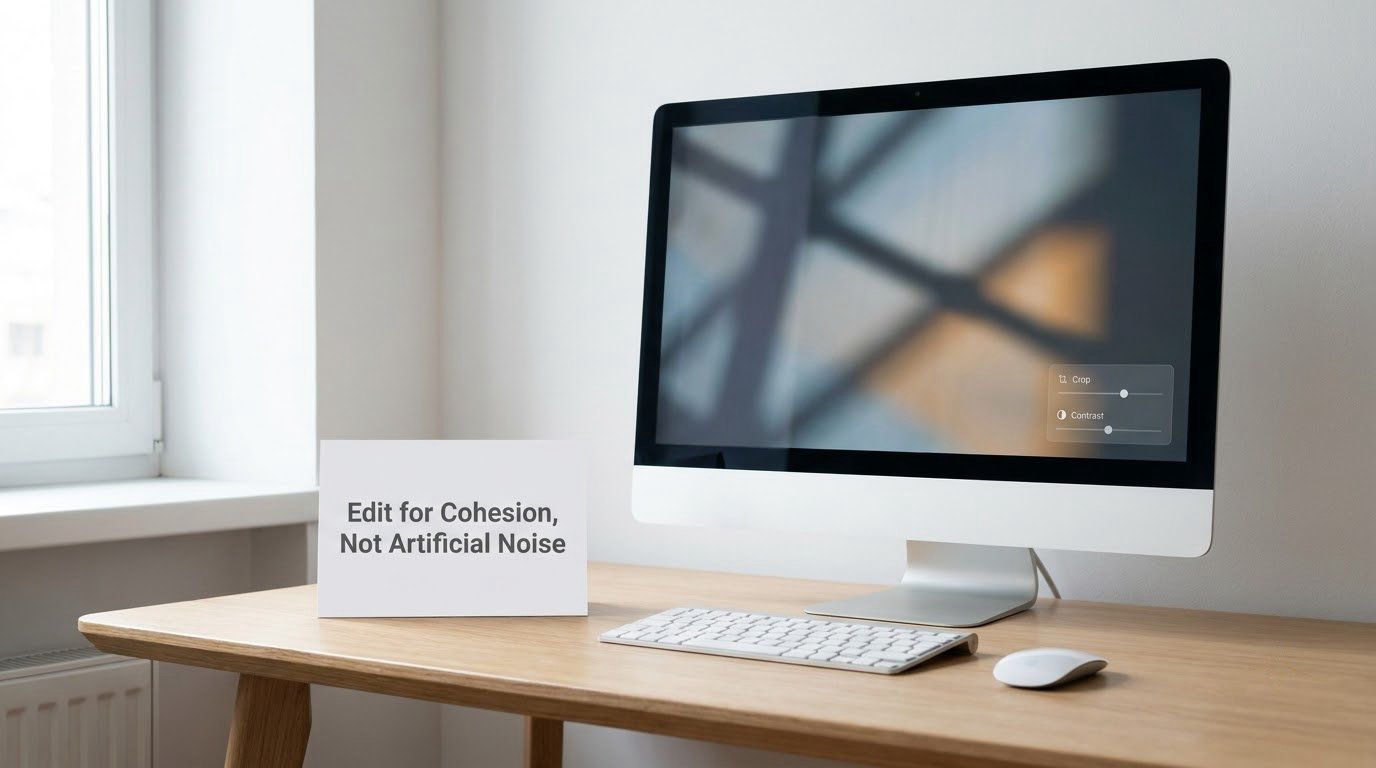
Editing does two jobs: removing what you should not have included, and reinforcing the idea you set out with. Crop first and it should account for a large share of the improvement, because cropping is how context leaves the frame permanently.
Then push contrast, add a little clarity to texture, and pull colour toward your chosen palette. If the idea was tonal, convert to black and white and judge it on shape alone.
When a series starts to look inconsistent, sort the whole set and drop the frames where the balance is wrong. Ten frames from one idea beat thirty from three.
Common Mistakes
Leaving context in the frame is the most common failure. The fix is physical: step closer or change angle, not crop later. A wide shot with a recognizable subject at the edge will not become abstract in editing.
Switching settings constantly between frames is next. A series shot at mixed shutter speeds and ISOs looks accidental even when each individual frame works. Pick settings for the idea and hold them.
Muddy shadows ruin contrast. Underexpose by small steps and check the histogram, rather than guessing in the camera’s rear screen, which is usually much brighter than the file.
Overusing effects is a problem too. Adding every lens flare and clarity slider available does not create abstraction, it hides whatever the frame was doing. If an effect is doing the work instead of supporting it, pull it back.
Editing past the point of recovery happens when shadows are lifted hard in a file that was already dark. Protect the shadows first; if the file is noisy, shoot a little brighter instead.
Finally, shoot fewer frames. Most abstract work improves when you stay with a subject for ten minutes before lifting the camera, because you stop recording and start choosing. One deliberate frame beats a hundred near-identical ones.
Frequently Asked Questions
What equipment is best for shooting abstract photography?
Whatever you already own. A phone with a manual mode app handles close-ups, reflections and controlled shutter work; a camera with any lens handles the rest. A tripod is the one upgrade that pays off, because it makes long exposures and intentional camera movement possible. A macro lens helps with close focus but is not required, since cropping closer achieves much the same result.
Can I create abstract photography with intentional camera movement?
Yes, and it is one of the most reliable ways to make an abstract image. Set the camera on a tripod, choose a subject with strong lines, choose a shutter speed around a quarter of a second, then move the camera a few centimetres during the exposure. Keep the movement small enough that some structure survives in the frame. Review every frame at full size and keep the ones where a form is still faintly readable.
How do I make abstract photography look intentional rather than accidentally blurry?
Intentional blur keeps a readable structure underneath it. Shoot a test frame first, look at it at full size, and ask whether you can still identify a shape, a line or an edge. If the frame reads as an accidental shake, shorten the shutter speed by one stop or reduce the distance you move. If the subject is genuinely static, sharp frames with careful framing and unusual light usually look more deliberate than blur does.
Is a tripod necessary for abstract photography?
No, but it removes a whole class of problems. You need one for long exposures of water or light trails, for multiple exposures, and for any work where your body position decides the composition. Handheld shooting is perfectly fine for close-up texture, pattern and hard-light work, and on a phone it is the default. If you own one, use it more often than feels natural; the constraint forces steadier compositions.
Should abstract photos be edited into black and white?
Not by default. Colour is one of the main ways an abstract photograph creates interest, and removing it throws away a decision you already made. Convert to monochrome when the idea is about shape, texture or tonal contrast, or when a distracting colour sits in one corner of the frame. The reliable test is to make both versions and look at them a few days later. The answer to how to shoot abstract photography does not depend on it either way.
Conclusion
Learning how to shoot abstract photography comes down to deciding what a frame is about, then removing everything that does not serve it. Pick one ordinary subject near your kitchen table, choose one visual quality, and shoot ten frames holding the settings steady.
Review them, keep three, edit them into something coherent, and do it again tomorrow with a different subject. That loop will teach you more in a month than any gear upgrade will, updated for 2026 and every year after.