
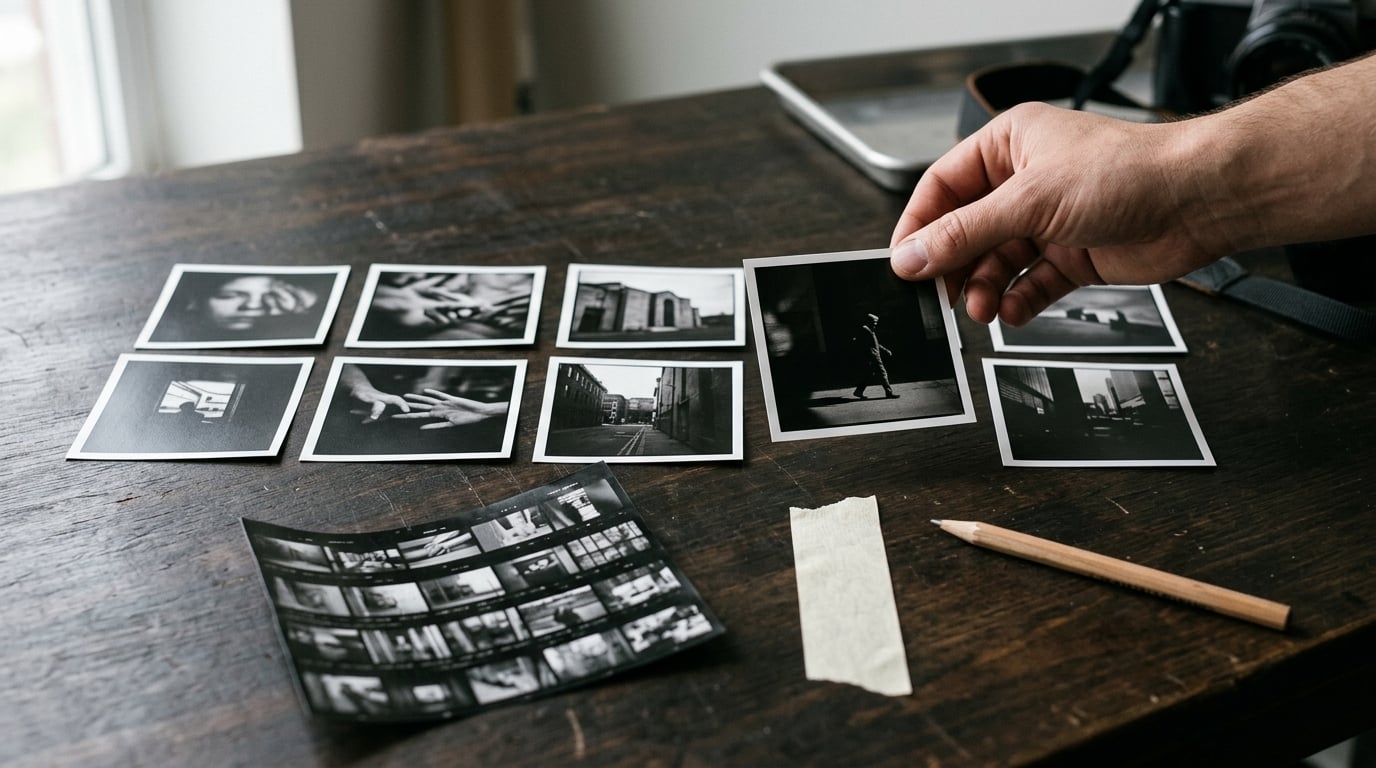
Sequencing photos in a series means choosing a deliberate order for a set of images so they build meaning together, instead of leaving them in capture order or dumping them in at random. You already have the frames. Sequencing is the editing decision that makes a folder read as one piece, and for a series of ten or fifteen pictures it is an afternoon’s work, not a project.
What follows is the process I use. It works in Lightroom’s grid view, in Capture One, or on a kitchen table with small prints and a strip of tape.
Table of Contents
- What You Need
- Step-by-Step: How to Sequence Photos in a Series
- 1. Define the purpose before you sequence photos in a series
- 2. Edit and narrow the selection
- 3. Identify the strongest anchor images
- 4. Build a first pass, then break the order
- 5. Create rhythm through contrast
- 6. Refine the order and pacing
- 7. Test the sequence at different scales
- 8. Finalize a consistent presentation
- Common Mistakes
- Frequently Asked Questions
- Conclusion
What You Need
You need very little: a finished edit of the shoot, a one-sentence concept, somewhere to lay the images out, and an hour or two.
Before the list of steps, one reassurance. A lot of beginners arrive at this topic convinced every photograph has to carry a story, then look at their own street or kitchen and decide they have nothing. That is the wrong conclusion. Plenty of technically excellent photographs carry no narrative at all, and those are often the ones people hang on a wall. Sequencing has room for mood, colour, shape and rhythm, not just plot. The narrative method below is one powerful option among several, not a licence requirement.
What you actually need:
- A clean edit. Exposure and crop settled, so you are not re-deciding technical quality mid-sequence.
- A one-sentence concept. Something like “a slow Sunday morning on one street” or “the same corner through one year of weather”.
- A sequencing surface. Lightroom grid view sorted by capture time, or printed thumbnails you can shuffle.
- A testing method. The thumbnail test, the slideshow test, or a person who has not seen the shoot.
- Patience for rejection. You will cut the frame you love. That is normal and it is the point.
Martin Parr’s line circulates constantly in photography forums and it is the right motto here: photographs are not thought of as individuals, always as a group.
Step-by-Step: How to Sequence Photos in a Series
Eight steps, in order. Define the purpose, cut the selection, find the anchor images, build a first pass, build rhythm, refine pacing, test at different scales, then finalize the presentation.
1. Define the purpose before you sequence photos in a series
Start with the feeling, not the theme. “Autumn” is a subject. “The specific hush of early morning before the street wakes up” is a purpose, and it gives you a rule you can apply to every later decision.
Write your purpose as one sentence and put it where you can see it while you work. Common ones: isolation, movement, transformation, memory, tension, repetition, a change in atmosphere over a fixed period. A veteran poster on the TalkPhotography forum put it more plainly: a good storytelling photograph tends to ask the viewer a question and let them supply the answer. That is a purpose you can sequence toward.
2. Edit and narrow the selection
Cut the technically weak frames first, then the redundant ones. Three near-identical versions of the same doorway is one image plus two interruptions.
Keep variety though. A set of eleven frames that are all wide shots tells you one thing and nothing else. Keep some close details, some wide views, some light and some dark, and keep the treatment consistent enough that they look like the same photographer on the same project. A working range for a personal series is seven to fifteen images; a school or exam task often fixes the number for you, and working inside a fixed count is a useful exercise in itself.
3. Identify the strongest anchor images
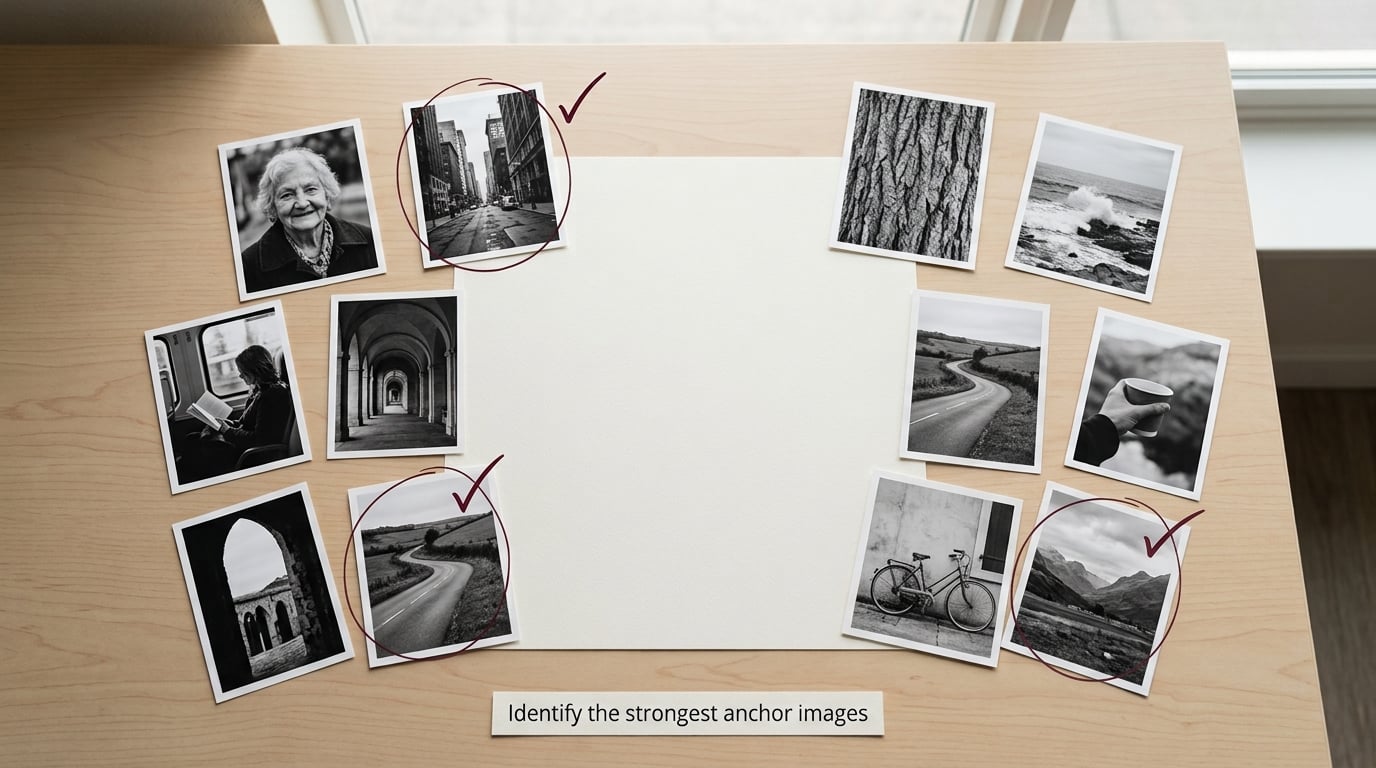
Some frames carry the clearest emotion or the strongest composition. Those are your anchors, and each one has two jobs: it earns a place, and it earns a position.
Anchors usually want to open a section rather than sit in the middle of a run of similar frames, where they flatten the rhythm. The single strongest image in the whole set is often saved for near the end, so the sequence builds toward it instead of spending it in the first ten seconds.
Mark them. Flag them in Lightroom or put a small dot of pencil on the back of the print so you stop losing track while you rearrange everything else.
4. Build a first pass, then break the order
Lay the images out in capture order first, simply by sorting the grid by capture time. Do not judge it yet. This baseline tells you what the day actually looked like, and it exposes the problems of a purely chronological set: a slow start, a long middle, and no ending.
Now build a second arrangement that ignores time. Group by scale, by tone, by subject, or by a single recurring colour. Read that version as a sequence and ask whether it holds attention.
Two arrangements, two different readings of the same shoot. Choose the one that matches the purpose you wrote in step 1, and start refining from there. Knowing how to sequence photos in a series is not the same as sorting a folder by date; the second pass is where the real decisions happen.
5. Create rhythm through contrast
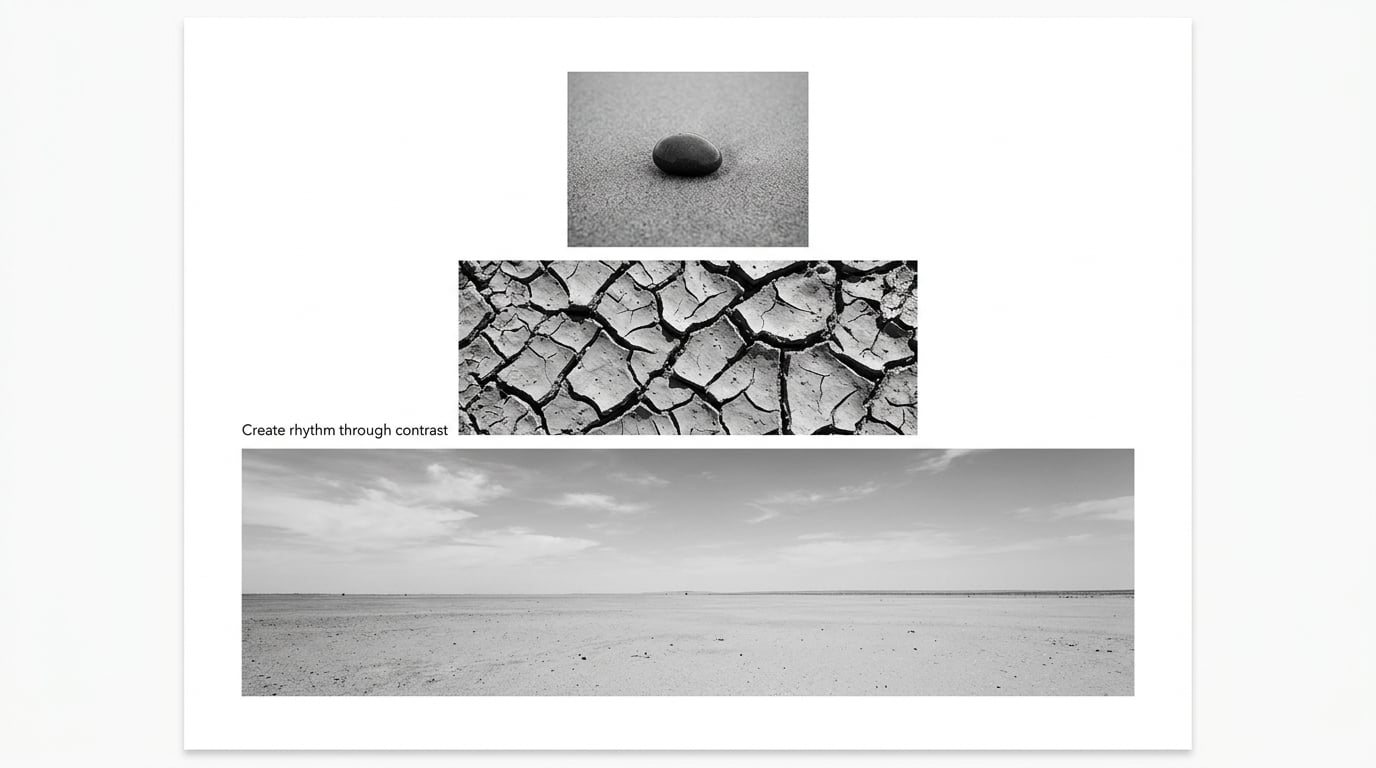
Rhythm is made by juxtaposition. Each frame should continue, contrast, or complete the one before it, so the viewer is pushed to the next one.
Alternate deliberately:
- Close and wide, detail and establishing view.
- Bright and dark, open and compressed.
- Quiet and energetic, still and in motion.
- Stable geometry and unstable, tilted or cropped framing.
- Similar subjects and one unexpected interruption.
Old film editing has a name for the power of adjacency: the Kuleshov effect. The same face paired with a bowl of soup reads differently from the same face paired with a child in a coffin, even though the face never changed. Use it on purpose. Put a wide empty frame after a dense close-up and the emptiness reads as a breath.
Watch the dark frames too. Run two or three near-black images together and the sequence turns into a tunnel. One dark image is a beat; three is a hole.
6. Refine the order and pacing
Now move, remove, duplicate and replace. Give the set a deliberate opening, a development and an ending, and give the important images room to register.
A weak sequence shows its three best frames in the first ten. Open with something that establishes the world, not with the money shot. Let two or three similar images sit together so a change becomes noticeable, then change. End on an image that resolves, quietens or points somewhere else rather than stopping.
Pacing is mostly about what you refuse. If two frames feel redundant now, cut one. If a section feels like it rushes, put a quieter image between the louder ones. A series of fifteen photographs can comfortably hold five beats; that is roughly three images per beat, which is why fifteen feels coherent and thirty usually does not.
7. Test the sequence at different scales
A sequence that works at full screen can collapse in thumbnail. Test three ways, because each one fails differently.
Look at it as thumbnails first. This is the harshest test and the most useful: if the order still makes sense as a grid of small squares, the rhythm is doing its job. If it only makes sense large, you are relying on detail the viewer has to lean in for.
Then run it as a full-screen slideshow at the size you would present, with no music over it, five seconds per frame. The slideshow test is the one photographers on the forum keep coming back to, and it works: if it does not take you through something, the order is not finished.
Finally, show it to someone who has not seen the shoot. Ask them to say what the last photo felt like, and what changed between the first and the last. If they cannot say, the sequence is relying on context the viewer does not have.
Note that the best sequence in Lightroom is not always the best sequence in print. A frame that reads as a calm horizontal band on a 16:9 screen may need cropping for a square photobook spread, and a vertical carousel crop will amputate whatever was at the top and bottom of the frame. Decide the output format before you finalize, then crop the whole set to it.
8. Finalize a consistent presentation
Export a sequence copy with consistent dimensions and sequential numbering so the files sort correctly anywhere: something like series-01, series-02, series-03. Consistent pixel dimensions also stop a photobook layout from jumping around.
Add captions or short titles only where they add something. In a gallery, a wall label or a short caption can carry the one sentence your concept needed; inside the sequence, a caption on every frame usually kills the reading flow. Metadata matters more than captions for future you: record the order, the concept sentence and the date range somewhere you will find in two years.
Then choose a title. A specific title beats a generic one, because it is the last thing a viewer reads before the first thing they see.
Common Mistakes
Most weak sequences come from one of eight habits, and every one of them has a straightforward fix.
- Chronological rigidity. Capture time is data, not an argument. Keep it as a baseline, then test a second order.
- Too many similar frames. If two images say the same thing, cut one. Repetition works when the repeated element changes slightly each time.
- Every important image at the front. Spread your best material across the set and save the strongest for late.
- No real opening. The first frame should establish the world in one frame: a wide view, an establishing shot, enough context to place everything after it.
- Changing style too often. A series mixing warm handheld frames with cold flash-lit frames reads as two projects stapled together. Match lens, light, and grade, or split it into two series.
- Transitions without purpose. A transitional photo earns its place by moving the viewer somewhere, not by looking pretty. If it does not change the location, the light or the mood, cut it.
- No ending. Finishing on a strong frame with nowhere to go leaves people unsure whether the set is finished. End on a frame that closes the loop or quietly points outward.
- Judging on a single screen. A monitor at full brightness flatters everything. Test thumbnails, print a contact sheet, and look at the set on a phone.
Mixed aspect ratios in one photobook also cause more damage than most people expect. Crop the whole set to the shape of the final format before the last layout, not after.
Before you call a sequence done, run four quick tests. The thumbnail test: does the order read as small squares? The slideshow test: does it take you through something? The stranger test: can someone who saw none of the shoot say what changed between the first and the last frame? And the removal test: remove the image you like most, and see whether the sequence gets weaker or simply shorter. A set that survives that last one has a real structure holding it up.
Frequently Asked Questions
Should photos in a series always be in chronological order?
No. Chronological order is useful as a first pass because sorting by capture time is fast and it shows you what the day actually looked like. It rarely makes a finished sequence, since real days start slowly and end without warning. Build the chronological version, then test a non-chronological arrangement grouped by scale, tone or subject, and keep whichever reads more strongly against your stated purpose.
How many photos should a photo series have?
For a personal series, seven to fifteen frames is a comfortable range, and roughly five beats at two or three images per beat keeps the pacing readable. Fifteen is a common ceiling for a coherent set. If you have a fixed count from a class or exam task, treat that as a design constraint: a fixed number forces you to choose, and choosing is the actual skill being tested.
How do I choose the last photo in a series?
End on a frame that resolves, quietens or points outward rather than one that simply stops. The strongest image in the set often works best second-to-last, with a smaller frame after it to release the tension. A good closing image is often quieter than the one before it: an empty frame, a repeated motif, or a wide view after a run of close details.
Do photos in a series have to tell a story?
No, and this is the most common myth blocking beginners. Plenty of excellent photographs carry no narrative, and mood, colour, shape and rhythm are legitimate reasons to sequence images. Ask yourself what the set should make a viewer feel, not what happened. If the answer is quietness or repetition, sequence for that and the set will hold together without a single plot point.
How do I get photos into date order when the file names are a mess?
Sort by capture date inside your editor rather than by file name. In Lightroom, switch the grid to the Library module and sort the Capture Date column; in Capture One, use the Sort toolbar and sort by capture time. File names only follow the day if your camera resets its counter, so fix the order on export for the sequence copy by exporting as series-01, series-02 and onward.
Conclusion
Sequencing is the decision that turns a folder into a series, and it takes one sitting once you have a method: define the feeling, cut the redundancy, mark the anchors, build two orders, create contrast, refine the pacing, test small, export consistent.
Start with one action. Pick a single concept, lay out five to ten images from one walk or one afternoon, and test whether the sequence communicates that feeling to someone who was not there. If it does, you already know how to sequence photos in a series. If it does not, you have just learned something no article could have told you.