
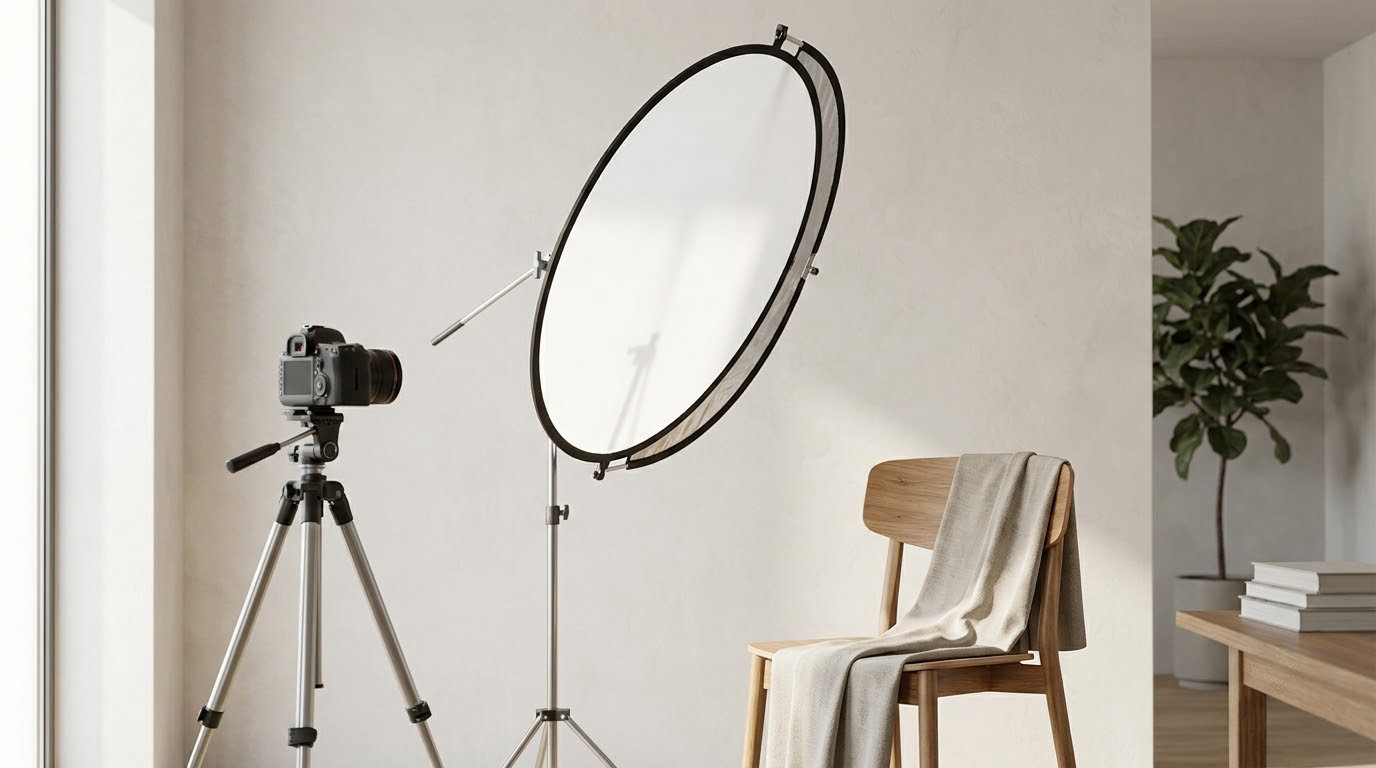
Learning how to use a reflector in portrait photography comes down to one idea: the panel is just a surface that bounces light you already have back onto your subject, so you can soften shadows, open up a dark side of the face, or put a catchlight in the eyes without buying a second light. Most people pick it up in about twenty minutes of practice, and the whole job comes down to four moves: set the main light, read the shadows, pick the right reflector surface, then move the reflector closer or farther until the balance looks right.
This guide is updated for 2026 and starts with the kit most photographers already own, the collapsible 5-in-1 disc, plus the free household objects that work just as well when you do not have one. It also covers the parts that trip people up: which side of the disc to use, why holding it too close creates hotspots, why gold makes indoor skin look yellow, and why adding fill changes what your camera meter reads.
Table of Contents
- What You Need
- Step-by-Step: How to Use a Reflector in Portrait Photography
- Common Mistakes
- Frequently Asked Questions
- What are two types of reflectors?
- When should I use a silver reflector in photography?
- What is the difference between a gold and a silver reflector in photography?
- How do you hold a reflector when shooting alone?
- How close should a reflector be to the subject?
- Do you still need a reflector if you have softboxes?
- Conclusion
What You Need
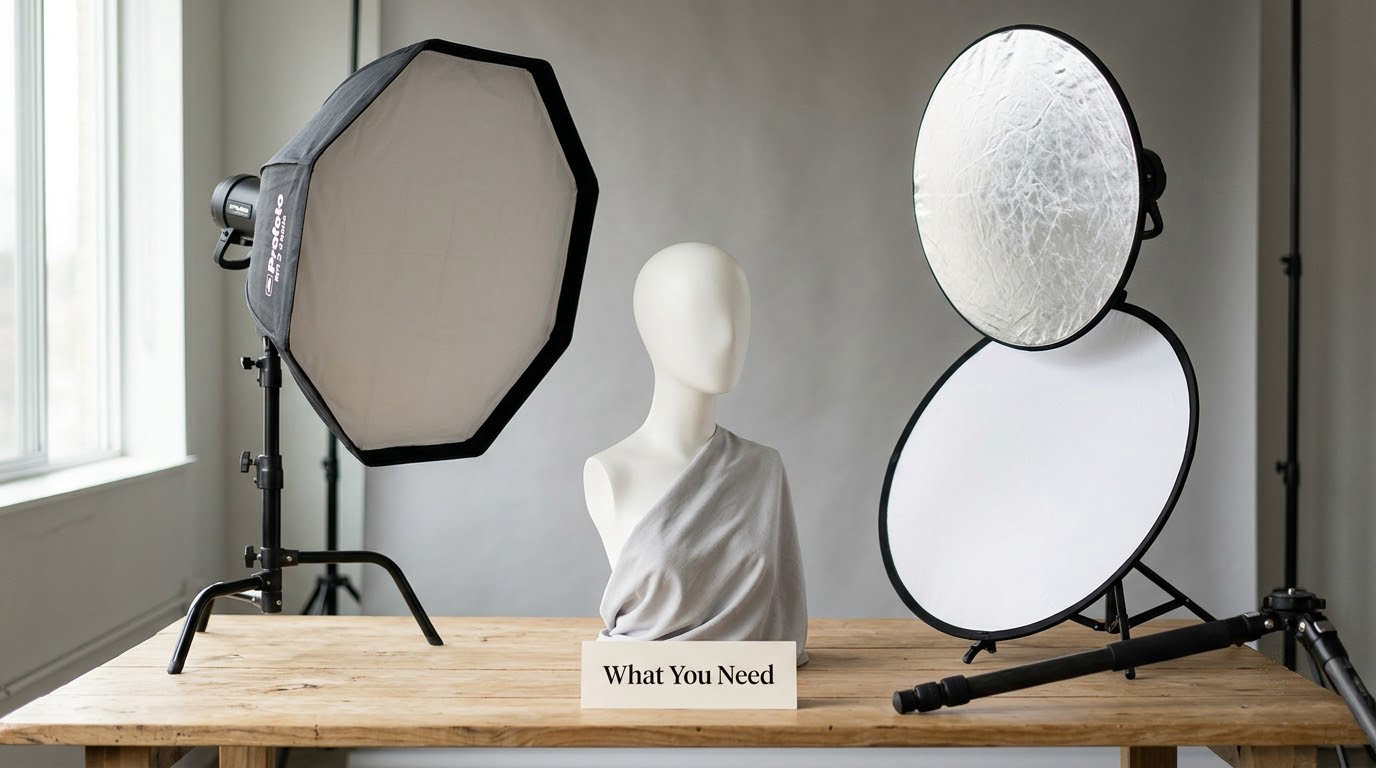
You need very little. A reflector plus whatever light you already have covers most portrait situations, indoors or out.
- A reflector. A collapsible 5-in-1 disc with white, silver, gold, black and translucent surfaces covers almost every situation. White cardboard, a sheet of kitchen foil on a flat board, or a pale wall all work while you are learning.
- A subject. A real person, or a mannequin bust or your own face against a tripod for testing angles.
- A main light source. Sun, open sky, a window, or a lamp. This is the light the reflector will bounce. Without it, a reflector does nothing at all.
- Something to check the result on. The histogram on your camera back, a spot meter, or just your eyes on the camera display. The histogram is the most honest of the three.
- A way to hold the panel. A reflector stand, a clamp, a boom arm, or a helper. Solo shooters get around this with a folding stand or by leaning the panel against a wall.
- A practice setup. A chair, a patch of shade or a blank wall. You want a repeatable spot so you can change one variable at a time.
Size is the only decision that actually matters when buying, because a panel that is too small behaves like a tiny hard light source instead of a soft one.
| Reflector size | Best for | What happens if it is too small |
|---|---|---|
| 12 to 20 inch | Headshots, beauty shots, tight indoor setups | Light lands on a small patch of the face, so shadows on the other cheek stay dark and the fill looks harsh |
| 32 inch | Half-body portraits, one-on-one outdoor sessions | Just about right for most work, and still folds down to fit a car boot |
| 42 to 48 inch | Full-body shots, families, small groups | Several people fall outside the bounce pattern and end up unevenly lit |
| Oval or triangular | Narrow spaces, tight against a wall, catchlight control | The triangle’s pointed corner can throw a hard specular hotspot if it is too close to the subject |
Step-by-Step: How to Use a Reflector in Portrait Photography
Learning how to use a reflector in portrait photography takes six steps in a fixed order. Set the main light first and work your way down to fine-tuning, because the reflector only makes sense once you know what shape of shadow you are dealing with.
Step 1: Position the Subject and Main Light
Get the main light right before the reflector comes out. Decide where the light is coming from and lock the subject so the brightest part of the face is toward it and away from the camera.
Front lighting, with the sun or window behind your shoulder, gives flat, even skin. Side lighting, roughly 45 degrees off the camera axis, gives shape and texture. Back lighting, with the light behind the subject, gives a bright rim on the hair and shoulders and a face that needs help. That last one is where a reflector earns its keep fastest.
The rule I keep coming back to: get the main light in place, take a test shot, and only then reach for the panel. If you add fill first you will spend the session fighting your own setup instead of reading the light.
Step 2: Identify the Shadows You Want to Control
Look at the face and pick out the shadows you actually want gone. On a 45-degree setup it is usually the eye socket, the shadow side of the nose, and the area under the jaw on the side away from the light.
Then decide which job the reflector is doing. Filling shadows means bouncing light back into the dark side of the face. Redirecting light means angling the panel so it takes light that was falling past the subject and puts it where you want it. Creating an edge means using a small or distant panel to skim a narrow strip of light onto the hair or shoulder line, deliberately, and that one needs very little power.
Most beginners try to do all three at once and end up with a flat, lifeless face. Fill is the useful default. Rim and edge effects are a decision you make after the fill looks right.
Step 3: Choose the Right Reflector Surface
The colour of the surface decides how bright, how warm and how soft the bounced light is, so this is the decision that changes your picture most per minute of effort.
| Surface | What the light looks like | Best light conditions | Caution |
|---|---|---|---|
| White | Soft, even, slightly dim, keeps skin tone honest | Overcast daylight, open shade, window light, family sessions | Close to the subject it can fall off fast and leave shadows half-filled |
| Silver | Bright, neutral, harder-edged, more specular | Overcast or shaded scenes that need brightening; low natural contrast light | In direct midday sun it creates blown hotspots and harsher shadows than the ones you were fixing |
| Gold | Warm, amber, natural-looking skin tones | Sunrise and sunset, golden hour, warm indoor light | Indoors under cool window light it pushes skin yellow and orange |
| Black | No light returned, used as negative fill | Any setup where shadows are too open and the subject looks flat | Does nothing useful as a positive reflector, which surprises people |
| Translucent | Passes light through, softening whatever hits it | Harsh direct sun or flash, when you want to keep the direction but lose the hardness | It scatters, it does not brighten, so it is a diffuser rather than a fill |
Two quick rules come out of that table. Silver brightens, white softens, gold warms, black subtracts, translucent scatters. And for skin, match the surface to the colour of the light already falling on your subject, not to the mood you want.
If your light is warm, gold or white. If your light is cool and flat, silver. If the light is blue-white and you want warmth back, gold, but check skin tones carefully afterward. People on photography forums hit this constantly, and the usual fix is to flip gold to white indoors or correct the white balance in camera instead of the light.
Step 4: Place the Reflector Near the Subject
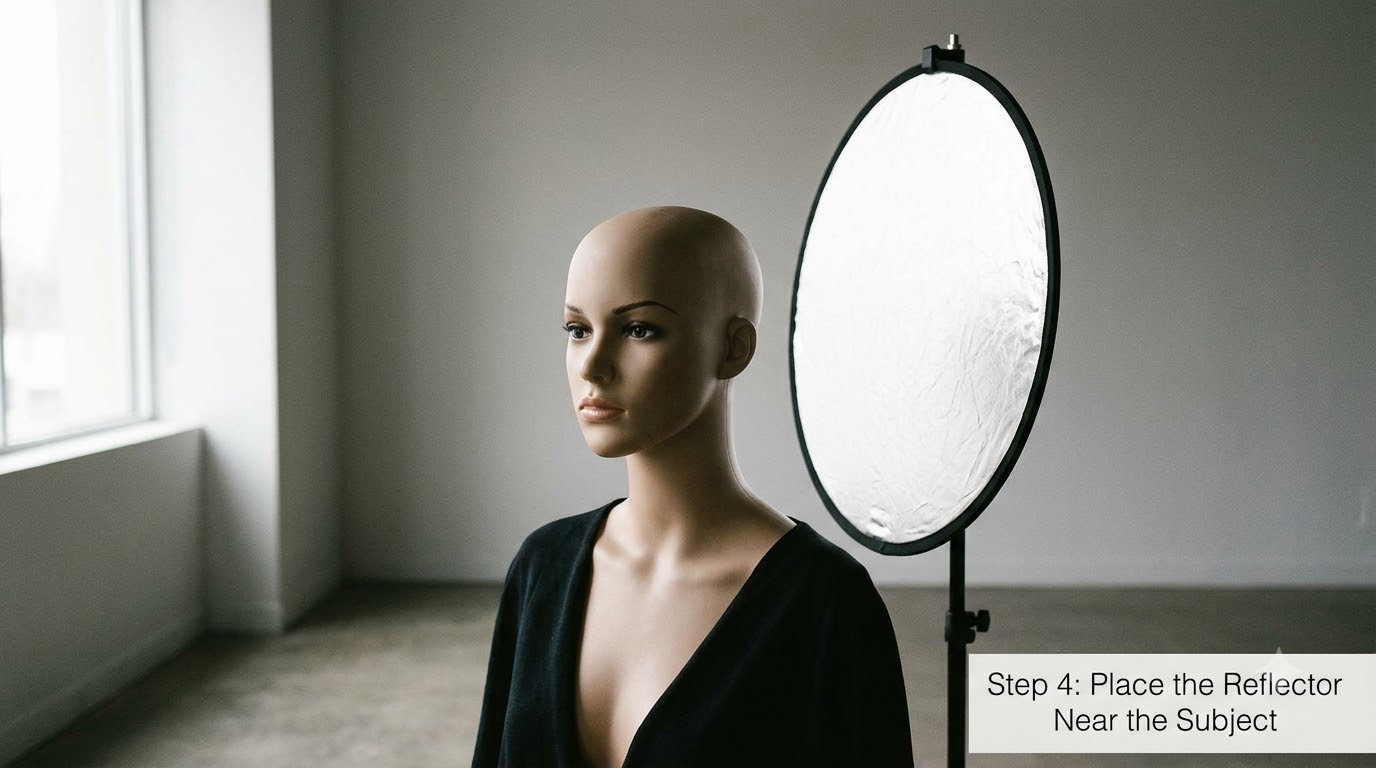
Put the reflector on the shadow side of the face, close in, and angle it so the bounced light lands on the darkest part of the subject without shining into your lens.
Distance is the part nobody explains well. Reflected light obeys the same inverse square law as everything else, so it falls off fast. Halve the distance between the panel and the subject and you roughly quadruple the fill. That is a huge jump, and it explains why the reflector that looked perfect at arm’s length is blowing out a face when you step in close.
Close placement, within a foot or two of the subject, produces broad and soft fill. It also means each small movement changes the light a lot, so you work in centimetres. Farther back, several feet away, gives a more directional, gradient effect across the face and is far more forgiving to adjust. Neither is right or wrong; they produce different looks.
For the angle, start at about 45 degrees from the camera axis on the shadow side, then rotate the panel slowly and watch what happens. Tilt the top edge forward and the fill moves down onto the jaw. Tilt it back and the fill rides up onto the cheekbone and brow.
There is a matching rule that helps with the camera’s own position. If you shoot from below, bounce the light down from above the subject. If you shoot from eye level or above, hold the reflector low and angle it up. Mirroring the camera angle keeps the face from flattening out underneath the chin.
Step 5: Check the Light and Adjust the Distance
Check the result on the camera display before you decide anything. The histogram is the fastest honest read, and a small before-and-after test of the same pose tells you more than any description.
- Clipped highlights. Pixels piled against the right edge of the histogram mean the fill is too hot. Move the reflector back a foot rather than dialling down exposure, because the shadows will lose detail too.
- Deep shadows. If the shadow side of the face is still a silhouette, move the reflector closer, switch to silver, or angle it more directly at the shadow.
- Colour casts. A warm or green cast usually means the surface is fighting the light. Flip to white before you reach for a colour correction preset.
- Hotspots. A bright hard patch on the cheek or forehead means the panel is too close and too specular. Silver is the usual culprit. Step back or switch to white.
- Catchlights. You should see a small catchlight in each eye, positioned toward the lit side. Rotate the panel a few degrees to move them. No catchlight usually means the panel is out of the mirror position, or too dim to register.
Here is the technical bit almost every guide leaves out: adding fill changes what your camera meter reads. The meter integrates the whole frame, so when the reflector lifts the shadows, the average brightness goes up and the meter will want to underexpose. If you are shooting in manual with the light and settings already dialled in, ignore the meter. If you shoot in aperture priority, expect to add roughly a third to a stop of exposure compensation, then check the histogram and adjust from what you see.
A quicker way to judge whether the fill is right is the squint test. Close your eyes halfway, and the shadow side of the face should still read as a face, one step down from the lit side rather than a hole. Experienced photographers on forums keep repeating the same advice: move the reflector around and watch what happens. That habit beats any formula.
Step 6: Fine-Tune the Portrait Result
Once the balance is right, decide whether the reflector still belongs in the picture. Sometimes a soft shadow on the shadow side of the face is the thing that makes a portrait look three-dimensional rather than flat.
A few finishing moves worth knowing. Keep the catchlights small and high in the eyes; large low catchlights read as amateur in a corporate headshot and beautiful in a family photo. Watch for flare by keeping the panel out of the mirror angle between the light and the lens. If the silver side is bouncing a hard patch onto the shoulder, angle it down and out.
For groups, the fill has to reach everyone, so back the reflector off and check each face. For tight beauty work, bring it in close and low to build a gradual gradient from the lit cheek down to the jaw.
And when you already own studio strobes, the answer to whether a reflector still earns its place is yes, as a subtler control. Strobe modifiers are bright and directional. A reflector gives you a soft, low, controlled lift that you can dial in by moving a panel, and it costs nothing to run.
Common Mistakes
Almost every reflector problem comes from using the wrong surface, putting the panel in the wrong place, or holding it too close. Here are the ones that come up over and over, with the fix.
- Reflector too far away. The fill arrives too weak to lift the shadow, and you conclude the reflector does not work. Bring it in to within a foot or two and recheck the histogram.
- Reflector too close with the silver side. You get blown hotspots and harder shadows than before. Step back, or switch to white for a softer, broader bounce.
- Reflecting light into the lens. The panel sits between the light and the camera and veils the whole frame. Rotate the panel away from the mirror angle, or shift the camera.
- Wrong surface for the light. Silver under harsh direct sun, or gold under cool window light, both produce unflattering results. Match the surface to the colour and hardness of the light already present.
- Filling every shadow until the face looks flat. One open shadow is usually what makes the portrait read as three-dimensional. Pull the reflector back a little and leave some shadow in place.
- Angling the reflector at the subject instead of the shadow. Point the panel at the darkest area on the face, not at the whole body. Targeted fill reads much more natural than a broad wash.
- Using it as a diffuser by mistake. If the light is already soft and the shadows are fine, the reflector is not the tool you need. A translucent panel is for light that is too hard.
- Forgetting it changes exposure. Adding fill and leaving the meter to underexpose is the most common reason a reflector set-up looks muddy. Add a third of a stop and check.
- Using it at night with nothing to bounce. A reflector returns existing light, it does not create any. Once the only light is your flash or a dim lamp, you need a real fill light instead.
Outdoors, wind is the practical enemy. A 48-inch panel on a light stand becomes a sail, so sandbag the base, work close to walls and buildings, and expect to re-aim the panel between frames. Holding it in shade under a doorway is more stable than an open beach.
Worth knowing alongside reflectors: foil on a flat piece of cardboard is a serviceable silver substitute, white poster board is a decent white reflector, a shower curtain is a poor translucent panel, and a white wall or pale pavement makes an excellent reflector at zero cost. If you have a house with a pale wall facing an open door, you already own a very large reflector.
Frequently Asked Questions
What are two types of reflectors?
The two main types are diffusing and specular. Diffusing reflectors, such as white and translucent surfaces, scatter light into a soft, even fill. Specular reflectors, such as silver and gold surfaces, bounce light more directly, which is brighter, more neutral or warmer, and harder-edged. Black is a third category: it absorbs light for negative fill rather than returning it.
When should I use a silver reflector in photography?
Reach for the silver side when the light you have is soft and dull, such as open shade, heavy cloud or a north-facing window, and the portrait still looks flat and underlit. Silver returns the brightest, most neutral bounce of any surface, so it lifts the shadow side without shifting colour. Avoid it in direct midday sun, where it creates blown hotspots and harsher shadows than the ones you set out to fix.
What is the difference between a gold and a silver reflector in photography?
Both bounce light, and both are more directional than white. Silver is bright, neutral and slightly harder, so it corrects dull light without warming it. Gold adds an amber tone that suits sunrise and sunset, making skin look healthy and golden. Indoors under cool light, gold pushes skin yellow and orange, which is why photographers flip to the white side or correct white balance instead.
How do you hold a reflector when shooting alone?
Use a folding reflector stand with a clamp, a boom arm, or lean the panel against a wall or chair at the angle you need and mark the spot. On location, a clamp stand on a balcony rail or a doorway frame beats anything that needs a wide base in the wind. Practise setting the panel, then walking out of frame before you bring the subject in, so you are not adjusting the light between every frame.
How close should a reflector be to the subject?
Close enough to fill the shadow, usually within one to two feet, but aware that reflected light obeys the inverse square law. Halving the distance roughly quadruples the fill, so small movements matter a great deal up close. Farther back the effect is weaker but more even across the face, and much easier to fine-tune. Check the histogram after every move rather than judging by eye alone.
Do you still need a reflector if you have softboxes?
You rarely need one, but it is still useful. Softboxes are bright and directional, and a reflector gives you a softer, subtler lift that you can dial in by moving a panel. It costs nothing to run, adds no cables or triggers, and is the fastest way to open a shadow without dropping your key light by a stop. Many studio shooters keep one clamped near the chair permanently.
Conclusion
Start with the main light and ignore the reflector for the first shot, so you can see the shadow pattern you are dealing with. Put the panel on the shadow side of the face, within about a foot, angled at 45 degrees, with white for soft neutral fill or silver when the light is dull and needs brightening. Check the histogram, add a third of a stop if your meter underexposes, and move the reflector in small steps until the face reads as one image rather than a lit half and a dark half.