
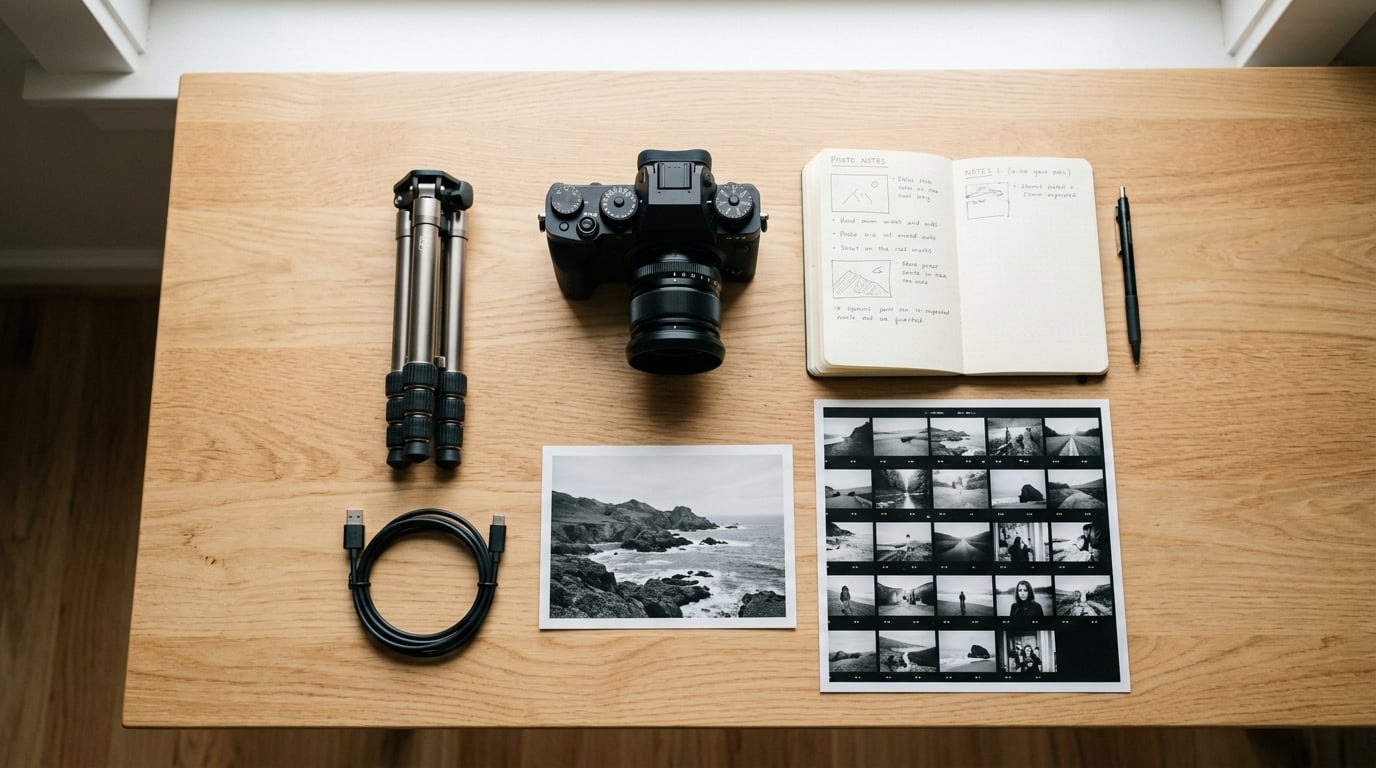
A photography project is a self-directed series of images built around one subject, one visual approach and a fixed end point, so you end up with a finished body of work instead of a folder of unrelated shots. Learning how to start a photo project takes about an afternoon of planning, and the whole thing can be as small as seven days long.
The reason most personal projects die is not talent or gear. It is that nobody ever decided what finished looked like, so there was no line to cross and no reason to stop shooting. Fix that first and everything else gets easier.
Table of Contents
What You Need Before You Begin
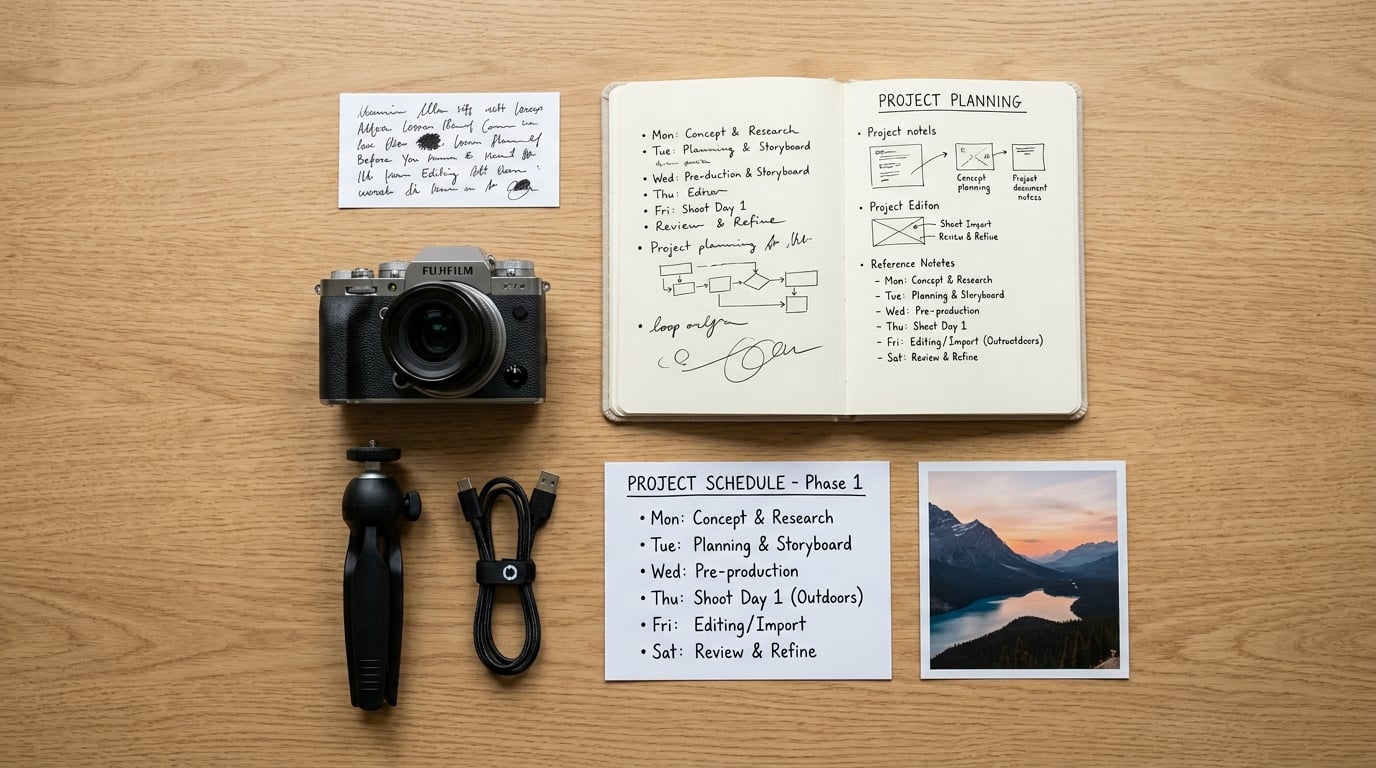
Seven things need to exist before you lift the camera, and five of them take ten minutes to sort out on paper.
- A central question or theme. Not a mood, a question. “What does my street look like at 6am?” is a project. “My street” is a folder.
- A subject you can reach on an ordinary week. If it needs a six-hour drive or a scheduling favour, it becomes a holiday rather than a series.
- One constraint. A single rule that shapes the shooting: one focal length, available light only, black and white, or one frame per person per day.
- Gear you already own. A phone and a window is a legitimate studio. The camera you have is enough for every project in this guide.
- A shooting schedule. Days, time of day, and a target image count.
- A file system. One folder per project, one naming pattern, two copies in two places.
- A definition of done. An end date and a final image count, written down.
Here is how a small project actually looks when those seven pieces are filled in. A one-week project called Shadows at 5pm: shoot the same three street corners on seven consecutive evenings, one 50mm-equivalent lens, black and white, aim for 60 usable frames, final series of 12, printed at 20 by 30 centimetres, finished and posted on day 10. Nothing about that is ambitious except that it gets finished.
Copy this brief and fill it in. Every blank gets an answer before the first shoot.
Project brief
Subject: one thing, named
Why it matters to me: one sentence
Constraint: one rule, no exceptions
Gear: what I already own
Shoot days and times: be specific
Backup subject if weather fails: a fallback location
Target image count from the shoot: a number
Final series length: a smaller number
Deadline: a date on the calendar
Where it goes: portfolio, blog post, zine, wall
Definition of done: the test you will use to stop
One more decision settles most arguments later: how long the project runs. Pick the shortest length you can genuinely finish, not the most impressive one.
| Project length | Realistic commitment | Difficulty | Best for |
|---|---|---|---|
| 7 days | 20 to 40 minutes daily | Low | Testing an idea before committing to it |
| 30 days | One session every few days | Low to medium | Building a daily habit |
| 12 weeks | One shoot per week | Medium | Documentary work and seasonal subjects |
| 52 weeks | One shoot per week, ongoing | Medium to high | People with a reliable weekly slot |
| 365 days | Something every day, for a year | High | Highly motivated shooters with backup discipline |
Most people who quit a 365 challenge quit around week three. That is not a discipline failure, it is a badly sized project.
Step-by-Step: How to Start a Photo Project
Step 1: Choose One Clear Idea
Narrow a broad interest into something a series can actually hold. A broad idea is “the seaside”. A series is “what the same pier looks like at four tides in one week”.
Test an idea by asking whether you could describe it in one sentence, whether you could make at least 20 distinct photographs of it, and whether you could reach it twice a week for a month. Fail any of those and it is still too big.
Some ideas that pass that test:
- Shadows falling across the walls of one room across a single afternoon
- The hands of people who work in the same trade, framed the same way
- Every door on one residential street, shot straight on
- Windows at night in a small town, reflections only, no interiors
- One colour, found anywhere, for 30 days
- A single tree through one full season
How you know it worked: you can say the idea out loud to someone else and they could shoot it too. That is the test of a clear brief.
Step 2: Define the Look You Want
Decide the visual rules before the first frame, because deciding them later is how a series ends up looking like six different projects.
Set the distance, the light, the treatment and the shape of the frame. Distance means always wide, always from the same height, or always at arm’s length. Light means available light, one hour before sunset, or overcast only. Treatment means black and white, one colour grade applied across every frame, or straight out of camera.
Different genres want different rules. Fine art usually leans on a single consistent treatment and a slow, deliberate pace. Street work tolerates more variety but gains coherence from a fixed focal length. Documentary projects need a consistent distance and a neutral grade so the pictures argue with each other, not with your editing. Photomanipulation works when every composite uses the same visual premise, and falls apart the moment two frames break the rule.
Look at five reference images of the look you want. Put them where you will see them while shooting.
Step 3: Make a Small Shooting Plan
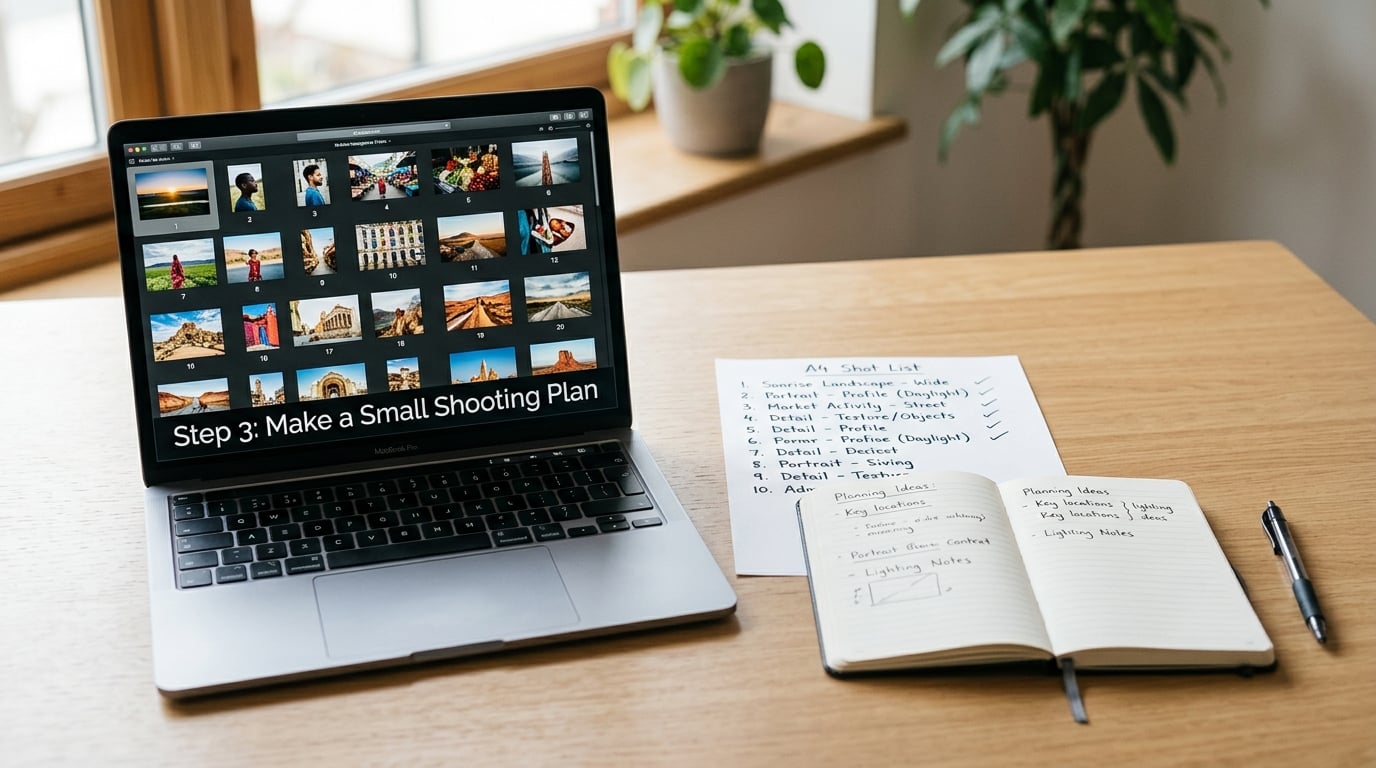
Turn the idea into dates. A limited schedule usually improves consistency, because a fixed small plan gets done and an open-ended plan drifts.
Write a one-week plan like this: Monday to Friday, same three corners, 5pm to 6pm, aim for at least 20 frames a day. Saturday, the same block again with whatever worked. Sunday, review, cull roughly half, apply the treatment, back up.
Include the boring failure plan, too. What is the backup location if it rains? What is the second subject if the first one is unavailable? What is the minimum number of usable frames below which the project cannot be completed?
How you know it worked: you can look at your calendar and see the shoot days already booked before you feel motivated enough to book them. Motivation follows scheduling, not the other way round.
Step 4: Shoot With Purpose
Work efficiently inside each session, but leave room for what you did not plan. Make variations of the same idea rather than near-identical frames. Walk the same route from three angles before moving on.
Keep a short note after each session: what worked, what did not, what to repeat. It takes two minutes and it saves you re-learning a mistake in week four.
Shoot more than you think you need. A 20/60/20 split is a fair expectation for any shoot, where 20 percent of the frames are keepers, 60 percent are close, and 20 percent are failures. Aim to cull hard, because a project of 12 images drawn from 400 frames is a selection, while a project of 12 drawn from 25 is a compromise.
How you know it worked: at the end of the scheduled days you have a folder with real variety inside one consistent visual style, and no long stretches of identical pictures.
Step 5: Edit Into a Coherent Series
A pile of shots becomes a project at the editing desk. Cull first, then fix the look, then decide the order.
Culling means keeping only the frames that add something new. Cut the near-duplicates, the blink, the ones where nothing happened. A common working ratio is to keep roughly one frame in five from a heavy session.
Build continuity through the treatment. Apply the same white balance, the same contrast, the same grain across every frame so the series reads as one body of work. Use a saved preset or an adjustment layer copied across the set, and resist fixing individual images to look better than their neighbours.
Sequence the series last. Read the images in order on a screen or printed small, and look for rhythm: alternate wide and tight, vary the pace, open and close on the frame that carries the idea. Sequencing first and last is what makes a series feel composed rather than filed.
How you know it worked: you can remove any single image and something breaks. If several could be removed with no effect, the set is padded.
Step 6: Present, Share, and Learn From It
Finish means somebody else can see it. Give the series a title, not a file name, and write three sentences of statement: what the subject is, how you shot it, what you were looking for.
Choose the output that matches the project. A blog post works for a project with a story. A portfolio page works for one strong series. A self-published zine works when there are twenty images or more and you want the sequence to be the point. Prints on a wall force you to live with the edit, which is uncomfortable and useful.
Share responsibly. Ask specific questions when you ask for feedback. “What is the third image doing there” gets you a usable answer; “what do you think” gets you a compliment.
Photographing people in public is fine in most places when you are not obstructing anyone or intruding on a private space. For recognisable people, a recognizable commercial use, or anyone under 18, a simple written release is worth having. It takes five minutes and removes the awkward part of the conversation later.
Close the loop by archiving the project somewhere permanent, with the brief, the RAW files, the final edit and a note about what you learned. That archive is the raw material for the next project, and the only reason photographers lose two years of work to a dead drive.
How you know it worked: you set a public date, hit it, and the project is no longer a thing you are doing. It is a thing you made.
Common Mistakes and How to Fix Them
The idea is too broad. If you cannot say it in one sentence, split it. “Birds” becomes “the same four species at one pond, one lens, for a month.”
You keep changing direction. Decide when the project is allowed to pivot and write that date down. Exploration in week one is fine, direction changes in week six are expensive.
You are shooting without a limit. Set a target image count for the shoot. A number forces decisions that an open-ended session never will.
You are waiting for perfect conditions. Most finished series were shot in bad weather. Pick a rain date rule at the start, for example shoot whatever is there when the light is flat.
You end up with 40 versions of one image. Cull before you edit. Similar frames belong in the archive, not the series.
You are confusing technical perfection with a point of view. Sharpness and correct exposure are table stakes. The image that is slightly soft because the light did something interesting usually belongs in the series.
The project stalls at 60 percent. This is the most common failure and it is a scheduling problem, not a talent problem. Drop the schedule to two more shoot days, cut the final count from 24 to 12, and publish on a date you tell a friend about. A hard date told to another person is the completion mechanism that actually works.
You lost files. Two copies, two different places, checked weekly. Renaming files as you import takes twenty seconds a session and saves you an afternoon at the end of the project.
A few tips that help more than the rest. Shoot the camera you have. Keep the constraint to one rule. Set the deadline before the first shoot, not after. And finish something small before you attempt something large, because a finished imperfect series teaches you more than an abandoned perfect plan.
Frequently Asked Questions
How do I choose a photography project subject?
Choose something you can reach on an ordinary week and photograph at least 20 different ways. Narrow a broad interest until it fits one sentence: not the seaside, but what one pier looks like at four tides in a single week. If you would need a long drive or a favour from someone to shoot it twice in a month, it is a holiday, not a project.
How long should a photography project be?
Short enough to finish. Seven days is the best starting point because it tests an idea cheaply. Thirty days builds a habit, twelve weeks suits documentary work, and a 52-week run needs a fixed weekly slot. A 365-day project is the one most people abandon around week three, so treat it as a year-long commitment, not a fun challenge.
Do I need expensive gear to start a photography project?
No. Shoot with whatever you already own, including a phone. Consistency of showing up matters far more than the camera, and a phone series can carry one constraint, one colour treatment and one deadline just as well as a dedicated body. Spending money on gear instead of shooting is the most common way people avoid starting the work.
How many photos should a photography project have?
Enough to show the idea and few enough to keep it sharp. For a first project, aim to collect several hundred frames and finish with 12. A cull where roughly one in five frames survives is normal. If you pull 12 images from 25 candidates you are making compromises, and if you show 40 the series stops having a shape.
What is the 20 60 20 rule in photography?
It is a useful expectation for any shoot: about 20 percent of your frames are keepers, 60 percent are close, and 20 percent are outright failures. It tells you to shoot generously and cull hard rather than to stop after the first decent frame. It also sets a sane target for how many raw files you need behind a finished 12-image series.
How do I know when my photography project is finished?
Write the test in your brief before you start, such as 12 sequenced images, one treatment across all frames, published by a date. Then stop the moment that is true, even if new ideas arrive. Ongoing subjects are the main reason projects never end, and an open-ended project is the same as no project at all.
Write one sentence for your subject, one constraint, one date on the calendar and a final image count. That is the whole job. Fill in the brief above, shoot for a week, and start a photo project on the first free evening you have rather than waiting for a month that feels more ready.