
A photo series is a deliberate, themed set of photographs made around one idea and shot with a consistent visual approach, so the images read as a single story rather than a pile of unrelated frames. To shoot a photo series well you write a one-sentence premise, lock a visual system, shoot far more than you need, edit the whole set to one look, and sequence the frames into an order that leads somewhere.
The work takes a weekend for a tight one-day concept or a season for anything time-based. What trips most people up is not the shooting, it is the drifting: the color creeps warmer every day, the framing wanders, and by the end the set no longer hangs together.
Below is the seven-stage workflow I use, from the first sentence of the premise to the final grid. It also covers what gear actually matters, which is less than most people assume.
Table of Contents
- What You Need
- How to Shoot a Photo Series Step by Step
- 1. Define the central idea or emotional theme
- 2. Establish a consistent visual language
- 3. Plan locations, moments, and key frames for the days you shoot a photo series
- 4. Create a flexible shot list
- 5. Shoot with a repeatable technical approach
- 6. Review, edit, and sequence the photographs
- 7. Prepare a coherent final presentation
- Common Mistakes
- Frequently Asked Questions
- How many photos should be in a photo series?
- How do you keep the visual style consistent across multiple photographs?
- Should every image in a photo series use the same camera settings?
- How do you choose the best order for a photography series?
- What is the difference between a photo series and a photo essay?
- Conclusion
What You Need
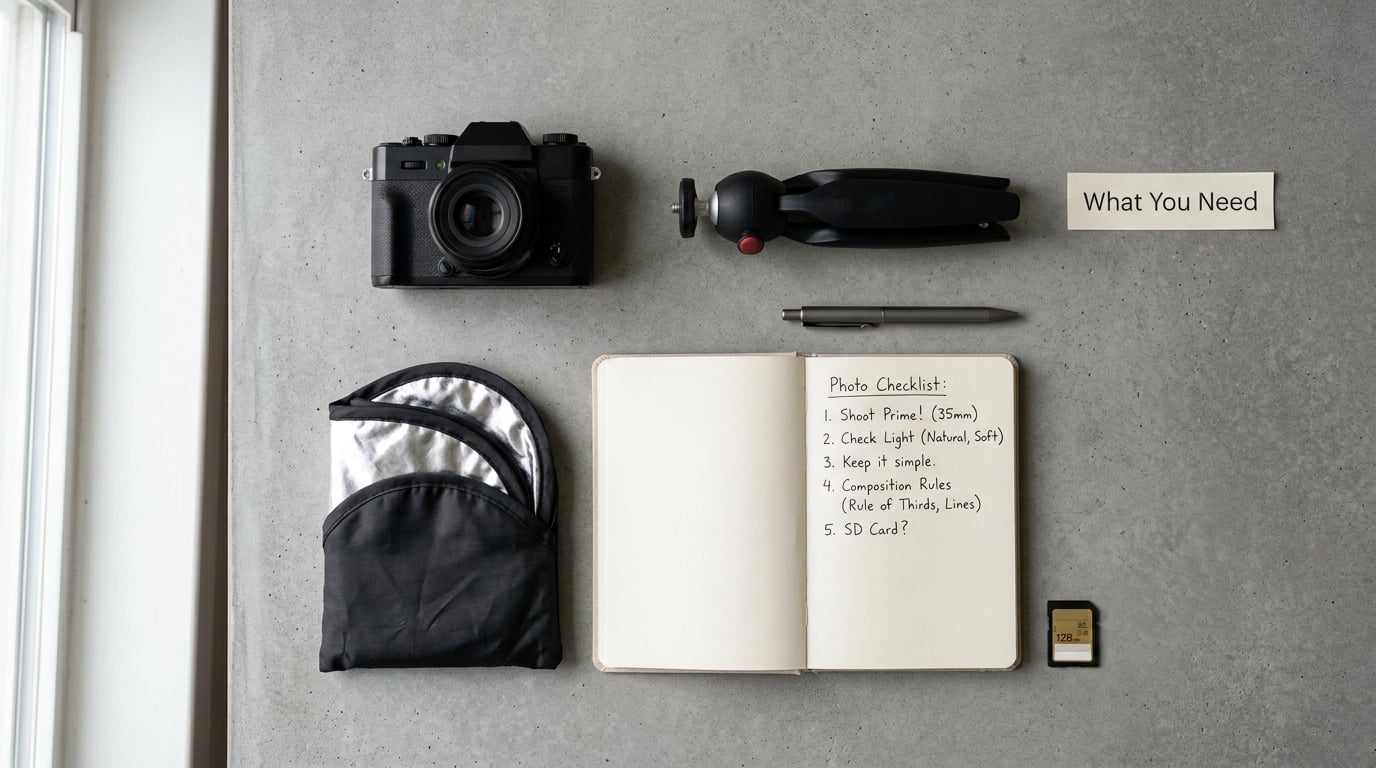
Here is the honest version. The only items that really change the outcome are the concept and the discipline. Everything else is a convenience.
- A written premise. One sentence describing what the series is about. This does more work than any piece of equipment.
- A notebook or phone note. Your shot list, location list and the settings you used. Memory fails across weeks; notes do not.
- One camera, one lens. A single focal length is the fastest route to a set that looks like one photographer made it. A 35mm or 50mm prime covers most documentary and street-adjacent series. A 24mm works for interiors and landscapes. Zooming around mid-series is where consistency goes to die.
- A tripod. Not for sharp landscapes. For returning to the exact same frame on four different days and letting the light do the variation.
- A reflector or a small LED panel. Optional, but it lets you match fill light between an overcast morning and a sunlit afternoon.
- RAW capture. Non-negotiable for multi-day work. A file you cannot correct for a 600K color shift is a frame you have to throw away.
- One editing preset or develop setting. Applied identically to every frame. This is the single strongest consistency tool you have.
A phone covers all of it. Lock the exposure and focus on the phone, shoot in the highest resolution format it offers, shoot in portrait or 2x for compression on the same subject every time, and build the set from a fixed vantage point. The constraint does the work that a prime lens would normally do.
How to Shoot a Photo Series Step by Step
Each stage below covers the action, the decision you are actually making, and the sign that it is working. Do not skip ahead. The order is what keeps a series from falling apart halfway through.
1. Define the central idea or emotional theme
Write the premise in one sentence using the form: I photograph subject in setting or situation to show emotion or idea. My example for a winter project: I photograph the same three laundromats at closing time to show how a place feels after everyone leaves.
The third half is the one people skip, and it is the one that makes the series work. Decide what the viewer should feel before deciding what to point the camera at.
Also name the visual question the series answers: what happens to this street in winter, what does one person’s hands look like across a full day of work, how does a market change from open to close. A series built around a question has a natural endpoint. A series built around a subject alone tends to ramble.
Sign it is working: you can describe the series in one sentence without using the word photography in it.
2. Establish a consistent visual language
Pick one rule from each row below and stick to it for the whole set.
- Color: one dominant palette, or one mood across the set. Cool and desaturated, or warm and contrasty. Pick one.
- Tone: deep shadows with protected highlights, or bright and airy. Not both.
- Perspective: always the same vantage point, always a similar height, or a deliberate high-or-low rule you keep throughout.
- Framing: leave consistent headroom, or crop every frame to the same aspect ratio before sequencing.
- Light: one condition only, such as overcast or golden hour, so brightness stays comparable.
- Subject matter: a recurring motif, like a yellow door, a wet pavement reflection, or hands at work. The motif is what makes the set feel intentional after the tenth frame.
Consistency is not repetition. Repeat the same photograph and you have one photograph. Repeat the conditions and vary the content, and you have a series. This distinction trips up almost everyone starting out.
Sign it is working: three of your images taken on different days could sit next to each other in a grid and look like the same afternoon.
3. Plan locations, moments, and key frames for the days you shoot a photo series
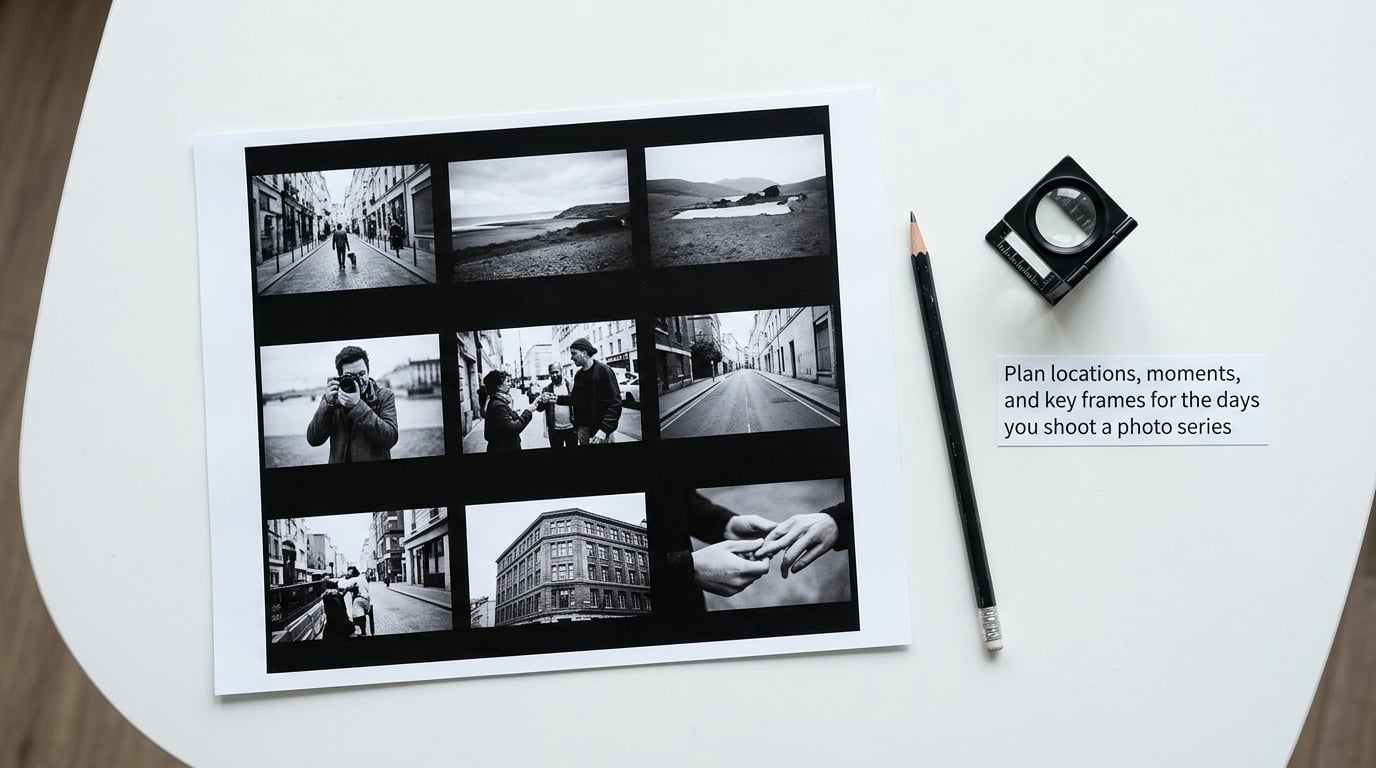
Make a location list and rank it. For each spot, note the sun direction, the time it gets the light you want, whether you can return without paying a fee, and whether tripods are allowed. Ten locations with notes beat fifty locations you have never seen.
Then research the conditions. Cloud cover, wind, foot traffic, whether the signage changes, whether the shop owner is comfortable being photographed. Most failed series fail on access, not on light.
Sketch six to ten must-have frames as thumbnails in your notebook. Not full compositions, just shapes: a wide establishing view, a figure entering frame, a detail of hands, a reflection, a closing frame where the space is empty again.
Be careful with the plan. If every frame is pre-determined, the series turns into a checklist and loses the accidents that make it worth looking at. Plan the anchors, leave the middle loose.
4. Create a flexible shot list
Organize frames into three tiers so a bad day does not end the project.
Tier one, the essentials. The three or four images the series cannot exist without. If you only get these, you have a small series rather than no series.
Tier two, supporting variations. Each essential shot from a different distance, height or moment. A wide, a medium and a tight of the same subject, as a rule of thumb, gives you options and guarantees visual variety.
Tier three, opportunistic. Anything the light or the subject hands you.
Then write the backups. If it rains, which frames still work? If the location is closed, what is the alternative? If the person in the series moves away, what did you already have? Photographers on community forums keep describing the same project dying because nobody planned for the weather or the access problem, and that is entirely avoidable.
Sign it is working: you can point at your notes and name the frame that the series lives or dies on.
5. Shoot with a repeatable technical approach
Consistency is a settings problem before it is an artistic one. Here is a workable baseline.
- Set white balance manually rather than leaving it on auto. A fixed 5200K on an overcast day and a fixed 6500K in open shade keeps the color story yours. Auto white balance will re-decide on every frame.
- Pick a single aperture and hold it where depth of field allows, for example f/5.6 for a street series or f/8 for a landscape series. Consistent sharpness reads as intentional.
- Let shutter speed follow the light, within what your subject allows. Do not chase a fixed shutter value at the cost of a blurry frame.
- Lock ISO at its lowest usable value for the session, then step up only when the light forces it.
- Use exposure compensation as your single control, aiming for a consistent histogram position across the set. Brightness is what the eye notices first when frames sit next to each other.
- Shoot RAW and bracket the tricky frames. Three exposures at two stops apart on a tripod costs nothing and rescues a set shot in shifting light.
Leave room to interpret. A perfectly locked series can still be lifeless if every frame was made for a reason. The lock exists so your intent, not the camera, is what changes between images.
Sign it is working: your contact sheet from day one and day five have the same overall brightness and color without you having touched either.
6. Review, edit, and sequence the photographs
Review the full set on one screen, not frame by frame in the file browser. Build a contact sheet of everything, mark the keepers, then look again. Photographs that looked essential in isolation often die next to a better one.
Edit as a group. Apply the same base adjustments to every frame first: exposure normalization, the same white balance starting point, the same contrast curve. Then introduce the difference that each individual frame needs. Grading frames one at a time is exactly how a set ends up with mismatched colors and brightness, the complaint that comes up most often from people working across several days.
Do not color grade early. Finish culling and sequencing on black and white or flat color first, and apply the final grade once the order is settled.
Then sequence. Start from the end backwards, which forces the real question: what is the last image, and what does the viewer need to have felt before it? Typical arcs run establishing wide, then medium, then tight, with a departure or change, then a return to the wide. But test two or three orders on the contact sheet before committing, and cut anything that repeats a beat without adding new information.
Sign it is working: someone who did not shoot it can describe the beginning, the turn and the ending of your set in one sentence.
7. Prepare a coherent final presentation
Presentation is part of the work, not an afterthought. Decide the format first, because the format changes the sequence.
For a web scroll, test the order in a single column at the width people actually read on a phone, and put your strongest frame in the first screen or two. For a grid, the thumbnail is the photograph, so read the grid as a whole before you read any single image. For a book, spread facing pages are read as pairs, so check the pairs. For prints on a wall, decide the grid on paper before the paper, and leave more space between rows than between columns so the eye moves the way you want.
Edit the final files to one output size, color profile and file weight. A gallery of mixed-resolution images is the fastest way to make a good series look careless.
Write one caption per image, and a short artist statement of four or five sentences: the premise, the constraint, the period it covers, and what you were looking for. Community feedback is consistently kinder and more useful when the behind-the-scenes process and the actual settings are visible, not just the finished frames.
Then edit ruthlessly. Ask of every image: does this one add something the others do not? A tight portfolio piece is usually 7 to 15 images. A wall or a book can carry 20 to 40. A daily or 365 project carries what a year gives you, and that is a different animal entirely.
Sign it is working: you can cut two more images and the set gets stronger, not weaker.
Common Mistakes
Almost every problem with a photo series has a specific fix, and most of them arrive at the same stage.
Drifting style. The set started cohesive and dissolved by frame fifteen. The fix is a mid-project audit: pull a contact sheet of everything shot so far and look at it as a stranger. If the color or brightness jumps around, go back and match each frame to the average.
Too many ideas. A series trying to be about three things is about none of them. The fix is brutal and effective: cut the premise down to one subject, one place or one action.
Over-shooting without a cull plan. Four hundred frames with twenty near-identical ones. The fix is deciding your cull threshold before you import, and holding the rule even when the extra frame is technically the sharpest.
No closing frame. The set has momentum and no ending. Fix it by planning the final image in the same session as the first, so the two bookends share light and viewpoint.
Grading before sequencing. You spent hours on color work and then reordered everything, which means redoing it. Cut the grade until the order is locked.
Technical drift. Different lenses, different white balances, wildly different exposures. The fix is the lock list: one lens, manual white balance, a fixed aperture, one preset applied to the full set.
One piece of advice on finishing. The most common regret among photographers running a series is not the failed frames, it is the project that is still sitting on a drive two years later. Set a finish date when you start, keep the frame count you promised yourself, and decide in advance which series you are willing to abandon. Abandoning deliberately is a decision. Drifting is what feels bad later.
Frequently Asked Questions
How many photos should be in a photo series?
For a portfolio, gallery wall or book, aim for 7 to 15 images. That is enough to establish a visual rule, show variation within it and still hold attention. A wall or printed book can carry 20 to 40 because the viewer moves at their own pace. A 365 or daily project is the exception: there, consistency of the frame itself replaces length. If you cannot name what each image adds, it is one too many.
How do you keep the visual style consistent across multiple photographs?
Lock a small number of variables and change nothing else. Fix one lens, set white balance manually instead of auto, keep a consistent aperture, and apply the same preset or develop settings to every frame. Control the light by shooting at the same time of day or in the same weather condition, and return to the same vantage point when the concept allows it. Consistency comes from repeatable conditions, not from post-processing rescues.
Should every image in a photo series use the same camera settings?
Mostly yes, with deliberate exceptions. Identical aperture, focal length, white balance and grade give the set a unified look, and shutter speed should follow the light so your subject stays sharp. Where the concept needs contrast, break one variable on purpose and only one. A set where everything varies reads as a diary, and a set where nothing varies reads as a mistake.
How do you choose the best order for a photography series?
Build the order backwards: decide the closing image first, then the image that must precede it, and work forward from there. Lay the whole set on a contact sheet and test two or three arrangements. A common arc runs wide establishing view, medium views, tight details, a change or departure, then a return to the opening vantage point. Remove any image that repeats a beat without adding new information.
What is the difference between a photo series and a photo essay?
A photo series is defined by visual consistency. One idea, one look, a deliberate set of images that belong together. A photo essay is defined by narrative. It uses images, text and often interview material to carry an argument or tell a story, and its images can vary wildly in style because the words do the connecting work. A series can be silent and still cohere; an essay without a clear argument falls apart.
Conclusion
A cohesive photo series comes down to one clear idea and one visual rule, applied without exception. The camera matters far less than that rule, and the editing matters less than the discipline of culling.
Before you touch any equipment, write your theme in a single sentence, then list the five frames the series cannot exist without. Shoot those first, in a single afternoon. That one session tells you whether the idea holds up, and most of them do not until you have seen it made once.