
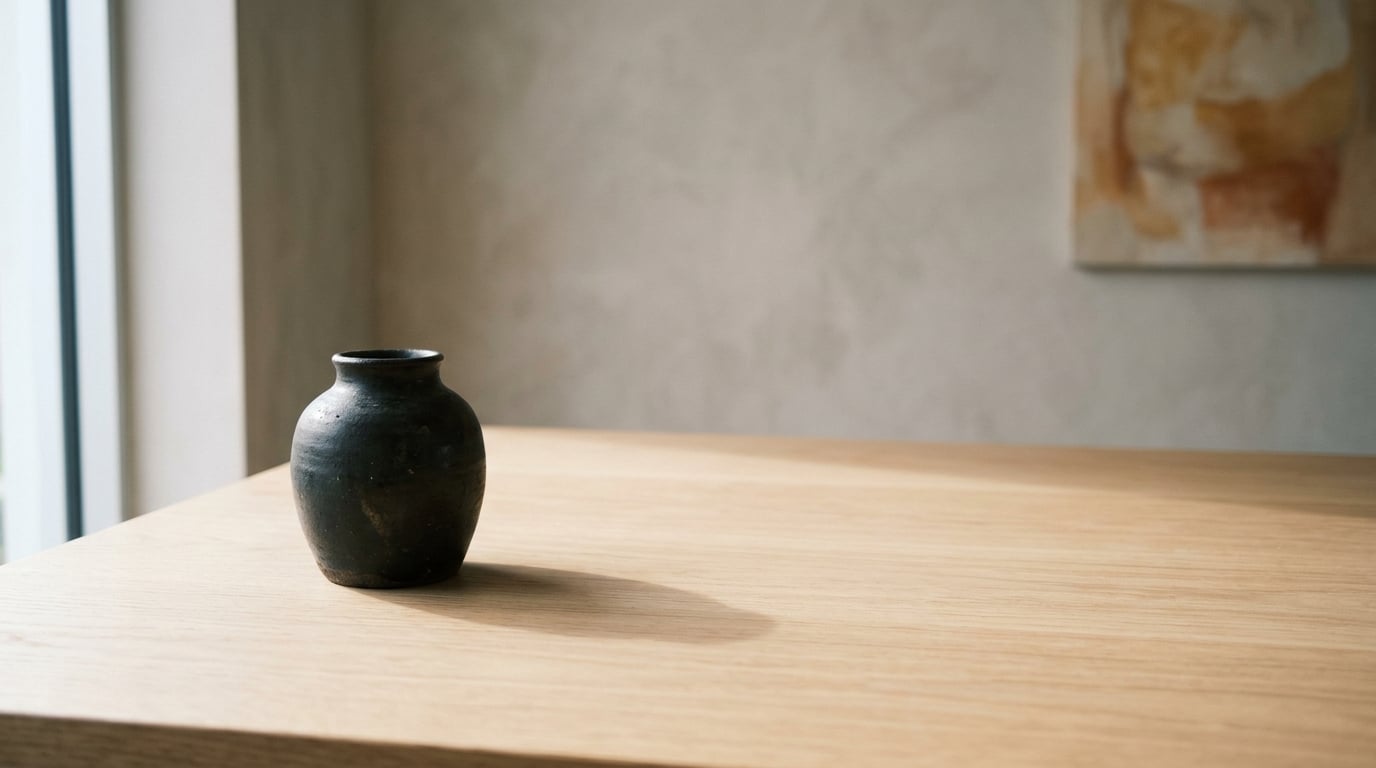
Negative space is the empty or unoccupied area around your main subject, and using it well means deliberately composing so that space becomes an intentional part of the image. You frame one clear subject, give it room to breathe, and let that quiet area carry mood, scale, and direction. It takes practice, but it costs nothing extra and works in any genre.
The trick most beginners miss is that empty space is not the same as leftover frame. A wall behind a person is empty. A wall that holds half the picture, sets the mood, and tells you where to look is negative space. Learning how to use negative space in photography is mostly learning to tell those two apart, and this guide walks through how to do that in eight repeatable steps.
Table of Contents
- What You Need
- Step-by-Step
- Step 1: Decide What the Main Subject Should Be
- Step 2: Use the Rule of Thirds to Place Your Subject
- Step 3: Leave Room in the Direction of the Subject
- Step 4: Simplify the Background to Create Negative Space
- Step 5: Choose the Right Direction for the Empty Space
- Step 6: Use Light, Texture, and Color to Shape the Space
- Step 7: Crop for a Stronger Composition
- Step 8: Review the Image Without the Camera
- Common Mistakes
- How to Use Negative Space Creatively
- Frequently Asked Questions
- Conclusion
What You Need
You need a camera, one lens, and about ten quiet minutes. That is genuinely the whole list. Most people assume negative space requires a specialty filter, a tilt-shift, or a studio backdrop, and none of that is true.
What does help is knowing what each tool contributes:
- A viewfinder or live view grid. Turning on the rule of thirds grid gives you two lines and four intersections to compose against instead of guessing.
- A focal length you can change. A wide lens includes more of the scene, which makes empty areas easy to find. A long lens compresses and simplifies, which makes existing empty areas read more cleanly.
- An aperture ring or priority mode. Stopping down keeps the whole frame sharp, which matters if the empty area carries texture you want visible.
- A crop tool in your editor. Almost every weak negative space frame is a strong frame shot too loose, and a crop fixes that in seconds.
Beyond that, the skill lives in your feet. Walk to a different angle, or crouch, before you change anything in the camera.
Step-by-Step
Eight steps, in the order I actually work through a frame. Skip to the ones you need; the sequence only matters when a shot refuses to come together.
Step 1: Decide What the Main Subject Should Be
Pick one thing before you raise the camera. A bird on a wire, a person against a wall, a single chair, a doorway. If you cannot name it in five words, the camera will not find it for you.
How do you know the choice worked? Take the shot, then squint until the image blurs. Whatever shape stays sharp longest is what your viewer will see first. If that is not the subject you chose, the frame has a competition problem.
Step 2: Use the Rule of Thirds to Place Your Subject
Put the subject near an intersection rather than in the middle, and let the empty area occupy the larger share of the frame. Centering works, but it splits the picture into two equal halves and leaves no direction to travel.
Off-center placement also gives you a choice about where the emptiness sits, which is the single most useful decision you make all shoot.
Step 3: Leave Room in the Direction of the Subject
Give a subject space in the direction it faces or moves. A runner gets open field ahead, a person looking left gets open space on the left, a boat pointed right needs water to its right. This is called look room, and it is the most common mistake in amateur frames.
Space on the wrong side makes the subject look trapped, like they are pressing against the edge of the frame. Photos that use negative space to make your subject stand out rely on this: tight against the border, the subject has nowhere to go.
The reverse is a deliberate exception. Placing a walking figure at the far right with all the space behind them creates tension and a sense of being left behind, and it works precisely because it breaks the convention.
Step 4: Simplify the Background to Create Negative Space
Empty area and clean area are not identical. Grass, a textured wall, or a busy street can all work if nothing in it competes with the subject for attention.
Look for the things that cut into your empty area. A pipe crossing the sky, a bright sign, a branch touching the subject’s outline, a horizon line slicing through the subject’s head. Those are tangent problems, and they break the calm the whole technique depends on. The fix is almost always a small step to the left or right, not a different camera setting.
Step 5: Choose the Right Direction for the Empty Space
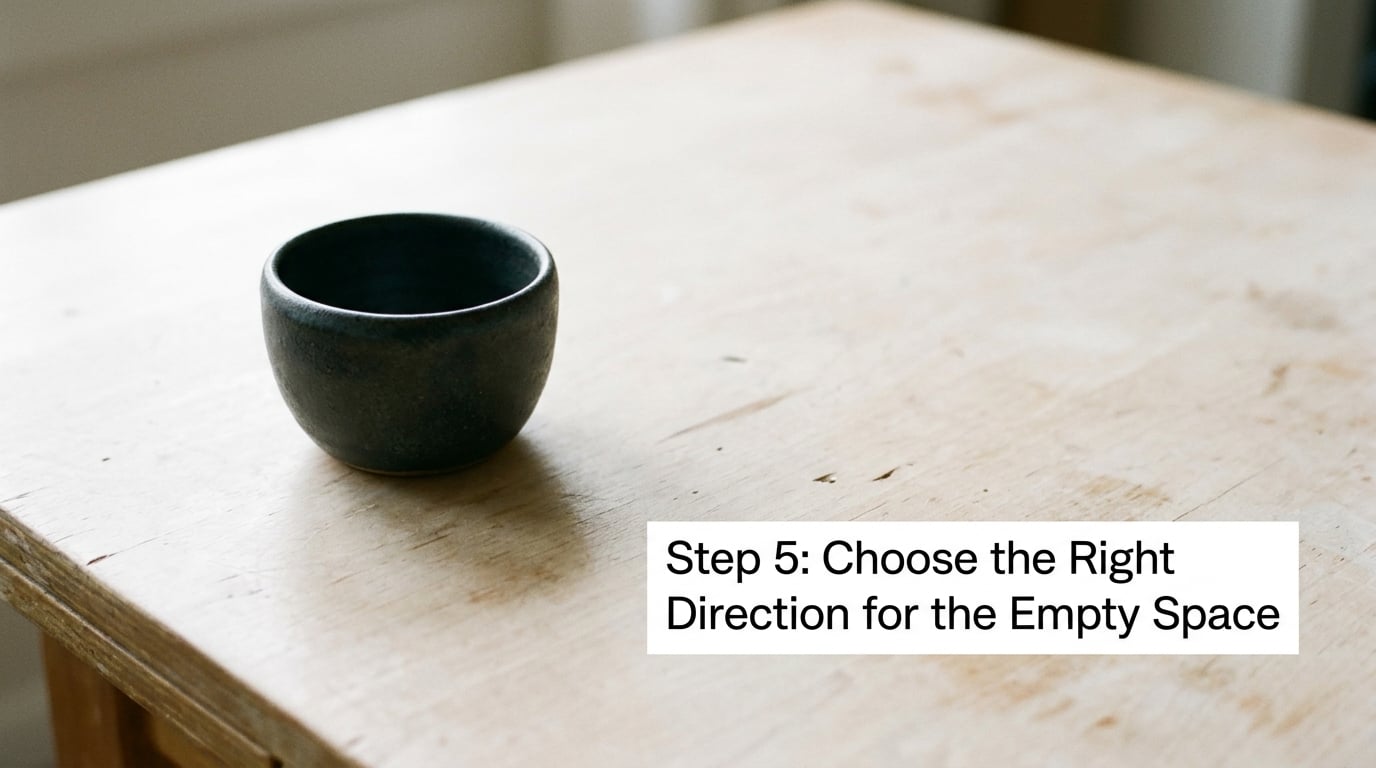
Space above a subject feels open and formal, like air or sky. Space below feels heavy and grounded, almost weighed down. Space beside the subject creates movement and a sense of travel. Space behind a small subject, stretching far back, is how you sell scale.
Try all four from one spot. It takes ten seconds and it is the fastest way to learn which direction your subject wants.
Step 6: Use Light, Texture, and Color to Shape the Space
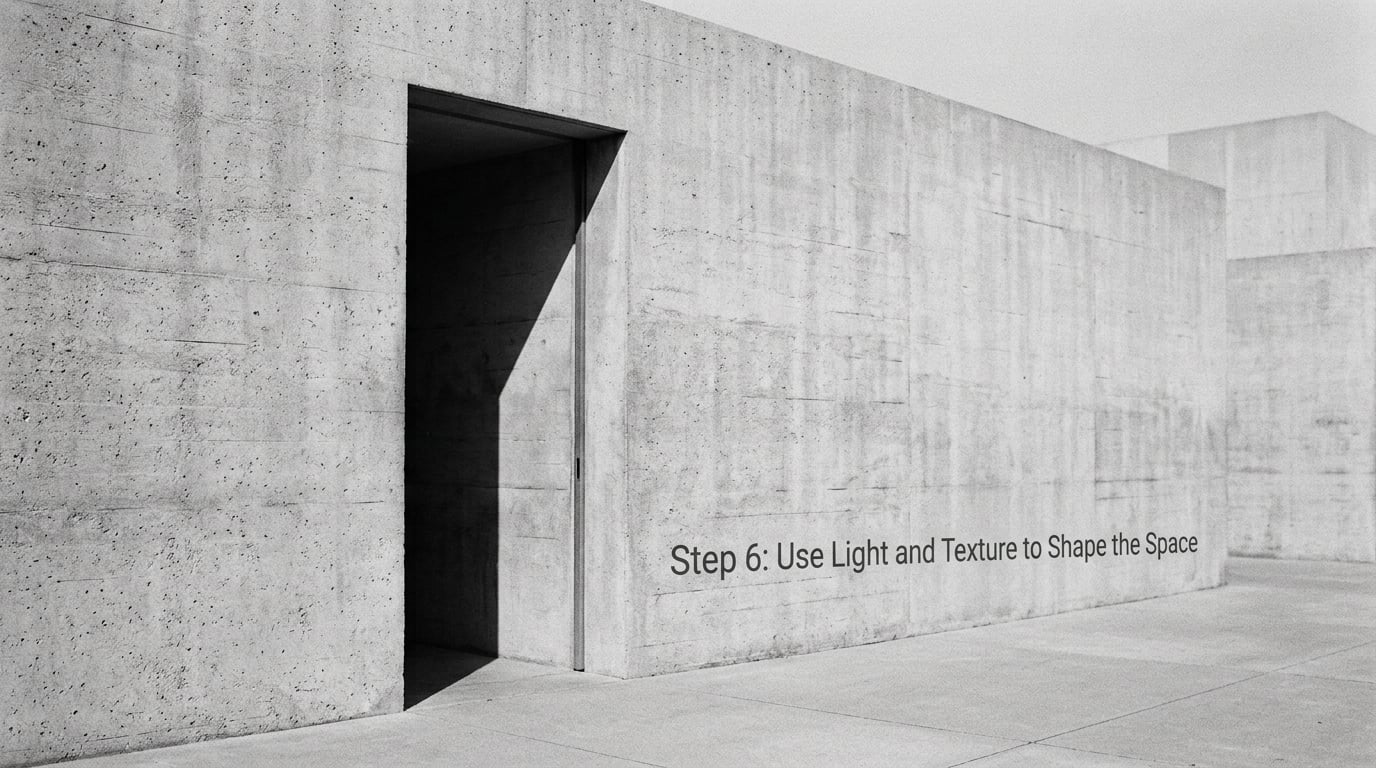
Negative space does not have to be blank. A gradient on a wall, a band of shadow, an out-of-focus field, a single flat color, or a diagonal of late light all give the eye somewhere to go without introducing a second subject.
Color helps most. One subject in a warm tone against a large cool field reads instantly. A dark shape on a pale ground reads from across a room. A lone tree in a forest is negative space even though nothing about it is empty, because the surrounding trees stop competing once the light is low and directional.
Step 7: Crop for a Stronger Composition
Most frames that feel weak are weak because you shot too loose, and a crop removes the dead margin in one move. Tighten until the subject gains weight, then stop before the frame starts to feel crowded.
Crop on the same angle, not from directly above. That tip gets repeated constantly in critique threads and it is correct: turning the camera upside down or holding it at a right angle resets your eye, and a crop made from a fresh angle resets yours the same way.
Watch the edges. Cutting at someone’s feet or through the top of a head is jarring in a way a viewer feels before they can name it.
Step 8: Review the Image Without the Camera
Close the camera and look at the image on a screen a few inches away, or shrink it to a thumbnail. Small size strips away detail and leaves only structure, and structure is what you are judging.
At thumbnail size, the subject should be obvious within a second. The empty area should feel balanced rather than accidental. If the emptiness reads as leftover space, go back to step 1 and be more specific about the subject.
Common Mistakes
Leaving too much space by accident. The empty area is doing nothing: no texture, no gradient, no directional pull. Either fill the frame more or commit to a small subject and light the space so it clearly has a job.
Centering every subject. A centered subject is a choice, not a default. If you center it, make the surrounding space strongly symmetrical on both sides, otherwise the split reads as accidental.
Crowding the frame. Negative space is not on and off. A subject with two inches around it is not using the technique, it is just badly cropped.
Confusing an empty background with negative space. A blank wall behind a person is a background. Negative space needs to occupy enough of the frame to shape how the subject reads. If removing the subject would leave an image that still means something, the space is working.
Using space with no visual purpose. Empty area should point, balance, or isolate. A large blank region that does none of those just makes the subject look lost.
How to Use Negative Space Creatively
Once the basic framing feels routine, these are the variations worth experimenting with.
- Scale through shrinkage. Make the subject much smaller and let the space dwarf it. A hut below a mountain, a boat under a bridge, a bird against open sky.
- Wide lenses for built space. A 24mm or wider lens puts more environment in the frame, so the empty area is part of the scene rather than an absence of it.
- Long lenses for cleaned space. At 135mm and beyond, backgrounds compress into simple bands of color and tone. Clutter often disappears without moving an inch.
- Symmetry as structure. Put the subject dead center with equal space on both sides and let reflection, shadow, or symmetry carry the frame.
- Layered isolation. Place something out of focus between you and the subject. The blurred foreground becomes a soft frame inside your frame.
- One accent color. A single warm subject against a cool empty field gives you a focal point without adding clutter.
- Deliberate imperfection. A slight tilt or an off-level horizon can make a minimal frame feel alive rather than clinical. It works when the rest of the frame is exact.
Frequently Asked Questions
What is negative space in photography composition?
Negative space is the area around your subject that carries no detail of its own: sky, wall, sand, water, shadow. When you use it deliberately, that area becomes an active part of the composition, guiding the eye and setting mood, rather than leftover background.
Is negative space always completely empty?
No. A textured wall, an out-of-focus field, or a dark band of trees can all work as negative space. The test is whether anything in that area competes with the subject for attention. If nothing pulls the eye away, the space is doing its job even though it is full of detail.
What is the golden rule of negative space?
Give the subject space in the direction it faces or moves. A walking figure, a gaze, or a vehicle all need open area ahead of them. Space behind a subject makes it look trapped, while space ahead of it makes the frame feel calm and intentional.
How much negative space is too much?
It depends on whether the space is doing a job. A workable starting split is roughly 20 percent subject, 60 percent negative space, and 20 percent supporting detail. Push past that and the subject needs to be very small and the space needs texture, color, or light to stay interesting.
Does negative space work in portrait photography?
Yes, and it is one of the easiest places to start. Move your subject off a plain wall, place them near a third intersection, and leave open wall in the direction of their gaze. Shooting at 85mm around f/2.8 keeps the wall smooth and removes background detail naturally.
Can I fix a cluttered composition by cropping it?
Often, yes. Cropping removes dead margin and rebalances the frame, and photo critique threads show plenty of good images rescued that way. It cannot remove a distraction that sits right next to your subject, though. That needs a different angle, a wider aperture, or a reshoot.
Conclusion
Start with one subject this week. Put it off-center near a third intersection, leave a deliberate area of uncluttered space in the direction it faces, and check the result at thumbnail size before you shoot the next frame. Ten minutes of that, done twenty times, will change how you see every photograph you take from here on. This guide was updated for 2026.