
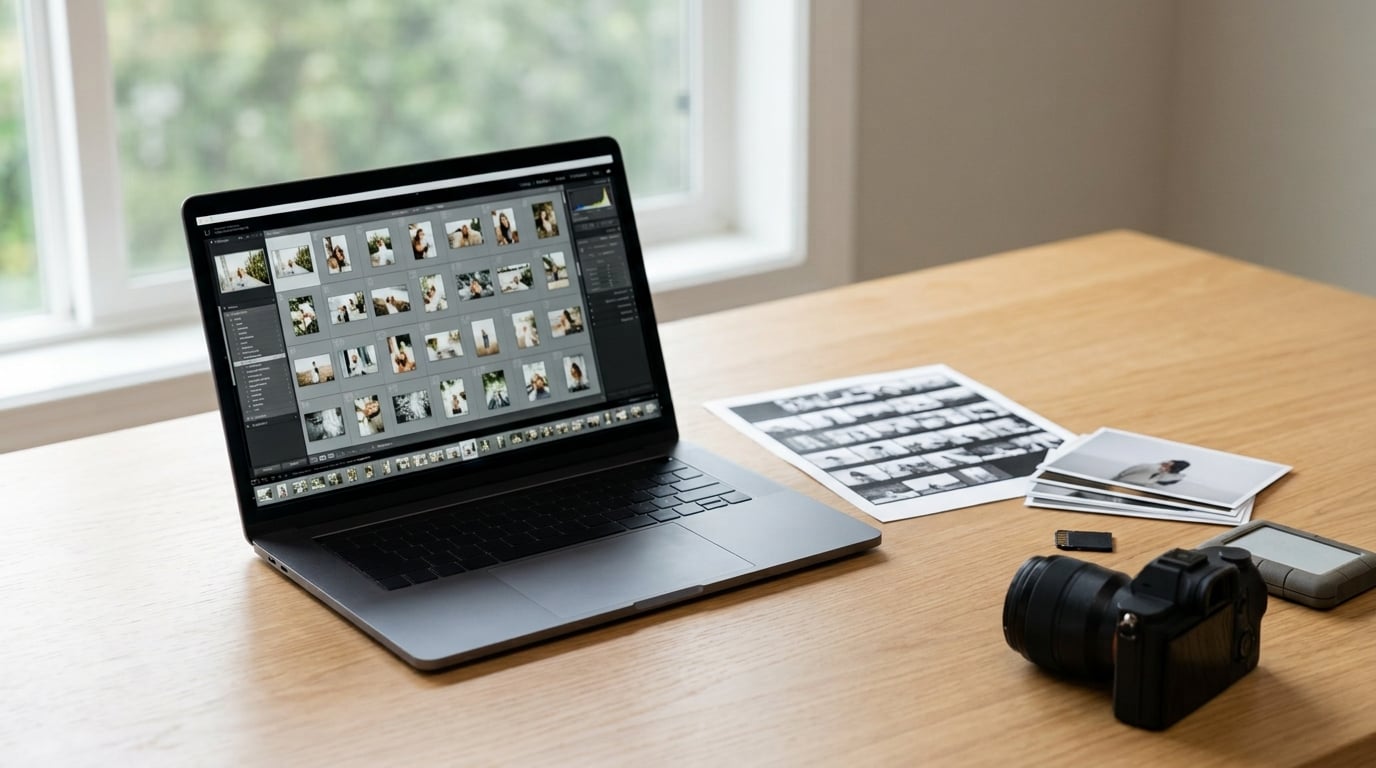
How to edit down a photo shoot comes down to four separated passes: sort the frames, pick the keepers, correct them as a batch, then retouch only what earns it. A single 800-frame portrait session should take two to three hours end to end. A 4,000-frame wedding is a weekend job, and no amount of technique changes that.
The mistake that turns a three-hour job into a two-day one is doing everything at once. Judging an image and adjusting its shadows in the same breath means every frame gets twenty seconds instead of the two it deserves. Keep the passes apart.
Table of Contents
What You Need
You need five things before the first frame is judged, and four of them are free.
- Your images, on two copies. Copy the card to a working drive, then copy that to a second drive or cloud bucket before you delete anything. A verified backup is the only thing standing between you and the shoot you cannot repeat.
- A calibrated display in a dim room. Screen brightness alone will make a slightly soft frame look sharp and a slightly warm frame look intentional. Turn the brightness down to the level of the room around you before you start.
- Culling software. Lightroom Classic is the default assumption here, and Capture One, Photo Mechanic and Luminar all do the same job with their own key commands. What matters is a grid view, a full-screen loupe and keyboard control.
- Previews that load instantly. Building previews at import time, or shooting small JPEGs alongside RAW, saves you waiting on spinning discs for the entire session.
- Your notes and the brief. Whatever you wrote about the session while it was happening, plus the shot list, the client’s requests or the story you were chasing.
If you shoot on multiple cards, merge and rename into one dated folder structure before importing: year, month, project, then card. It takes two minutes and it saves twenty later.
Step-by-Step: How to Edit Down a Photo Shoot
The whole process runs as six passes, each with its own job. Timing varies by how many frames you came home with.
| Stage | What you do | Typical pace |
|---|---|---|
| Contact sheet | Import, build previews, scan the whole shoot at a glance | 20 to 40 minutes |
| First selection | Flag keepers, reject the obviously unusable frames | 1 to 2 seconds per frame |
| Second selection | Compare flagged frames, cut near-duplicates | 5 seconds per flagged frame |
| Rhythm check | Arrange the set in shooting order, look for gaps and repeats | 15 to 30 minutes |
| Corrections | Batch exposure and white balance, apply a base look | 2 to 4 seconds per keeper |
| Save and deliver | Export, write notes, archive the originals | 20 to 40 minutes |
How to Start With a Contact Sheet
A contact sheet is every frame from the shoot visible at once, small enough that you can see the shape of the whole session in a single screen. In Lightroom Classic, import the shoot, switch the Library module to Grid view, and set the thumbnail size until most of the shoot fits on one screen without scrolling.
Then look at it as a story rather than a pile of files. Where does the energy peak? Which frames repeat the same idea five times? Which part of the shoot has nothing you can use at all, and which part is thin because you ran out of time?
Zoom in only when something catches your eye. This pass is about coverage and proportion, not quality. It worked for me because the questions were simple: is the scene covered, and does each scene have one frame I would not mind printing.
How to Flag the Strongest Frames
Full-screen culling is a keyboard job, not a mouse job. In Lightroom Classic, the right arrow moves forward, P flags a pick and X rejects. If your software differs, every major catalog uses the same three ideas: a forward key, a pick key and a reject key.
Make a first selection on five things, in this order:
- Focus. Check the eyes or the critical plane at full size, not on the thumbnail.
- Exposure. Highlights blown with no detail in them are usually unrecoverable.
- Expression and gesture. The technical frame and the alive frame are rarely the same frame.
- Composition. Does the edge of the frame give you anything to crop into, or is it already finished?
- Purpose. Does the frame advance the brief, or does it just exist?
Speed comes from the rejects, not the keeps. A blurred frame, a blink or a duplicate takes one keypress and no thought. If you are weighing two frames that say the same thing, keep the first one and move on. That hesitation over frame 2,417 versus 2,418 is where culling time disappears.
How to Edit Down a Photo Shoot With a Second Selection
Look at the flagged frames only, and view them as a group rather than one after another. This is where the edit actually takes shape.
Cut near-duplicates first. Five frames of the same laugh from the same angle are one frame, and you keep the one where the eyes work. What you want at the end of this pass is a set with hero frames, supporting details that establish place and scale, a couple of transitions between moods, and alternate crops for frames where a vertical version might earn its place.
A rough guide from working photographers: a 500-frame portrait session usually lands between 30 and 50 keepers, while a 4,000-frame wedding lands somewhere between 300 and 600. Delivering twice that is how galleries stop feeling like a curated set and start feeling like a dump.
Two passes beat one. The first pass uses instinct and the second pass uses comparison, and trying to do both at once is how people end up with 900 keepers and no decision made.
How to Check the Set for Visual Rhythm
Arrange the selection in shooting order and view it as a sequence. You are looking for rhythm, which means variation in scale, angle, light and subject, balanced by enough continuity that the set still feels like one evening rather than a dozen.
Three quick questions do most of the work. Is there variety in scale, so the set moves between a wide establishing frame and a tight detail? Does the light shift across the gallery, or does every frame look like it came from the same minute? And does the set have an opening, a middle and a landing, or does it just stop?
When a set feels flat, the fix is usually removing two similar frames rather than adding anything.
How to Make Final Corrections Before Exporting
Now the keepers get edited, and only the keepers. Start with one frame that looks right, get its exposure and white balance where you want them, then copy those settings across the batch and sync. Sync again for the crop. Correct the group, then hand-tune the frames that need it: the ones under a different light, the ones where a face is catching red bounce, the one where the horizon went crooked.
Apply one base look to the whole set so the gallery reads as a body of work, then vary it only where the scene demands. Colour consistency is not about making every frame identical. It is about no frame looking like it came from a different camera.
Keep corrections restrained and non-destructive. Sharpening for output, not for the screen. Then resize for what the images are actually for: full-resolution files for printing and downloads, smaller versions for a web gallery, and separate square or vertical crops for social.
Export to a deliverables folder with clear names, never over the originals. A date prefix and a sequence number will keep the folder sorted without you renaming anything by hand.
How to Save Your Edit Decisions
Saving the edit is separate from saving the files, and photographers routinely forget the first one. Every rating, flag, crop and adjustment lives in the catalog or in a sidecar file. Write it into the files themselves, or sync metadata to a folder you back up, so the decisions travel with the images.
Keep non-destructive adjustments where they are, save a version snapshot before any big restyle, and keep the final set in a named folder rather than a smart collection you will have to rebuild. Note the shot list coverage and anything a retoucher needs to know: the client’s name, the frame numbers, the retouching notes.
Archive the originals once the deliverables are delivered and paid for. Not before. Reject frames deleted in haste are the ones people miss six months later, when the client asks for a variation that was in the original batch all along.
Common Mistakes
Judging images one at a time. Frame by frame, every image looks plausible in isolation and the set never gets compared. Fix: work in full-screen grid or group view, and make the second selection pass as a group.
Keeping only the technically sharpest frames. Sharpness is a filter, not a judgement. The slightly soft frame with real feeling in it beats the sharp one where everyone looks stiff. Fix: judge focus, then judge everything else separately.
Overusing similar images. Twenty near-identical frames dilute the good ones. Fix: when two frames do the same job, keep one and delete the other without a second visit.
Ignoring the brief. A technically strong gallery that misses the shot list is a failed deliverable. Fix: check coverage against the brief before corrections start, not after.
Making irreversible changes early. Pushing recovery too far, deleting before the backup is verified, or flattening a RAW too soon leaves nothing to work with. Fix: verify the second copy, keep edits non-destructive, archive last.
One habit worth keeping: culling fast at import. Frames that are obviously unusable can be rejected during the copy itself, which typically cuts a fifth of the volume before you ever open the grid.
Frequently Asked Questions
How long does it take to cull photos after a shoot?
It depends on volume and how many passes you run. A 500-frame portrait session takes roughly 30 to 45 minutes of culling across three passes. A 2,000-frame event takes an hour or two, and a 4,000-frame wedding is a full day once correction time is added. If your first pass runs longer than two seconds per frame, you are editing during the cull, and that is the fix.
How many photos should I keep from a shoot?
Keep what the story needs, not what survived the filter. Portrait and headshot sessions usually land between 30 and 50 keepers from a few hundred frames. Weddings commonly finish between 300 and 600 from several thousand. Shooters who delete the obviously unusable frames on set usually end up around 20 percent lighter, which makes the later passes far faster.
How do I quickly cull photos in Lightroom?
Use the Library module in Grid view with the whole shoot visible, then switch to full-screen loupe and work from the keyboard. Right arrow advances, P flags a pick, X rejects. Aim for one to two seconds per frame on the first pass, checking focus at full size only when a frame looks promising. Run three passes: reject, select, then compare the picks as a group.
How do I choose between two nearly identical frames?
Decide with a tiebreaker rule instead of taste in the moment. Pick the frame with the better light, then the better expression, then the one you can crop more usefully. If two frames are genuinely equal, keep the first one and move on. Comparing thousands of near-duplicates frame by frame is the single biggest time sink in a long cull.
Should I sharpen photos, and when?
Sharpen for output, not for the screen. Lightroom and Capture One both apply sharpening only at export, so a soft-looking image in the loupe view is normal and not a problem. Set an export sharpening amount appropriate to the size of the file, and turn it off in the catalog if your software sharpens continuously, because you will otherwise be sharpening twice.
Should the final edit be black and white or colour?
Decide from the brief and the shoot, not from a preset. If the story depends on colour relationships, stay in colour. If the set already holds together on shape, light and gesture, black and white often makes weak mixed lighting disappear. Test both on six frames before committing to the full gallery, then pick one and stay consistent across the whole set.
Conclusion: Start With the Story
Start with the story, not the software. Decide what the shoot was for, build a contact sheet that shows you the whole session at once, then make two deliberate passes: a fast first flag for the frames worth keeping and a slower second one that cuts the duplicates and checks the set for rhythm.
That is how to edit down a photo shoot without sanding off the character that made the frames worth shooting. Correct only the survivors, batch what repeats, keep the changes reversible, and archive the originals last. The second shoot takes half as long as the first, and the set still looks like your work rather than a hard drive dump.