
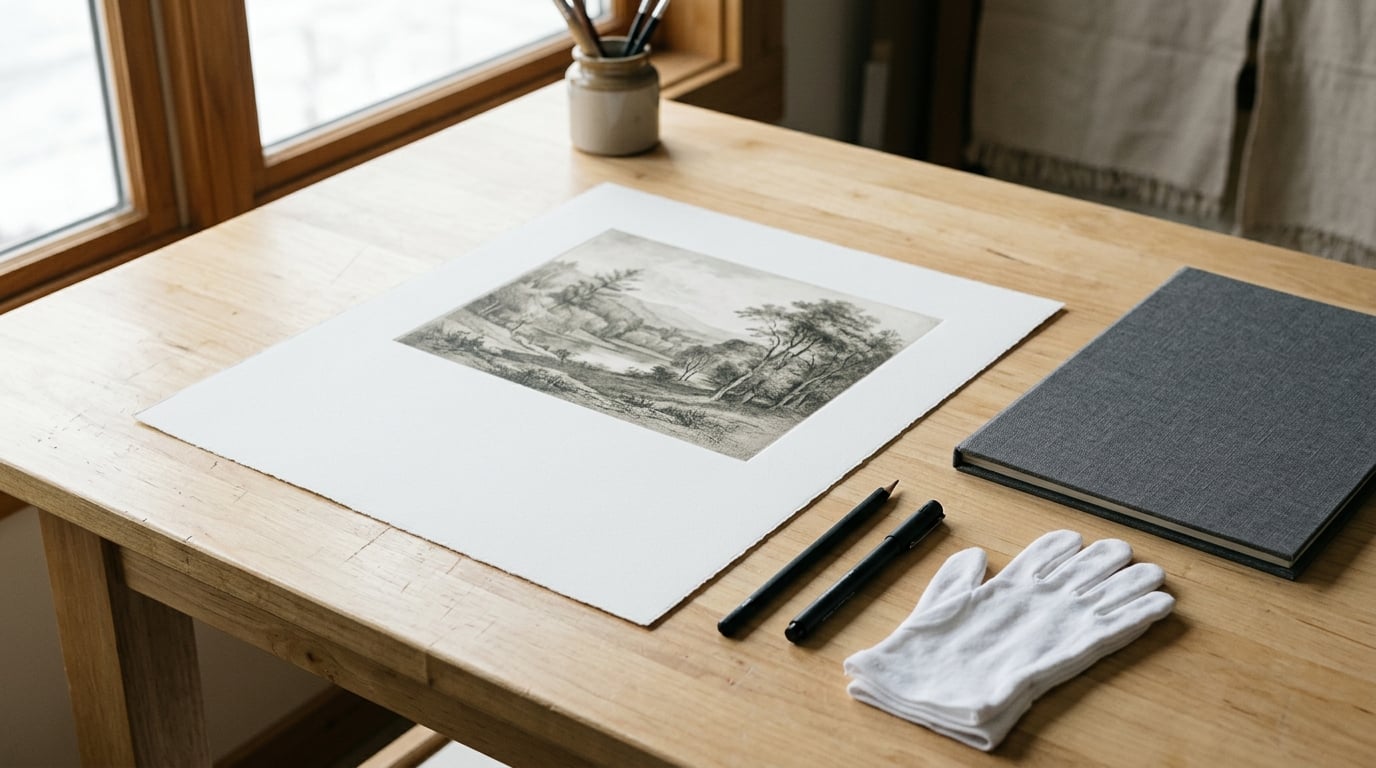
Signing a fine art print comes down to one convention most collectors already know: use a soft graphite pencil on the white border outside the image, put the edition number as a fraction in the bottom left, the title in the centre, and your signature and the date in the bottom right. Ten minutes of work, and the piece reads as a documented limited edition instead of an open reproduction.
The materials matter less than people expect. Graphite is not oil-based ink, it does not bleed through fibre paper, and a light touch sits flat for decades without any spray or fixative over the whole sheet. That is exactly why it is the default.
What does matter is consistency. The same signature mark, the same date format and the same hand-written edition number on every print in a run. Deviations are the first thing an appraiser notices, and they are the first thing that makes a buyer ask questions.
Table of Contents
What You Need
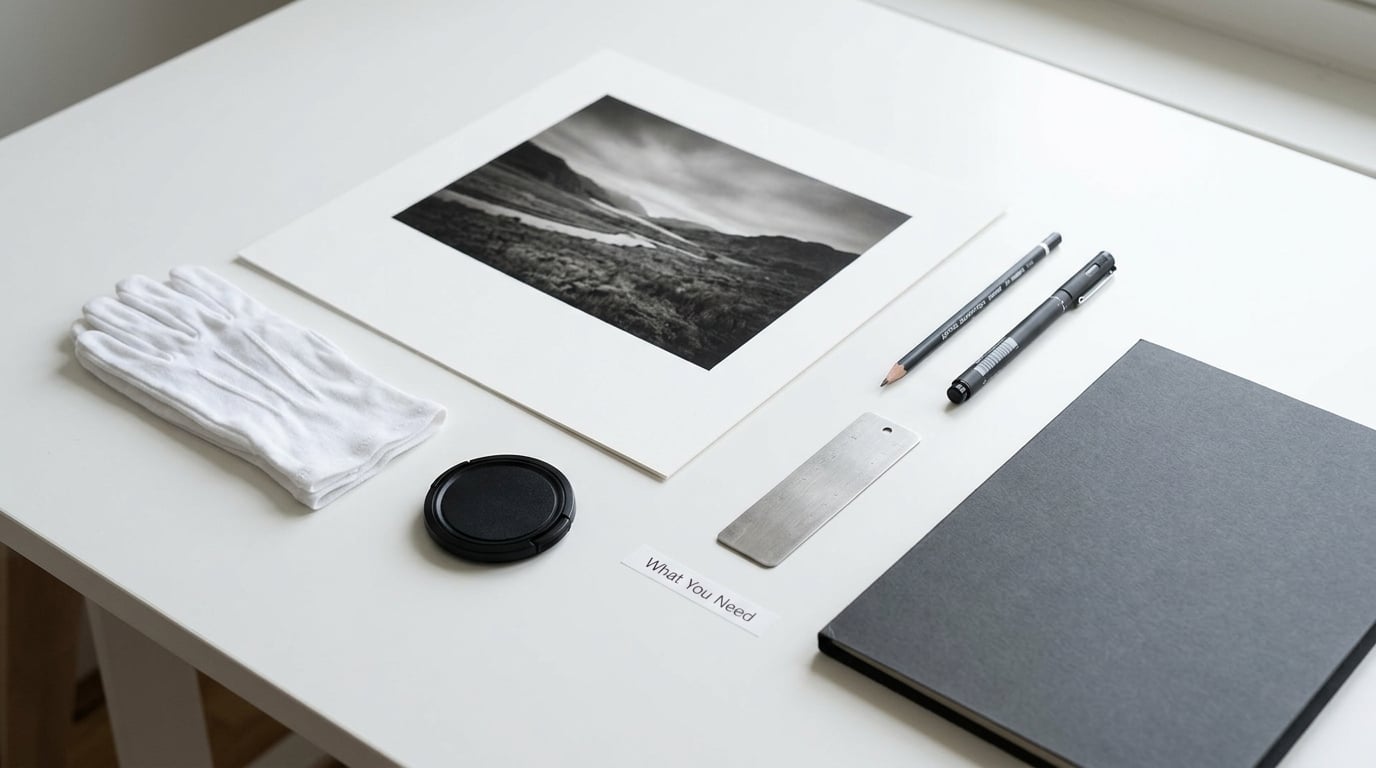
Gather everything before the first print comes out of the dryer, because the whole batch should be signed the same way, in one sitting, on the same table.
- The print itself, fully dry, flat, and trimmed with a clean white margin on at least three sides. If the printer gave you a statement of edition, keep it next to you.
- An archival graphite pencil, 2H or HB. Harder grades lay down less graphite and are easier to keep crisp, which is what you want if the print will be handled.
- An archival pigment pen, for canvas, metal and coated surfaces where graphite has nothing porous to grip.
- A slip sheet, clean glassine or acid-free tissue, or a pair of cotton gloves. Bare fingers leave oils on the paper and those oils go yellow first at the edges.
- A small straightedge, to confirm the margin before you commit a mark to it.
- A camera or scanner, for a record of the finished print.
- A certificate of authenticity, one per print, with matching details.
- An archival sleeve or folder for finished pieces, and a spare sheet of tissue for the signature to sit on while it sets.
One item people forget: a soft brush or clean cloth for eraser crumbs. Graphite dust on a dark image is a bad start to the rest of the session.
Step-by-Step: How to Sign a Fine Art Print
1. Confirm the print and edition details
Read what the print is before you mark it. Check the title, the artist or studio name, the medium, the image dimensions and the stated edition size against your records and against the printer’s documentation.
Then decide what kind of object you are holding. An original print from a hand-pulled process, a limited edition of giclée pigment prints, and an open edition reproduction are three different things, and only two of them get edition numbers. Signing an open edition with a fraction implies a run that does not exist, which is a problem you create rather than one you inherit.
2. Choose a permanent signing method
Graphite pencil is the default for anything printed on paper: giclée pigment prints, photographic prints on cotton rag, etchings, lithographs, screenprints and monotypes. It is stable, non-fading, and it can be partly lifted by a collector if a piece ever needs restoration.
Use a pigment pen on surfaces graphite cannot grip. Canvas with a priming coat, Dibond and aluminium, acrylic-faced prints: the pen mark sits on top of the coating rather than sinking into it. A paint marker works on the same surfaces if you want a bolder, more graphic mark, and it is a genuine option for large work.
Stay away from ballpoint pens and standard felt-tip markers. Ballpoints deposit dye that can bleed into fibre and migrate; solvent-based markers like the common office Sharpie fade and yellow within a few years even behind glass. Pigment ink is the only ink category that belongs in a signature.
The smudging worry comes up constantly in printmaking and photography forums, and it is worth naming. An HB pencil marks harder and cleaner than a 4B, which looks softer but lays down far more loose graphite. Use a light grade, a clean sheet under your hand, and resist the urge to spray fixative over the whole print to set a signature. The fixative is the bigger risk, not the pencil.
3. Choose a clear signature location
Sign on the white border below the image, never across the image itself, and keep the three marks on one horizontal line low in the margin: edition number at the lower left, title centred, signature and date at the lower right. That layout is the single most repeated piece of advice in the industry, and deviating from it buys you nothing.
Leave enough room to write before you start. A margin about 20mm deep gives you space for a fraction, a title and a date without crowding. Prints trimmed flush to the image should go back for a trimmed margin or be signed on the verso, not squeezed into an inch of white.
There is a real counter-practice here. Some fine art photographers sign in the lower right directly on the photograph, composing the image to leave a quiet area for the mark. It looks good and it has a certain authority, but it only works on a light-toned image. On a dark photograph, pencil is invisible and pigment ink becomes a mark on the artwork rather than a mark beside it. For anything that will be resold, the margin is the safer default.
For large or heavy work, the back is a legitimate option. Dibond panels, big canvases and oversized metal prints are awkward to sign on the front and get handled by the edges. A verso inscription with the same three items, written in pencil near the bottom of the back, reads correctly to a gallery and leaves the face clean. Some artists do both.
4. Sign a fine art print cleanly
Lay the print face up on a clean, hard board. Put a slip sheet under your writing hand, or wear gloves, and anchor the corners lightly with clean weights so the sheet cannot shift while you write.
Mark the edition number first, in the lower left, hand written as a fraction: 5/100. Then the title, centred, abbreviated if it is long. Then your signature and the date at the lower right, in a single unhurried movement without lifting the pencil mid-stroke.
Keep the signature either fully legible or a single distinctive mark you use everywhere. A scrawl that means nothing to anyone but you is a weak identifier, and a flowing, unidentifiable autograph is worse than a plain printed-looking name. Write at a shallow angle and use less pressure than feels natural. Graphite on a hard pencil is dark enough without pushing.
Pick one date format and stay on it for the entire edition. Write it out rather than using digits, for example 14 March 2026, and never mix formats within a run. Inconsistency here reads as an assembly line error even when it was just a Tuesday.
Lift the pen, set the sheet aside, and let each print rest flat for a minute before it moves. Fresh graphite that has not been disturbed is the reason nothing smudges later.
5. Add edition and authentication details
The signature is one part of a paper trail, and it is the weakest part. An edition number, a certificate and a printer’s statement are what carry the authentication, and a signature standing alone is exactly that: an identifying mark, not proof of anything.
Write the number by hand, every time. A printed edition number, or a pre-printed signature somewhere on the sheet, is a documented red flag in appraisal work because it is how a run gets faked. Proof states get their own notation instead of a number: AP or A/P for an artist’s proof, PP for a printer’s proof, BAT for bon a tirer, the final approved proof before the run starts.
Your certificate of authenticity should carry the title, the medium, the image dimensions, the edition number, the total edition size, the year of production, the paper and ink type, and the name of the printer or lab. One certificate per print, matching the number on the sheet. A signed prints spreadsheet with a row per print number, the certificate, the date and the sale details is the habit that saves you when someone asks about print 34 of an edition that closed years ago.
6. Inspect and document the finished print
Hold the print up to a window or a bright lamp and read what you wrote. The number should be legible, the fraction should be complete on both sides of the slash, and the title should not run into the signature.
Check that no mark touched the image area, and that no eraser crumbs or graphite dust are sitting on a dark area. If the graphite picked up, lift it gently with a soft brush or kneaded eraser, working from the outside in.
Photograph the front and the back before the print goes into a sleeve, and scan or photograph each certificate. Date the file. When a piece comes back from a gallery three years later, a flat image of the signed margin settles most questions in about ten seconds.
7. Store or present the signed print safely
Interleave finished prints with glassine or acid-free tissue, never PVC film, and keep them flat in an archival box or folder rather than rolled. If a print has any buckle, press it under clean glassine weights before framing so the margin sits true against the mat.
Keep the room reasonably stable, roughly 45 to 55 percent relative humidity, away from direct sun and away from radiators. For framing, use an acid-free mat with a window that shows the signature and the number, and make sure the glazing does not touch the graphite. UV-filtering acrylic is the safer glazing for anything going into a bright room.
Ship the certificate with the print, not in a separate envelope. It is the document that makes the signature mean something.
Common Mistakes
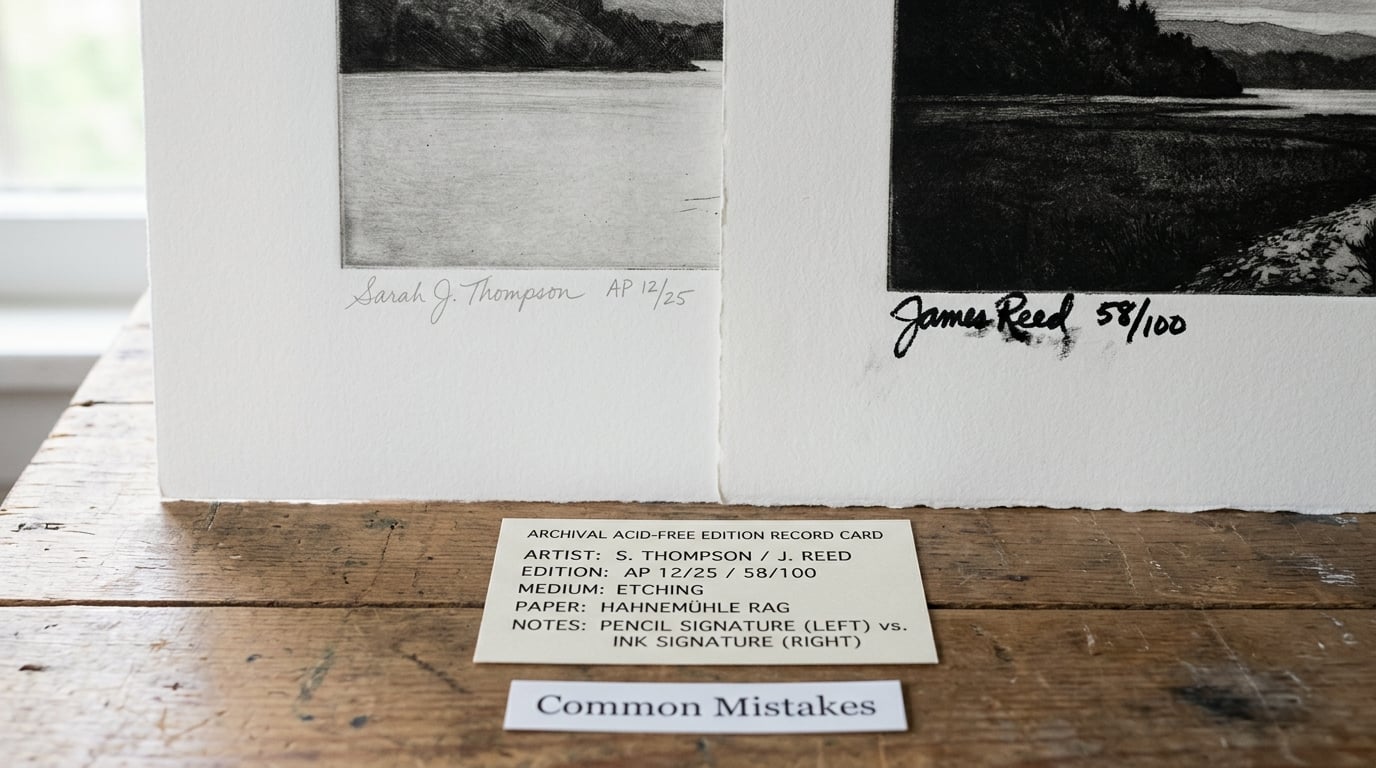
Almost every signing mistake on this list is something appraisers flag on other people’s work. They are all avoidable at signing time.
- Signing across the image. It obscures the work and, on a dark photograph, can be invisible. Keep the mark in the margin or move it to the verso.
- Using a ballpoint or a standard felt-tip. Both fade or bleed over time. Pigment ink is the only ink you want in a signature.
- A printed edition number. If the number went on with a press rather than a hand, the print reads as a reproduction of an edition rather than an edition. Write every number yourself.
- A plate signature standing in for a hand signature. A mark in the plate or stone is part of the printing process; every print in the run carries it, and collectors treat it as adding very little.
- A pre-printed or pasted signature. Same problem as a printed number, and a bigger one.
- No certificate, no printer’s statement. A signed and numbered print with nothing behind it is hard to authenticate, and the signature is the part that gets questioned first.
- Changing the date format or the number style mid-run. Pick the format before you start the first sheet and hold to it.
- Signing before the ink has fully cured. Fresh giclée ink under a signature is a permanent mark you cannot undo. Wait a day or two for a full run.
- Numbering an open edition with a fraction. If the print is unnumbered and unlimited, sign it as an open edition. Do not invent a denominator.
- Trusting a signature as proof. A mark identifies the maker. It says nothing about who printed the sheet, what paper it is on, or whether the edition is real.
One more habit worth building: keep a single specimen sheet of your signature, the date format, the numbering style and the certificate layout, pinned above the desk. Every print in every edition then matches the same template, and you stop making small decisions fifty times.
Frequently Asked Questions
How are art prints signed?
Most artists sign by hand, in a soft graphite pencil, on the white border below the image. The edition number goes in the lower left as a fraction, the title is centred, and the signature with the date sits in the lower right. Pen is reserved for canvas, metal and coated surfaces where graphite cannot grip. Some photographers sign directly on the photograph, which is a personal convention rather than the standard.
Should art prints be signed?
Yes, for limited editions. A hand signature and a hand-written edition number are the two clearest signals that a piece is part of a documented run rather than an open-edition reproduction, and they are what a gallery or appraiser looks for first. An open edition can carry a signature too, but it should not carry an edition number, because no run exists.
What is the best pencil for signing art prints?
An archival grade graphite pencil in 2H or HB. The hard grades lay down less loose graphite, so the mark stays clean and is far harder to smudge than a soft 4B. Avoid pencils sold for sketching on newsprint, which use a clay binder that can fade and flake. Keep a pigment pen in the same kit for canvas, Dibond and acrylic-faced prints.
Can you sign a print with a pen or Sharpie?
Only a pigment pen, and never a standard felt-tip. Ballpoints deposit dye that can bleed into fibre and migrate over decades. Solvent-based markers fade and yellow, even behind glass and under UV-filtering acrylic. If you have already signed a piece with one of those, assume the mark will need conservation attention and disclose it in the certificate.
How do I number limited edition prints?
Hand write each number as a fraction in the lower left of the margin, numerator first: 5/100 means the fifth print of a run of one hundred. Never print the numbers and never go back and change one, because a corrected number breaks the set. Proof states take their own notation instead: AP for artist proof, PP for printer proof, BAT for the final bon a tirer.
Should I sign the front or the back of a print?
The front, in the lower margin, is the default and where collectors look. The verso is a reasonable choice for large or heavy work such as Dibond panels, big canvases and oversized metal prints, where signing the face is awkward and the edges get handled. Either way, keep the same three items: edition number, title, signature and date, and repeat the details on the certificate.
Start With the Margin and the Fraction
If you do one thing this session, sign the first print the way you intend to sign all of them: pencil, lower margin, edition number bottom left, title centre, signature and date bottom right. Photograph it, then match every sheet after it to that one.
Once the format is fixed, the signing itself takes a couple of minutes. The time goes into the records, and the records are what make the signature mean anything later.