
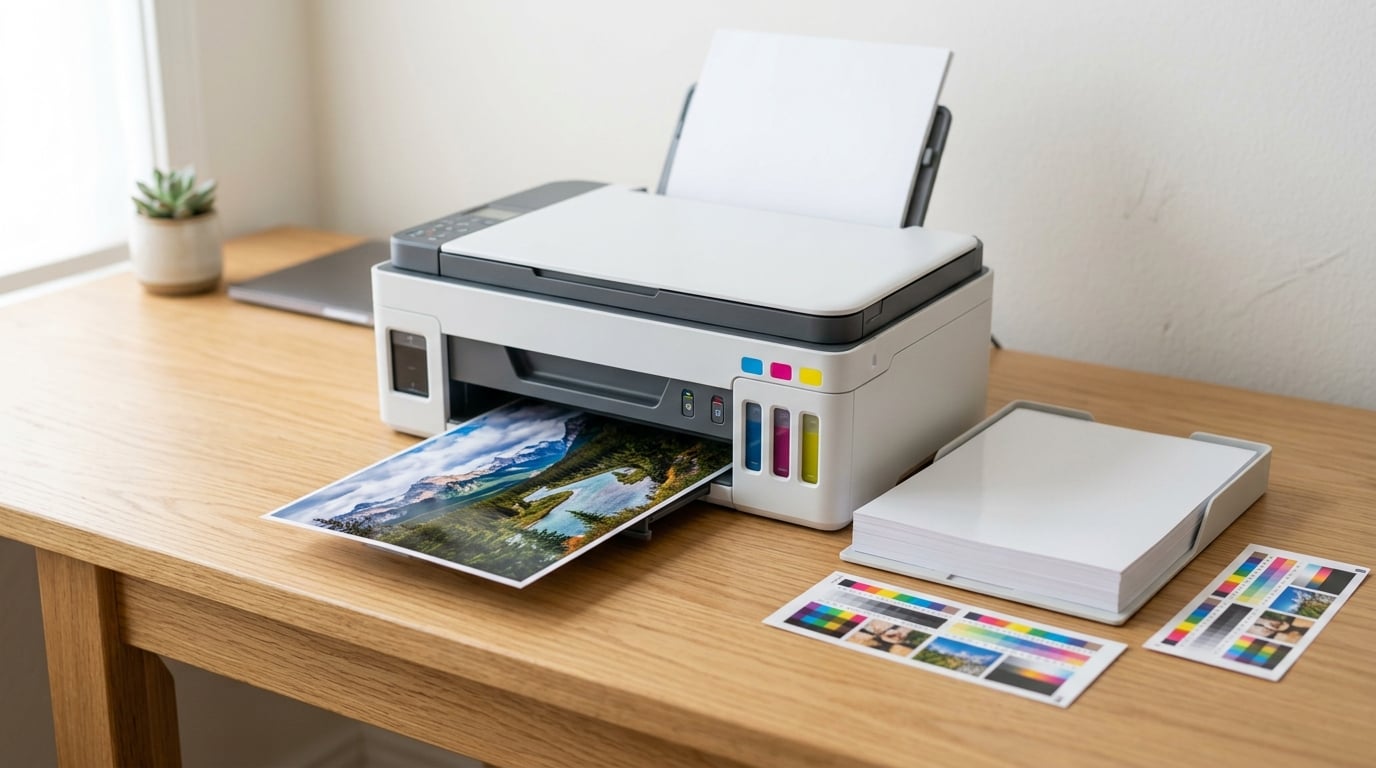
To print photos at home, you need an inkjet printer loaded with glossy or matte photo paper, an image file sized for the print you want, and photo-quality print settings rather than the default ones. Set your file to 300 pixels per inch for the final size, choose the media type that matches the paper in the tray, turn color management over to one application only, and print a small test before committing a whole sheet. That is the whole method. Nearly every disappointing print comes from one of three mistakes: a low-resolution file, the wrong media type, or letting both your editor and your printer adjust the color.
It takes about ten minutes for a 4×6 print once the setup is right, and almost no skill beyond following menus. The fiddly part happens before the printer ever runs. I have watched a lot of people waste photo paper because they printed at Draft quality on plain copy paper, called it a bad printer, and bought a new one. The printer was fine.
Here is the full workflow, then the fixes for the prints that go wrong.
Table of Contents
What You Need
Almost everyone reading this already owns most of the list. The two items people skip are the paper and the profile, and those are the two that decide whether the print looks amateur or professional.
- An inkjet printer. Any consumer inkjet that takes photo paper will do. Laser printers make crisp documents and dull, flat photographs.
- Photo paper in the size you want, ideally 4×6, 5×7, 8×10 or 11×14. Glossy, luster, satin and matte all work; they just look and handle differently.
- The edited image file as a high-quality JPEG, TIFF or PNG, not a screenshot or a copy pasted out of a message thread.
- Image editing software. Any editor that can crop, resize and embed a profile will do. Dedicated photo editors give you more control, but the free photo apps built into current Windows and macOS cover this process.
- The printer’s ICC profile, usually downloaded from the printer maker’s site and installed on your computer.
- Optional: a soft brush or a clean sheet of glass for handling damp prints, a light meter or colorimeter for monitor calibration, and archival sleeves or a frame for finished work.
Check the paper size your printer actually supports before you buy a ream. Many all-in-ones top out at letter size, and a 5×7 print is easy to place on a sheet of letter paper even when the machine has no 5×7 tray.
Step-by-Step: How to Print Photos at Home
Step 1: Prepare and Edit the Photo Before You Print Photos at Home
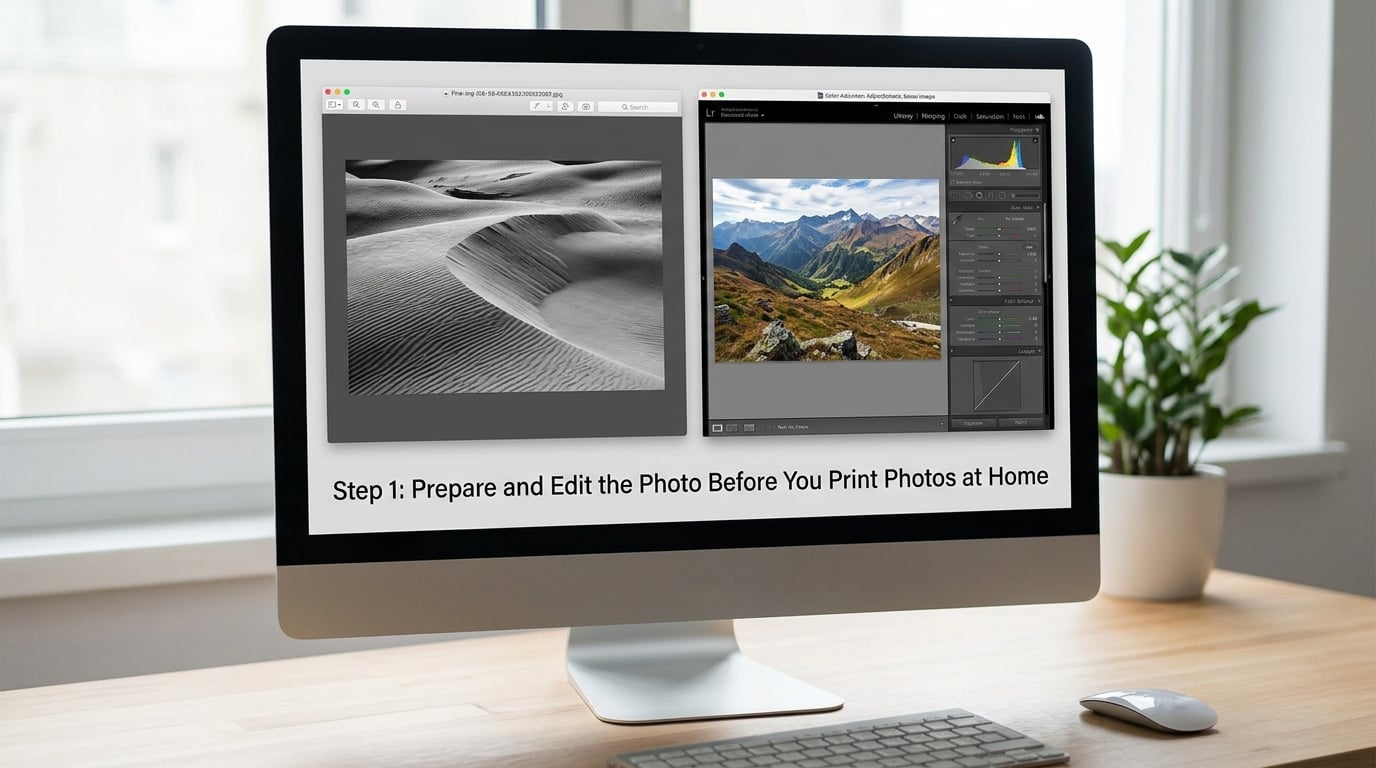
Crop first, because cropping changes the pixel count. Resize second, and only ever downscale for a final print. Then adjust exposure and contrast, sharpen lightly, and save a copy as a high-quality file.
For sharpening, less is more. Push it and you get halos around edges that were not there in the original. Most editing apps have a photo-realistic or high-frequency sharpening option; use that rather than a raw amount slider.
Here is the resolution math. Multiply the final print size in inches by 300 to get the pixel dimensions you need. Two hundred pixels per inch is fine for a small snapshot viewed close up, and 150 looks soft on a phone screen at arm’s length.
| Print size | At 300 DPI | At 200 DPI | At 150 DPI |
|---|---|---|---|
| 4×6 inches | 1200 x 1800 px | 800 x 1200 px | 600 x 900 px |
| 5×7 inches | 1500 x 2100 px | 1000 x 1400 px | 750 x 1050 px |
| 8×10 inches | 2400 x 3000 px | 1600 x 2000 px | 1200 x 1500 px |
| 11×14 inches | 3300 x 4200 px | 2200 x 2800 px | 1650 x 2100 px |
When printing is 300 DPI or 600 DPI better? Stay at 300 for almost everything. 600 DPI only pays off on a dedicated photo inkjet that lays down two ink droplets per dot, and it doubles file size and ink use for no visible gain on paper.
Crop to the aspect ratio of the paper too. An 18-megapixel camera shooting 3:2 will not fill a 2:3 print edge to edge without either a thin border or a crop that removes part of the frame. Match first, print second.
| Aspect ratio | Typical use | Matches a |
|---|---|---|
| 2:3 | Portrait, classic camera frame | 4×6, 5×7, 8×10 portrait |
| 3:2 | Landscape, full-frame camera | 4×6, 5×7 landscape |
| 4:5 | Social crop | 5×7 and 8×5 with a border |
| 16:9 | Screen, presentation slide | 11×14 with wide margins |
| 1:1 | Square camera or crop | 5×5, 8×8 borderless |
Save as JPEG at quality 90 or higher, or TIFF if the file stays manageable. Keep the original raw file untouched and work on a copy.
Step 2: Choose the Right Printer and Paper
Can I print photos with a regular printer? Yes, if it is an inkjet that accepts photo paper. A color laser will produce a recognizable image with hard edges and flat gradients, but it is not what you want for a portrait. Most home inkjets, including all-in-ones, are perfectly capable of good photo output.
On ink type, dye inks give brighter, smoother color and are the default in most photo inkjets. Pigment inks resist fading and are used by fine-art printers for work that has to survive on a wall for decades. For a family photo print on the fridge, dye is fine.
On paper finish, the surface changes the look of the image more than most people expect. Glossy gives punch and contrast but shows fingerprints and reflections. Matte kills reflections and looks softer. Luster and satin sit between the two and are the easiest finish to live with.
| Finish | Best for | Strengths | Drawbacks |
|---|---|---|---|
| Glossy | Vivid color, snapshots, portraits | Highest contrast, deep blacks | Shows fingerprints and glare |
| Luster | Everyday photo printing | Balanced contrast and sheen | Costs a bit more per sheet |
| Satin | Frames, albums, less formal work | Soft sheen, hides scuffs | Slightly muted blacks |
| Matte | Black-and-white, fine detail, mounting | No reflections, paper texture shows | Lower perceived contrast |
| Fine art / baryta | Black-and-white exhibition prints | Deep tonal range, archival | Expensive, needs handling care |
Two more paper details catch beginners. Check the weight and the coating: anything around 10 mil or 240 gsm is a real photo paper, and lighter sheets bleed color into each other. And look for a bright white base, because a warm or recycled base shifts skin tones yellow no matter how good the printer is.
For black-and-white work, matte or fine-art baryta beats glossy every time. Glossy surface reflections read as fog in the shadows.
Step 3: Set the Paper Size and Print Quality
This is where most prints go wrong. The printer has to be told two things separately: what paper is loaded, and what quality to use. Change one without the other and you get soft, smeared or flat output.
| Setting | What to choose | Why it matters |
|---|---|---|
| Paper size | The size of the sheet in the tray | Sets the printable area and pixel scaling |
| Media type | Photo Glossy, Photo Matte, Luster | Changes ink spread, dots and drying behavior |
| Print quality | Best or Photo mode | Raises droplet count and color accuracy |
| Borderless | On for full-bleed prints | Lets ink reach the paper edge |
| Scaling | Fit to page or actual size | Prevents surprise cropping |
| Duplex | Off | Photos on the back of photos rarely work |
| Color management | Printer or application, never both | Two conversions produce a dull, shifted print |
What printer setting uses the most ink? Best quality in a photo mode, borderless printing, and printing large areas of solid dark color. Draft and Fast modes are far cheaper and are the reason a person might get through a cartridge in a month.
If you print on both sides, the duplex settings matter for page count rather than image quality. Set flip on long edge for portrait work so the back of a photo does not land upside down in an album.
Step 4: Match Colors and Choose a Printing Mode
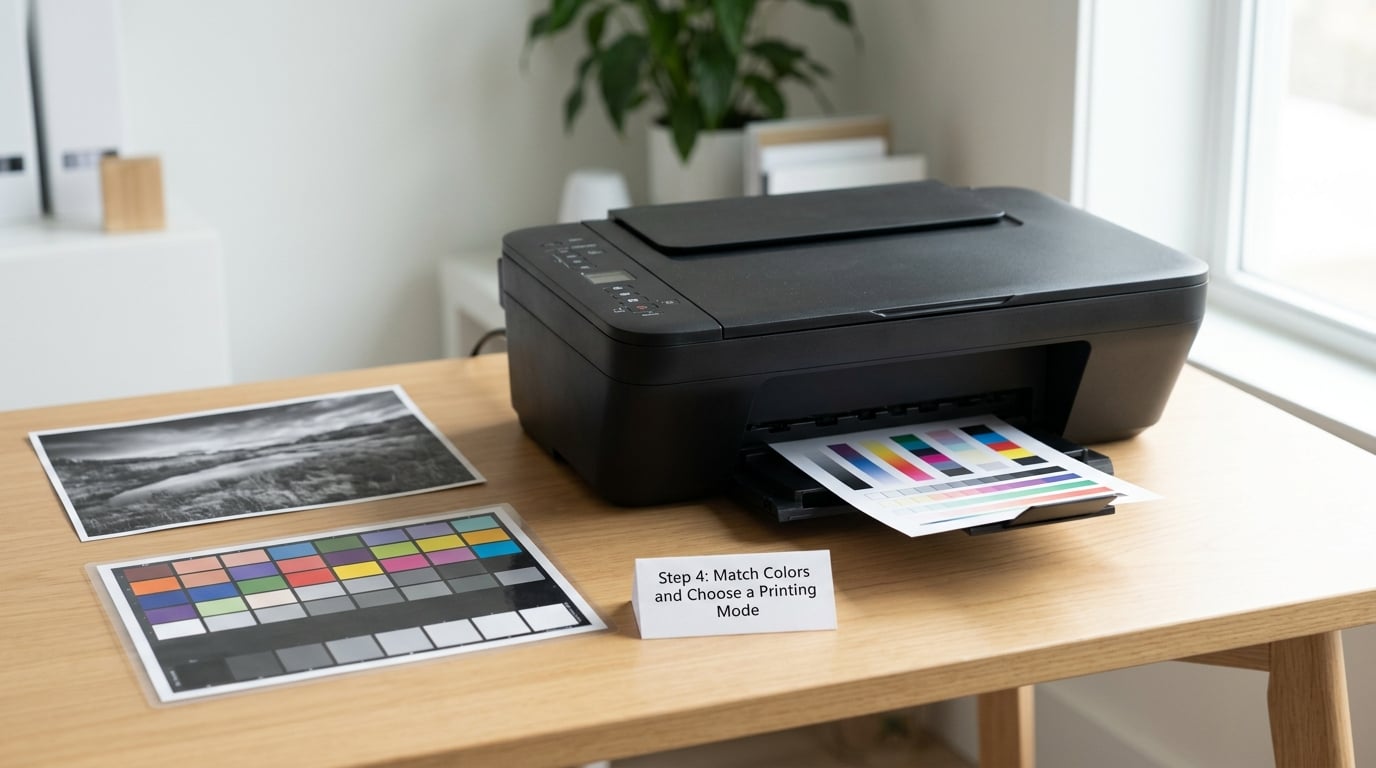
Screens emit light; ink absorbs it. A monitor can produce colors no ink can, and it does so with its own backlight, which is why a photo that looks perfect on screen comes out duller in your hand. Color management is the system that translates between them, and it works in one direction only: from the file to the device.
Here is the rule that solves most color complaints. Pick one application to manage color. If your editor converts the image using the printer profile, set the printer to let the driver handle the profile. If the editor hands the file over untouched, let the printer do the conversion. The moment both do it, colors desaturate and shadows lift.
Work in sRGB. It is the default on phones, most cameras and nearly every website, and using it means the same file looks the same everywhere. Adobe RGB holds a wider gamut but only prints correctly through a workflow built for it, and most home printers cannot take advantage of it anyway.
An ICC profile is a data file that describes how one specific ink-on-paper combination reproduces color. Your printer maker publishes one per paper type. Embed the profile for your chosen paper in the file, or attach it at print time if your editor supports that.
When color accuracy matters, print a test crop. Make a small file that includes skin tones, a neutral gray step wedge and a saturated color, print it on the same paper, and compare it under neutral light away from a window. If your editor offers a soft proofing or print preview option, use it to check the conversion before committing to a full sheet.
Why is my printer not printing accurate colors? Usually one of four causes: color management is on in both the app and the driver, the media type does not match the loaded paper, the monitor itself is uncalibrated, or the file was saved in the wrong color space. Work through those in that order.
Print a test page on plain paper before you use photo paper. The point is to check mechanics and color, not to judge final quality.
Step 5: Print, Check, and Finish the Photograph
Send the job, then check it under good light before you stack it with anything else. Look at four things.
- Sharpness. Zoom to 100 percent in a photo viewer and inspect fine detail such as hair, fur or text. Blocky edges mean the file was too small for the print size.
- Color. Compare against the screen in a room without strong color cast. A print that is uniformly dull points to a quality or media type setting, not to the image.
- Banding and streaks. Horizontal lines usually mean a printhead needs cleaning or alignment.
- Margins and crop. Borderless prints should reach within a hair of the edge. Unexpected white bars mean the paper size in the driver does not match the tray.
Do not touch the ink surface with damp fingers. Fresh ink on glossy paper smears, and you cannot fix it. Handle prints by the edges and let them sit face up on a flat surface for the drying time listed on the paper packaging, which is often a couple of hours for glossy and closer to 24 hours for heavy fine-art sheets.
For storage, keep prints in acid-free sleeves or a photo album with buffered interleaving pages, away from direct sun and humidity. For display, matte prints can be mounted with simple adhesive; glossy prints need a mount board or a photo corner because adhesive lifts the surface.
To print photos from your phone, on an iPhone open the photo, tap Share, then Print, and pick the AirPrint printer from the list of nearby printers. Set the paper size and copies in the same panel, then pinch with two fingers on the preview to change borderless or bordered output. On Android, open the photo, tap the share or print icon, choose your printer from the wireless list, set the paper size, and print. Many printers also ship an app that goes further, letting you choose the paper type and quality explicitly rather than trusting the phone’s defaults.
One warning about phone printing: images that arrive through messaging apps or cloud sync are usually compressed, often down to a fraction of the original resolution. Printing one at 8×10 will look pixelated, and no printer setting fixes that. Pull the original file from your photo library or cloud album instead.
Does printing photos use a lot of ink? A solid, dark, borderless 4×6 print uses considerably more ink than a text page, which is why photo ink cartridges run out faster than people expect. Large black areas, deep shadows and full coverage all drive usage. A cartridge-based printer spreads that cost across fewer prints than an ink-tank model, where you buy the ink itself at volume prices.
People often ask whether home printing is cheaper than a lab. The honest answer depends on volume and size. For a handful of 4×6 prints, a lab is usually cheaper once you divide ink and paper into the cost. For a wall print, an online lab almost always wins on price, because home ink is priced per milliliter and a wide-format sheet drinks a lot of it. Home printing makes the most sense when you print regularly, want control over paper and timing, and mostly produce small standard sizes.
Common Mistakes and How to Fix Them
Almost every bad home print traces to a setting or a file, not to the hardware. Here is the diagnosis in the order I would check it.
| Problem | Likely cause | Fix |
|---|---|---|
| Washed out, flat colors | Wrong media type, or both app and driver managing color | Match media type to the paper and turn off color management in one of the two places |
| Too dark, blocked shadows | Driver applying its own enhancement, or a rendering intent that darkens | Disable automatic photo enhancement, use relative colorimetric intent for accuracy |
| Blurry or pixelated | File too small for the print size, often a compressed phone image | Print at a size the file can support, or get the original |
| Color shifted, skin tones off | Wrong ICC profile, or uncalibrated monitor | Embed the profile for your paper, calibrate the monitor, print a test crop |
| Horizontal banding or streaks | Clogged or misaligned printhead | Run the printhead cleaning and alignment utility two or three times |
| Ink smearing, never dries | Printed on the back of the paper | Check the printable side marking and reload; discard the ruined print |
| White borders when you wanted edge to edge | Borderless off, or paper size mismatch | Turn on borderless and match the tray size exactly |
| Image cropped unexpectedly | Aspect ratio mismatch, or scaling set to fill | Crop to the paper ratio, then set scaling to fit within page |
| Paper curls after printing | Ink saturation on thin paper, or leaving prints in the tray | Use heavier photo paper and let prints dry flat before stacking |
| Prints fade within a year | Displayed in direct sunlight or damp room | Keep prints out of direct sun; use archival sleeves for storage |
If banding persists after cleaning, check whether you are printing on a media type the printer does not recognize for high-quality output. Some drivers only apply their densest ink settings to the paper they were built for.
Washed-out prints are the most common complaint, and the media type setting is the fix nine times out of ten. The printer lays down ink for plain paper, absorbs it into the fibers, and you get a pale result on a surface that was never meant to hold color.
Tips for Better Home Photo Prints
Make a repeatable preset. Once a combination works, save it. In a photo editor that is a print preset; in a printer driver it is a saved custom paper size and quality pair. Consistency across a series matters more than perfecting one image.
Calibrate the monitor if prints are going on a wall. You cannot match a color you do not know is right. A colorimeter and a few minutes of software setup cost less than one framed print and fix most of the remaining color complaints. A cheap workaround: print a reference image, then adjust the monitor’s brightness and color temperature until the screen agrees with the print in neutral room light.
Test on plain paper, then on the real stock. Plain paper is for mechanics and color. One sheet of photo paper is for judging gloss, sharpness and final tone. Skip the second test and you will judge a good print by how it looks through a glossy reflection.
Keep the printhead healthy. Print something with full color coverage every few weeks if the printer sits unused. Dye ink dries in the nozzles, and a monthly half-page test print prevents the banding that starts a few months later.
Buy paper in the quantity you will actually use. Photo paper expires, and it fades faster in heat and humidity. A sealed brick stored indoors keeps longer than an open half-used pack sitting in a warm room.
Print your favorites, not everything. The people who stick with home printing long term print a small number of images well. One curated 8×12 on good stock each month costs less than a stack of mediocre 4×6 prints and looks far better in an album.
Mark a good test image and reuse it. Keep one file with skin tones, a gray wedge and sharp detail. Print it whenever you change paper or ink, and you have an instant reference for whether something shifted.
Frequently Asked Questions
Can I print photos with a regular printer?
Yes, as long as it is an inkjet that accepts photo paper. Most all-in-one home inkjets produce good 4×6 and 5×7 prints. A color laser will print a recognizable image, but toner cannot reproduce the smooth gradients and skin tones that inkjet droplets give you. Load real photo paper, set the media type to match it, and use the best quality mode.
What is the best program to print photos at home?
Any editor that can crop, resize, set the output size and embed a color profile will do. The built-in Photos app on current Windows and a dedicated photo editor both cover it; a subscription editor adds raw file support and finer control over output sharpening. The software matters far less than the three settings: 300 DPI, correct media type, and letting only one program manage color.
How do I print photos from my phone to my home printer?
On an iPhone, open the photo, tap the share icon, choose Print, and pick your wireless printer from the list. On Android, open the photo and use the share or print option, then select the printer over wifi and set the paper size. Many printers also have a maker app that exposes paper type and quality settings directly, which gives you more control than the phone defaults.
When printing is 300 DPI or 600 DPI better?
Use 300 DPI for almost everything. A 4×6 print at 300 DPI needs about 1200 by 1800 pixels, and that is comfortably enough for normal viewing. 600 DPI only helps on a dedicated photo inkjet that prints two droplets per dot, and it doubles your file size and ink use with no visible gain on paper. 150 DPI looks soft on a phone screen held at arm’s length.
What are the best printer settings for printing photos?
Set the paper size to match the tray, the media type to the paper actually loaded, quality to best or photo mode, and turn on borderless for full-bleed prints. Set scaling to fit within page so nothing gets cropped unexpectedly, and leave duplex off. Turn off color management in either the application or the driver, never both, or the colors will come out dull.
Why do my printed photos look washed out?
The usual cause is a media type setting that does not match the loaded paper. The printer is laying down ink volumes calculated for plain copy paper, and a coated photo surface cannot absorb it, so the result looks pale. The second most common cause is color management running in both the editor and the printer driver, which desaturates the image. Check those two things first, then print a test crop.
Conclusion
Start with the file, not the printer. Crop to the paper’s aspect ratio, size the image to 300 pixels per inch for the final print, load matching photo paper, set the media type to match it, and print one small test with color management on in exactly one place. Check that test against your screen, adjust once, save the settings as a preset, and every print after that is faster than the first one was.