
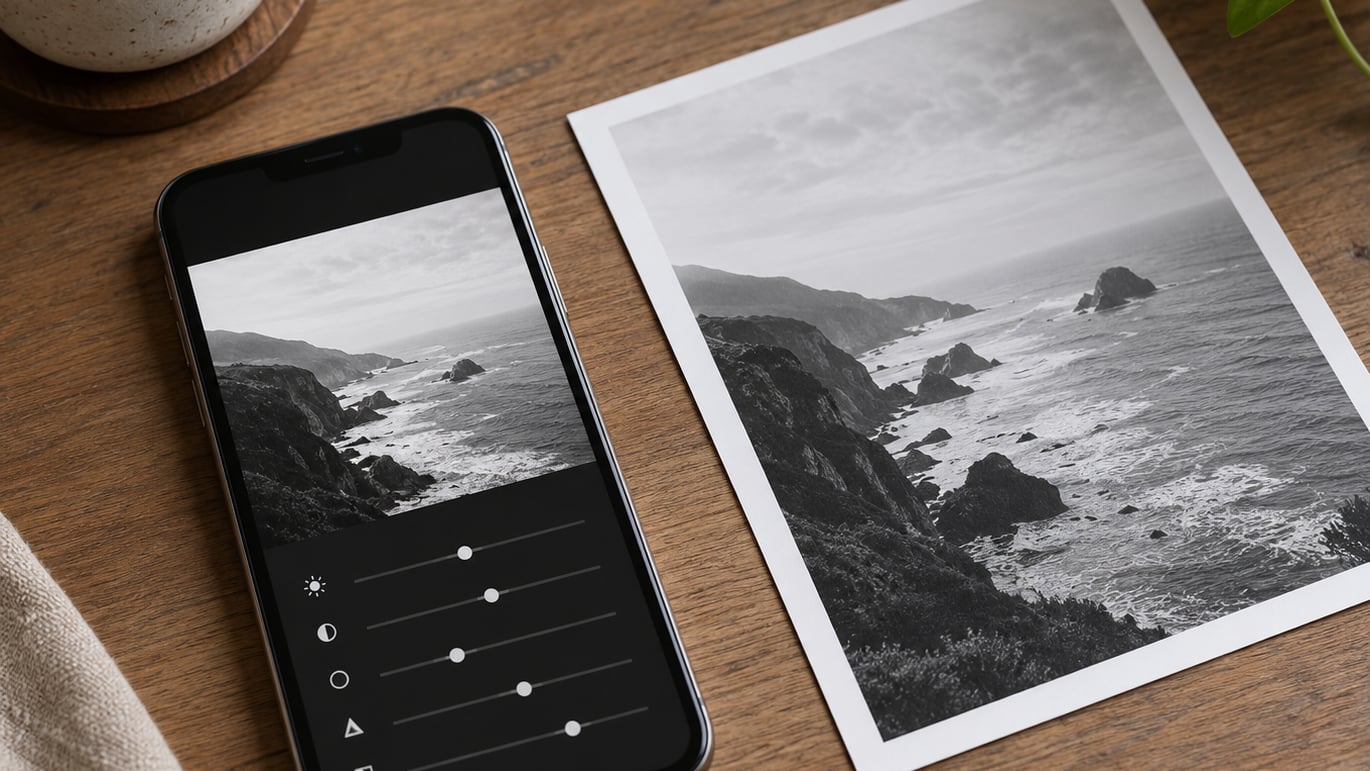
Snapseed is a free photo editing app from Google for iPhone, iPad and Android that uses gestures and a non-destructive editing system, so you can adjust, retouch and stylise a photo with more than 25 tools without paying for anything. Here is how to use Snapseed for beginners: open a photo, work through seven edits in a fixed order, then export. A straightforward first pass takes about ten minutes.
Most disappointing edits come from doing the steps in the wrong order. Fix the light first, then the frame, then the detail, and only add looks at the end. Get that sequence right and Snapseed does most of the work for you.
Table of Contents
What You Need
You need the Snapseed app and a photo. It runs on iPhone, iPad and Android phones, and on Android tablets too, though the tablet layout spreads the panels out further than the phone layout.
There is no account, no subscription and no advertising. The most repeated thing people say about this app, on Reddit threads and photography forums alike, is that it stays free, which is unusual for an editor of this quality.
The workflow below suits travel shots, street photography, family photos and phone portraits. It also suits RAW files straight from an iPhone or a mirrorless body, because Snapseed reads those and lets you adjust exposure without baking it in.
Before you open the app, one piece of preparation matters more than the rest. Shoot the photo, then wait a moment before editing. Editing straight from the camera roll picks up whatever is already there; opening the file, checking the highlights and shadows, and deciding what the photo should say comes first.
How to Use Snapseed: Step-by-Step Editing
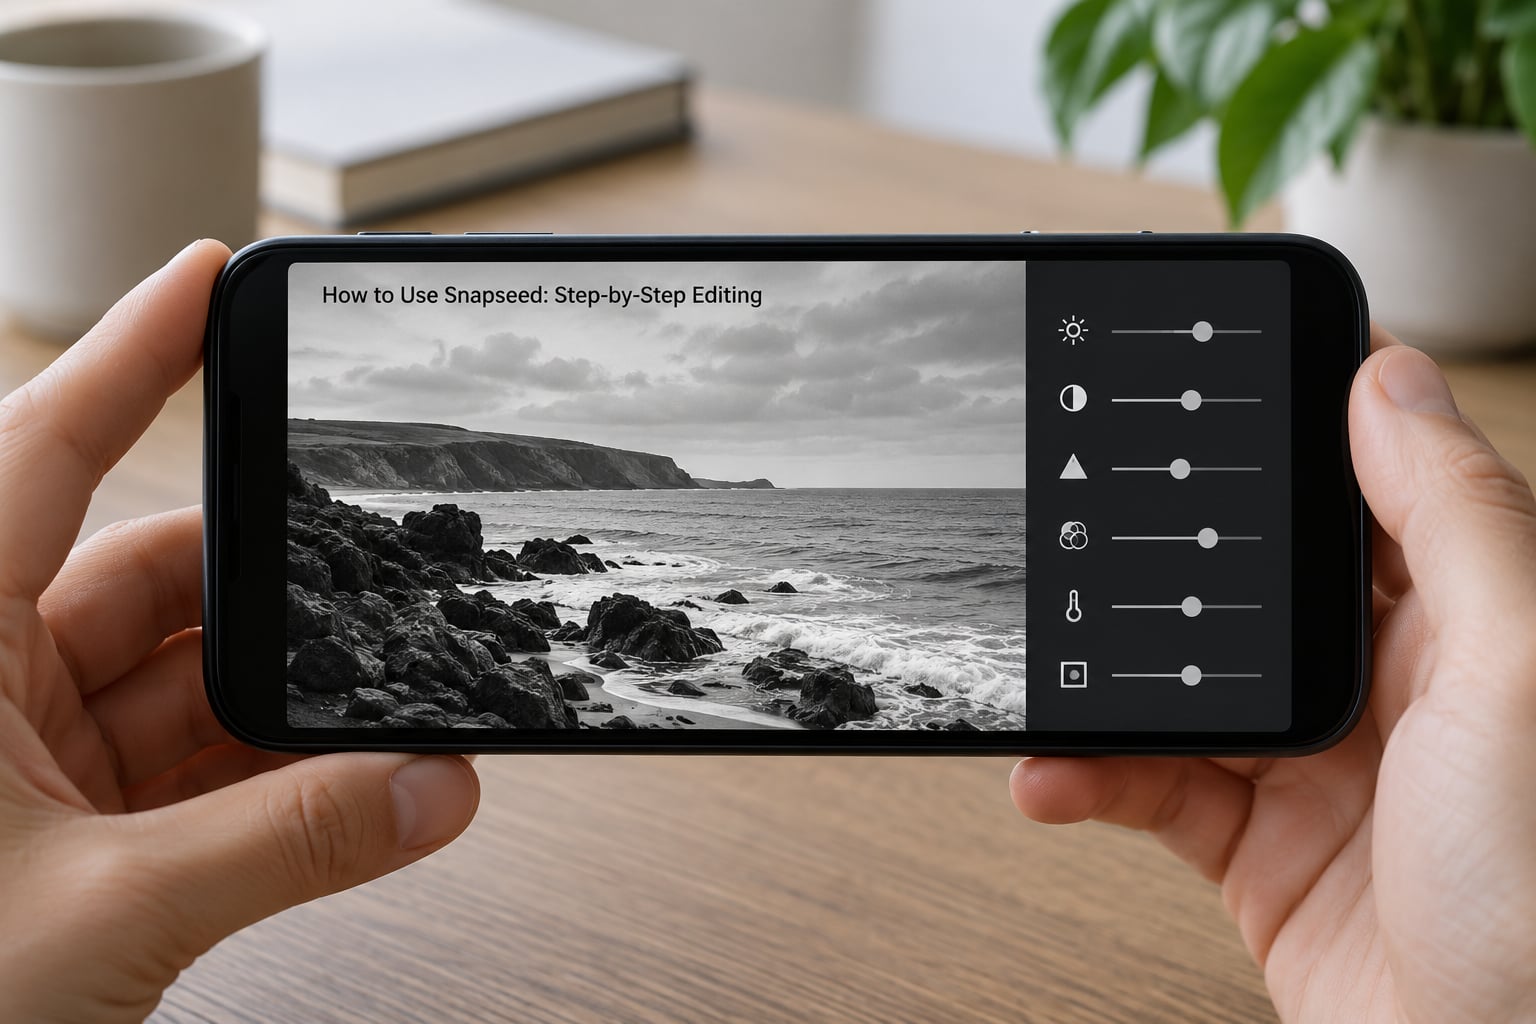
These seven steps follow the Snapseed interface on iOS and Android as it runs now. Icon names shift a little between versions and between the two platforms, so if a button is called Filters instead of Looks on your phone, they are the same thing.
1. Open the Photo and Check Its Composition
Tap Open, choose a photo, and tap anywhere on the image to load it into the editor. That tap matters: it is how Snapseed brings up the tool menus, and beginners often think the first tap has not registered.
Look at the frame before you adjust anything. A tilted horizon reads as sloppy no matter how good the colour is, so straighten it with Tools, then Crop or Rotate. Turn on the grid so the crop keeps your subject off a dead centre line.
Cropping throws pixels away permanently in the exported file, which is why it belongs at the start. Everything after this point adjusts the image you actually intend to publish.
2. Make Global Adjustments
Open Tools and pick Tune Image. This is the first edit nearly every photo needs, and it affects the whole frame at once.
Swipe up or down on the image to move between the settings: Brightness, Contrast, Saturation, Ambiance, Highlights, Shadows, and Warmth. Swipe across to change the value, and tap-and-hold the comparison icon to see the original.
Here is the order I work in. Shadows up a little first, because dark areas hold more recoverable detail than you think. Then brightness, held back so you avoid blowing the sky out. Then highlights down until the brightest part of the frame stops being a white wall with no detail. Contrast last, and gently.
Warmth is the slider people get wrong. Push it hard and skin goes orange while shadows turn muddy. A few degrees is plenty for a shot shot under an overcast sky.
Ambiance is the one worth experimenting with. It moves colour and local contrast together, so it can rescue a flat scene faster than stacking contrast and saturation separately. Nudge it, check, and keep it if the photo improved.
3. Refine Details and Sharpness
Tools, then Details. Here you find Structure and Sharpening, which are separate controls and behave very differently.
Structure raises local contrast on edges, so textures like brick, gravel and tree bark gain definition. Sharpening works on overall micro-contrast and increases apparent crispness.
Both produce halos along high-contrast edges when pushed far. Zoom to 100% and look at the boundary between a roofline and the sky: a thin bright rim means you have gone too far. Pull the slider back until the rim disappears.
Boosting these sliders also amplifies noise, and shadows show it first. That is the practical limit for most phone photos, and Structure above roughly 40 starts to look artificial on anything shot at night.
4. Adjust Black-and-White Images
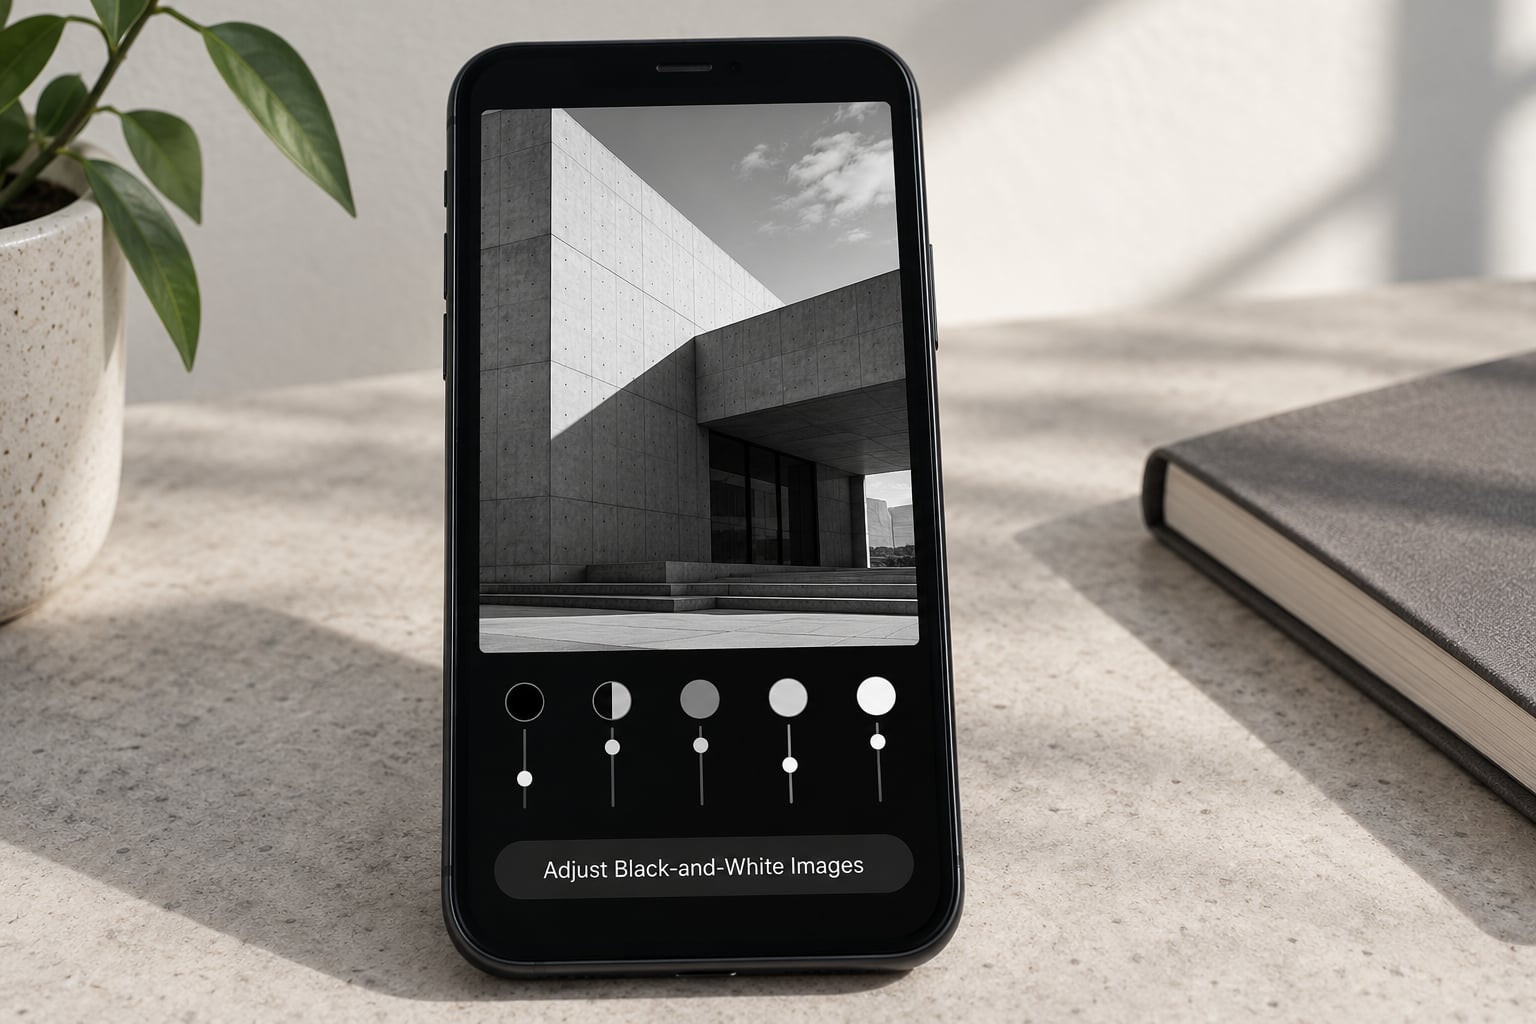
Convert to monochrome through Tools, then Black & White. You get five bands, each covering a range of colours from red through yellow, green, blue and magenta.
Tap a band to see which colours it covers, then swipe to change its brightness. The classic move is to drop the yellow band so skies go near-white while skin keeps texture, or drop the blue band for a moody, high-contrast landscape. Red controls lips, and green controls foliage, which is handy for portraits and for street scenes.
Adjust the bands until you can count separate tones between your subject and its background. Then open Tune Image again and add a small amount of contrast, because monochrome photographs often need a touch more bite than the colour original.
The filter presets under Looks do the same job in one tap. They are a fast start, not an answer, since the presets cannot know whether your subject is the sky or the person in the foreground.
5. Make Selective Edits
Open Tools, then Selective, and tap on the part of the photo you want to change. A control point appears with a pinch gesture and a B, C, S and Stacked slider around it. B is brightness, C is contrast, S is saturation, Stacked is the sum of all three.
Drag the control point a few pixels to blur its edge, then adjust only the pin it controls. This is how you brighten a face that sits in shadow while the background stays exactly as it was, or add colour back to a face that has lost it against a bright wall.
The Stacked slider is useful and underused. One control point with Stacked at around 50 rebalances a whole region in a single move instead of three separate passes.
Selective also carries Structure and Sharpening on the same control point, so a local patch of texture can be strengthened without touching the rest of the frame. That makes it the fastest way to make a flat subject read as sharper than its surroundings.
6. Add Creative Effects Carefully
Tools, then the stylise group, holds HDR Scape, Drama, Grainy Film, Retrolux, Grunge and Vintage. Each one processes the whole image, so each one needs the same restraint.
HDR Scape pulls detail out of shadows and lifts brightness. On a landscape with genuine depth it can look superb; on a flat scene it produces a grey haze, so use it when the frame has a dark foreground and a bright sky.
Drama raises contrast and desaturation toward a painterly range. Grainy Film and Retrolux add texture and colour shift for a film look, both easiest to overshoot, since the grain is applied globally rather than where the subject needs it.
Grunge is built for texture overlays and works best when it stays at roughly 15 to 25. Vignette darkens the frame edge and helps separate a subject from a busy background; small amounts beat large ones, because a heavy vignette reads as damage rather than intent.
The test is simple. Apply the effect, tap and hold the comparison icon, and ask whether the photo would still work without it. If not, dial it back until it does.
7. Add a Final Look and Export
Finish with a Looks filter or a frame, used lightly. Then check your whole edit at small size on the phone screen, because a photo that looks good at full brightness often loses its impact as a thumbnail in a feed.
Zoom to 100% on the darkest shadow and the brightest highlight once more. Shadow noise and clipped highlights are the two things viewers notice first, and both are easy to miss while you are working at arm’s length.
Snapseed offers three ways out, and choosing the wrong one is how people flatten their edits by accident.
- Save writes over the original file in your gallery, with the edits baked in. There is no undo after this.
- Save a Copy keeps the original untouched and adds the edited version to your gallery. This is the safe default.
- Export lets you choose the size and format. Format options have included JPEG and, on recent versions, HEIF and PNG, with JPEG giving the broadest compatibility for sharing and printing.
For social media, export a file a little larger than the platform needs, around 1080 pixels on the long edge, so the app handles the final compression. For printing, or for further work on a desktop, export as large as the source allows.
Nothing is destroyed while you work. Each committed edit lands in a stack, and the View Edits button opens that stack so any adjustment can be revisited and changed after the fact. If Save feels irreversible, use Save a Copy until you are certain.
Common Mistakes
Editing effects before light. Adjusting colour on an image with blown highlights cannot rescue detail you no longer have. Fix exposure first, and everything afterwards is more effective.
Over-editing with Tune Image. Sliders at extreme values flatten shadows and yellow the whole frame. Work in small increments and hold down the comparison icon between changes.
Applying an effect across the entire image. A look that flatters the sky can wreck the subject. Fix it by undoing, returning to a global edit, then reapplying the effect only through a Selective control point.
Sharpening everything at once. Structure and Sharpening above 40 create halos and noise. Apply them selectively to the subject and check edges at 100% zoom.
Losing detail in highlights. Pull Highlights down before increasing Brightness, and check the sky on the histogram if the app shows one. White without texture is unrecoverable after export.
Choosing the wrong export. Saving over the original flattens the edit permanently. Use Save a Copy for experiments and Export when you need a specific size or format.
Forgetting that edits are reversible. Nothing in Snapseed needs to be undone permanently while you work. Open View Edits, tap the step you regret, and change the value instead of redoing the edit.
Frequently Asked Questions
Is Snapseed still free and still being updated?
Yes to both. Snapseed costs nothing, with no subscription, no account and no advertising, and Google still ships updates to it on iPhone and Android. Recent versions added a Faves tab for pinning favourite tools, motion blur, LUT and preset import, and greatly expanded RAW support on iOS. The old fear that Android support would be dropped has not materialised.
Does Snapseed work on both iPhone and Android?
Snapseed runs on iPhone, iPad and Android phones and tablets, and the core tools behave identically on both. Differences are mostly naming and layout: the tablet version spreads panels across a wider screen, and Google has historically released some features first on one platform. If a button is missing after an update, check the app store and install the current version.
Are Snapseed edits non-destructive?
Yes. Every adjustment you commit is stored as a step in a stack rather than applied directly to the pixels, so nothing is baked in while you work. Tap View Edits to see that stack and change any earlier step, including a crop or a Selective control point. Your original file stays intact until you deliberately use Save or Export, which is why Save a Copy is the safer habit.
Can Snapseed edit RAW files?
Snapseed reads RAW captures, including files from an iPhone Pro and many mirrorless cameras, with substantially expanded RAW support in recent versions. Support is still not universal across every camera body, so check that your file opens correctly before relying on it. RAW gives you the most latitude on exposure and white balance, since the sensor data has more to work with than a compressed JPEG.
What resolution should I export at?
Match the export to where the photo goes. Around 1080 pixels on the long edge suits social feeds and messaging, and any larger file just gets compressed again. For printing or further desktop work, export as large as the source allows and choose a widely compatible format. JPEG works everywhere; PNG suits images with transparency or heavy graphics-style effects.
Why do my Snapseed edits look over-processed?
Usually one of three things: too many tools applied at once, sliders pushed further than the original file can support, or a look applied globally that should have been local. Go back to View Edits and remove steps rather than correcting on top of them. Work in this order next time: light, frame, detail, local adjustments, stylise, export.
Conclusion
Snapseed rewards a fixed order of operations. Straighten and crop first, correct the light with Tune Image, add detail, convert to monochrome or refine local areas with control points, and only then add effects and export.
Start small. Make restrained global adjustments, check the result on a small screen and again at 100% zoom, then save a copy before experimenting further. Everything you do stays editable in the stack until you decide to flatten it, and that safety net is what makes this app worth learning properly.