
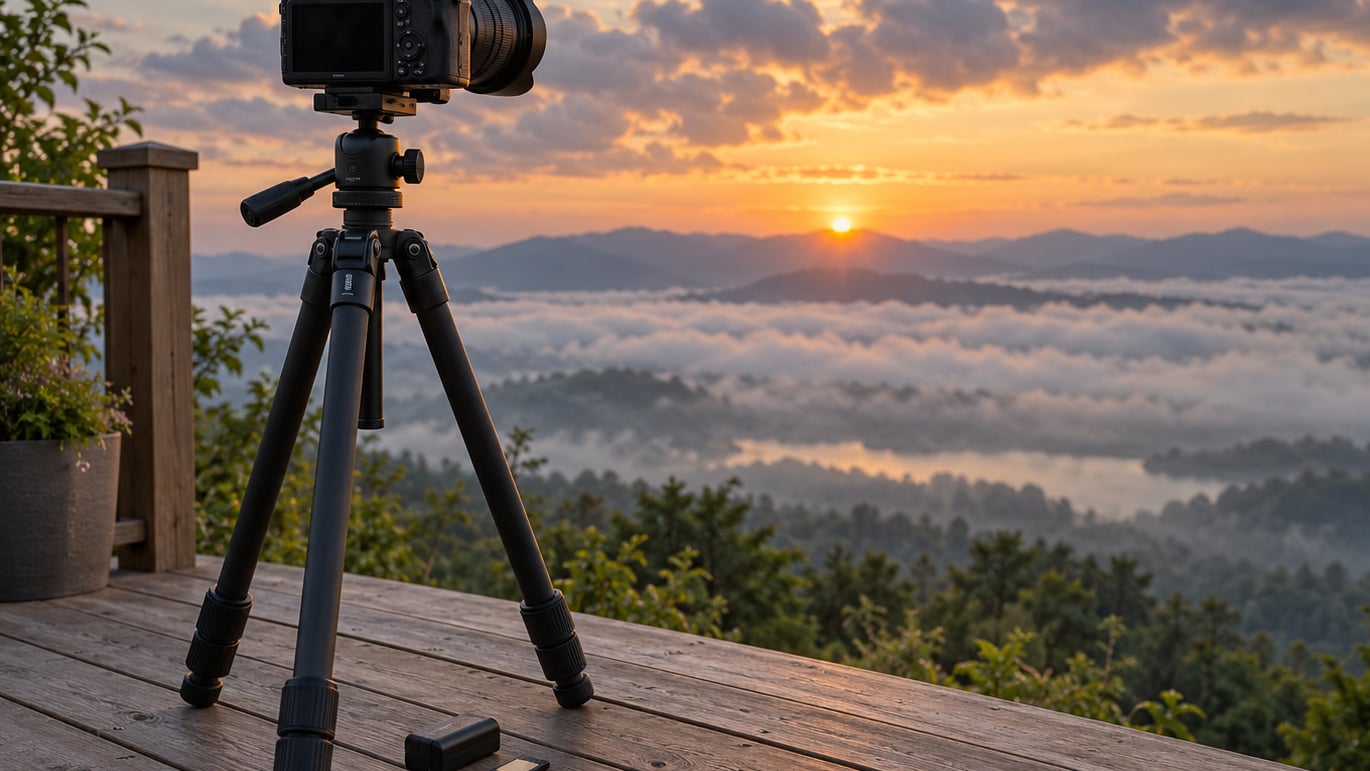
To make a time lapse with a camera, mount it on a tripod, switch to manual mode, fix your focus and white balance, and fire one photo every few seconds with an intervalometer. Back the footage at 24 or 30 frames per second in any video editor and hours of real time collapse into seconds. The whole thing takes about ten minutes to set up and a short test sequence to prove the settings are right.
The reason beginners get disappointing results is rarely the camera. It is exposure drifting halfway through, or the sky flickering frame to frame, or the interval set so short that clouds freeze solid. Fix those three things and almost any camera with a tripod screw and a manual mode will produce footage people watch twice.
This guide covers how to make a time lapse with a camera from the gear list to the exported file, including the interval maths that usually gets skipped and the flicker fixes that save an entire shoot.
Table of Contents
What You Need to Make a Time Lapse With a Camera
You need far less than most shops would like you to believe. Here is the honest split between what is essential and what you can skip for your first few sequences.
Essential
- A camera with manual mode. Any DSLR or mirrorless body works. A recent phone with a Pro or manual mode also works, and it is covered further down.
- Something to hold it still. A tripod is ideal, but a sturdy table, a wall bracket or a stack of books clamped by a door will do for indoor subjects. Vibration ruins frames.
- An intervalometer. Many cameras have one built into the shooting menu. If not, a cheap external timer remote or a phone app that triggers the shutter over Wi-Fi will do the same job.
- Power for the duration. One battery rarely covers a sunrise. A spare battery, a USB power bank into the camera’s power input, or mains power for indoor work keeps a long sequence alive.
- Storage. Shoot RAW and a 45-minute sequence at a 3-second interval is roughly 900 frames. At around 25 MB each that is about 22 GB, so check the card before you start and format it in the camera afterwards.
Useful but optional
- ND filters. Neutral density filters cut light evenly so you can run a slower shutter speed in daylight for smooth water and silky cloud motion instead of frozen movement.
- A polarising filter. Useful on wide skies to deepen blue and cut glare, but rotate it carefully during a sequence because a spinning filter causes a visible brightness sweep.
- A lens hood. Cheap insurance against flare, stray light and rain over a multi-day setup.
One item people forget is a way to check the first frames without disturbing the setup, which is why step six below exists. A phone on the same table works fine for that.
Step-by-Step: How to Make a Time Lapse With a Camera
How to Make a Time Lapse With a Camera: Plan the Scene
Decide the final video length before you touch the camera, because it dictates everything else. A 30-second clip at 24 fps needs 720 frames. At a 5-second interval that is one hour of shooting, and at 2 seconds it is 36 minutes.
The useful formula is simple: frames needed = video seconds multiplied by playback frame rate, then shoot time = frames multiplied by interval. Work it backwards from the runtime you want rather than forwards from the time you have.
Choose a subject with visible internal movement. Clouds crossing a ridge, traffic on a junction, a stem of grass bending, scaffolding rising over a week. A static landscape with a static sky produces a static video no matter how long you shoot it. Plan the frame so nothing you need is behind a pole or a parked van, and check where the sun will be at the hour you are shooting.
Shutter speed, aperture and ISO all change what your time lapse looks like, so decide the mood of the shot before the shoot, not after.
Set the Camera to Manual Mode
Manual is the whole ballgame. Any mode that re-evaluates exposure between frames will breathe the brightness across the sequence, and that pulsing is the flicker you see in the finished video.
Set a fixed aperture, usually f/8 or f/11 for landscapes, and a fixed shutter speed. If you need to drop light, change ISO rather than aperture or shutter speed, because those two changes create their own flicker types described below. For what ISO actually controls on a camera, my plain guide to ISO covers the trade-offs.
Shoot RAW when you can. Compressing to JPEG bakes in whatever white balance and contrast the camera chose at that moment, and once a sunrise shifts from warm to blue you cannot recover the highlights later.
Choose the Frame Rate and Shutter Speed
Playback frame rate decides how the clip feels. 24 fps reads as cinema, 25 fps matches European broadcast conventions, and 30 fps feels a touch more immediate on phones and social platforms. Pick one and stay with it for the whole sequence.
The shutter speed inside each frame controls motion. Short exposures freeze everything into stillness; longer exposures blur moving subjects into streaks. A rough starting point for daylight is a 1/500 second or faster for water and foliage. For clouds with slow drift, 1/30 to 1/60 looks silky. In bright conditions you will need an ND filter to hold a slow shutter speed, otherwise you drop to 1/1000 and the movement disappears.
Keep the interval comfortably longer than the exposure time. If the interval is 3 seconds and the shutter is 4 seconds, frames collide. Leave at least a second of margin even at 1 second intervals.
Use an Intervalometer or Reliable Trigger
The intervalometer takes one frame every set number of seconds until you stop it or it hits its limit. Look in your camera’s shooting menu first, because most bodies have one built in and it is often under a clock or stopwatch icon. Set it to shoot first now and then at the interval, rather than waiting an interval before the first shot.
If your camera lacks one, an external remote with a two-metre cable is the simplest fix. Smartphone intervalometer apps work over Wi-Fi or Bluetooth and let you set the interval remotely, which also solves the problem of digging around the tripod leg afterwards.
Test the timing on a stopwatch. Ask the intervalometer to take ten shots, count how long it runs, and divide. On my old body the “1 second” option drifted slightly and delivered a frame every 1.4 seconds, which is exactly the kind of quiet fault that turns a planned sequence into a jumpy one.
Lock Focus and White Balance
Autofocus hunts when a cloud crosses the sun or a branch moves in front of the lens, and one soft frame in a sequence reads as a stutter in playback. Switch to manual focus or single-servo autofocus, focus once, then leave it alone. If the scene is very close to the camera and very deep, focus at roughly twice the distance to the nearest important object.
Set white balance to daylight or cloudy rather than auto, and fix it. Auto shifts as the light warms before sunrise and cools after sunset, which is charming in real life and distracting at 30 frames per second. If the sequence spans a big light change, shoot a grey card or a locked-white-balance frame at the start and adjust later in post.
On a DSLR, engage mirror lock-up or electronic shutter mode. The mirror slapping back up vibrates the body and shakes the frame, and electronic shutter removes that problem entirely on most mirrorless cameras.
Check the First Frames and Start Recording
Run a test sequence of 50 to 100 frames before committing to hours. Three to five minutes of shooting tells you almost everything you need to know.
Look at the frames at full size. Check the sharpness first, then the exposure, then the colour. If the sky is blown out you have too little ND filtering; if the foreground is black you need a slower shutter, a wider aperture or more light. If one frame is dark and the next is bright, something is still in an automatic mode.
Once the test passes, wipe the card or note where the test frames end, start the intervalometer and walk away. Do not touch the tripod for the rest of the shoot.
Keep the Camera Running Reliably
Long captures fail for boring reasons, so check the physical stuff before you leave. Charge every battery, clear the card, and confirm the clock on the camera and the intervalometer match if you are stacking sequences from different sessions.
Wind is the quiet killer of tripod shots, especially on a hilltop. Hang your bag from the centre column, keep the legs low and spread them wide, and consider a heavy weight on the hook if your tripod has one. For overnight or multi-day outdoor work, wrap the body in a dry bag and keep it clear of anything that radiates heat.
If the shoot runs for days, a weather-sealed camera in an enclosure with a solar panel and a large battery bank is the usual answer. Check the enclosure for a cable route to the shutter trigger so the intervalometer can sit outside with the electronics.
Assemble and Export the Time Lapse
Copy the frames to your computer and import them into your editor as a sequence at 24 or 30 fps. The programme will play them back in order and you will immediately see any dropped frames, exposure jumps or a cloudy moment.
Apply the same correction to every frame first. If you shoot RAW, use a batch edit rather than fixing 900 images by hand, and my guide to batch editing photos in one pass walks through the routine. Set one exposure, one white balance and one crop on the first frame, copy it across the set, and only correct individual frames where something genuinely differs, such as a car headlight or a cloud passing the sun.
Export a master file at your camera’s full resolution. For delivery, match the frame rate to the platform: keep 24 or 25 fps for YouTube and Vimeo, use 30 fps for Instagram Reels and TikTok, and crop vertical versions from the master rather than exporting a second narrow master.
How to Make Time Lapse Footage Smooth: Common Mistakes
Almost every bad time lapse is one of seven problems. Find yours below with the fix.
Flickering brightness across frames
Any automatic exposure mode will do it. Switch to manual with fixed aperture, shutter speed and ISO, and turn off auto ISO. If flicker persists, something else is changing the exposure.
Aperture flicker
The aperture blades move a slightly different amount each frame at certain f-stops, and the rounding shows up as pulsing. Stop down one stop, or use a lens with a manual aperture ring and set it by feel rather than electronically. Some lenses have a specific f-stop known to flicker and avoiding it is the whole fix.
Shutter flicker
Under artificial lighting, mains frequency causes each frame to record a different slice of the light cycle, so tree leaves or window blinds strobe. Mirrorless cameras with electronic shutters usually sidestep this. On DSLRs, try shooting at a different shutter speed, since changing shutter speed changes the sampling pattern, and test under the actual lighting before the real shoot.
Blurry or soft frames
Autofocus hunting, camera shake or a shutter speed too slow for movement. Lock focus manually, use electronic shutter or mirror lock-up, and check your shutter speed against how fast your subject moves.
Missed intervals or dropped frames
Your interval is too close to the exposure time, the card is too slow, or the buffer is still full when the next frame is called. Set the interval at least one second longer than the exposure time, use a fast card, and on cameras with buffer limits let the camera write each frame fully before shooting the next.
Camera movement
Wind, a tripod with a loose head, or someone leaning on it. Weight the centre column, check every leg lock, and mark the tripod position so nobody bumps it.
Choppy or stuttering playback
Usually missing frames in the sequence, or a playback rate that is too high for the material. Check the folder for gaps in the numbering first. If the count is complete, drop the playback from 30 to 24 fps and the chop usually disappears.
Tips for Smoother Time-Lapse Footage
Give the shot internal motion rather than expecting speed to carry it. Look for something that changes within the frame: traffic counting peaks, clouds crossing a ridge, shadows sweeping a wall, flowers opening. Then choose a composition with a clear foreground subject so the eye has somewhere to land.
Shoot at the hours when the light changes fastest if you want the sequence to feel alive, and lock the settings in even though the light is shifting. You can raise or lower the whole clip in post, and any real-world gain from an auto-exposure camera is dwarfed by the flicker it costs you.
For day-to-night sequences, avoid the automatic approach entirely. Every camera struggles when light falls by five or six stops in minutes. Plan several exposure segments, ramp them manually during the sequence, and blend the levels in post.
Take fewer, better shots. Twelve sequences of ten minutes beat one four-hour sequence that runs through a power cut at the worst moment. Keep a checklist per shoot: settings, interval, card free, batteries charged, first frame sharp, and do not walk away until that last one is confirmed.
Motion control is worth adding later, not first. A slider or pan-tilt head moving an inch or two over the hour gives a sense of depth that static frames cannot, but it multiplies your failure points. Get locked-off sequences solid before you add moving parts.
Frequently Asked Questions
What is the best interval setting for a time lapse?
Match the interval to your subject. Use 1 to 3 seconds for sunrise and sunset, 3 to 10 seconds for drifting clouds, 15 to 30 seconds for stars and slow night skies, and 5 to 15 minutes for construction or seasonal change. Shorter intervals give smoother motion but fill your card faster. The interval must always be longer than your exposure time, with a second of margin at minimum.
What shutter speed should I use for time lapse photography?
It depends on how fast your subject moves. Around 1/500 second or faster freezes flowing water and leaves sharp. Slower speeds, roughly 1/30 to 1/60, turn clouds and water into soft streaks that look cinematic. In bright daylight you will need a neutral density filter to hold a slow shutter speed, since stopping down further affects image quality. Test the speed before the full sequence.
How do I make a time lapse with my iPhone?
Open the camera app, switch to Time-lapse mode and frame the shot, then prop the phone on something solid and leave it alone. It captures at a fixed interval chosen by the app with no manual control over aperture, ISO or white balance, so you cannot fix drift in post. For more control, use an app that triggers still photos over Bluetooth or Wi-Fi and edit those instead.
How long would a 30 minute time lapse be?
A 30-minute recording holds 1800 seconds of real time, so at a 3-second interval you get 600 frames, which plays back at roughly 25 seconds at 24 fps. At a 1-second interval the same recording gives 1800 frames, or 75 seconds of footage. At 5 seconds it gives 360 frames, about 15 seconds. The interval you pick decides whether the clip feels like a rush or a slow drift.
How do I stop my time lapse footage from flickering?
Shoot in full manual mode with fixed aperture, shutter speed and ISO, and disable auto ISO and auto white balance. Brightness flicker comes from the camera re-metering each frame. Aperture flicker comes from rounding at certain f-stops, so stop down one stop or use a manual aperture ring. Shutter flicker comes from mains lighting, and changing shutter speed or using a mirrorless body with an electronic shutter usually solves it.
What is the best time lapse software for beginners?
For a first sequence, a plain video editor such as DaVinci Resolve, Kdenlive or Adobe Premiere is enough: import the frames as a sequence, set the frame rate and export. Dedicated tools such as LRTimelapse or a deflicker plugin are worth adding once you shoot RAW regularly and need visual preview and exposure ramping across hundreds of frames.
Conclusion
How to make a time lapse with a camera comes down to four things: a locked-off camera in full manual mode, a focus and white balance you set once and never touch, an interval longer than your exposure time, and enough power and card space to outlast the shoot. Add the interval formula, frames equal video seconds times frame rate, and the planning stops being guesswork.
Start small. Shoot a short daylight test sequence, check the sharpness and brightness on the first twenty frames, and fix anything wrong while the tripod is still up. Once that looks right, the same routine scales to a sunrise or a week of construction work without any change.