
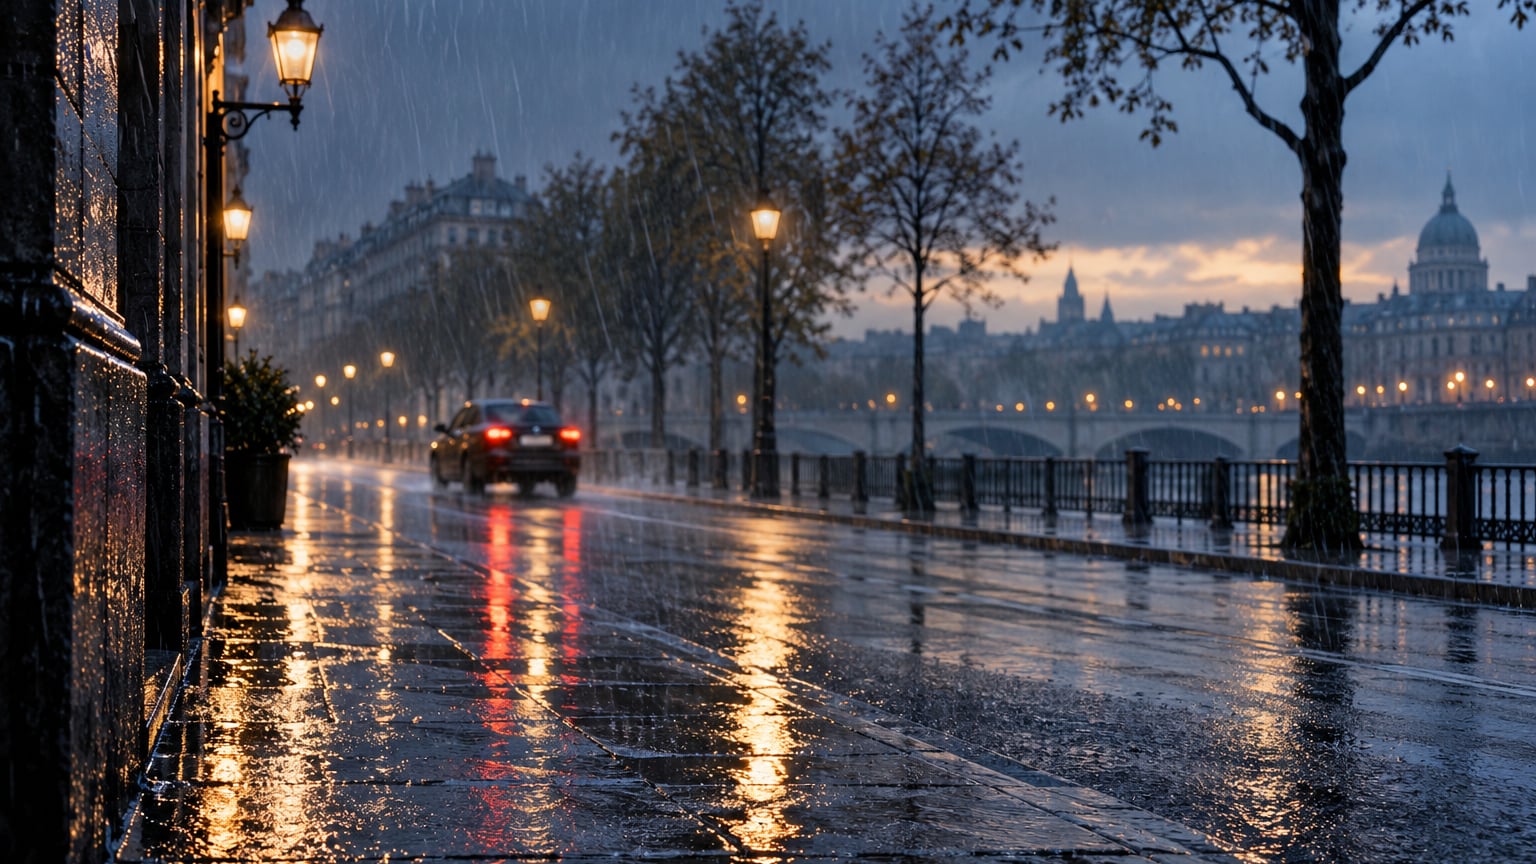
Learning how to add rain to a photo in Photoshop comes down to four native tools: a new layer, Add Noise, Motion Blur and the Screen blend mode. You scatter random pixels, stretch them into streaks, then blend the result over your photo so only the white rain survives. The whole core effect takes about 15 minutes on a mid-range laptop, and nothing destructive is applied to the original pixels.
There is no built-in rain button anywhere in the Filter menu, which trips up a lot of people who assume the effect is hidden somewhere. It also does not require a paid rain overlay pack, a plug-in or stock texture. Every step below uses filters that ship with any recent version of Photoshop, and each one stays editable so you can go back and change a value later.
The version used here is Photoshop on the desktop, and the same menu paths work from roughly Photoshop CS6 onward, including Photoshop Elements for most of the core steps. If you are on a subscription plan in 2026 or working on an older machine, nothing in the method is version-locked.
Table of Contents
- What You Need
- Step-by-Step: How to Add Rain to a Photo in Photoshop
- 1. Choose a Photo That Can Support Rain
- 2. Prepare the Image and Create a Rain Layer
- 3. Add Realistic Rain Streaks
- 4. Add Depth With Layer Styles
- Settings Reference: Drizzle Versus Storm
- 5. Create Wet Surfaces and Reflections
- 6. Add Splashes and Small Weather Details
- 7. Match Color, Contrast, and Atmosphere
- 8. Review and Export the Finished Image
- Common Mistakes and Quick Fixes
- Frequently Asked Questions
- Can I add rain to a photo without using a rain overlay?
- What Photoshop blend mode should I use for rain?
- How do I make digital rain look more realistic?
- How do I create different levels of rain depth?
- Can I add rain to a black-and-white photo in Photoshop?
- Can I add rain in Photoshop on a tablet or mobile device?
What You Need
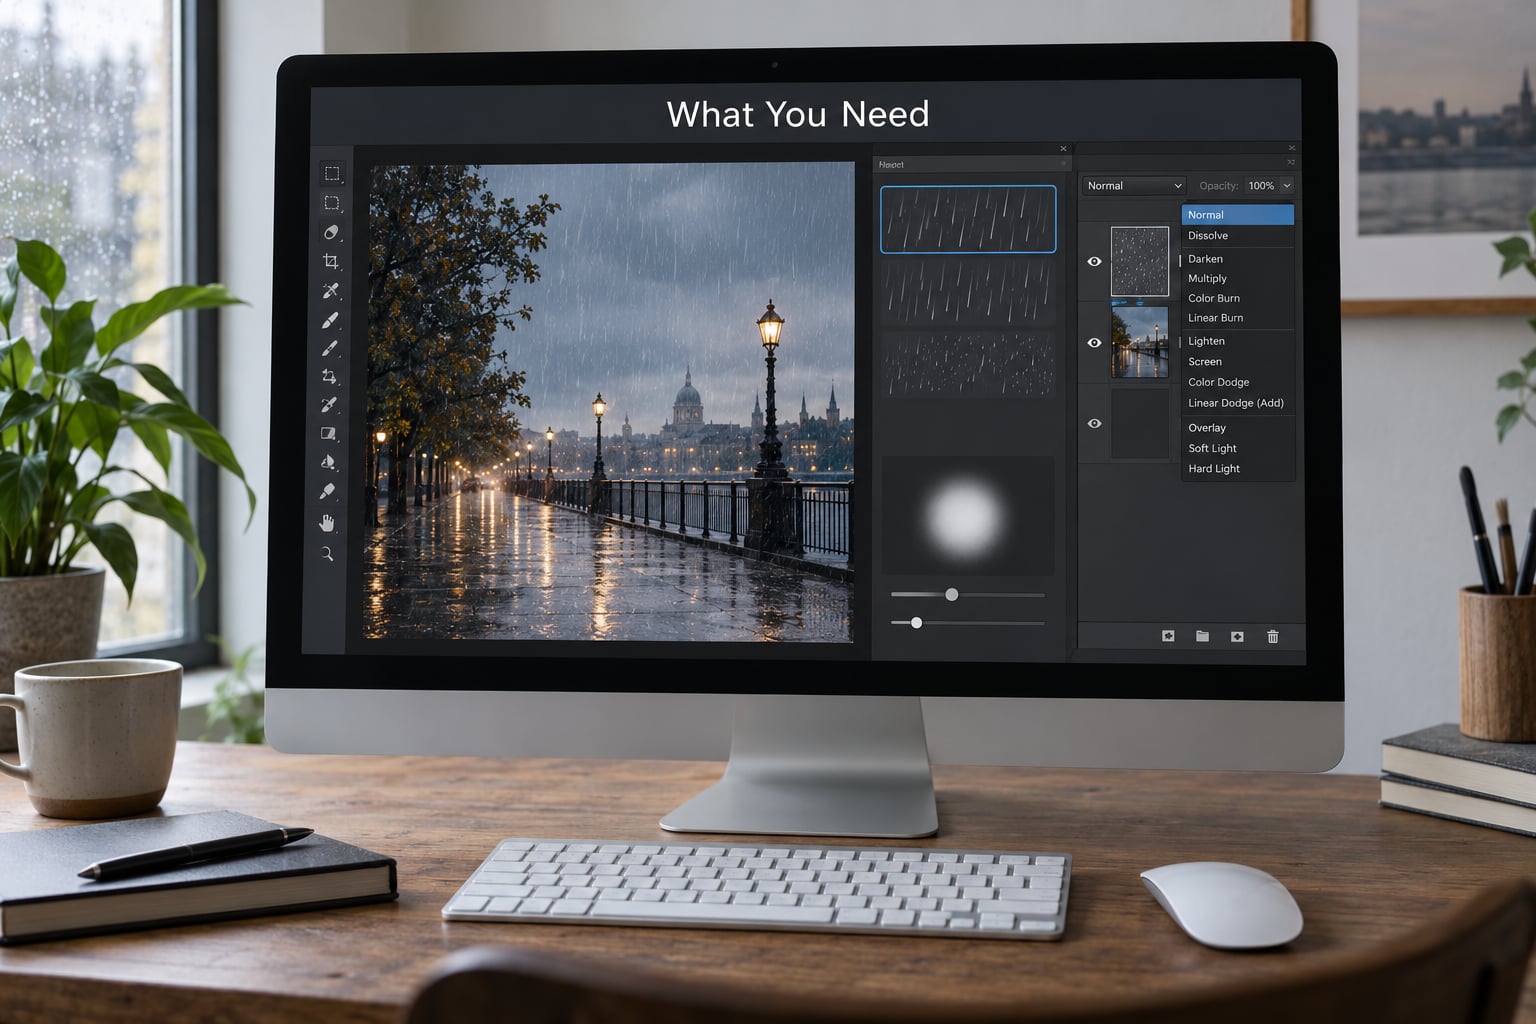
Before you open a photo, check three things. First, your file mode: go to Image > Mode and make sure the image is set to RGB Color at 8 bits/channel. A grayscale or 16-bit file behaves oddly with the Add Noise filter and will make blending unpredictable.
Second, resolution. The noise layer gets scaled up by several hundred percent during the process, and that is what drags the file size and preview speed down. Working at 12 megapixels or below keeps Photoshop responsive; you can always scale up the finished file at the end.
Third, a duplicate of your original. Press Ctrl+J (Windows) or Cmd+J (Mac) to duplicate the Background layer, unlock it, and rename it Base. Right-click the duplicate and choose Layer > Convert to Smart Object so every filter applied from here on is a smart filter you can re-open.
Optional extras, none of them required: a soft round brush for splashes and surface texture, and a rain overlay if you want to compare the native method against a stock one. If you would rather build surface grain from scratch, the texture technique in this guide works on the same layer setup.
Step-by-Step: How to Add Rain to a Photo in Photoshop
1. Choose a Photo That Can Support Rain
Rain reads as a bright element over darker areas, so contrast in the source image decides whether the effect works. Open your photo at 100% zoom and look for large zones of midtone and shadow: a windowless street at dusk, a forest road, a concrete wall, a car interior at night. Those give the streaks somewhere to land.
Flat midday shots with blown-out sky and bright walls are the hardest case. If your photo is mostly white, the Screen blend mode has nothing to work against and the rain will vanish no matter how much noise you add. Pulling the exposure down in Camera Raw Filter before starting fixes most of that.
Depth matters just as much. A frame with a strong foreground, midground and background gives you natural places to put three separate rain layers. A flat close-up portrait has one depth plane only, so the rain will read as a texture stuck on the lens instead of weather in the scene.
2. Prepare the Image and Create a Rain Layer
With the Base smart object in place, create a new layer above it and name it Rain Base. Press Shift+Backspace (Mac: Shift+Delete) to fill the layer with black. Do not use the Fill dialog for this step; the keyboard shortcut fills with the foreground color, and black is what you want.
Now open Filter > Noise > Add Noise. Set Amount to 25%, choose Gaussian in the Distribution dropdown, and tick Monochromatic. Monochromatic is the one that matters: without it you get colored speckle that never disappears under Screen blending and produces a faintly purple or green haze over the whole image.
Confirm the layer has turned into grey static, then set its opacity to about 50% so you can still see the photo underneath while you work on the next stage. If it is pure black or pure white, the amount is wrong.
3. Add Realistic Rain Streaks
Noise dots are droplets; rain needs them stretched. Go to Edit > Transform > Scale, hold Alt (Mac: Shift) to lock the proportions, type 400% into the Scale Height and Width boxes, and press Enter. The static turns into a field of soft round blobs the size of fat drops.
Those blobs now extend far past the canvas edges, and every one of those pixels costs you performance. Clear them out: press Ctrl+A (Mac: Cmd+A) to select all, go to Image > Crop, then Select > Deselect. The canvas is now filled edge to edge with noise and nothing wasted off-canvas.
Keep the scale relationship in mind for later: 400% gives large, close, heavy drops, while 200% to 250% gives finer drizzle that suits wide shots and distant backgrounds.
4. Add Depth With Layer Styles
Convert Rain Base to a Smart Object (right-click the layer, or use the filter menu icon at the bottom of the Layers panel) and set the blend mode at the top of that panel to Screen. Screen hides every black pixel in the layer and keeps only the bright ones, which is exactly why the black fill was worth the extra step.
Apply Filter > Blur > Motion Blur next. Set the Angle to 65 degrees and Distance to 75 px, then click OK. The blobs smear into falling streaks. Because this is a smart filter, double-click it later to retune the direction or length without rebuilding anything.
You will usually see a thin bright band along the edges where the blur sampled past the layer boundary. Fix it the same way every time: with the smart object selected, press Ctrl+T (Mac: Cmd+T), set Scale to 110%, commit, and the band disappears behind the canvas.
Settings Reference: Drizzle Versus Storm
Here are the values that actually move the look. All of them live in dialogs you can reopen, so treat these as starting points rather than rules.
| Setting | Light drizzle | Heavy storm | What it changes |
|---|---|---|---|
| Add Noise amount | 12% to 18% | 35% to 50% | How many drops exist in the layer |
| Scale | 200% to 250% | 400% to 600% | Drop size, and therefore streak thickness |
| Motion Blur angle | 80 to 90 degrees | 55 to 70 degrees | Fall direction; vertical reads as calm rain |
| Motion Blur distance | 25 px to 40 px | 80 px to 120 px | Streak length and sense of speed |
| Levels black point | 80 to 110 | 140 to 180 | Density; a higher black point keeps fewer streaks |
For depth, duplicate your finished rain layer twice so you have three. On the back copy, raise the Motion Blur distance to around 150 px and lower layer opacity to 35%: that is far, fast, hazy rain. On the middle copy, use roughly 80 px at 60% opacity. Keep the front copy sharp and bright. Paint a soft black gradient onto each layer mask so the streaks fade out near the top of the frame and stay strongest at the bottom, where you are standing.
5. Create Wet Surfaces and Reflections
Rain without wet ground looks unfinished, because falling water has to land somewhere. Select the area that would actually hold water: the road, a sidewalk, a windowsill, a car roof. Skip vertical surfaces high on walls and foliage.
For the darkening, add a Curves adjustment layer above the Base layer and pull the shadows down while keeping highlights roughly where they are. Paint that adjustment only onto your wet areas with a large soft black brush on its mask. Then add a second adjustment, a Hue/Saturation layer dropped to about -25 saturation over the same mask, to give the surface that oily, dark-saturated look.
For reflections on horizontal surfaces, the reliable trick is a Luma matte. Select the bright sky or a light source with Select > Color Range or Quick Selection, copy it, paste it above your road, flip it vertically with Edit > Transform > Flip Vertical, then Ctrl-click its thumbnail to load it as a selection and mask it onto the wet surface. Darken it, blur it a touch, and set it to 30% to 40% opacity. It never looks like a mirror, which is the point.
6. Add Splashes and Small Weather Details
Streaks alone read as falling rain; splashes are what tell you rain is hitting the ground. Build a small custom brush: create a new document roughly 200 px square on a transparent background, scatter a few irregular white marks, define it as a brush preset (right-click the thumbnail, Define Brush Preset), and close the document.
Set the brush Transfer options so Scatter and Tip Shape Variation are high, which gives an unpredictable spray from a single stroke. Paint it along the bottom edge of the frame and around your subject’s feet. On a new layer, apply Layer Style > Outer Glow in Screen mode with a small spread: that faint halo is what separates a splash from a white dot.
Vary scale and focus as you go. Larger, slightly blurred splashes go in the far background, small sharp ones at the very bottom edge closest to the lens. Any splash that competes with the subject for attention should be painted out on the layer mask.
7. Match Color, Contrast, and Atmosphere
Digital rain arrives on a photograph that was graded for clear weather, so the grade has to catch up. Real rain scenes have lifted blacks, reduced contrast and a cool cast, because the atmosphere is scattering light across the whole frame.
Add a top-level Curves layer and lift the black point slightly so shadows go grey rather than black. Then add a Color Lookup or Hue/Saturation layer and shift the whole image a few degrees toward blue and cyan while dropping saturation about 15%. Both layers sit above everything, so the rain and the photo get graded together and stay consistent.
For mist, which is what sells distant rain, add one new layer and fill it with 50% gray (Edit > Fill > Gray 50%). Run Filter > Render > Clouds, then Filter > Blur > Gaussian Blur at 60 px to 80 px. Set the blend mode to Screen and the opacity to 15%. Push more mist into the upper part of the frame with a mask and gradient, and barely any into the foreground.
8. Review and Export the Finished Image
Zoom to 100% and hunt for the things that give compositing away: streaks that stop at a hard edge, bright halos around the subject, rain crossing a face at full brightness, splashes of the same size repeating along the bottom. Mask or soften each one rather than leaving it for someone else to notice.
Step back to Fit on Screen and judge the overall image, not the individual drops. If the rain is the first thing you see, it is too strong. Most convincing results sit slightly behind the subject.
Before exporting, flatten the smart objects (right-click each and choose Rasterize Layer) only if you are producing a final flattened file; keep your layered working version intact. Check the result once more at 100% after flattening, then use File > Export > Export As to save at full resolution, or File > Save As to keep the editable PSD.
Common Mistakes and Quick Fixes
Most disappointing rain results come from one of a handful of predictable errors. Here is what each one looks like and what changes it.
| Problem | Cause | Fix |
|---|---|---|
| Rain looks like TV static | Motion Blur distance too low, or blur never applied | Reopen the smart filter and push distance to 60 px or more |
| Rain is barely visible | Source photo too bright, or rain layer opacity below 40% | Darken the photo first, raise rain opacity to 70% to 100% |
| Rain falls the wrong way | Motion Blur angle set relative to your canvas, not to the scene | Set angle to 90 for vertical falls, 60 to 70 for wind-driven diagonal rain |
| Bright bands along the frame edge | Motion Blur sampled outside the layer boundary | Free Transform the rain smart object to 110% scale |
| Photoshop slows to a crawl | Noise layer scaled to 600% or more at full resolution | Crop the overflow after scaling; work at 12 megapixels or below |
| Surfaces look like plastic | Reflections too sharp, too bright or applied to vertical surfaces | Blur them 3 px to 5 px, drop opacity to 30%, keep them on horizontal areas only |
| Rain draws attention to the face | Front rain layer at full brightness over the subject | Mask the front layer over the face with a soft black brush |
A few habits that prevent most of this. Convert to Smart Object early, because every filter you add after that point stays re-editable and you stop dreading the first attempt. Clip your adjustment layers to the rain layer instead of applying them directly, so the original photograph is never permanently altered.
Keep three separate rain layers rather than one. Real rain always has near, middle and far, and using one layer for all three is the single biggest reason fake rain looks fake. If you want the same workflow for a different effect, the layer-style and adjustment-layer approach in the Photoshop Actions guide applies directly.
And give yourself two passes. Build it once, save the file, then reopen it the next day and look with fresh eyes. Anything that jumped out at you at 2 a.m. will still be wrong at 9 a.m.
Frequently Asked Questions
Can I add rain to a photo without using a rain overlay?
Yes, and the native method usually looks better. You build rain from Add Noise, Motion Blur and the Screen blend mode, all of which ship with Photoshop. An overlay is a flat image pasted on top, so it cannot be angled, layered for depth or adjusted after the fact, and it usually shifts the color of the whole photo. The filter version stays editable and costs nothing.
What Photoshop blend mode should I use for rain?
Screen is the standard, because it discards every black pixel in the layer and keeps only the bright ones, so your black-filled noise layer drops out and only white streaks remain. Overlay works for heavier storm passes where you want the rain to interact with midtones, and Soft Light is a gentler option for mist. Avoid Normal, since the black fill will simply cover your photograph.
How do I make digital rain look more realistic?
Depth is the answer. Use three rain layers: a long, blurred, low-opacity layer for distant rain, a medium layer in the middle, and a short, sharp, bright layer in the foreground, each masked so streaks fade toward the top of the frame. Then add wet darkened surfaces, a little mist, and slightly lifted blacks with a cool cast. One uniform layer of streaks is what reads as artificial.
How do I create different levels of rain depth?
Duplicate your finished rain layer and change the Motion Blur distance and opacity per copy. Distant rain wants roughly 150 px of distance at about 35% opacity, mid-distance around 80 px at 60%, and foreground rain near 40 px at full strength. Mask each layer with a soft black gradient so it thins out toward the top of the frame and reads as falling toward the camera.
Can I add rain to a black-and-white photo in Photoshop?
It works well, and black-and-white hides a lot of mistakes, which makes it a forgiving place to learn. Switch the image to RGB Color mode first, since the Add Noise filter behaves unpredictably in grayscale, then run the normal steps. Keep your final grade neutral: pull saturation down rather than pushing a cool tint, because in monochrome a color cast just muddies the whole frame.
Can I add rain in Photoshop on a tablet or mobile device?
On an iPad with the Photoshop app you get the same filters, so the Add Noise and Motion Blur method works with a finger on the canvas. Expect slower previews on large files, and prefer working at a reduced resolution. If you have no tablet at all, Photopea runs in a browser with the same menu names, and dedicated rain apps are faster for a one-tap result.
Start with the core recipe: fill a layer black, Add Noise at 25% with Monochromatic on, scale to 400%, crop, convert to Smart Object, set Screen, then Motion Blur at 65 degrees and 75 px. Once those streaks look right, the depth layers, wet surfaces and mist are what separate convincing rain from an overlay. If you want to keep this workflow repeatable across a whole shoot, save it as an action once you are happy with the values.