
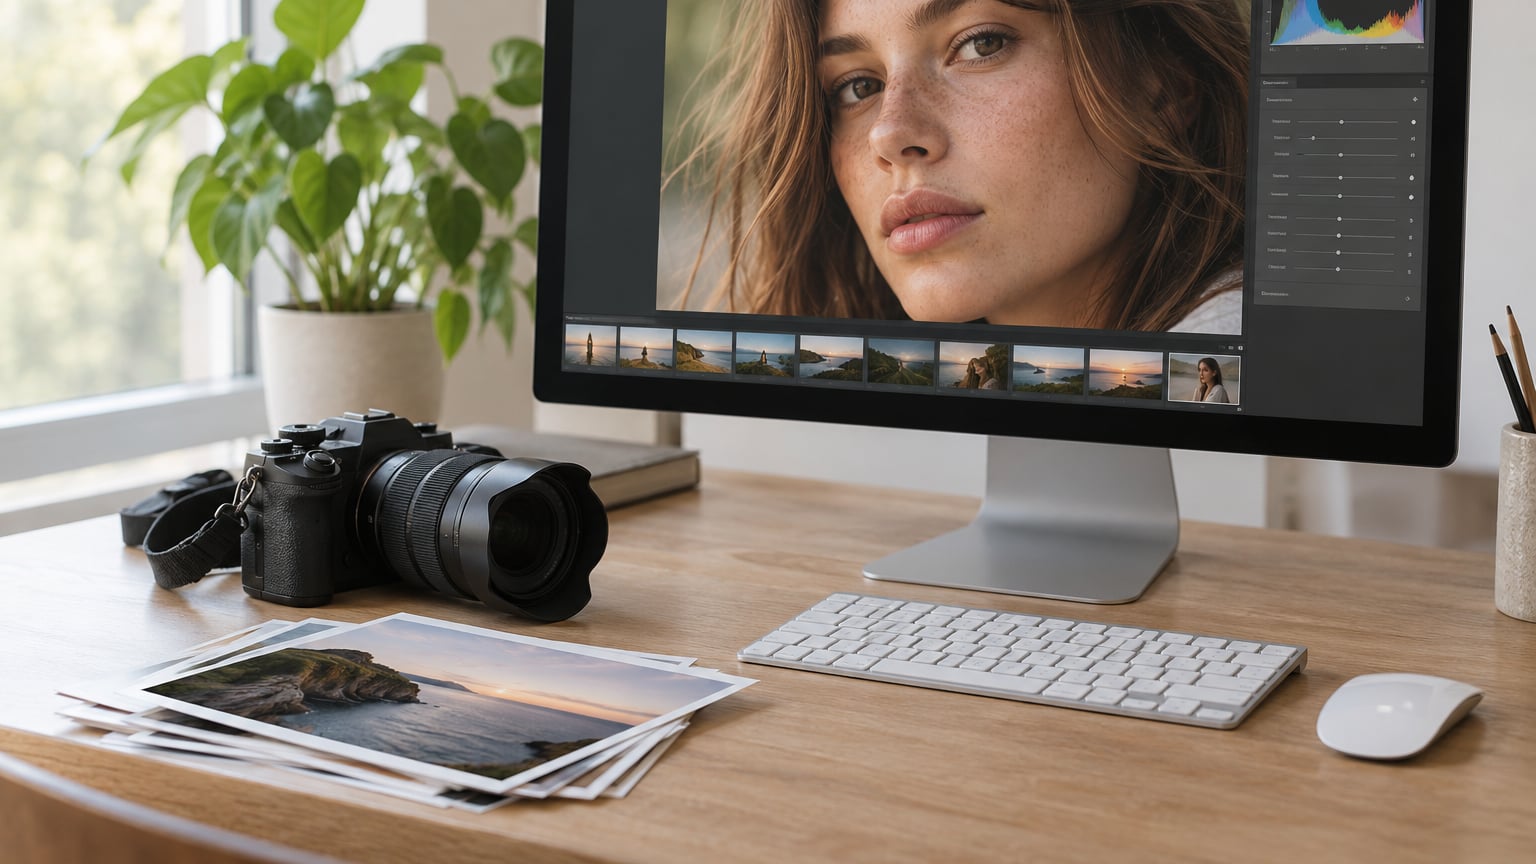
Red eye in a photo happens when the camera flash bounces off the blood-rich retina and straight back into the lens, so the pupil records as bright red. To fix red eye in an image, turn on your camera’s red-eye reduction mode while shooting, or use the retouch tool that ships with your phone or editor and brush the redness out of the iris. Most shots take about five minutes to correct.
The fix is easier than most people expect because every phone and most desktop editors already contain the tool. What makes the difference between a correction that looks real and one that looks wrong is how small you keep your brush.
Table of Contents
What You Need
For correcting a photo you already have, you need the original file at full resolution, an editor that opens it, and about five minutes. For preventing red eye before it happens, you need a camera or phone with a flash and the red-eye reduction setting switched on.
Open the original rather than a copy that has been sent through a messaging app. Compressed versions from text messages and social apps have already thrown away the detail around the pupil, and retouching a blurry iris only makes the effect more obvious.
What each setup gives you
- Phone Photos app — a Retouch brush on most recent iPhones and Android phones. Fast, free, no sign-up, works on the original file.
- Desktop editor — Photoshop, Lightroom and Photopea all have red-eye specific tools. More control over catchlights and edge softness.
- Browser tool — a page that processes the image on your own machine. Good for a one-off, but check whether it uploads your photo to a server first.
- Optional: a second monitor — useful only for batch work, where you compare a whole folder of event shots side by side.
Step-by-Step: How to Fix Red Eye
1. Prevent Red Eye Before Taking the Photo
Red eye only shows up when the flash sits close to the lens and the pupil is wide open. In dim rooms the pupil dilates to let in more light, which is exactly when the flash can reach the retina and reflect back. So the fix is about light and flash position, not about the subject.
Turn on red-eye reduction first. The camera fires a series of quick pre-flashes before the real one, which makes the pupil contract so less of the retina is exposed. On most cameras it sits in the flash settings, often behind a small eye icon, and on phones it is usually labelled Red-Eye Reduction or Auto in the flash menu. Shutter-priority and sport modes often switch it off by default, so check it before a shoot rather than after.
Then move the flash away from the lens axis. On a camera with a pop-up flash that means stepping back a few feet so the flash sits above and to one side of the lens rather than dead centre. The reflected path no longer runs straight into the lens, and the red disappears even when the pupil is wide.
Add ambient light where you can. Turning on a room light or a window beside the subject narrows the pupil and shrinks the problem before the shutter fires. When neither works, switch the flash off entirely and raise the ISO instead, or use a bounced off-camera flash on a stand.
2. Choose the Right Editing Tool
Three methods work, and the right one depends on how bad the effect is and what software you have open.
Automatic red-eye removal draws a circle around each eye, samples the colour inside it and desaturates the red. Fastest of the three, and it handles the mild flash glow on a small or squinting eye. Its weakness is any eye where the circle lands partly on skin, because the tool shifts skin colour along with the pupil.
Healing and retouch brushes let you paint the correction. Slower, but you control exactly which pixels change, which is what you want on a wedding or portrait shot. This is the method that keeps the catchlight intact.
Manual colour work means dropping saturation on the red channel, or painting the iris darker with a soft brush at low opacity. It takes the longest and is the only option for video or for a photo already damaged beyond what the automatic tools recognise.
For event work, decide the correction method once and keep it consistent across the whole set so the finished gallery looks like it came from one shoot.
3. Apply the Red-Eye Correction
Open the image, zoom to roughly 400 percent so you can see the pupil edge, and select the retouch or healing brush. Set the brush size so it is slightly smaller than the iris. If the brush is wider than the pupil, it starts bleeding correction onto the white of the eye and onto the skin at the corner.
Now the part that decides whether the result looks believable: the catchlight. That bright white dot that gives an eye its sparkle is a reflection of the light source, not part of the red. Mask it out, or work around it, before you start painting. Losing a catchlight makes the eye read as glassy and dead even when the colour is correct.
Set the tool strength to medium and make several light passes rather than one heavy one. Each pass nudges the redness down, and you can compare against the surrounding whites of the eye, which should be the only truly bright area left. Most of the time three or four gentle passes clear it.
Watch the skin right below the lower lid. That thin strip of skin picks up the same reflection and turns pink, and it is the detail that gives away a heavy-handed edit. A few careful strokes on the skin fix it.
4. Check the Result at Normal Size
Drop to 100 percent, then step back until the eye is small on screen. That is roughly the size a viewer sees it, and it is the only size that tells you whether the eye still looks like an eye. At full zoom almost every correction looks worse than it is.
Toggle between the edited version and the original a few times with the eye fix under your cursor. If your attention snags on the eye when it flips, something is still off: usually a visible brush edge, a colour shift in the sclera, or an iris that is now darker than the shadow falling across the other eye.
Compare both eyes. A flash glow usually hits one eye harder than the other, and correcting both to the same value can make them look mismatched. Match the natural difference instead.
5. Save the Corrected Image
Save to a new filename and keep the untouched original. Retouching is destructive once you flatten, and the original is the only thing that lets you try a different approach later.
For a layered file, keep the work in PSD or a similar format so you can reopen the eye without starting over. For delivery, export as JPEG at quality 90 or above, or PNG when you need the detail kept intact. Going below about 85 introduces artefacts around the high-contrast pupil edge that look like the red was never fixed.
If the shot came from a phone in HEIC format, convert it to JPEG or PNG before editing so every tool you try can open it.
Common Mistakes
Correcting the whole eye instead of the iris
Most people paint the entire eye socket red-free. Shrink the brush so it sits inside the pupil and follow the round edge of the iris as you work. Anything outside that circle should stay exactly as it was.
Turning the iris grey or flat
Desaturating too aggressively strips natural colour from the iris and leaves a grey disc. Reduce the red only, and keep the brown, green or blue tones that were already there.
Losing the catchlight
That white dot is the whole difference between a lively eye and a dead one. Mask it or avoid it before you start, and add a small white dot at low opacity afterwards if it has already been dulled.
Over-blurring to hide the transition
Blur pushes a soft smudge into what was sharp detail. Several gentle passes at medium strength give a cleaner result than one heavy pass, and the iris texture stays readable.
Editing from a compressed preview
A thumbnail or a copy sent over a messaging app has almost no detail in the pupil. Work from the original file on the phone or card, then export.
Frequently Asked Questions
How do I fix red eye in a photo on my iPhone?
Open the photo in the Photos app, tap Edit at the top right, then choose Retouch from the bottom row of tools. Set the brush size just smaller than the pupil, keep the strength at medium, and make a few light passes over the iris. Tap Done, then save as a copy so your original stays untouched. The exact tool name moved between iOS versions, so look for Retouch rather than an older Red Eye entry.
Why do red eyes happen in photos?
Red eye occurs when a flash fires close to the lens in dim conditions. The subject’s pupil is dilated to gather light, so the flash reaches the retina and reflects off its blood-rich surface straight back into the camera. Because the retina absorbs green light and returns red, the pupil records as a glowing red disc. Moving the flash off the lens axis, adding room light, or using red-eye reduction mode all stop the reflection returning to the lens.
What is the best free red eye removal tool?
For most people the Retouch brush already built into the phone Photos app is the best free option: it needs no download, processes the original file, and adds no watermark. Photopea in a browser is the strongest free upgrade because it gives you a healing brush and layers. When you use any browser tool, check whether the image is processed on your own machine or uploaded, since family photos are worth keeping local.
Can red eye be completely removed from a photo?
Mild and moderate flash red eye can be removed convincingly with a retouch brush. Severe cases where the pupil is a flat, fully saturated red blob usually improve but never look quite natural, because the reflection also bleeds into the sclera and the skin below the eye. Extremely close-up shots of a very dark iris are the hardest to fake. When a portrait matters, reshooting with the flash off or repositioned beats any amount of retouching.
How do I remove red eye from a whole batch of photos?
Shoot for prevention first, because fixing hundreds of frames one at a time does not scale. Turn on red-eye reduction or move the flash off the lens axis at the event and most frames never need editing. For the ones that do, use an action in Photoshop or a synced preset in Lightroom, apply it across the selected folder, then spot-check the results at full size and refine the worst eyes by hand.
Conclusion
Start at the camera whenever you can. Red-eye reduction mode, a flash held off the lens axis, or simply more light in the room means no edit at all. For photos already taken, open the original file, use the retouch brush smaller than the iris, protect the catchlight, and take three or four light passes rather than one heavy one.
Then zoom back to normal size and compare against the original before you save. That check catches almost every bad correction, and it is the difference between a fixed eye and one that just looks fixed.