
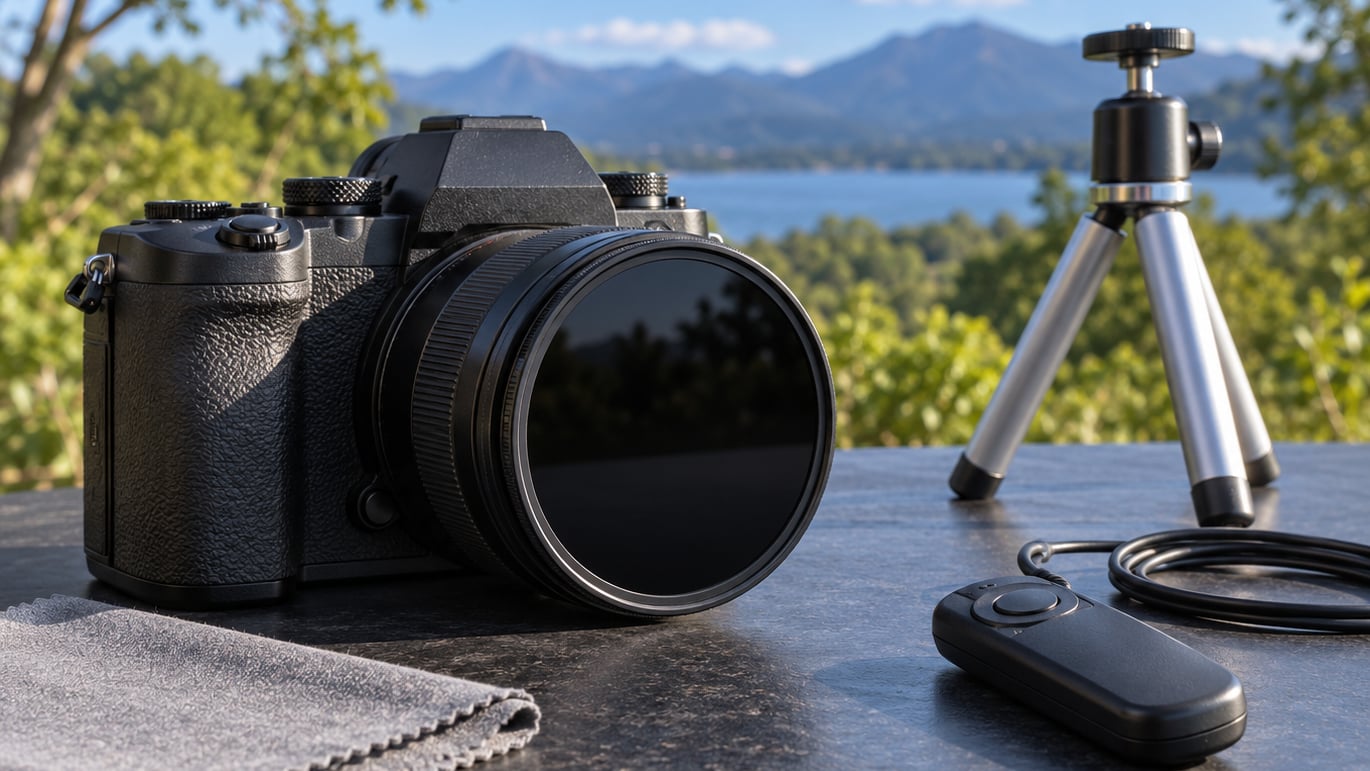
To shoot infrared photography you need to defeat your camera’s internal infrared cut filter, and there are only two ways to do it: screw an IR-pass filter onto the lens of an unmodified camera and shoot long exposures on a tripod, or have the sensor converted so infrared light reaches it and you can work handheld at normal shutter speeds. Everything else — focus, exposure, white balance, editing — follows from which route you pick.
This guide covers both. It takes about 20 minutes to read and a half-day of shooting to put into practice, and the difficulty is mostly mechanical rather than creative. The strange part is the first ten frames: the LCD looks grey and unusable, and then a white balance adjustment and a curve reveal an image that looks nothing like the scene in front of you.
The techniques here are current for 2026 and apply to any mirrorless or DSLR body, plus the odd converted or modified camera. If you are coming from film or from monochrome work, our guides on how to shoot black and white film and how to shoot fine art photography cover a lot of the same thinking about tone and subject.
Table of Contents
- What You Need
- Step-by-Step: How to Shoot Infrared Photography
- Common Mistakes and How to Fix Them
- Tips for Better Infrared Images
- Frequently Asked Questions
- Can I shoot infrared photography with a normal digital camera?
- What infrared filter should I choose for a beginner?
- How do I focus when taking infrared photographs?
- Why do my infrared photos look too dark or have blown-out leaves?
- Should infrared images be edited in color or black and white?
- Can a smartphone be used to shoot infrared photography?
- Conclusion
What You Need
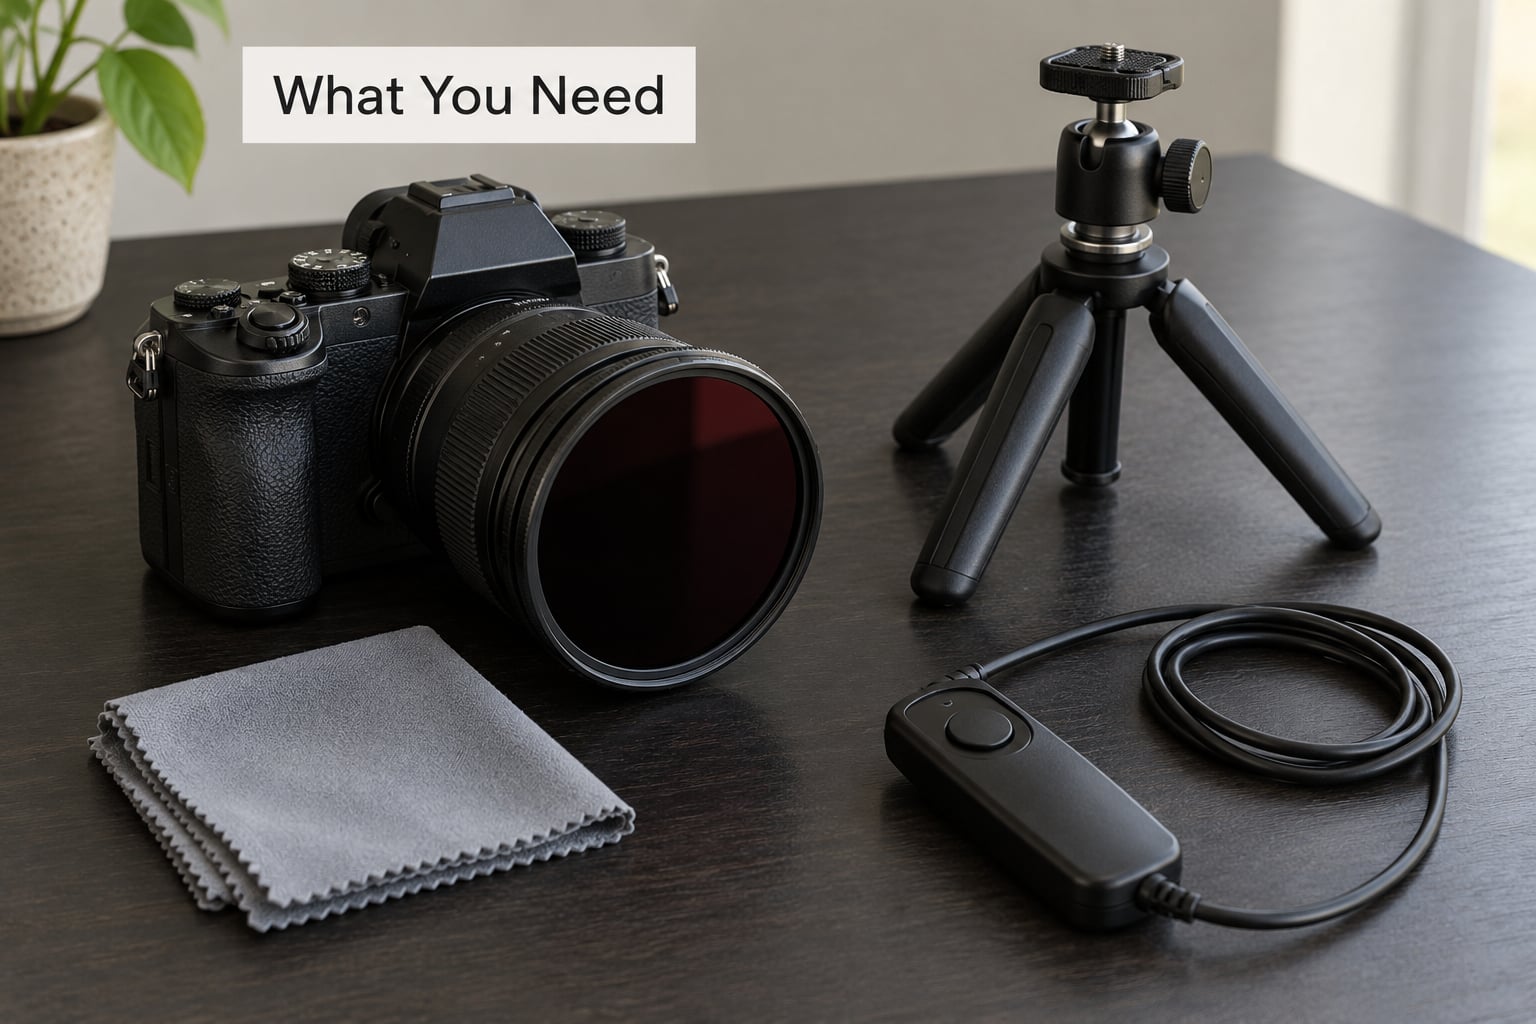
Most cameras can shoot infrared images right now, with no modification at all. What you cannot avoid is a filter — either a screw-on one over the lens, or a conversion service that changes the glass inside the body.
- A camera with manual focus. Autofocus is close to useless behind an opaque IR filter, and some lenses have electronic apertures that behave oddly. Manual focus or a mechanical override is what you will actually use.
- A lens that focuses manually after the filter is on. Screw-on filters add weight and can hit the front element of some wide lenses at close focus distances. A 50mm prime or a short telephoto avoids the problem entirely.
- An IR-pass filter, typically 720nm for black and white work or 850nm for hard contrast, or a converted body if you plan to shoot infrared seriously.
- A tripod and a way to trigger the shutter without touching the camera. A wired two-second timer remote costs very little and solves both problems at once.
- A grey card or white paper for setting a custom white balance, which is the single most important step in the whole workflow.
- RAW capture and editing software that lets you set white balance and swap colour channels. Any raw converter will do; the channel work happens in a layer or adjustment workflow.
One more piece of background is worth 30 seconds. Inside nearly every camera sits a factory IR cut filter, a piece of glass bonded to the sensor that blocks infrared light so colour images look natural. External IR filters work by blocking everything else and letting the infrared through. Conversion removes the internal filter and replaces it with a clear quartz plate, so infrared floods the sensor and you control the look in software instead of with glass.
That gives you three practical routes, and they differ more than the price gap suggests.
| Route | What changes | How you shoot | Trade-off |
|---|---|---|---|
| IR-pass filter on an unmodified body | Nothing on the camera, glass on the lens | Tripod, 10 to 30 second exposures, manual focus | Cheapest and fully reversible, but slow and blind |
| IR-pass converted body | Internal cut filter replaced with glass that blocks visible light | Normal shutter speeds, autofocus and viewfinder still weakened | Handles like a normal camera; only infrared works |
| Full-spectrum converted body with drop-in filters | Internal filter replaced with a clear quartz plate | Handheld, normal shutter speeds, filters changed in the mount | Most flexible; conversion is irreversible and voids the warranty |
If you shoot handheld travel work, the full-spectrum route with a drop-in filter mount adapter is where most committed infrared photographers end up, because you can change the wavelength in the mount instead of unscrewing glass on a dark roadside. If you want to try the look for a fortnight and then go back to normal photography, a filter and a borrowed tripod is the honest answer.
Step-by-Step: How to Shoot Infrared Photography
Infrared photography succeeds or fails on three things: sharp focus, an exposure that does not blow out the foliage, and a white balance that removes the colour cast. Work through the steps below in order and the rest is just decisions about what to point at.
1. Choose a Camera and Lens for Infrared Photography
Any camera with a manual or electronic manual focus mode will work. Sensor sensitivity to near-infrared varies a lot between models, and newer high-resolution bodies often carry a stronger internal IR cut filter than older ones. If you already own two bodies, test the older one first — users on photography forums regularly find that a 2000s-era body responds to an 850nm filter when a recent body barely registers.
Stay away from extreme wide angles behind a screw-on filter. The filter ring can collide with the front element below about 0.3m, and the extra thickness of a strong IR filter widens that zone. A 35mm or 50mm focal length gives you a normal-to-slightly-wide view with a generous focusing throw and no mechanical risk.
2. Attach the Correct Infrared Filter
Filters are the one part of this kit where the wavelength number actually predicts the result. Mount the filter in daylight or under shade with a clean cloth, thread it gently, and tighten only until it is snug. Fingerprints on an IR filter are not cosmetic — they scatter infrared light and can halve your effective transmission.
| Filter | What it does | Result | Best for |
|---|---|---|---|
| 590nm | Passes some visible red, blocks the rest | Near-natural colour with false autumn tones | Beginners wanting an easy colour result |
| 665nm | Passes deep red light | Strong red cast before editing | Raw material for channel swapping |
| 720nm | Passes a sliver of red into the near-infrared | Some colour, correctable to crisp monochrome | A balanced first filter |
| 850nm | Visible light almost fully blocked | Near-black sky, white foliage, highest contrast | Classic infrared monochrome |
| IR Chrome | Tuned to mimic Aerochrome film response | False autumn, pink and cyan skies | Fine art colour prints |
Only the last two are fully opaque to the eye. A 720nm filter usually shows a very dark red image that you can still roughly see through, while an 850nm filter and IR Chrome are black from the front. That difference decides whether you can compose by eye.
3. Set Up in Manual Focus Mode
Focusing is the biggest practical problem with opaque filters, and no tutorial glosses over it. The viewfinder is dark, the sensor shows a smeared haze, and contrast-based autofocus will hunt or lock on nothing at all.
Here is the method that works most reliably. Fit the filter, then turn off autofocus and switch to manual focus. Point the camera at a bright, high-contrast area with texture — a path edge, a stone wall, a lichen-covered trunk — and use live view magnification at 5x or 10x to set focus as close as you can. Now remove the filter, re-aim at the same spot, and refine focus in normal light. The image is soft because infrared focuses at a different distance than visible light, so treat the manual adjustment as a starting point rather than a solution.
Once you own a converted body, all of this disappears. That is the single biggest practical reason photographers convert.
4. Adjust the Camera Settings
Start in manual mode and change one variable at a time. Shoot a frame, check the histogram, adjust. The meter will lie to you repeatedly because the infrared response of foliage and sky is unlike anything the meter was calibrated for.
| Setting | Start at | Why |
|---|---|---|
| Mode | Manual | No auto anything except the self-timer |
| File type | RAW | White balance and channel work happen after capture |
| ISO | 100 to 200 | Long exposures amplify noise fast; start low |
| Aperture | f/8 to f/11 | Enough depth of field to survive focus error |
| Shutter speed | 10 to 30 seconds in sun | Hoya R72-class filters on an unmodified body force this |
| White balance | Custom, from a grey card | Removes the red or blue cast before anything else |
| Drive | 2-second timer or remote | Prevents shake during the exposure |
| Metering | Evaluative, then adjust | Use the histogram, not the meter, as truth |
Expect bright leaves to clip before shadows fill. If the histogram piles up against the right edge, drop the shutter speed by half a stop rather than closing the aperture further — a screw-on IR filter stacked at f/11 or f/16 starts to soften detail through diffraction, and you are usually fighting focus error as well.
5. Compose for Infrared Contrast
Infrared photography is a contrast game, and not every scene answers. Leaves and grass reflect near-infrared strongly, so healthy vegetation goes brilliant white while an overcast white sky turns almost black. Water absorbs infrared and goes near-black too, which is why a lake, a river or a wet road produces such clean separation from the bright bank behind it.
Look for scenes with a hard split between reflective and absorptive subjects: a hedge against dark sky, a wooden jetty over still water, a painted boat hull, wet tarmac with reflections, dew on grass in early light. Textures that are dull in colour light — bark, thatch, stone, corrugated metal — gain depth because the light lands on their surfaces differently.
People are possible but hard. Skin and fabric render unpredictably, focus is unreliable at portrait distances through an opaque filter, and a subject must hold very still through a long exposure. Treat portraits as a later experiment rather than a first project.
6. Take Test Shots and Review the Histogram
Make a short series before you make a real one. Shoot the same composition at 5, 10, 20 and 40 seconds and compare. The longest exposure that still holds detail in the deepest shadow is usually the one you want, because it also gives the smoothest gradients in the bright areas.
Watch for three things on the screen and in the histogram. Highlight warnings mean foliage is clipping and no amount of editing will recover the leaf texture. A flat histogram with a hazy grey preview means the white balance is not set yet. Blacks that look crushed usually recover fine in the raw file even when the screen preview looks lost.
Zoom in at 100% on the subject, not the edges. A crisp centre with soft corners is usually an aperture choice or a hot spot, not a camera fault.
7. Capture Brackets and Detail Frames
Bracket every promising frame in three or five stops and let the raw files carry the range. Infrared scenes have a wider tonal spread than they appear to — white leaves against a black sky is roughly the contrast ratio you get between snow and asphalt — so the frame that looks correct in the preview is often a compromise.
Add detail frames: close on leaf edges, textures, a single branch against sky, a reflection in water, a window grille against a dark wall. Fine art prints live on those frames, and they are quicker to shoot than you would think once the tripod is out and the workflow is running.
8. Process the Infrared Photograph
Open the raw file in a converter that lets you set white balance numerically. Set a custom white balance using the eyedropper on the grey card frame, or on an area of foliage that should read neutral. Most people skip this and end up with the grey, hazy result that makes them think the filter failed. Shoot the grey card in every session — it takes two seconds and it is the difference between a usable file and a wasted afternoon.
Then work in a deliberate order. Set exposure and white balance, pull highlights down before shadows up, adjust the curve to hold the whites without clipping, and add local contrast on the subject rather than globally. Sharpening comes late; infrared files pick up noise in the shadows as soon as you push them.
For colour, a channel swap puts the green channel — which carries most of the infrared signal in an unmodified Bayer sensor — into the red and blue channels. A common starting recipe is red set to 0 and blue to 100 on one channel, and the reverse on the other, then dial both back until the foliage looks like leaves rather than noise. If the result feels too much like a filter rather than a photograph, push it toward monochrome, where abstract photography techniques often do more for the final image than colour tricks do.
Common Mistakes and How to Fix Them
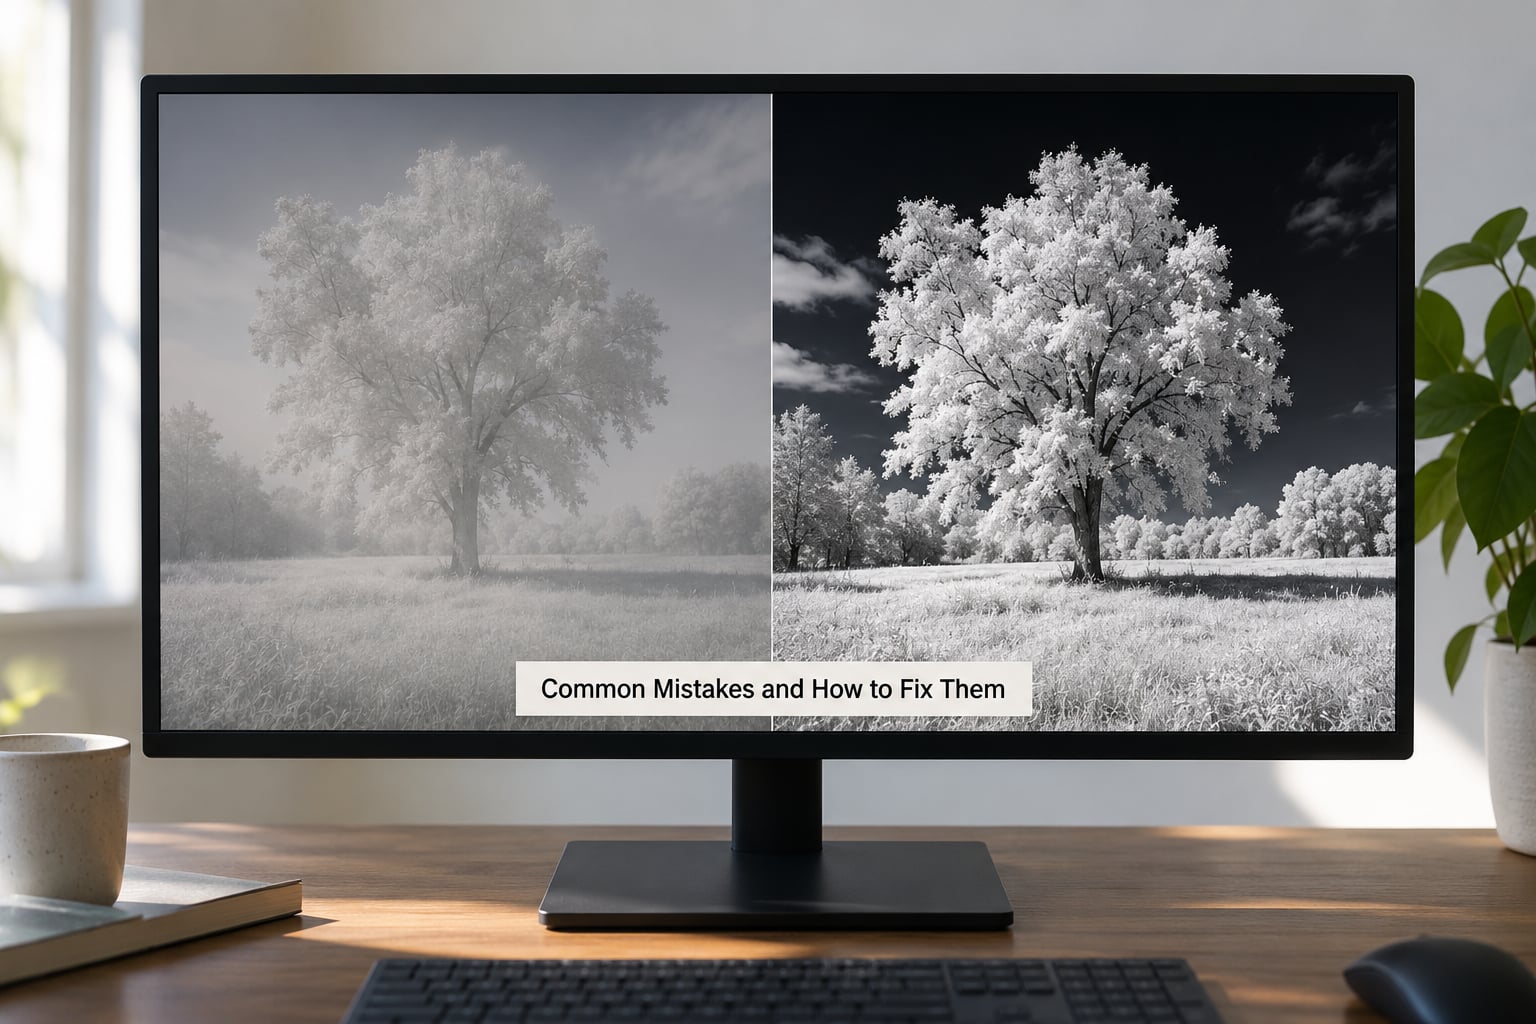
Almost every infrared frustration has a specific cause, and it is nearly always focus, white balance or exposure rather than the filter itself.
| Symptom | Likely cause | Fix |
|---|---|---|
| Grey, hazy, washed-out image | No custom white balance set | Shoot a grey card, set white balance from it, then reopen the file |
| Everything soft | Infrared focus distance differs from visible light | Refocus with the filter off, then fine-tune in live view at 5x or 10x |
| Leaves blown to pure white | Overexposure on the brightest reflective surfaces | Shorten the shutter by half a stop, watch the right edge of the histogram |
| Purple or blue sky | Insufficient white balance correction at 720nm or 850nm | Correct the white balance tint toward the opposite hue until the sky reads dark neutral |
| Heavy noise in shadows | ISO pushed up to counter a long exposure | Return to ISO 100 or 200 and accept a 30-second exposure on the tripod |
| Bright red or white patch in the centre | Lens hot spot, a design artefact of that lens model | Stop down slightly, reframe, or avoid that lens for infrared work |
| Veiling flare across the frame | Sun behind or just outside the frame edge | Shield the front element with your hand or a lens cap, then shoot |
| Dark corners | Filter stack plus vignetting at small apertures | Correct in post, or stop down less and raise ISO instead |
| Remote control light visible in frame | A phone or TV remote flashing infrared | Point remotes at the sensor, or cover them; infrared remotes pulse constantly |
| Uneven light leaking around the filter | Loose filter ring or a thin filter spacer | Re-thread the filter fully and check for a proper step ring |
Two more worth knowing. A converted body is irreversible and usually voids the manufacturer warranty, so check the terms before sending a camera away. And standard raw converters may not open infrared files correctly at all until the file is treated as a different colour space — a grey, wrong-looking preview in a new application is a converter quirk, not a ruined photograph.
Tips for Better Infrared Images
Timing matters less than you would think. Because infrared light behaves differently from visible light, the effect works at almost any hour — some infrared photographers prefer overcast conditions precisely because the soft light gives even leaf reflectance. Bright midday sun does deliver the strongest infrared signal, but it also produces the hardest shadows and the most foliage blowout. Early morning and late afternoon give you the best odds of a balanced frame.
Scout for reflectance rather than for colour. A hedge that looks flat and dull in visible light can go pure white in infrared. Test the spot with your phone through a pair of cheap 850nm glasses if you have them, or just take one test frame and check.
Keep the front element clean and handle filters by the rim. A microfibre cloth and a blower handle almost everything; a cleaning swab with a drop of lens fluid once per session keeps haze from quietly eating your contrast. IR filters appear black, so smudges are invisible until you look at the histogram.
Do your focusing in live view at high magnification rather than by eye through the viewfinder, and stabilise the camera on the tripod before you focus, not after. Turning the tripod off and on changes the alignment slightly, and at f/8 with a filter stack that can cost you sharpness.
Expose to protect the brightest thing in the frame. If you can place a mid-grey subject in the middle of the image — a path, a wall, a rock — the camera’s meter gives you a reasonable starting point, and you fine-tune from the histogram.
There is a parallel path that avoids digital entirely. Ilford SFX black and white film is panchromatic and records near-infrared, so a 400-speed film rated down and loaded onto a medium format camera gives you grainy, high-contrast infrared negatives with no filter, no tripod maths and no white balance. A Hoya R72 or equivalent filter on top gives cleaner frames and truer tonal separation, and the film route forces you to plan the shot rather than check the screen. Worth a afternoon if you already develop your own film; a lot of people start here because a roll costs less than a conversion.
Frequently Asked Questions
Can I shoot infrared photography with a normal digital camera?
Yes. Almost any mirrorless or DSLR body can capture near-infrared light if you block the visible light with an IR-pass filter on the lens. The image is very dark on the back of the camera and exposures run several seconds, so you need a tripod. Some bodies with strong internal IR cut filters respond less well than older models, which is worth testing before you commit to a filter.
What infrared filter should I choose for a beginner?
Start with a 720nm filter. It blocks enough visible light to produce a clean infrared image while still letting some colour through, so you can practise white balance and editing before moving to a fully opaque filter. If you want maximum contrast with a black sky and white foliage, go straight to 850nm instead, and expect to work in black and white.
How do I focus when taking infrared photographs?
Turn autofocus off and focus manually. With an opaque filter the viewfinder is unusable, so use live view magnification at 5x or 10x to find focus as closely as possible, then remove the filter, refocus on the same spot in normal light, and refit the filter. Infrared focuses at a slightly different distance than visible light, so treat this as an approximation. A converted body removes the problem entirely.
Why do my infrared photos look too dark or have blown-out leaves?
A dark frame usually means the exposure was too short for the amount of light reaching the sensor, so lengthen the shutter speed. Blown leaves mean the opposite: healthy foliage reflects near-infrared strongly and clips first. Shorten the exposure by half a stop and watch the right edge of the histogram. A flat grey preview with a hazy look points to white balance rather than exposure.
Should infrared images be edited in color or black and white?
Both work, and black and white is the easier place to start. An 850nm filter is effectively monochrome once the white balance is corrected, so a clean conversion is a legitimate final result rather than a compromise. For colour, swap the green channel into the red and blue channels in post, then soften the effect with a layer or adjustment so it still reads as a photograph rather than a filter.
Can a smartphone be used to shoot infrared photography?
Not usefully. Phone cameras are heavily filtered and have fixed, electronically controlled lenses with no manual focus or aperture control, so you cannot attach a proper IR-pass filter or hold a long exposure. A phone can confirm nothing about whether infrared reaches your camera, and some devices will show a faint response from a television remote without producing a usable photograph.
Conclusion
Pick one route and commit to it for a month. Mount a 720nm or 850nm filter on a camera you already own, work in manual mode at ISO 100 and f/8, shoot a grey card before every frame, and spend three exposures on each composition rather than one. Fix the white balance before you judge anything else about the image, and read the histogram rather than trusting the meter.
Do one controlled test series before you take on anything bigger. Shoot the same hedge at four shutter speeds, correct each frame from the same grey card reference, and compare them side by side on a calibrated screen. You will learn more from that one hour than from another month of guessing at settings, and you will know exactly which route suits the way you shoot before you spend anything on a conversion.