
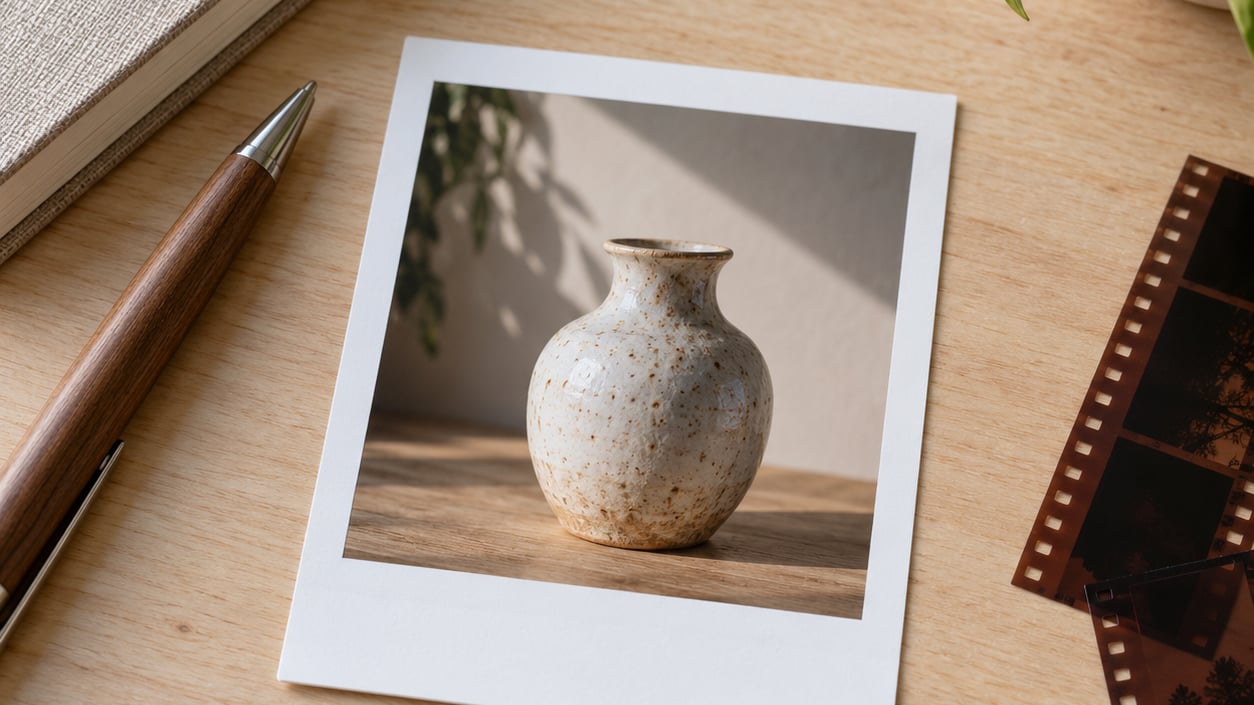
To make a polaroid style photo you do four things in order: crop the picture square, warm and fade the color until it looks under-developed, add grain and a soft light leak, then sit the image inside a white frame with a thicker bottom edge. Ten minutes of work gets you most of the way there, and no part of it needs a paid plugin.
A polaroid style photo is a digital image edited to mimic instant film: a square picture inside a white border, warm slightly washed colors, blacks that never quite reach zero, visible grain, and usually a vignette with the odd light leak. Get those five traits right and nobody will ask what app you used.
The short version, if you just want the method:
- Crop the photo square and keep a clean subject with room around it.
- Raise exposure a little and pull contrast down so whites look milky, not blown.
- Warm the temperature and drop saturation by 15 to 25 percent.
- Lift the blacks slightly and add a soft vignette.
- Add grain first, then color correction, so the grain stays integrated.
- Drop a white frame with a thick bottom border over the top as the last layer.
Table of Contents
What You Need
Four things, and two of them are free. That is the whole shopping list.
- A source photo. Slightly overexposed shots convert into convincing instant film far more easily than correctly exposed ones. Skip anything already black and white or already heavily graded.
- An editor. Photoshop, Affinity Photo, GIMP, Canva, Lightroom Classic, or Snapseed all handle it. Phone-only readers get the same result with Snapseed or Canva.
- A frame graphic. A white border PNG with a transparent center, roughly square. You can draw it yourself in a few seconds.
- Grain and light leak textures. A scanned piece of film or paper works. Blend them in Soft Light or Overlay at low opacity, between 15 and 40 percent.
- Export settings. 300 pixels per inch at your print size, saved as a high quality JPEG or a PNG when you need the alpha channel.
Choose your editor by how much control you actually want. Free tools are genuinely fine for social posts; desktop editors earn their keep when you are matching a reference image or prepping a print. If you have never opened GIMP before, how to edit photos in GIMP walks through the same layer and blend mode basics this effect depends on.
| Editor | Free tier | Control | Best for |
|---|---|---|---|
| Snapseed (mobile) | Yes, no account needed | Medium | Quick edits straight from your phone camera roll |
| Canva | Yes | Low to medium | Collages, captions and invite graphics |
| Lightroom Classic | Mobile version is free | High | Getting the tonal shift right, then saving it as a preset |
| Photoshop | Trial only | High | Precise frame layers, masking and blend modes |
| Affinity Photo | One-time purchase | High | The same layer workflow as Photoshop without a subscription |
| GIMP | Yes, fully free | High | Desktop editing on a budget |
Step-by-Step: How to Make a Polaroid Style Photo
1. Choose a Photo With a Strong Subject
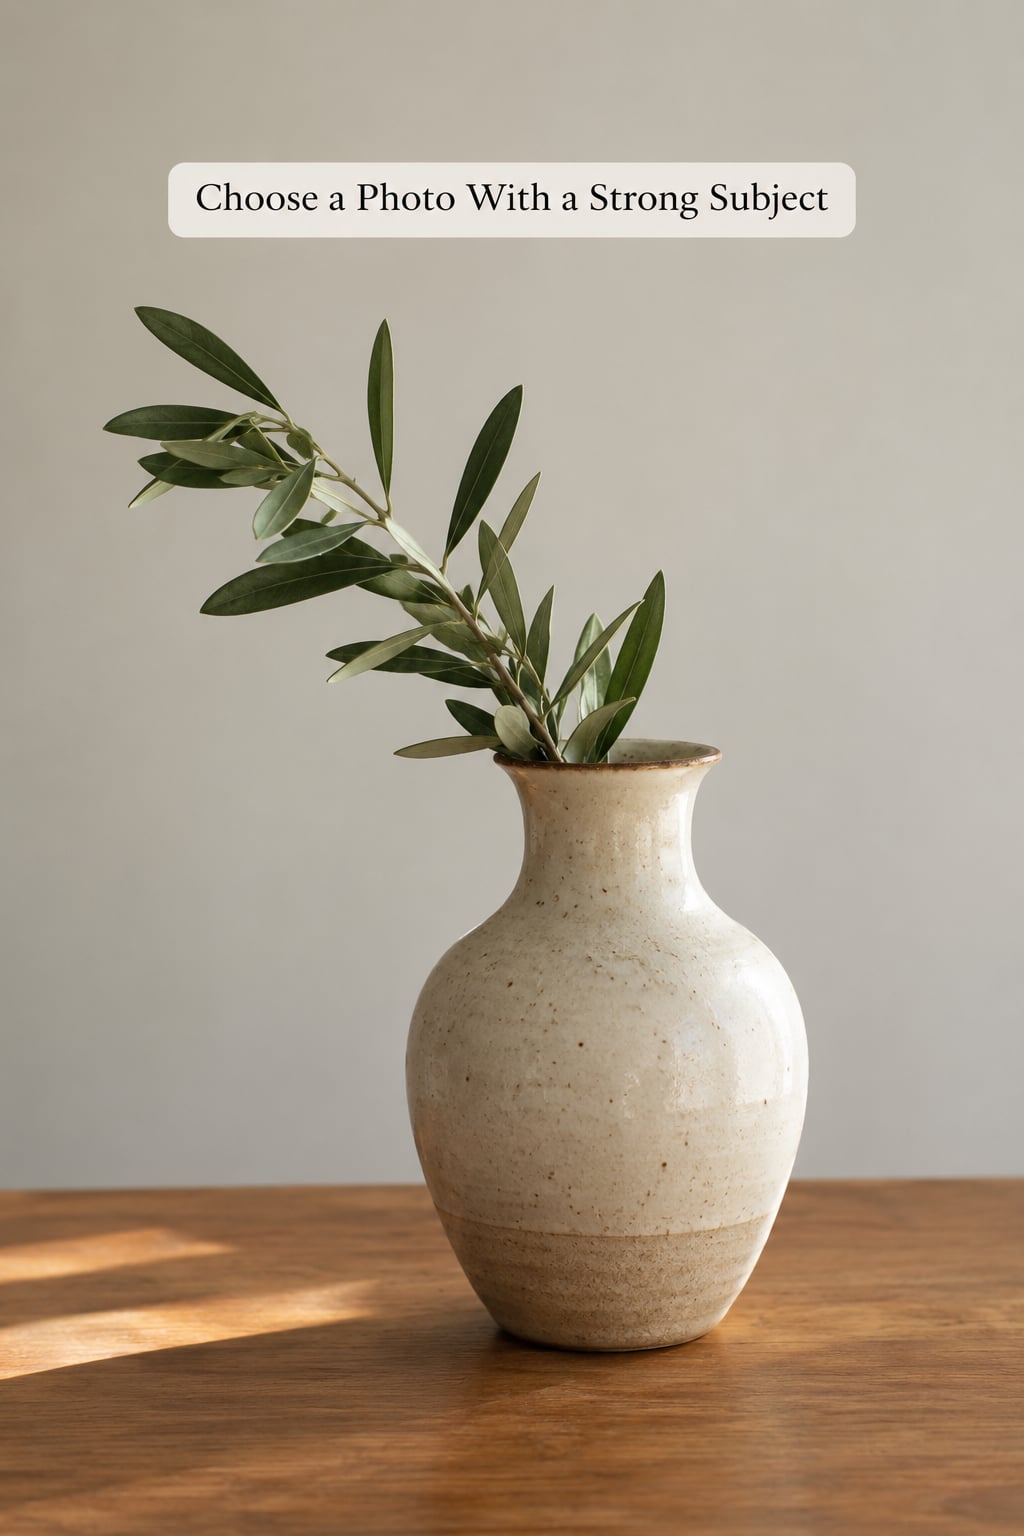
Pick an image with one clear subject and uncluttered space around it. The frame covers the edges of your picture, so detail that runs off the sides simply disappears.
Photographers on Reddit comparing real film against edited results keep landing on the same point: a slightly overexposed original edits into convincing instant film far more easily than a technically correct one. If you have two candidates, shoot or pick the brighter.
2. Crop the Image for an Instant-Film Layout
Crop square, then resize that square so it fills your frame graphic exactly. In Photoshop this is Image > Image Size with the chain link set to square proportions; in GIMP use Image > Scale Image and lock the ratio.
Watch the edges. A face or a horizon sitting exactly on the border line looks accidental, so shift the crop a few pixels to break any tangency. Leave the composition simple because the border eats roughly a tenth of the visible picture on each side.
3. Add a Polaroid-Style Frame
Build the frame as the topmost layer and never merge it with the photo. White border, transparent center, and the bottom edge about two to two and a half times thicker than the sides. That proportion is the single most recognizable thing about an instant print, and skipping it is why so many fakes look off.
In Photoshop, place the frame PNG, use Image > Image Size on both the frame and the photo so their pixels match, then set the frame layer opacity to 100 percent. If you are drawing it from scratch, make a white square, cut a square hole with the rectangular marquee and a larger hole offset upward for the thick base, then fill the remaining area.
4. Adjust the Color for a Washed-Out Film Look
The look comes from lifted blacks and warm highlights, not from turning saturation down. Start around these values and adjust by eye from there.
| Adjustment | Suggested range | What it fixes |
|---|---|---|
| Exposure | +10 to +25 | Instant film prints slightly bright |
| Contrast | -10 to -20 | Flattens the digital punch |
| Highlights | -15 to -30 | Stops whites clipping to pure white |
| Shadows | +15 to +30 | Lifts blacks into a milky grey |
| Temperature | +8 to +15 | The warm, slightly yellow cast |
| Saturation | -15 to -25 percent | Colors stop looking posterized |
| Texture or grain | 20 to 35 percent | Even, fine structure |
| Vignette | -15 to -25 | Darkened corners |
Split toning does the rest. Add a warm highlight tint and a slightly cool or neutral shadow tint, keep both low, and check the face in your picture. Real film has unpredictable color casts, so leave a little life in the skin tones.
5. Add Grain, Texture, and Light Leaks
Add grain before you finish the color, not after. Users on editing forums who tried it both ways report that color work done last blends into the grain and reads as film, while grain laid down last sits on top and reads as a filter.
For a photo filter in Photoshop use Filter > Noise > Add Noise, check monochromatic, and set the amount between 8 and 15 percent. In GIMP the same filter is Filters > Noise > RGB Noise. Overlay a scanned dust and scratch texture in Soft Light at 20 percent, and place a light leak along one edge using Screen blend mode at 30 to 50 percent, masked so it fades out over several hundred pixels.
Restrained beats strong. If you can see individual specks at full size, drop the opacity until you cannot.
6. Match the Frame and Background
The white border is never pure white on a real print. Tint it very slightly warm, around 2 to 5 percent, or knock it down to about 96 percent brightness, so it reads as paper rather than as a blank rectangle from a template.
Place the whole frame on a background with a real shadow. Use a soft drop shadow with an angle near 40 degrees, low opacity around 25 percent and a distance equal to roughly 2 percent of the frame width. A one-pixel black outline is the giveaway that it was never a photograph.
7. Finish and Export Your Polaroid Style Photo
Zoom out and ask whether the picture still works without the frame. If the grain disappears at normal viewing size, raise it slightly. Apply sharpening to the photo layer only, using a high threshold or the Shake Reduction detail slider, never to the frame or the grain.
Export at 300 pixels per inch for print. A 4 by 6 inch print needs about 1200 by 1800 pixels including the frame; a 3.5 inch square mini print needs roughly 1050 by 1050. Save as JPEG at quality 80 to 90 for photographs, or PNG when you need a transparent background for a collage. For anything that mixes two or more frames into one layout, how to make a photo composite in Photoshop covers the matching shadows that stop a collage looking pasted together.
Common Mistakes
Almost every fake-looking polaroid is one of seven specific errors. Here is what went wrong and the fix.
- Too-clean image. If nothing looks off in the file but it still feels fake, the frame proportions are wrong. Measure the bottom border against the side border and make it roughly double.
- Grain at full strength. Drop opacity until individual specks disappear at 100 percent zoom.
- Oversaturated color. Cut saturation another 10 points and lower vibrance, which protects skin tones while calming everything else.
- Blown highlights. Pull highlights down instead of raising exposure further. Film holds detail in bright areas far better than a default camera file.
- Harsh drop shadow. Reduce distance and opacity and blur the shadow more. A crisp shadow reads as a sticker.
- The effect stacked twice. Filters from a social app plus a preset plus a manual grade turn muddy fast. Start from the original file each time.
- Wrong export size. Scaling a small download up to print size brings visible softness. Check the pixel dimensions before you send it to a printer.
One more thing worth knowing: free apps that advertise a polaroid filter often apply only the frame and a light wash, with none of the tonal shift. If your result looks like a sticker, the frame was there but the film was missing.
Once the frame is right, the same layer discipline carries over. How to make a photo look like a painting in Photoshop uses the identical blend mode and masking setup, just with brush strokes instead of film grain.
Frequently Asked Questions
How do you turn your photo into a Polaroid?
Crop the photo square, raise exposure slightly, lower contrast, warm the temperature and drop saturation by 15 to 25 percent. Lift the shadows so blacks turn milky, add grain, then place a white frame with a thicker bottom border over the top as the final layer.
How to style Polaroid pictures?
Style them by styling the frame, not just the photo. Tint the border slightly warm, add a soft low-opacity shadow, place a handwritten caption in the thick bottom edge, and tilt the frame a degree or two. For groups, repeat the frame in a strip of three or a grid of four with even gaps and one shared shadow direction.
Is there a free app that can create a Polaroid effect on photos?
Yes. Snapseed and GIMP are free and give you the full tonal effect rather than a frame overlay. Canva has a free tier that is quicker for collages and captions. Many online polaroid makers run without an account, but most apply only the border and a simple wash, so you lose the film look underneath.
Is there an AI Polaroid photo generator available?
AI image generators can render a polaroid-style image from a text description, and some photo generators can restyle an existing portrait into instant film. Treat the results as a starting point: the frame ratio is usually wrong, colors are often too clean, and any hand-written caption comes out garbled. Fixing those three things in an editor takes two minutes.
Can I print a Polaroid photo online for free?
Free printing depends entirely on your photo app. Several online polaroid makers offer a free low-resolution download, but a printable file at 300 pixels per inch is normally behind a subscription or a purchase. Export the image yourself at full size and print at a home photo lab or a local print shop instead, where you control paper and size.
Does a Polaroid look need a real frame to work?
No. The color and grain carry most of the recognition, and the frame confirms it. A well-graded image with no border still reads as instant film. If you want the border, match real proportions instead of using any template: a square image area with a bottom edge roughly two times the side thickness.
Conclusion
Start with your best-composed, slightly bright photo, because no slider rescues a cluttered frame. Then work in one order: crop, tone, color, grain, and the white frame last.
Do the tonal pass first and stop before it looks dirty. Most people who abandon the effect give up at the grain stage, when the real answer was fifteen percent less saturation and a shadow lift.