
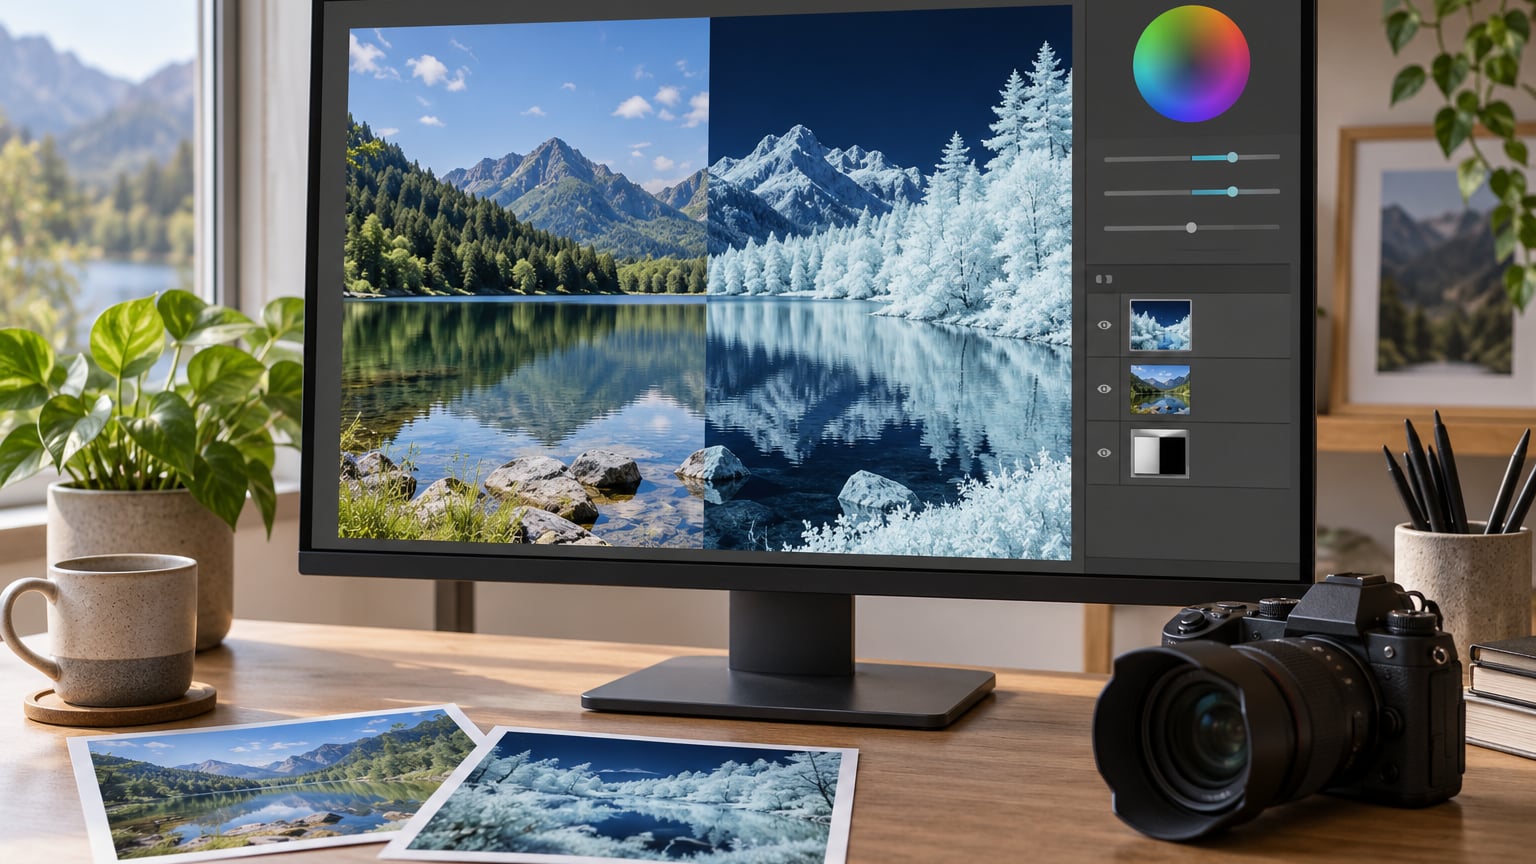
To create an infrared photo effect, you duplicate your photo as a Smart Object, drive the image with the red channel in the Channel Mixer, then rebuild colour with Hue/Saturation, Curves and Selective Color. Add the surreal infrared glow last with a blurred Screen-blend layer. The whole thing takes about 15 minutes once you know the menu paths.
There are two different things people mean by “infrared”. Real infrared photography needs a converted camera and an IR filter, and foliage blows out white while skies go deep blue. The simulated version — what this guide covers — fakes that look from any ordinary colour photo, which is why it works on a photo of your dog as convincingly as it works on a forest.
Photoshop gives you the most control, but the same steps translate to Photopea, GIMP, Affinity Photo, Lightroom and most phone editors. Where the names differ I’ve noted them. If you want a broader look at non-Photoshop editing first, how to edit photos in GIMP covers the same layer-and-adjustment logic.
Table of Contents
- What You Need
- Step-by-Step: How to Create an Infrared Photo Effect
- Common Mistakes
- Frequently Asked Questions
- Is a simulated infrared photo effect the same as real infrared photography?
- Which editors can create an infrared photo effect?
- How do I make an infrared effect look realistic rather than fake?
- Can I create an infrared photo effect on my iPhone?
- How do I stop my infrared edit looking like a thermal image?
- Conclusion
What You Need
Very little. The workflow needs an editor with channel controls and adjustment layers — Photoshop, Affinity Photo, Photopea (free, in the browser) and GIMP all qualify. Lightroom works too, though it treats this as profile work rather than channel work.
Your source photo matters more than the software. Look for a scene with strong contrast between vegetation and sky, since that separation is what sells the effect. Foliage against open sky is the classic pairing. A portrait works as well, because skin reflects infrared light and goes pale and slightly waxy.
Two things to have in mind before you start. Shoot or edit at 16-bit where possible, because channel work amplifies banding in 8-bit files. And keep your layers intact — every fix in this guide is non-destructive.
Step-by-Step: How to Create an Infrared Photo Effect
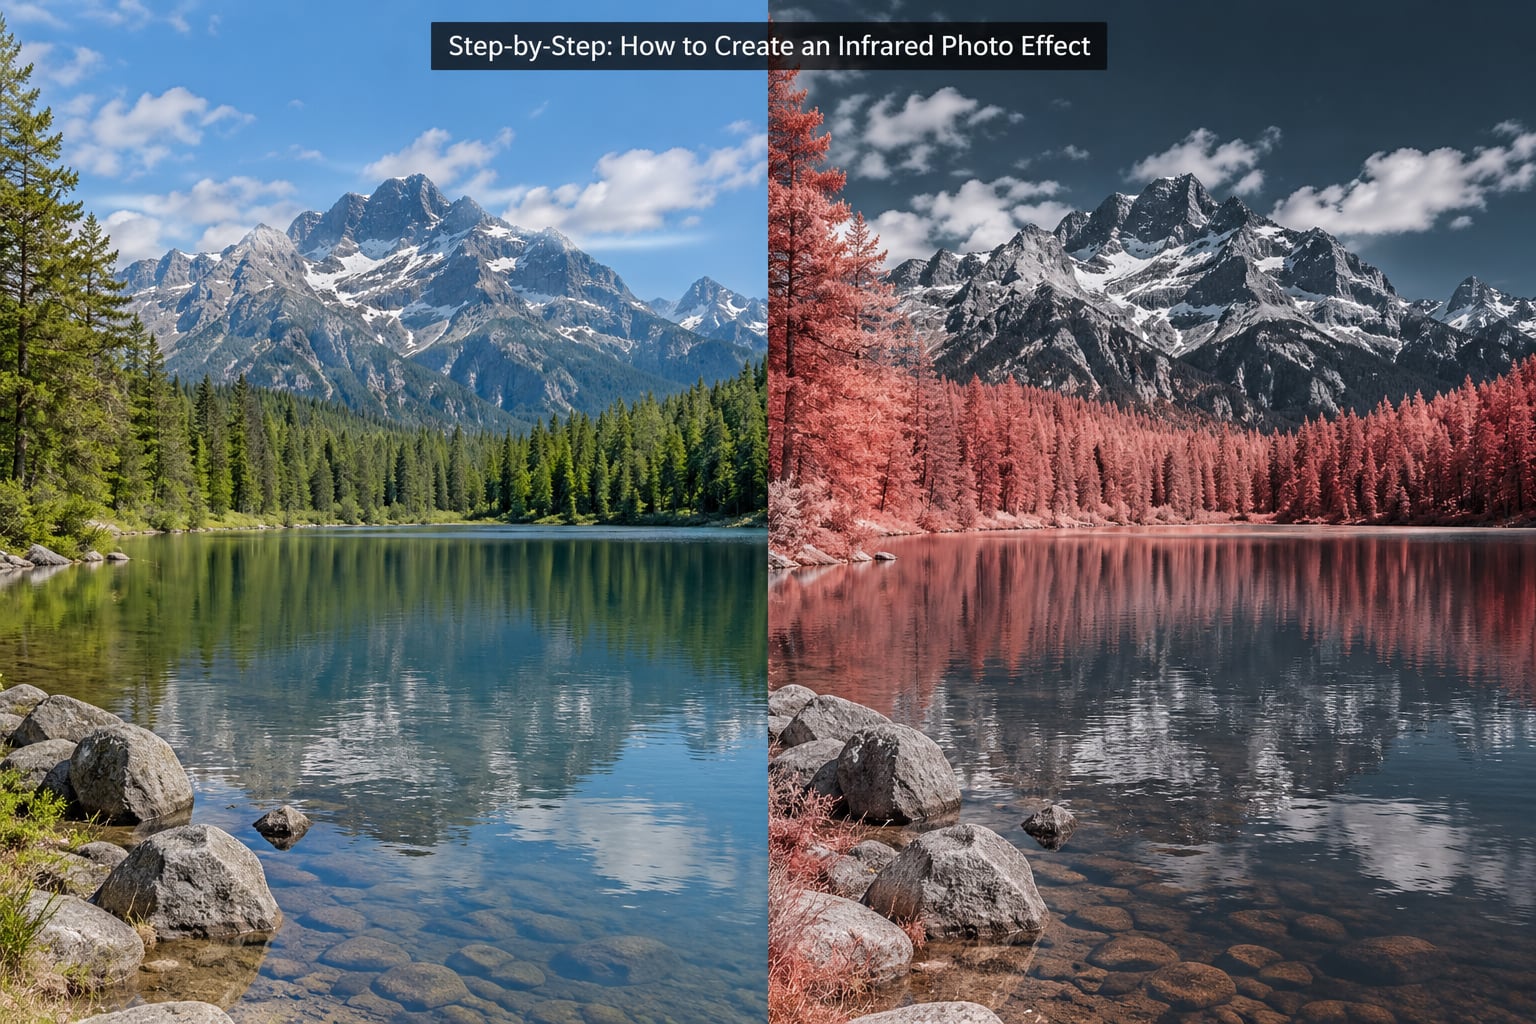
The order matters more than any individual setting. Do the channel work first, colour second, glow last — glow on top of an unfinished image bakes in the wrong colours permanently.
1. Duplicate and Prepare the Photo
Open the file and immediately duplicate the Background layer with Ctrl/Cmd + J, then right-click the duplicate and choose Convert to Smart Object. In Photopea and GIMP, “Layer to New Layer” gets you the same safety net.
Fix the photograph before you restyle it. Correct exposure and white balance with Camera Raw (Filter > Camera Raw Filter) while it’s still a normal image, crop, and apply any sharpening your camera body demands.
How you know it worked: the histogram is healthy and nothing is clipped at either end. If whites are already blown, the glow step will make it worse.
2. Create the Infrared Channel Look
Go to Image > Mode > RGB Color if the file isn’t there already — channel swapping is unreliable in other modes. Now add a Channel Mixer adjustment layer (Layer > New Adjustment Layer > Channel Mixer).
In the dropdown, pick Red as the output channel. Then set the Red input to 0 and the Blue input to 100, leaving Green alone. That single swap is what makes the sky turn blue and the bright vegetation go pale, because bright vegetation is what ends up in the blue channel.
Watch the tonal range after you swap. If the result looks flat and lifeless, add a Curves layer on top and pull the shadows down around the 25 mark. If it looks crushed, raise the white point instead. Photopea exposes the same controls under Layer > Adjustments > Channel Mixer.
3. Build the False-Color Palette
The channel swap alone gives you a tinted monochrome, not the infrared palette people recognise. Add a Hue/Saturation adjustment layer on top of it and tick Colorize.
Set the hue somewhere in the blue-to-cyan range and drop the saturation to roughly 40-70. That single slider is where most of the “IR look” comes from, so nudge it slowly with the image at full size rather than in the thumbnail.
Now add a second Hue/Saturation layer and untick Colorize. Use the colourised dropdowns to push individual ranges: cyans into the foliage, deep blues into the sky, and warm pinks into skin or brick. This step is the difference between a tinted photo and a finished piece.
4. Add Contrast and Color Separation
Add a Curves layer and build an S-curve. A harder S than feels natural at first usually looks better by the end, because infrared scenes genuinely do have that punchy, poster-like contrast.
Separate the sky from the trees with a Gradient Map layer. Click the small stops along the bottom of the gradient and colour them dark blue at the bottom, pale cyan in the middle, near-white at the top. Use a layer mask and a soft black brush to hold the gradient away from the foreground.
If a scene fights you, a Solid Color layer on a Hue blend mode is a faster way to shift one region of the frame than any amount of painting.
5. Create a Surreal Infrared Glow
Duplicate the finished composite, convert it to a Smart Object, and run Filter > Blur > Gaussian Blur at roughly 40-80 pixels depending on your resolution. Set the layer’s blend mode to Screen and bring its opacity down to 30-50%.
That three-step recipe — duplicate, blur, screen — is the classic diffuse glow trick, and it’s why this look reads as otherworldly rather than just recoloured.
Two things stop it going wrong. Mask the glow layer so it stays out of faces, where blur turns skin texture into wax. And if highlights flare, knock the glow layer back with a Curves layer clipped to it. More on both in the next guide I wrote on creating a surreal photo edit.
6. Refine Texture, Noise, and Sharpness
Channel work pulls detail out of 8-bit files fast, so add grain deliberately rather than letting it happen to you. Generate noise with Filter > Noise > Add Noise at 1-2%, put it on a new layer set to Overlay, and drop the opacity to about 20%. It hides the posterisation you would otherwise see in smooth sky gradients.
Sharpen last, and only where it counts. Use Filter > Sharpen > Unsharp Mask with a small radius (1-3 px) on a duplicate layer masked to foliage and edges. Masking prevents the halos that sharpening a soft infrared file always invites.
Reduce colour noise with a Camera Raw Filter layer, Detail panel, colour slider around 25. If you prefer a more tactile finish, the method in adding texture to a photo in Photoshop layers nicely over this stage.
7. Finish and Export the Infrared Photo
Toggle the original layer’s visibility and compare. If the two images look like different photographs, you’ve gone too far; a convincing fake infrared still reads as your scene.
Check your blacks aren’t crushed, your skin tones haven’t gone green, and there’s no halo along high-contrast edges. Then flatten a copy, save it as a 16-bit TIFF for print, or export a high-quality JPEG for web use.
If the image needs to survive resizing for a large print, do the resize on a duplicated layer with sharpening turned off, then sharpen last. That’s the whole workflow.
Common Mistakes
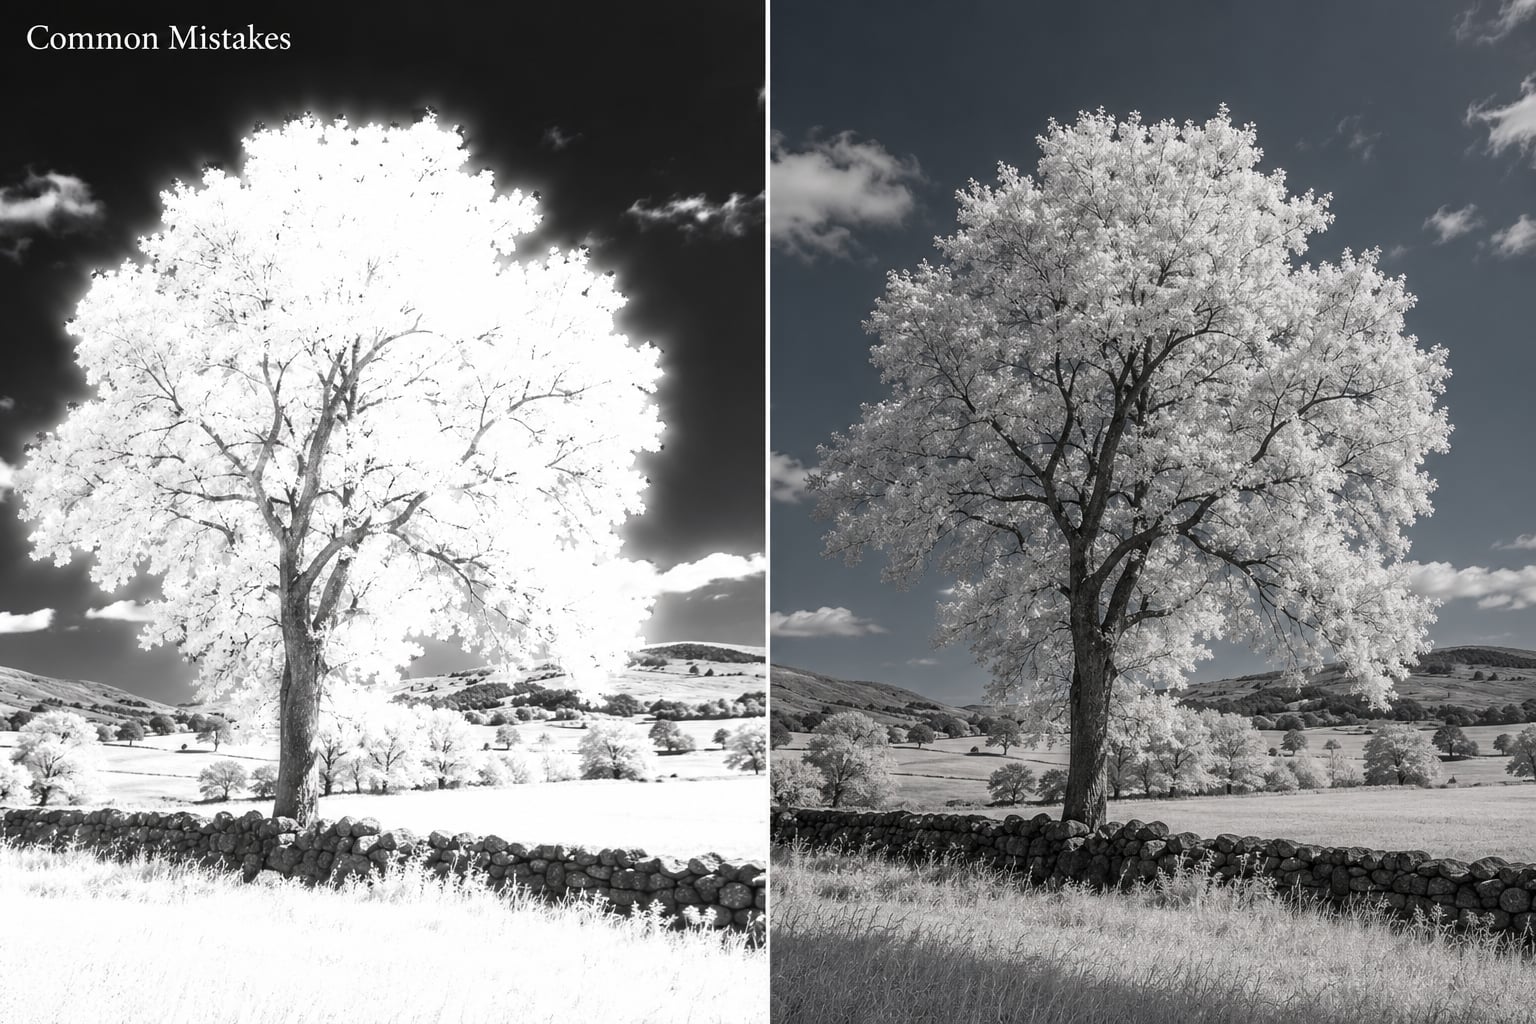
The image is far too dark. This is the most common failure, and it almost always comes from doing the Channel Mixer swap without checking the tonal range afterwards. Add a Curves layer and lift the black point until shadows have detail again. If the file is JPEG, you’re fighting 8-bit compression — work from the RAW original instead.
The colours look wrong rather than strange. Saturated green or magenta usually means the Channel Mixer swap didn’t take, or the Colorize hue landed on yellow-green. Check the output channel is set to Red and the inputs are 0 and 100 before touching anything else.
Foliage looks muddy. Bright foliage should be the brightest thing in frame. If it isn’t, push the Blue input above 100 in the Channel Mixer, or add a selective Brightness/Contrast adjustment over the tree line.
Halos around highlights. Almost always from sharpening a blurred layer. Mask your sharpening, reduce the radius, and use the Clone Stamp on stubborn edges. Keep a 1-2 px Select and Mask feather on the mask itself.
All the detail has vanished. Converting to Smart Object early protects you, but converting back down or saving as 8-bit JPEG after heavy channel work destroys what’s left. Export at 16-bit TIFF or PNG if the image is going anywhere important.
Too much glow. If the picture reads as a filter rather than a photograph, drop the glow layer’s opacity in 10% steps until the scene is visible through it. Real infrared looks uncanny, not hazy.
Frequently Asked Questions
Is a simulated infrared photo effect the same as real infrared photography?
No. Real infrared captures light beyond the visible spectrum with a converted camera or an IR filter, so foliage reflects strongly and blows out white while skies go very dark. The simulated effect swaps color channels in editing software to imitate that palette. It is faster, works on any camera, and gives you far more control, but it cannot reproduce the genuine tonal quirks of infrared sensors.
Which editors can create an infrared photo effect?
Photoshop is the fullest option, with Channel Mixer, Selective Color and blending modes all available. Affinity Photo and Photopea run essentially the same adjustment layers. GIMP uses equivalent tools under Filters and Colors, though menu names differ. Lightroom can get close using profiles and the Color Mixer panel, and several phone editors ship preset-driven versions of the effect.
How do I make an infrared effect look realistic rather than fake?
Start with a photo that already has foliage against open sky, because the effect depends on that brightness contrast. Keep some original color structure rather than flattening everything to one hue, and leave the glow subtle. If the result reads as a filter rather than a photograph, reduce saturation and pull the Colorize hue back toward blue.
Can I create an infrared photo effect on my iPhone?
Yes, though the tools are more limited. Mobile editors based on presets can give you a convincing infrared look in a couple of minutes, but they rarely expose channel controls, so you cannot correct the tonal range afterwards. For full control, edit the photo on a desktop and treat the phone as the capture device. Phone sensors are heavily filtered, so the source file will have limited infrared information anyway.
How do I stop my infrared edit looking like a thermal image?
Thermal imagery is a false-color palette of reds, oranges, yellows and whites mapped to heat, and it has nothing to do with infrared photography. If your edit is sliding in that direction, return to the Hue/Saturation Colorize layer, set the hue to blue or cyan, and cut saturation below 70. Check that no warm hues survive in the shadows, which is what pushes an image toward the thermal look.
Conclusion
Start with a duplicated Smart Object and get the Channel Mixer red-to-blue swap right before anything else. Everything after that — colourising, curves, the Screen-blend glow, grain — is refinement on a foundation you already trust.
Build it in small passes and compare with the original after each one. If you can say how to create an infrared photo effect in three sentences, it’s duplicate the layer, swap the channels, colourise, then add glow. The rest is patience.