
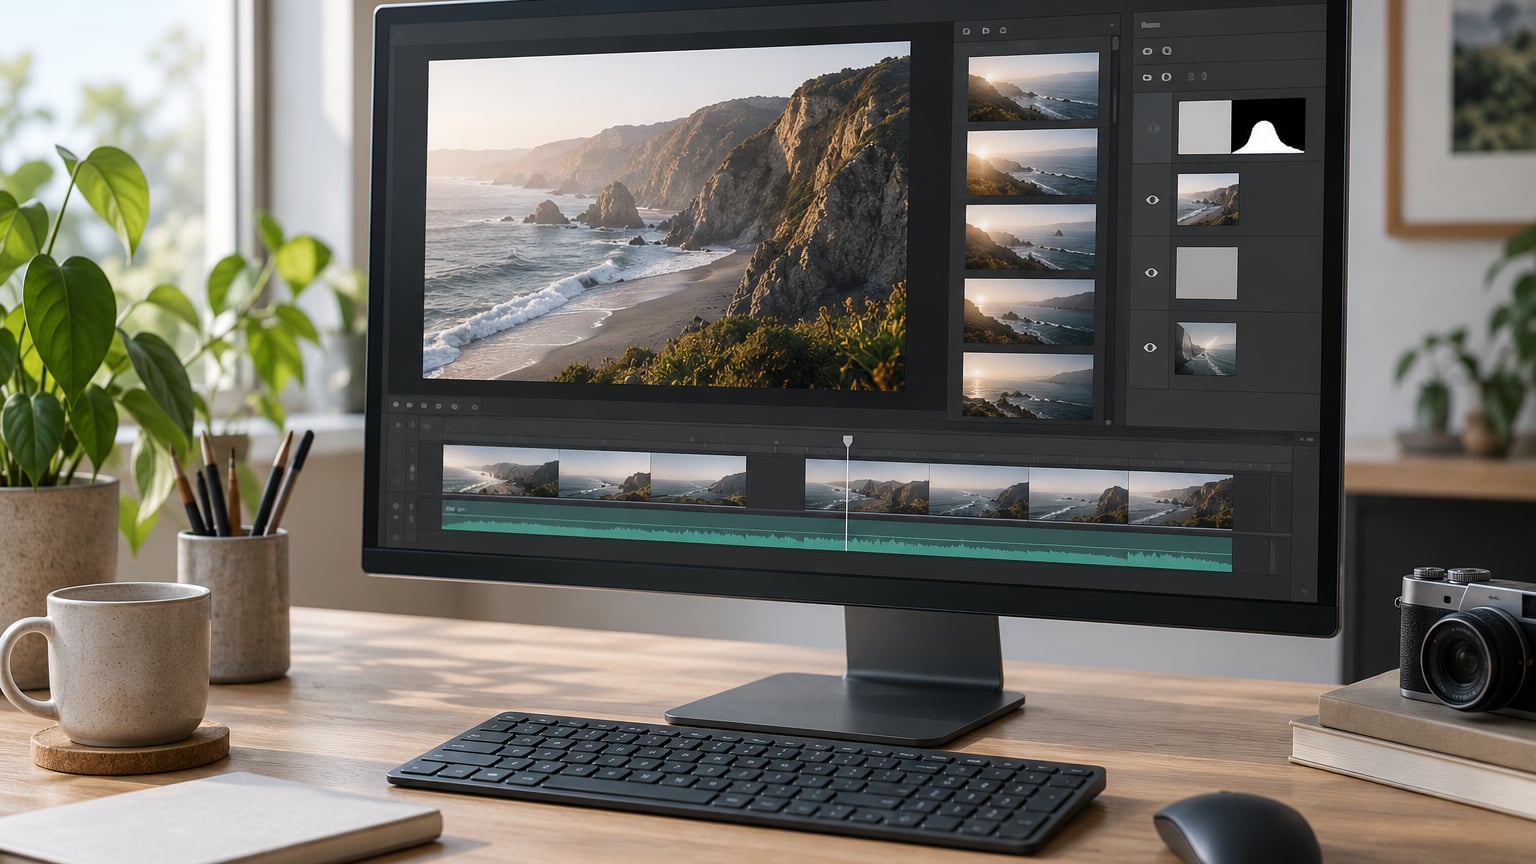
A cinemagraph is a still photograph where one small element keeps moving while everything else stays frozen. To make one, you combine a sharp photo with a short video of the same subject, then mask the photo so only the moving part is revealed on top. If you have ever wanted a blog header that feels alive without committing to a full video shoot, the process takes about half an hour once you have your files.
The technique sits between photography and video. The frame carries the weight of a photograph, and the motion is what pulls the eye and stops a scrolling thumb. Photographers use it for header images, social posts and client work, and most examples you see online come out of the same small set of tools.
I updated this walkthrough for October 2026, and every menu path below matches the current Photoshop interface. If you are still matching a look across your whole library, start with how to make digital photos look like film and then add motion to the finished frame.
Table of Contents
What You Need
Four things, and only one of them is expensive. Most beginners already own the first three and give up on the fourth, which is a subject with predictable motion.
- A camera or phone that shoots video. Any current camera works. Shoot in the highest quality the camera offers, and remember the resolution matters less than the stability.
- A tripod, or anything that holds still. A stack of books and a flat surface will do. Locked-off footage is the whole trick.
- Editing software. Photoshop is the classic route and gives you the most control. A dedicated cinemagraph app is faster if you do not want to mask by hand.
- A subject with repetitive motion. Water, fire, steam, smoke, hair in wind, a flag moving in a breeze, steam rising from a cup.
Repetition matters more than drama. Anything that repeats on a predictable cycle loops cleanly, and anything random fights you at the mask stage. Bubbles, a passing crowd or birds in a sky can look wonderful as video, but they are close to impossible to separate cleanly from the background.
Plan about three to five seconds of footage per cinemagraph. You will trim most of it away, but you want enough to find a clean loop point inside.
Step-by-Step: How to Make a Cinemagraph
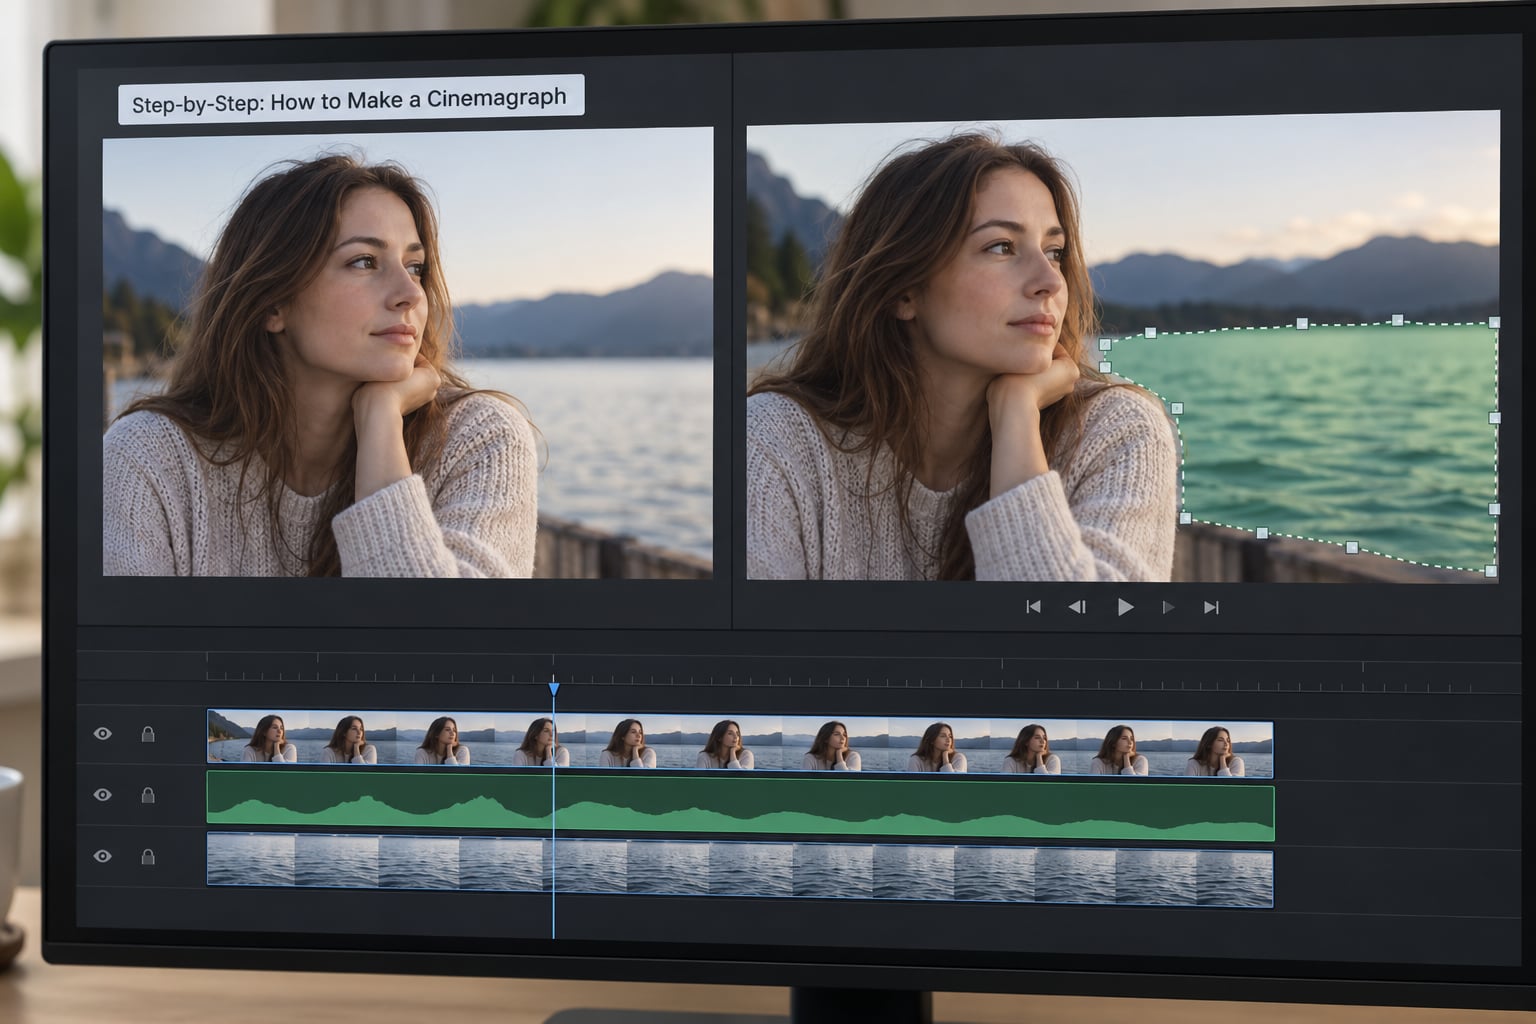
Five stages: match your files, bring the clip in as a smart object, mask the moving area, keep the motion restrained, then preview and export. Budget 20 to 40 minutes for your first one and about five minutes for each one after that.
1. Choose a Still Image and a Complementary Video Clip
Start with the still, then find video that matches it almost exactly. Same subject, same angle, same focal length, same light. If the lighting moved between the photo and the clip, the mask will never hide the seam and you will spend an hour chasing it.
A practical trick: shoot the video first, then stills from the same locked-off position. That way the framing and exposure already agree, and you are choosing the frame you want to freeze instead of hunting for a clip that fits a photo you liked.
Watch for anything that moves during your still frame. If the subject shifted between shots, align the layers with Edit > Transform > Warp before you mask, or the moving element will slide out of its hole.
For subject ideas where the motion should carry the picture, levitation photo tips are a good companion read. Both techniques depend on a locked camera and a clean separation between what moves and what does not.
2. Import the Video as a Smart Object
In Photoshop, a video layer is a Smart Object, which means it keeps its own timeline and you can re-trim it without starting over.
- Open your still photograph as the background layer.
- Choose File > Import > Video Frames to Layers and pick your clip.
- Set Maximum Frame Rate to 24 or 25 fps to match what you shot. Leave the import length at the full clip length.
- When the import finishes, you get one layer per frame. Open Window > Timeline to see them stacked.
Now trim. Scrub the timeline and find two frames a fraction of a second apart that look nearly identical. Delete everything outside that pair. You are looking at roughly 6 to 12 frames for a good result, and HubSpot’s widely shared tutorial lands in the same range at about ten frames after trimming a four-second import.
Play the trimmed strip. If it feels rushed, select each frame and change its duration in the timeline’s per-frame dropdown. Roughly 0.08 to 0.15 seconds per frame gives that slow, drifting quality that separates a cinemagraph from a fast animated GIF.
3. Create a Mask for the Moving Area
This is the part that decides whether the result looks professional or homemade. Mask, do not erase. An eraser destroys pixels and you cannot undo it; a layer mask only hides pixels and stays editable forever.
- With the frame layers selected, right-click and choose Group Layers. Name the group something like Moving Element.
- Select that group and click the Add Layer Mask icon at the bottom of the Layers panel. The mask thumbnail appears as white beside the group thumbnail.
- Select the mask thumbnail, press D to reset the foreground and background colours, then press B for the Brush tool.
- Set the foreground colour to black and paint over everything that should stay frozen. Black hides, white reveals.
Paint roughly 85 percent of the frame to black, then use a smaller, softer brush to trace the edge of the moving element. Leave that edge soft. A hard edge is what creates the shimmering fringe people call ghosting, because the mask snaps from one position to the next.
Made a mistake? Switch the foreground to white and paint it back. That is the fastest recovery in the whole workflow.
For harder subjects, use Select > Select and Mask instead of painting. Refine Edge brushes give you feathering and edge-shift controls that a plain brush cannot, and they are far quicker on a head of hair or a cloud of steam.
4. Restrict the Motion and Build a Smooth Loop
The finished animation should be almost still. A cinemagraph that looks like a video is usually over-animated.
Go back to the timeline and remove any frames where something moved that should not have. A head turning, a shadow shifting, a background branch bending. Leave only the frames where your chosen element moved and nothing else did.
For the loop, compare your first and last frames side by side. If they differ noticeably, either trim closer together or reverse the frame order so the motion plays forward then backward. Ping-ponging hides the seam because the sequence ends where it began. It is the most repeated fix in the r/Cinemagraphs community for a jerky loop.
Set the timeline’s Repeat option to Forever so you can judge the loop while you work rather than restarting playback by hand.
5. Check the Result and Export the Cinemagraph
Preview at full speed first, then step through frame by frame. Frame-by-frame is the only reliable way to catch a background that drifts or a mask edge that flickers.
Zoom in to 100 percent on the boundary between moving and frozen areas. Any grey halo there is a mask edge problem, and softening the edge fixes it. Check the top and bottom of the frame too, since a slight camera tilt shows up at the corners first.
Then flatten the group, flatten the image, and export. In Photoshop, File > Export > Save for Web (Legacy) gives you the control you want: choose GIF, reduce colours to 256, and set Looping to Forever. Start around 800 pixels wide for web and watch the file size as you go.
Export options beyond GIF are worth knowing. An MP4 loop is smaller and sharper but autoplays only where the platform supports it, and a looping WebP behaves similarly. Pick the format your destination actually plays rather than the one with the widest name recognition.
Common Mistakes
Nearly every bad cinemagraph fails on one of six things. Find the symptom and apply the fix.
- Ghosting or a fuzzy double edge. The mask edge is too hard, or the layers are misaligned. Soften the mask edge with a large soft brush, and check alignment with Edit > Transform > Warp before you go further.
- The moving part shivers or flickers. Background pixels are leaking through the mask. Zoom to 200 percent and paint those areas black on the mask, one frame at a time if needed.
- The camera was handheld. Stabilize the clip before masking. Crop, position and scale the stabilized footage to sit exactly over the still, and only then start painting. Masking shaky footage is wasted work.
- Too much is moving. Delete frames until only your chosen element changes. Check every frame against the still rather than trusting playback.
- The loop jumps. Trim the start and end frames closer together, or reverse the frame order for a ping-pong loop.
- The file is enormous. Reduce the pixel dimensions, drop the colour count, or cut the frame count. A cinemagraph at 800 pixels wide with 10 frames should be well under a megabyte.
One more that is not a mistake but wastes afternoons: masking a subject with random motion. If bubbles or a crowd keep appearing and disappearing, choose a different take or a different subject.
Frequently Asked Questions
What software is best for making a cinemagraph?
For full control, Photoshop is the standard: it handles the layer mask, the timeline and precise edge feathering in one place. A dedicated cinemagraph app is faster on a phone and automates most of the masking. If you already edit video, After Effects or Premiere can stabilize shaky footage before you bring frames into Photoshop.
Do you need a tripod to make a cinemagraph?
A tripod is the difference between a clean result and an afternoon of fixing edge problems. Any fixed support works, including a stack of books on a table. If you have to shoot handheld, stabilize the clip in Premiere or After Effects first, align it over your still, and expect to redo the mask if the camera moved during the still frame.
How long should a cinemagraph be?
Shoot three to five seconds, then trim down to roughly six to twelve frames that show only your moving element. Longer loops rarely improve the effect and they make the exported file much heavier. If the motion plays too fast once trimmed, raise the per-frame duration in the timeline rather than adding more frames.
Why does my cinemagraph look jerky?
Almost always one of three causes: too many frames, a frame duration that is too short, or a first and last frame that do not match. Delete frames until only your chosen element changes, lengthen the per-frame duration, and if the seam still shows, reverse the frame order so the motion plays forward then backward.
Can you make a cinemagraph without Photoshop?
Yes. Several phone apps shoot, mask and loop a cinemagraph in one tap, and dedicated desktop tools do the same on a timeline with fewer steps than Photoshop. The limitation is edge control: automatic masking rarely handles hair, steam or reflections as cleanly as a hand-painted layer mask. Test on a simple subject before trusting it with a portrait.
Conclusion
Start with the pairing, not the software. Match a still and a clip shot from the same locked position, isolate one believable moving element, leave everything else frozen, and preview the loop before you export. Ten frames at a slow per-frame duration, softened mask edges and a ping-pong loop will get you most of the way there.
Once the motion feels right, the rest is delivery: export small, pick the format your platform actually plays, and check the file on a phone before you ship it.