
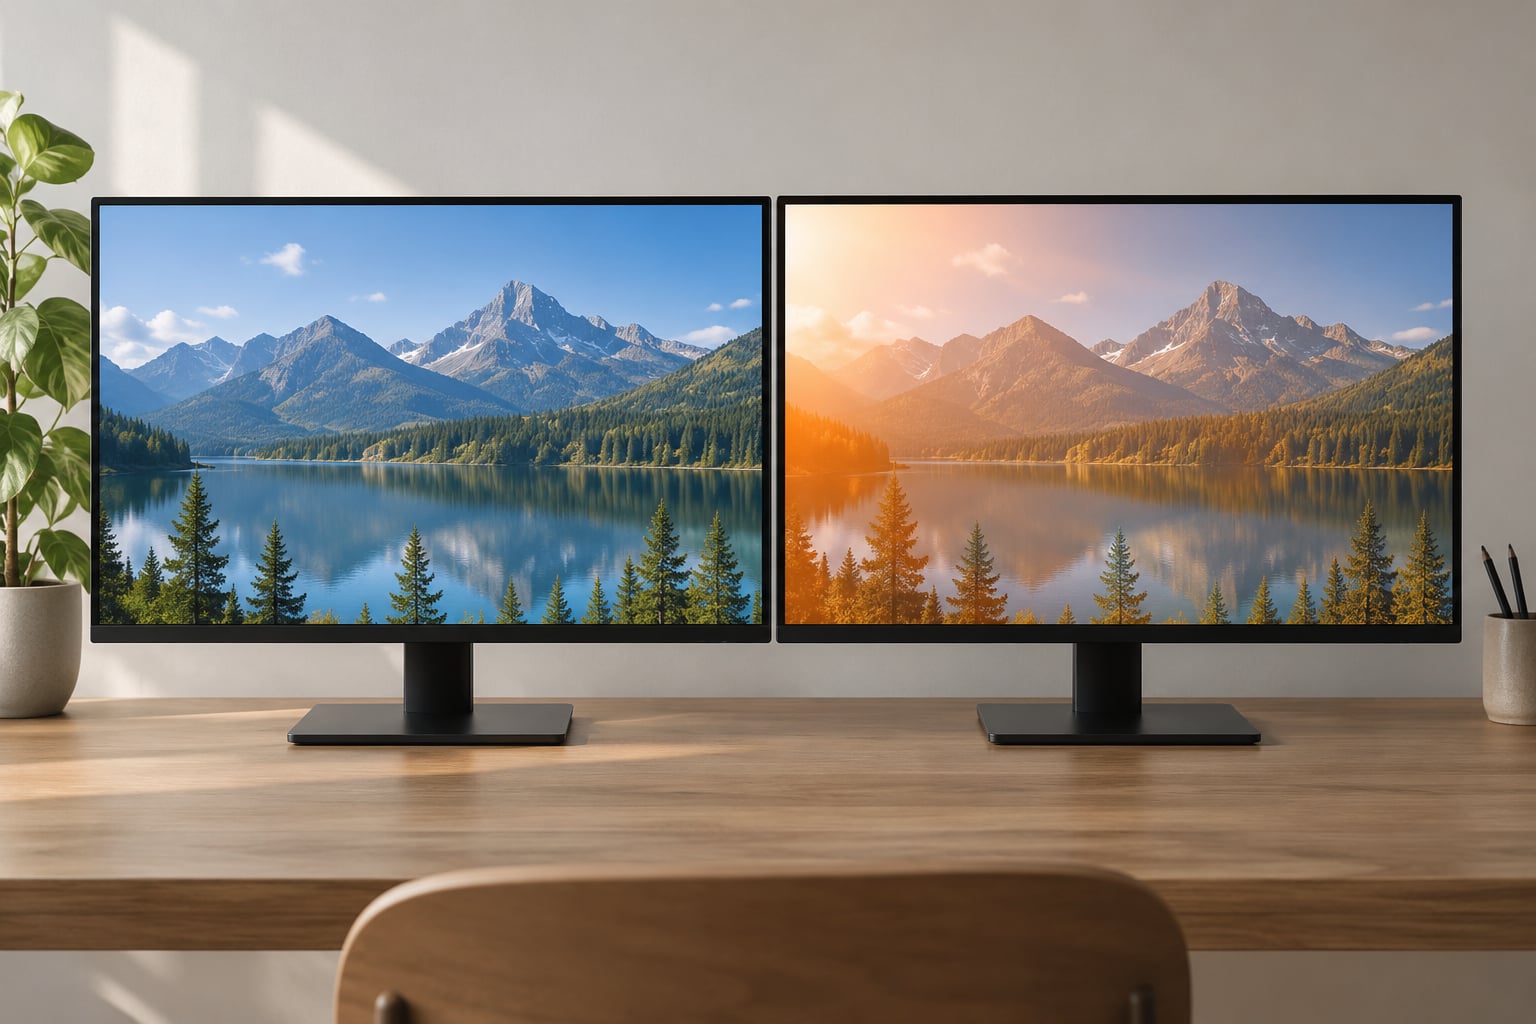
A light leak effect is the soft wash of colour that bleeds in from one edge of a photo, mimicking what happened to film when light reached the emulsion before it was developed. To add one in Photoshop, you paint a gradient on a new layer, set that layer to the Screen or Color Dodge blend mode, and pull the opacity down until it reads as glow rather than paint.
The whole thing takes about ten minutes once you know where the menus are, and the only paid tool is Photoshop itself. Snapseed and Lightroom both do a decent version on a phone. If you want a similar warm, faded look without a leak at all, our how to create a sepia tone effect in any photo guide covers the simpler version.
Table of Contents
- What You Need
- Step-by-Step: How to Add a Light Leak Effect
- Common Mistakes
- Frequently Asked Questions
- Can I add a light leak effect to a black-and-white photo?
- Which Photoshop blending mode is best for a light leak?
- How do I make a light leak look realistic?
- How do I fix a light leak that makes the photo too bright?
- Can I create a light leak effect without Photoshop?
- Why does my radial gradient light leak look like a doughnut?
- Conclusion
What You Need
You need a photograph with some tonal range to work with. A frame with a deep shadow and a bright highlight gives the leak something to interact with; an evenly lit, flat grey image has nowhere for the glow to land.
- A photograph with at least one bright or one dark area
- A new layer above the photo, named something like “Light Leak”
- A soft round brush, for painting falloff by hand
- The Gradient tool (G) and Layer > New Fill Layer > Gradient
- Blend modes: Screen, Color Dodge, Linear Dodge, Lighten
- A layer mask for fading the leak where you do not want it
- Adjustment layers: Hue/Saturation, Curves, Brightness/Contrast
- Optional: a light-leak texture or PNG overlay you already own
Photoshop is a subscription product, so if you would rather not pay for it, the same gradient approach works in Affinity Photo and Photopea, both of which use the Screen and Color Dodge names. Everything below is written for current Photoshop menus, and the equivalents are close enough in GIMP that the steps still translate.
Step-by-Step: How to Add a Light Leak Effect
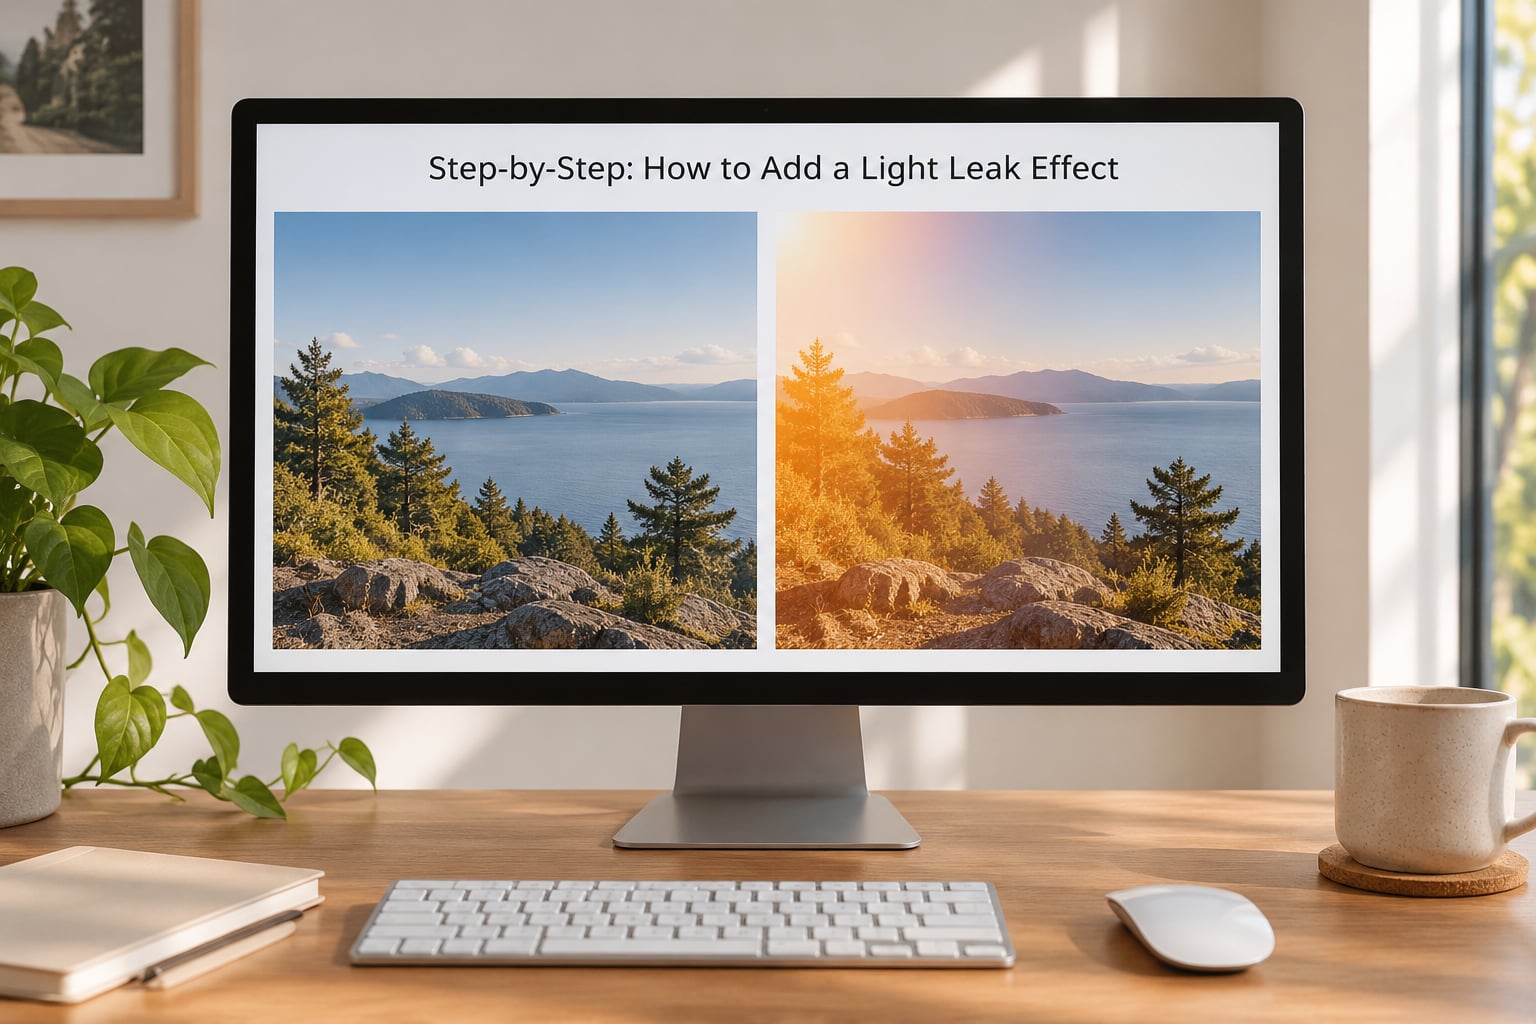
Step 1: Choose a Photograph and Set Up the Document
Open the photo, duplicate the Background layer with Ctrl+J (Cmd+J on a Mac), and rename the copy “Base”. Working on a duplicate means you can turn the whole effect off later with one click.
Right-click that duplicate and choose Convert to Smart Object. Converting to a smart object is what lets you rescale, warp and recolour the layer later without losing quality, which saves a lot of rework when the leak sits awkwardly against the subject. Then create a group with Ctrl+G and name it “Light Leak” so everything you add from here lives in one place.
Step 2: Create the Light Shape
Create the streak with Layer > New Fill Layer > Gradient. Choose a Linear style, pick two colours that sit close together in the gradient editor (a deep orange at one end, a paler orange at the other works well), set the Angle to roughly 20 degrees, and click OK.
Convert that gradient fill layer to a smart object too, then press Ctrl+T and drag one side handle inward until the layer is about 30 percent of the frame width. Hold Shift while you drag a corner handle to keep the angle clean. Press Enter to commit, then go to Edit > Transform > Warp and pull the corner anchor points into a soft, uneven curve. A perfectly straight streak reads as a graphic overlay; a slightly lopsided one reads as light.
If you prefer to paint rather than transform, pick a large soft round brush, set the flow to about 15 percent, and drag two or three overlapping strokes down the frame. Then run Filter > Blur > Gaussian Blur at roughly 30 pixels to take the edge off completely.
Step 3: Choose a Blending Mode and Build the Glow
Set the layer blend mode to Screen, and this is the step that turns a painted shape into light. Screen works pixel by pixel: wherever both layers are dark, the result stays dark, and wherever one is bright, the result goes brighter. That is exactly how a real leak behaves, because film already holding some light simply gains more.
Color Dodge does the same thing but more aggressively, pushing the bright areas of your photo toward white. It gives you a hot, burned-out flare rather than a soft wash. Linear Dodge (Add) is stronger still and clips quickly, so use it in small doses. Lighten is the gentlest of the four and picks the brightest value at every pixel, which keeps the leak from muddying shadow detail.
Start at 100 percent opacity, then drag the slider down until the colour reads as a glow. Most photographs sit somewhere between 15 and 40 percent. For a subtler result, add a second gradient pass at 10 percent opacity underneath the first rather than lowering the main layer all the way down.
Step 4: Color the Leak and Shape Its Falloff
Orange and red read as warm, nostalgic light and suit most skin tones and autumn scenes. Yellow is more acidic and works better on city night shots. Cyan and blue-green suggest a cold, cinematic flare or a moonlit scene. Magenta is unusual but effective for a nightclub or neon mood. If the hue feels alien against your photo, it is usually not the right hue rather than the wrong intensity.
To recolour a finished leak, add a Solid Color fill layer above it, set the fill layer to Color blend mode, and clip it to the leak layer by holding Alt (Option) and clicking between them. Adjust the fill layer’s opacity to dial the colour back. Hue/Saturation works similarly if you would rather shift the hue than replace it outright.
Now add a layer mask to the leak group and paint with a soft black brush at around 25 percent opacity where you want the effect to fade out. Most leaks should be strongest near one edge of the frame and weaken as they cross the subject. A gradient that runs evenly from top to bottom is the single thing that makes the effect look pasted on.
Step 5: Refine, Match, and Finish the Effect
Turn the leak group off and on to check whether it belongs. If the eye jumps straight to the glow before it finds the subject, it is too strong. If you cannot tell it is there at thumbnail size, it is too weak. Match the leak to the direction of the light already in the frame: a leak entering from the top right on a photo lit from the top left reads as a mistake.
For the most convincing result, build two gradients per leak. Use one wide, soft gradient centred in the brightest part of the frame at low opacity, and a second narrower streak entering from the edge at higher opacity. Community consensus on photography forums settles on the same two-part approach, and it costs one extra layer.
Add a Brightness/Contrast adjustment layer above the group and push contrast up to burn the leak into the highlights, which is the shared trick for a hot, flared look. Finish with grain: Filter > Noise > Add Noise at 3 to 4 percent, and a soft dark vignette painted on a mask to draw the eye back to the centre. Leave the layers unflattened until you are sure, then flatten with Ctrl+E and export.
Common Mistakes
Hard, visible edges. A streak with a crisp boundary is the tell-tale sign of a fake effect. Blur it with Gaussian Blur, or select the layer mask and feather the selection, so the transition takes 30 to 40 percent of the frame rather than stopping dead.
The leak covers the whole frame. If colour reaches all four corners, mask the excess with a soft black brush at low opacity. A leak belongs to one corner or one edge in a normal photograph.
Unnatural colour. When a leak looks pasted on, check the hue against the palette in the photo rather than dialing the opacity down. A cyan leak on a warm sunset will read wrong at any strength. Toning it toward the dominant colour in the frame fixes most of it, and if you are working in monochrome, the red filter effect in black-and-white photography guide covers tonal contrast instead.
A doughnut-shaped radial gradient. Radial gradients build intensity toward the outer stops, so a plain one leaves a visible ring in the middle. Set the left-hand stop of the gradient to 0 percent opacity instead of 100 percent, or edit the gradient after the fact so it fades from nothing in the centre to light at the edge.
Stacked leaks flatten the image. Three overlapping Screen layers push everything toward white and kill contrast. Cap it at two gradients per leak and reduce the combined opacity until blacks are black again.
Flattening too early. Keep the group and the masks editable until the last export. Half of the fixing above is adjusting opacity and painting masks, and none of that is possible once the layers are merged.
Frequently Asked Questions
Can I add a light leak effect to a black-and-white photo?
Yes. Build the light leak layer above your black-and-white image and set it to Screen or Color Dodge. A warm orange leak works well because it introduces the one colour a monochrome frame is missing. Keep the opacity low, around 20 to 30 percent, so the result still reads as black and white with atmosphere rather than a colour image with a filter.
Which Photoshop blending mode is best for a light leak?
Screen is the safest starting point because it lifts only the brighter pixels and leaves shadow detail intact. Color Dodge creates a stronger, more dramatic flare and will blow highlights out faster. Linear Dodge is the most aggressive of the three and suits small, hot accents. Lighten is the gentlest option if you want a wash without any loss of contrast.
How do I make a light leak look realistic?
Match the leak to the direction and colour of light already in the frame, and vary its intensity across the image. Use two gradients per leak: one wide and soft in the centre, one narrow and brighter entering from an edge. Keep every edge blurred, and stay under 40 percent opacity so highlights still hold detail.
How do I fix a light leak that makes the photo too bright?
Lower the layer opacity first, since that is reversible and instant. If it is still too hot, add a layer mask and paint with a soft black brush at low opacity to hide the brightest areas. For a burned-out look that stays under control, clip a Brightness adjustment layer to the leak group. Avoid multiple Screen layers stacked together, because contrast flattens fast.
Can I create a light leak effect without Photoshop?
Yes. Lightroom and Lightroom Mobile have Radial Filters with a Color Grading panel that let you push colour into one corner. Snapseed has a Glamour Glow tool and a brush for painting light in. Picsart works with overlay layers and blend modes. Snapseed and Lightroom are free, which makes them the quickest option on a phone.
Why does my radial gradient light leak look like a doughnut?
A radial gradient is brightest at its outer stops, so the centre stays empty and reads as a ring. Open the gradient fill layer’s layer style and set the left stop to 0 percent opacity, then edit the gradient so it goes from transparent in the middle to colour at the edge. Alternatively, build the leak from a linear gradient instead, which has no centre to worry about.
Conclusion
Start with one soft diagonal streak on a new layer set to Screen, drop the opacity to around 30 percent, and mask it so it fades before it reaches the subject. From there it is all adjustment: recolour the gradient to match the palette, blur any edge you can still see, and add grain to bind it to the photo. Two gradients per leak will get you most of the way to a result that passes for film.