
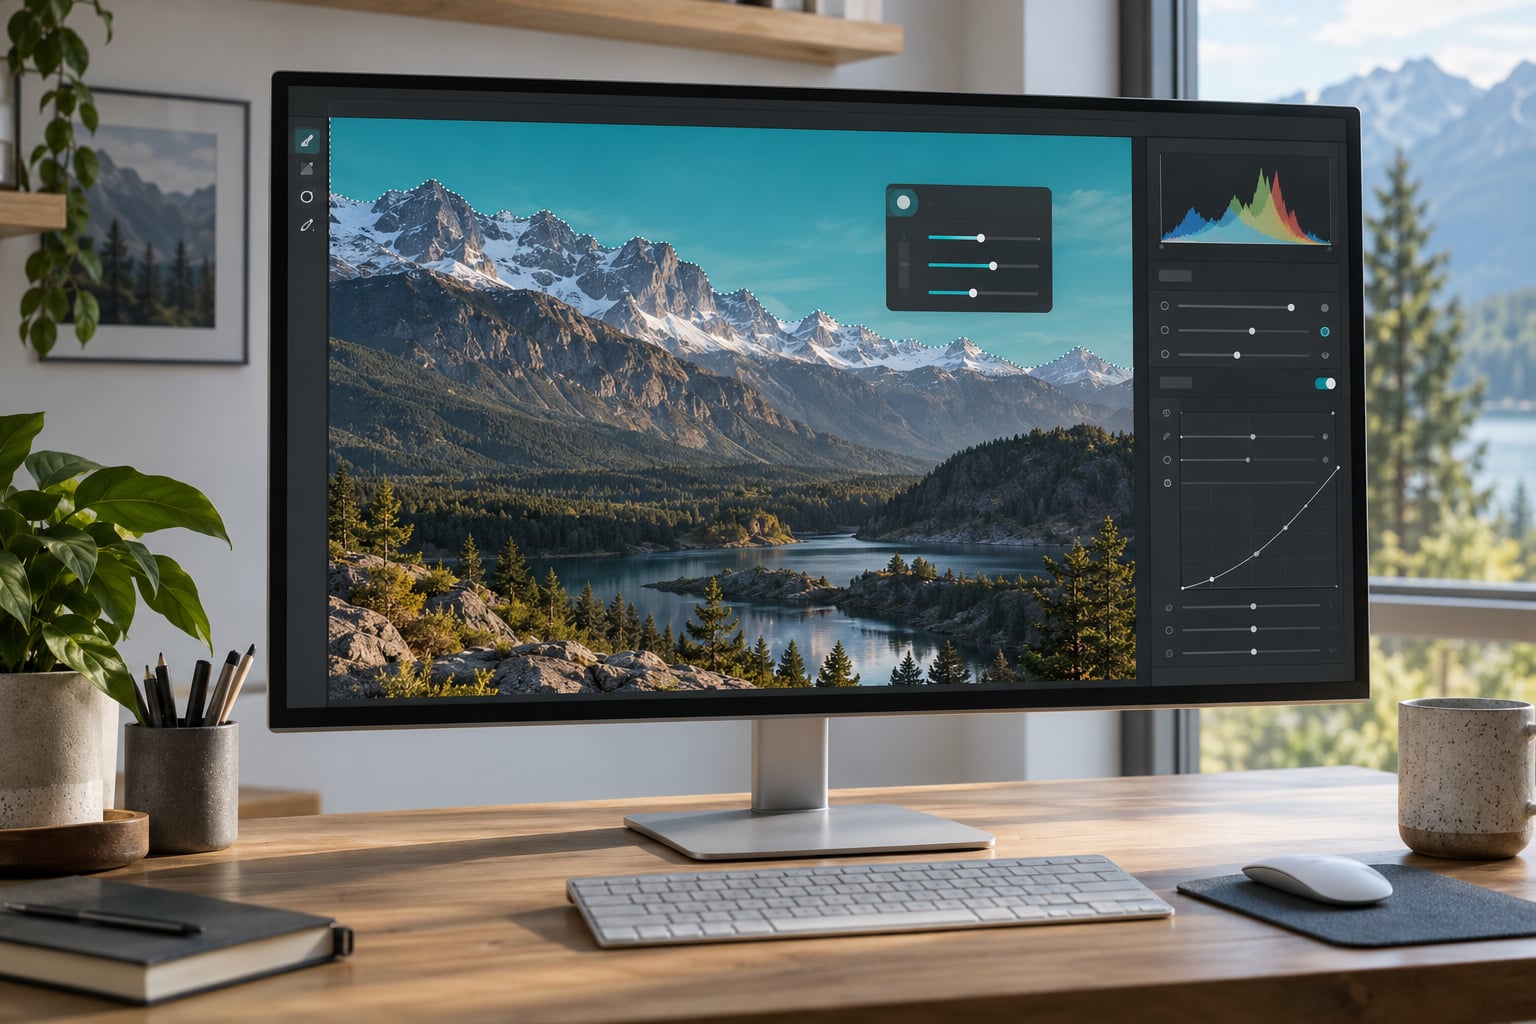
Masking lets you apply exposure, colour and detail adjustments to one part of a photo without touching the rest of it. In short, you make a selection, and every slider you move afterwards applies only inside that selection. It is the difference between a global editor and a precision tool, and once you know the seven steps below you will use it on almost every image.
The whole workflow takes about two minutes for a first mask. You pick a photo, open the masking panel, choose a selection tool, adjust, refine the edge, and name it so you can find it again later.
Lightroom masking creates an invisible selection layer over your photo that defines where your edits apply. Every mask is stored separately, nothing is painted into the pixels, and you can reduce a slider back to zero at any moment without damaging the image. That non-destructive part matters more than it sounds: it is the reason masks are safe to experiment with.
This guide covers Lightroom Classic, the current desktop Lightroom and Lightroom on mobile. Where the menu paths differ I have spelled out both.
Table of Contents
What You Need
Any version of Lightroom that has the Masking panel. Classic has carried the module since version 10, so anything reasonably current qualifies on desktop. On mobile the panel exists too, though a few of the combination controls are missing and I have flagged them where they come up.
You also want to be inside the Develop module, or Detail view on mobile. Masking works in Library view as well, but the Detail view is where the controls, the histogram and the mask overlay all sit together, which makes refining far easier.
Before you create anything, do three things. Pick an image you have already corrected globally, because masking handles local work, not base exposure. Get the crop and the white balance roughly right first. And turn on the mask overlay from the start, because trying to judge an edge without seeing the selection is the single biggest reason beginners think a mask has failed.
That is the whole preparation. No brushes, no plugins, no external software.
How to Use Masking in Lightroom: Step-by-Step
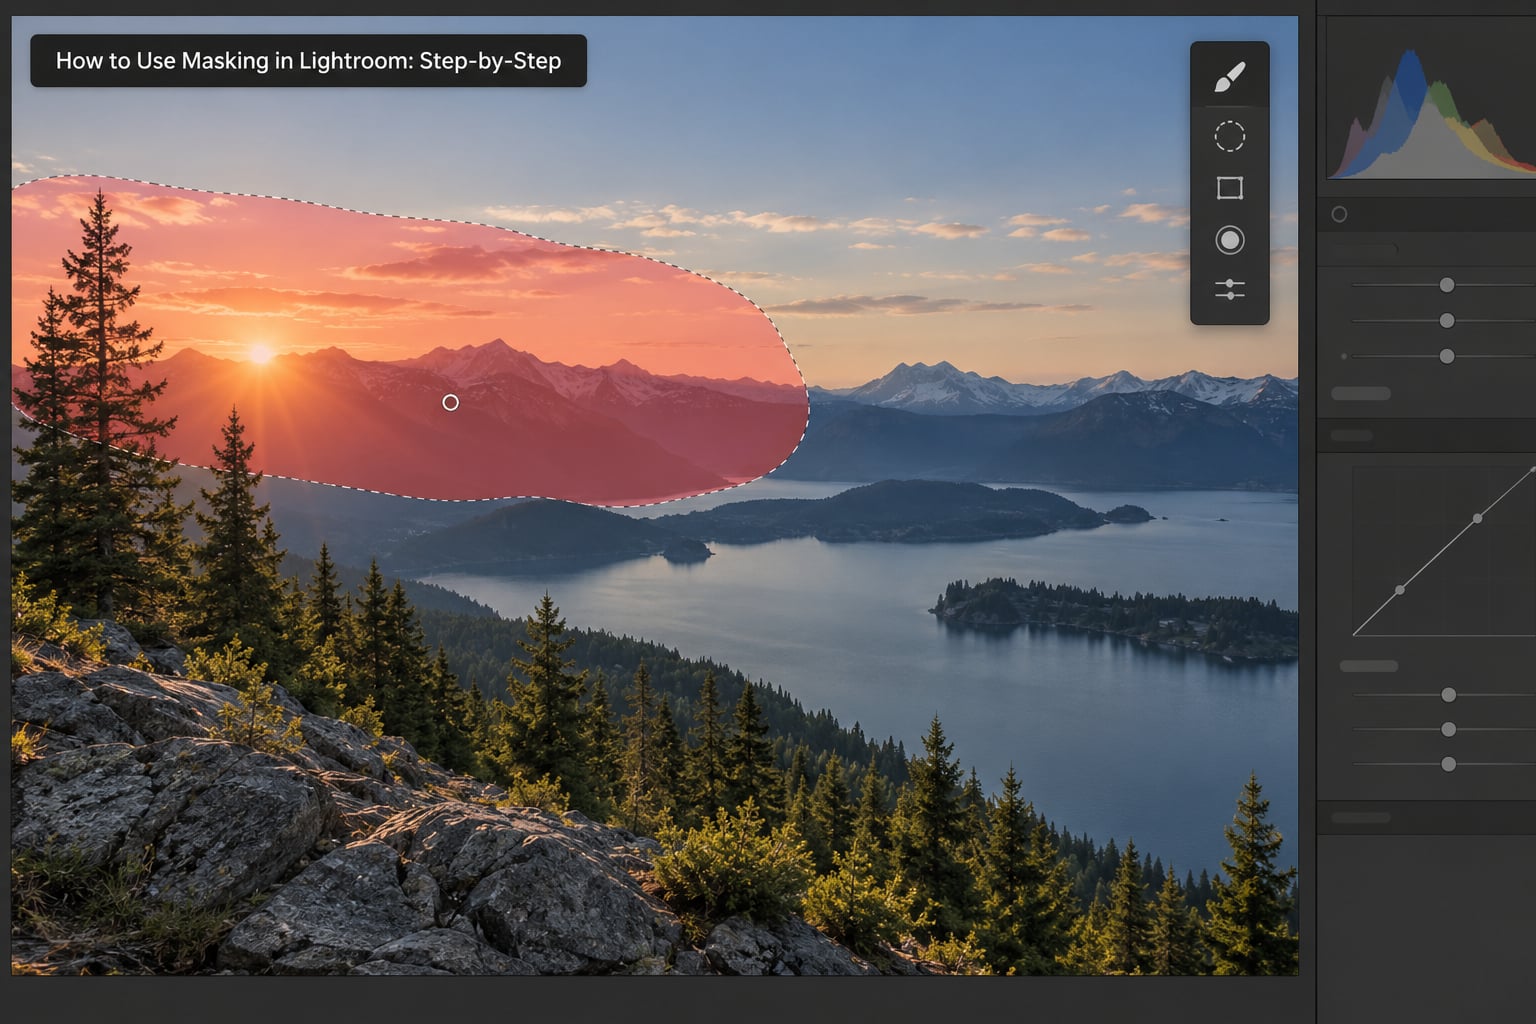
Step 1: Open the Develop Module and Choose an Image
Press G or E to jump between Grid and Loupe in Lightroom Classic, select an image, and press D for the Develop module. On current Lightroom and mobile, tap the photo and choose Edit. Detail view loads with the histogram and slider panel on the right, which is where the Masking button lives.
If the image is a raw file and you have not adjusted anything yet, fix the obvious problems first. Masking a badly exposed frame just gives you a precise version of a bad edit.
Step 2: Open the Masking Tool
In Lightroom Classic, press Shift+W or choose Masking in the tool strip below the histogram. That single button does everything: it opens the panel, creates a new mask and brings up the tool list. The panel docks beside the histogram and can be resized by dragging its edge.
In the current desktop Lightroom the path is Masking, then Create new Mask. On mobile, open the sliders and tap the masking icon at the top of the adjustment panel. Some newer builds put Add and Subtract buttons directly under the mask name.
On Classic and current desktop, M selects the masking tool and Shift+M toggles the whole panel off when you want the sliders back. If the panel is not visible at all, it is probably collapsed under the histogram rather than missing.
Step 3: Choose a Masking Method
The selection tools fall into three families, and picking the right one is most of the skill. Here is the cheat sheet.
Select Subject detects the main person, animal or object. Best for portraits and product shots where the subject is centred and the background is reasonably distinct. It struggles with overlapping people, busy backgrounds and low contrast, and it often clips hair.
Select Sky finds open sky in wide outdoor and city shots. It is fast and accurate on a clear horizon and fails on heavy cloud, tree cover and sunsets where sky and land share tones. When it does fail, Select Subject and then Subtract the rest of the frame is a solid backup.
Select Background does the opposite, selecting everything except the main subject. Use it when you want to desaturate or blur a backdrop while leaving the subject untouched.
Select People finds faces and can expose sub-selections for eyes, whites of the eyes, lips, hair and face skin. That last one is a fast route to a soft skin effect, and it is the reason this tool has no real equivalent in Classic.
Select Objects targets a named object when you click on it, which is useful for a specific item in a cluttered frame.
Brush is the manual fallback and the most precise tool you have. Size sets the diameter of the stroke, Feather softens the edge over a number of pixels, Flow controls how much each stroke adds, and Density sets the ceiling the stroke can build toward. Turn on Auto Mask and the brush tries to keep itself to the edge you are painting over, which works well on hard contrasts and fails on texture and gradients.
Linear Gradient starts a straight line and fades away from it, which suits skies, horizons and edges. Hold Shift while dragging to lock the angle to increments, and lower Feather to about 40 for a tighter falloff.
Radial Gradient fades from the centre outward or the reverse. This is the workhorse for darkening a background around a subject and for adding light where you want the eye to land. Hold Shift for a perfect circle. Practitioners tend to leave Feather at 100 for natural transitions.
Color Range selects by hue, which is how you lift foliage or pull a colour out of a background. In Pointer mode you click the colour; in Rectangle mode you drag a box and Lightroom samples everything inside it. Range sliders at the bottom decide how forgiving the selection is, and the Refine slider handles a similar problem.
Luminance Range selects by brightness, so you can recover only the shadows in a face without lifting the highlights. Set the black point low enough to include your darkest shadow and the white point high enough to exclude your brightest highlight.
Depth Range uses depth information to separate near from far, which is a fast way to push a background back. It needs a camera that recorded depth, and it gives up on flat scenes with nothing to judge.
Where the tools live differs more than most guides admit. Mobile has every selection tool above but no Intersect, Classic has the full combination set but no Select People or Select Background, and current desktop has both.
| Capability | Mobile | Desktop | Classic |
|---|---|---|---|
| Select Subject, Sky, Objects | Yes | Yes | Yes |
| Select Background and Select People | Yes | Yes | No |
| Brush, Linear and Radial Gradient | Yes | Yes | Yes |
| Color, Luminance and Depth Range | Color and Luminance | Yes | Color and Luminance |
| Add and Subtract | Yes | Yes | Yes |
| Intersect | No | Yes | Yes |
| Copy a mask to another image | No | Yes | Yes |
Step 4: Make the First Local Adjustment
With the selection active, the sliders under the mask name work on that selection only. Five groups hold them, and the sliders inside each one are always available once you are editing inside a mask.
| Group | Sliders | Typical use |
|---|---|---|
| Light | Exposure, Contrast, Highlights, Shadows, Whites, Blacks | Recovering shadow detail on a face, or taming a bright window behind a subject |
| Color | Temp, Tint, Exposure, Hue, Saturation, Luminance, Midtone Mixers | Cooling a sky, warming skin, pulling a single colour out of a background |
| Effects | Saturation, Vibrance, Grain, Vignette, Post Crop Vignetting, Effect presets | Softening a backdrop, adding a spotlight to a radial mask |
| Detail | Texture, Clarity, Dehaze, Sharpening, Noise Reduction | Adding texture to a face, reducing noise only in a shadowed sky |
| Optics | Red, Green, Blue saturation | Removing a colour cast from one area without touching the rest of the frame |
Start with a small Exposure change and look at the histogram. Because a mask edits a limited area, the histogram shifts less than you expect, which is normal.
One thing to know before you go further: a mask is not a mask group. A mask holds one selection and its slider values. A group holds several masks under one name and behaves like a folder you can collapse, rename or switch off together. Add, Subtract and Intersect only apply to the mask you have selected, not to a group, which is where most beginners lose an evening.
Step 5: Refine the Mask Edges
Every selection tool gives you an Edit pin and an Add pin. Drag the Edit pin with the mask selected and you can nudge the whole selection or scale its edge. Select the mask first, then hold Alt (Option on Windows and Linux) and drag a pin inward or outward to push the edge.
Set Exposure to 0 inside the mask and brush over the areas your selection wrongly included. At zero exposure the brush only edits the selection itself, so you can paint corrections without changing a single pixel of brightness. Feather and Size on the brush are what remove a hard halo, not more slider work.
Use the Overlay controls at the bottom of the panel to change what the selection looks like while you work. Show Overlay, the colour, the opacity and Automatically Toggle Overlay are all in that strip. Turning Automatically Toggle Overlay off stops the overlay appearing every time you switch images, which many editors prefer.
Step 6: Combine Multiple Masks When Needed
Under the mask name you will find Add, Subtract and Intersect. Add a second selection to widen the mask, Subtract to cut a piece out of it, and Intersect to keep only the overlap of the two. The mobile app has no Intersect; the workaround is to Subtract the first mask inside the second and adjust the second slider until only the overlap is affected.
A worked example: Add a Select Sky mask and set Exposure to minus 0.5 and Dehaze up, then Subtract a radial gradient centred on your subject so the sky darkens without dimming the person. For clothing, Intersect a People mask with a Color Range mask on the shirt colour and drop Saturation to lift a bright yellow without touching skin.
Keep each mask purposeful and give it a name. A group of masks under one name behaves like a single folder you can move or switch off at once, and a name like Trees Highlight Saturation tells you what you were doing six weeks later.
If you build the same mask repeatedly, these four recipes cover most of it.
Darken a portrait background. Select Subject, then radial gradient, then Subtract from the subject mask so the gradient only affects everything behind them. Drop Exposure a third of a stop and add a little Dehaze. Read the result at thumbnail size: if the subject no longer separates, you went one notch too far.
Shape a landscape sky. Select Sky first and set Dehaze up and Whites down slightly. That is often enough on its own. If you need to pull back the brightness, Subtract a linear gradient from the horizon upward with Feather near 40, then drop Exposure another half stop in that mask only.
Pick out foliage. Color Range in Rectangle mode over the leaves, then narrow the Hue range until only green is selected. Raise Saturation and drop Blacks a little for depth. If it bleeds onto a red jacket, Subtract a small brush pass with Exposure at zero.
Dodge and burn with gradients. Two radial gradients over the same subject, one at plus 0.3 and one at minus 0.3, with Feathers wide enough that the two transitions do not meet. That is the classic way to shape light without touching the sliders, and it is reversible to the pixel.
Step 7: Copy or Save the Mask for Future Edits
You can copy a whole mask to another image. Create and refine the mask, then choose Copy in the panel menu, select a second image and paste. Classic recalculates AI selections for the new frame, so check the edges before you assume the paste was clean.
Presets work on masks too, which is the fastest way to reuse a look. Hit the Effects group inside the mask and apply a saved Effect preset such as Soften Skin. Note the result is not a saved mask for future use, and Adaptive Presets inside a mask stay limited. For a repeatable starting point across a whole shoot, build it as a preset instead, as covered in how to create Lightroom presets in Classic.
Common Mistakes
Confusing a mask with a mask group. If Subtract appears to do nothing, you are usually editing a group rather than a mask inside it. Click each entry in the panel until the one you want lights up, and check the label at the top says the individual tool.
Painting a selection with the adjustment still switched on. Zero the Exposure slider, refine the mask, then set your adjustment. Otherwise every correction stroke doubles as an edit.
Leaving the overlay on and assuming the edit is broken. The default red overlay covers the selected area, which makes a perfect mask look wrong. Press H to cycle the pin and overlay visibility, or drop the overlay opacity until you can read the image underneath.
Using Auto Mask everywhere. It is hit or miss depending on edge contrast, and on a busy texture it drags the brush lag and drops strokes. Use it near hard edges and switch it off when painting over open areas.
Leaving Feather at its default on gradients. A hard linear gradient across a sky looks like a seam. Lower Feather to around 40 for horizon lines and leave Radial Gradients near 100.
Confusing Develop sharpening Masking with photo masking. The Masking slider under Detail, Sharpening, Edge and Detail only controls how much sharpening lands on edges. It is not a selection layer and it cannot be saved with a mask.
Adding twelve masks nobody will find again. Name them as you go, delete the ones that are not doing anything, and stop when the edit looks right. A clean file is faster to revisit than a clever one.
If you want to push the tonal side further, what luminosity masking is covers the range-based logic behind shadow and highlight selections.
Two shortcuts worth knowing: press O to switch the overlay off entirely and back on, and hold Shift while dragging a gradient to lock its angle. Holding Shift with a radial gradient gives you a clean circle instead of an ellipse.
Frequently Asked Questions
What does masking do to an image in Lightroom?
Masking creates an invisible selection layer over your photo and applies your adjustments only inside it. Exposure, colour and detail changes land on the selected area while the rest of the frame stays exactly as you left it. Because the selection is stored separately from the image data, every change is reversible at any time.
Why can’t I mask in Lightroom?
Most often the Masking panel is collapsed under the histogram, the AI tools are recalculating after a recent update, or Auto Mask is making the brush unresponsive. Press H to check whether the overlay and Edit pin are hidden, try Select Subject on a different photo to rule out one difficult frame, and switch Auto Mask off to see if the brush responds. If masking fails across several photos and tools, restart the application before touching your catalog.
Which Lightroom mask should I use for a portrait?
Start with Select Subject for the person, then use Select People if you need to target hair, eyes or face skin specifically. Subtract a radial gradient to protect the subject from background edits. If Select Subject clips badly through hair, select the subject, duplicate it, and subtract a manual brush pass around the messy edge with Exposure at zero.
Is masking in Lightroom the same as layers in Photoshop?
The mental model is the same but the execution differs. Photoshop layers can be reordered, blended with opacity modes and clipped freely. Lightroom masks sit in one panel, always apply in the order shown, and are combined only with Add, Subtract and Intersect. You also cannot mask a mask and place adjustment layers above or below the image.
Can I use masks in Lightroom mobile?
Yes, and the core tools are all there: Select Subject, Select Sky, Select Background, Select People, Select Objects, Brush, gradients and the range masks. The mobile app has no Intersect control. Subtract the first selection inside the second mask instead, then lower the second mask slider until only the overlapping area is affected.
Are Lightroom masks destructive or permanent?
They are non-destructive and fully editable. A mask is a record of a selection plus its slider values, not pixels written into the file. You can change the selection, reset sliders to zero, delete the mask, or copy it to another image, and the underlying photo is untouched at every stage.
What to do first
Open a photo you have already corrected, press Shift+W, and run Select Subject. Move Exposure down by a third of a stop and look at what changes. That single loop takes under a minute, and once you have seen a selection working on your own image, the rest of the tools become much easier to place.
If you want to take the colour side further after that, how to color grade photos in Lightroom picks up from there.