
The Healing Brush samples clean pixels from one part of your photo, then blends them over a blemish, dust spot or scratch so the repair matches the surrounding colour and texture. Hold Alt (Windows) or Option (macOS), click a clean area, release the key, then paint over the flaw. A small retouch takes about fifteen seconds once you have the feel for it.
What follows is the workflow I use on portraits and product shots: duplicate the layer first, set the brush size by hand rather than trusting the presets, and heal one imperfection at a time.
Table of Contents
- What You Need
- Step-by-Step: How to Use the Healing Brush in Photoshop
- Common Mistakes
- Frequently Asked Questions
- What is the keyboard shortcut for the Healing Brush tool in Photoshop?
- What is the difference between the Healing Brush and the Spot Healing Brush?
- Why isn’t the Healing Brush working on my image?
- How do I choose the right brush size and hardness?
- How do I reset the Healing Brush when it stops behaving?
- Conclusion
What You Need
Open the photo you want to clean up in Adobe Photoshop. Before touching anything, duplicate the Background layer with Ctrl+J (Cmd+J on a Mac) and name the copy something like Healing.
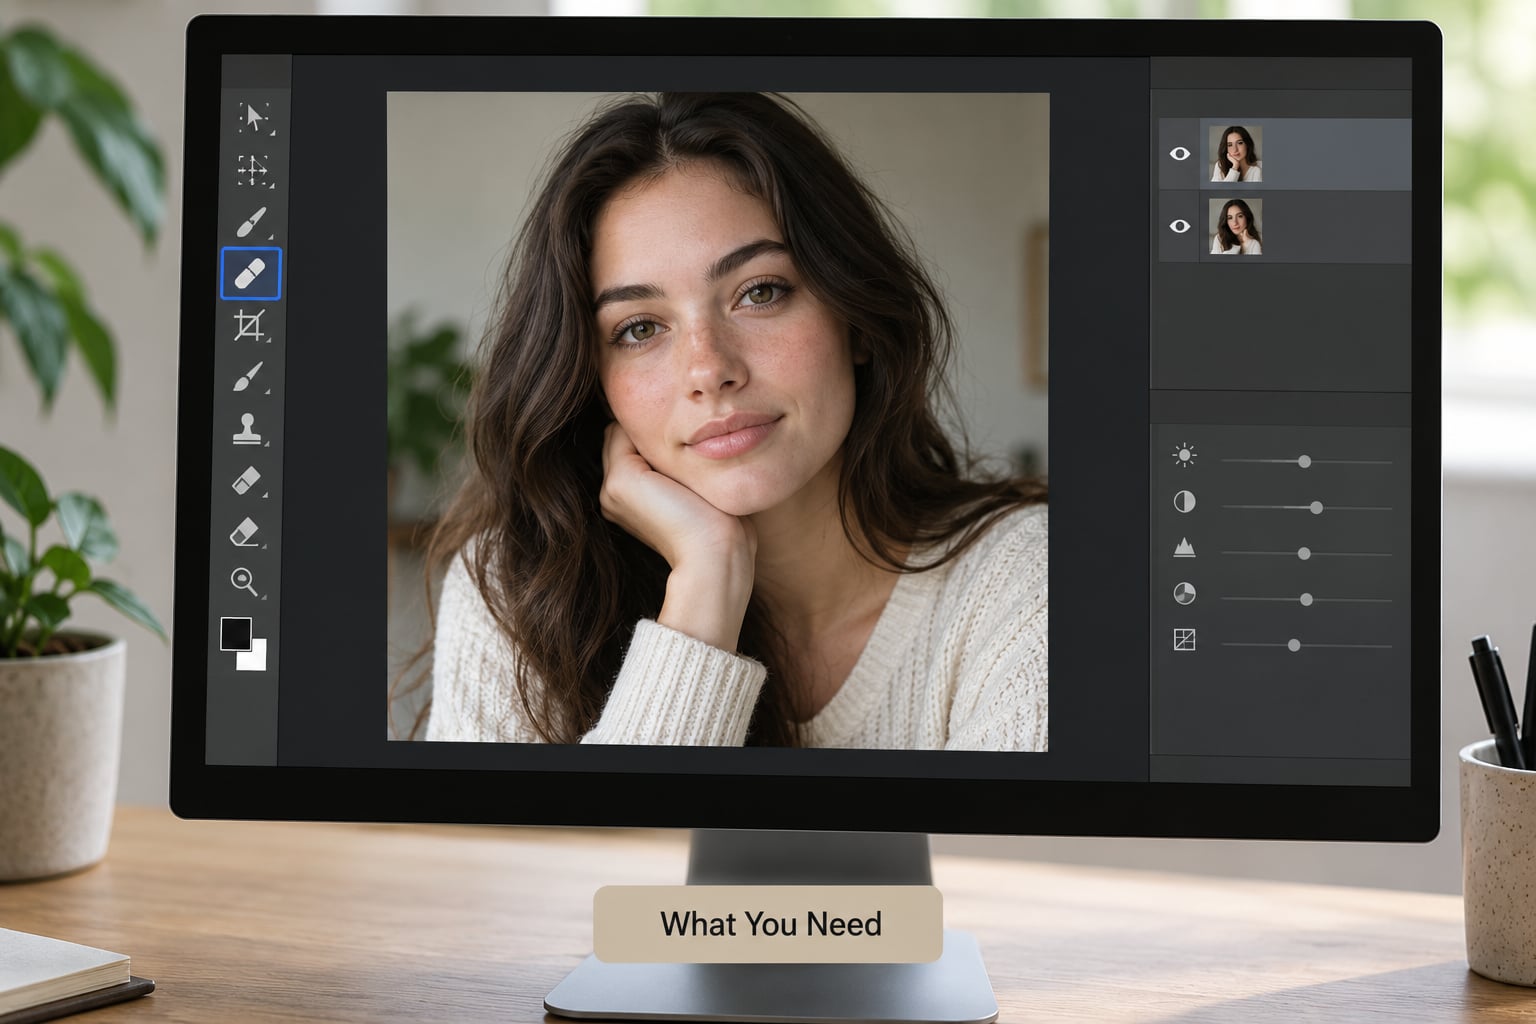
From there you need the Healing Brush tool, found under the band-aid icon in the toolbar. Press J to cycle to it, or click and hold the icon to pick the Healing Brush from the flyout.
A useful brush preset helps, but the numbers matter more than the preset name. Have the Brush Settings panel open (Window > Brush Settings) so you can see hardness and spacing while you work.
If your edit turns out badly, the History panel and a layer mask are your way out. Keep both in reach rather than flattening the image early.
Step-by-Step: How to Use the Healing Brush in Photoshop
Prepare the Photo for Non-Destructive Editing
Duplicate the Background layer and rename it so you remember what the layer is for. All healing happens on this copy, leaving the original pixels untouched underneath.
If the image is large or you plan several passes, right-click the duplicate and choose Convert to Smart Object. Smart Filters such as Camera Raw can then be applied to the healed layer without flattening, though the image gets heavier on your machine while you work.
Zoom in with Ctrl and the plus key rather than the zoom tool. You want to judge texture at 100 percent, because the Healing Brush hides flaws at small sizes that show up immediately on screen and in print.
Choose the Right Healing Brush Settings
With J selected, set Size, Hardness and Spacing in the Options bar. Press [ and ] to shrink or grow the brush once your cursor is over the canvas. Hold Ctrl (Cmd on Mac) while dragging the brush size slider to change hardness without leaving the canvas.
These are the values that work for me most often:
| Task | Size | Hardness | Flow |
|---|---|---|---|
| Dust or sensor spot | 5-10 px | 50-70% | 100% |
| Skin blemish | 15-25 px | 30-50% | 50-70% |
| Scratch on a print | 20-40 px | 40-60% | 100% |
| Hard edge or straight line | Larger than the target | 70-90% | 100% |
Leave the blending mode on Normal for most work. Lighten and Darken help when the sample sits in a shadow or a highlight and you want to keep that tone rather than let Photoshop average it.
Set Source to Sampled, which means Photoshop uses the pixels you click. Choose Pattern only when you are working on a flat, repeating texture such as a seamless backdrop.
Heal Small Blemishes and Imperfections
Hold Alt (Windows) or Option (macOS) and click a clean area close to the blemish. A crosshair follows your cursor; the spot you click becomes the source.
Release the modifier and paint over the imperfection. Short dabs work better than one long stroke, because each stroke pulls from the same sample and can repeat a pattern if you drag too far.
The Sample menu decides which layers the tool reads. Choose Current Layer for a clean retouch, Current & Below when you want to heal against the composite, and All Layers when several transparent or adjustment layers are stacked above your source pixels.
Sample somewhere with a similar texture and similar light. Skin beside a blemish works better than skin two inches away across a shadow line, which is why samples taken from the wrong side of the nose give such obvious results.
Match Texture and Blend the Repair
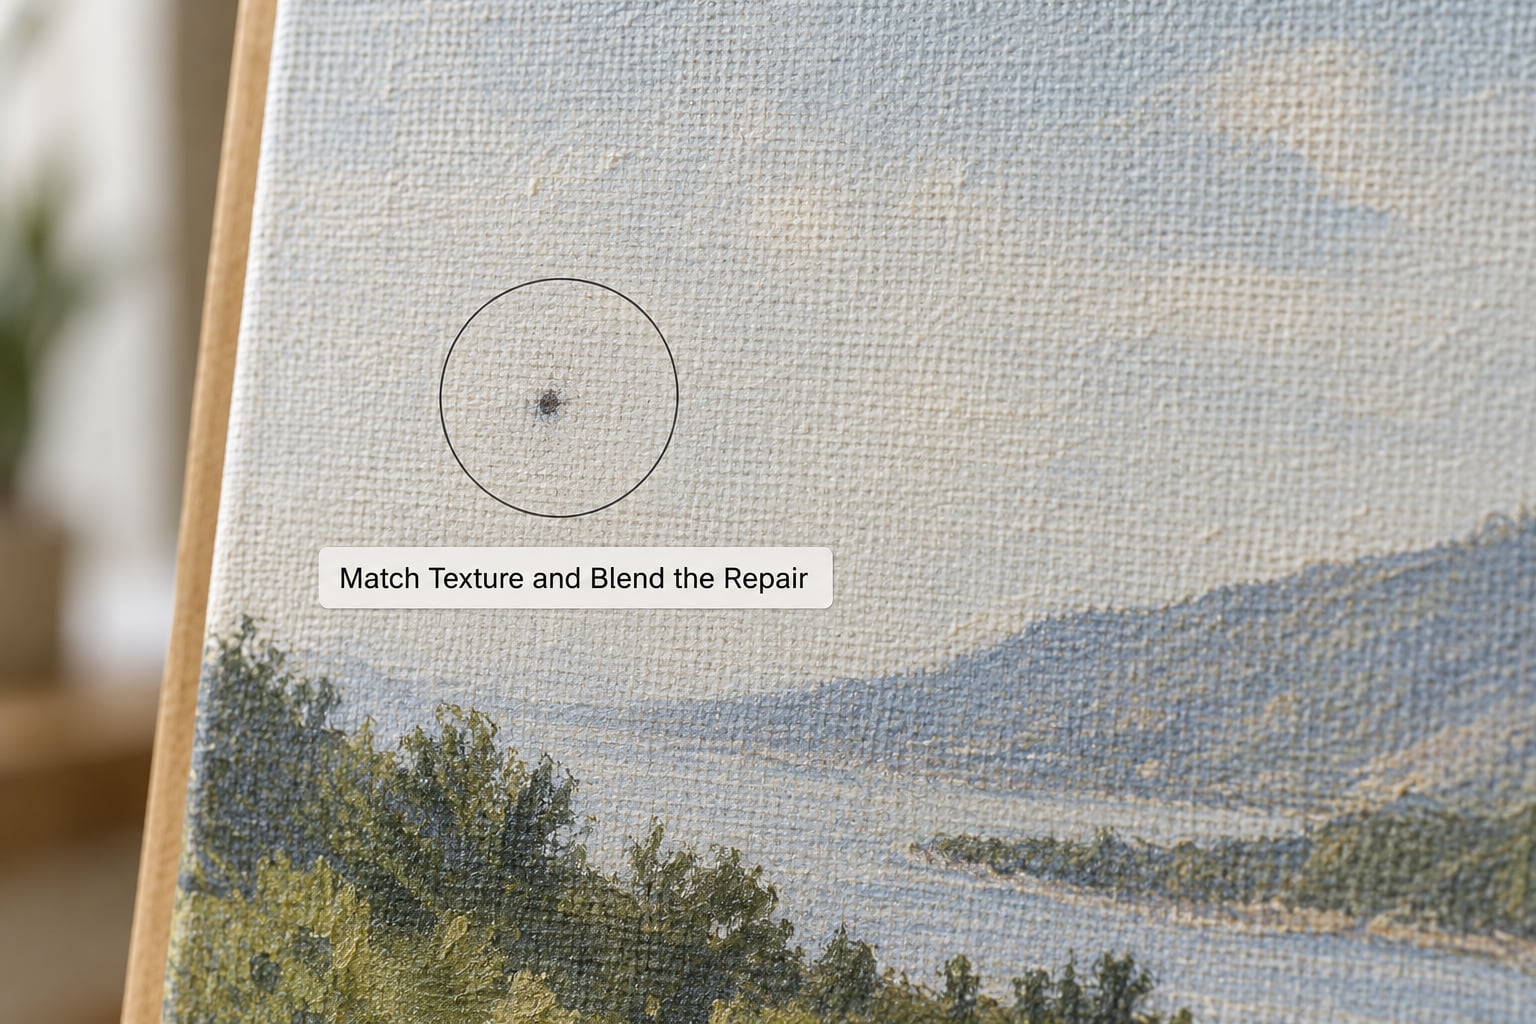
With Aligned ticked, Photoshop keeps the sample’s direction consistent with the direction of your stroke. That matters on textures with a grain or weave running in one direction, and on straight lines. Unticked, the sample rotates with your stroke, which sometimes helps on circular or random textures.
Diffusion controls how far the blending spreads from the stroke edge. Leave it at the default for skin and dust. Raise it slightly when the repaired area still reads as a faint smudge at 100 percent.
Hard edges are the tool’s weak spot, and the fix runs against most of the advice you will find elsewhere. Instead of a brush that fits neatly inside the flaw, use a brush larger than the area, sample somewhere that looks similar, align the sample with the target, then make one short pass. Retouching forums describe the default small-brush approach producing blurred smears on building borders and product silhouettes; the oversized brush keeps the surrounding edge intact.
If the repair still looks off, hide the healing layer with the eye icon and compare. A visible halo means the sample was too bright or dark, and a repeated blob means your strokes covered the same ground twice.
Refine and Review the Retouched Image
Zoom back out to fit the window and look at the whole image. Texture problems you could not see at 100 percent often appear at normal size as soft patches.
If the retouch reads as too strong, select the healing layer and lower its opacity to around 70-80 percent rather than undoing everything. That softens the repair without losing it.
Use Ctrl+Z (Cmd+Z) to step back through strokes one at a time. A single undo removes a whole stroke, which is why short dabs are easier to live with than long ones.
Flatten only when the retouching is finished. Until then, keep the duplicate layer separate so you can compare against the original at any time.
Where to Find the Tool and What to Press
The Healing Brush sits in the toolbar under the band-aid icon, which also covers the Spot Healing Brush and the Patch Tool. Click and hold that icon to choose between them. Press J to cycle through the whole healing family, and repeat J to cycle back.
| Action | Windows | macOS |
|---|---|---|
| Select a healing tool | J | J |
| Brush smaller / larger | [ and ] | [ and ] |
| Set the source sample | Alt-click | Option-click |
| Change hardness on canvas | Ctrl-drag the size slider | Cmd-drag |
| Undo one stroke | Ctrl+Z | Cmd+Z |
| Duplicate layer | Ctrl+J | Cmd+J |
On Photoshop for iPad, the workflow is the same but the interface is not. Tap the three dots icon in the tool options panel to open Healing Brush settings, where you pick blend mode, source and sampling options.
Common Mistakes
A brush too big for the spot. Sizing the brush exactly to the blemish is the standard instruction and it is wrong for edges. It leaves a visible ring of replaced texture. Either go smaller with a soft brush and low flow, or go much larger with a hard brush as described above.
Sampling from the wrong area. A sample with different lighting or a different texture direction is the cause of most obvious repairs. Sample within a few millimetres of the target and match the grain.
Stroking at 100 percent opacity. One pass at full strength leaves a hard-edged blob. Drop opacity to 50-70 percent for skin and build the correction in two light passes.
Healing straight onto the Background layer. No undo history beyond the last action will save you. Duplicate first, every time.
Dark or black marks that stay on the canvas. This is the most reported complaint in retouching forums. It usually traces back to brush settings rather than the image: set hardness away from 0 percent, turn off smoothing in the Brush Settings panel, and check that no colour is locked to black. Turning pen pressure support off and on again, or resetting the tool, clears it in most cases.
Nothing happens at all. You are probably on an empty or adjustment layer with no pixels to sample, or a layer mask is active with the paint cursor showing. Heal on a pixel layer, or fill the mask with white first.
Everything gets slower on large areas. Smoothing in Brush Settings is the usual culprit on large images. Lower it or turn it off, and work on a Smart Object-free copy for speed.
Two habits cover most of the rest. Keep a blend mode reference nearby, and when a repair refuses to blend, undo and resample rather than adding more strokes on top.
Frequently Asked Questions
What is the keyboard shortcut for the Healing Brush tool in Photoshop?
Press J to cycle through the healing tools in the toolbar, which includes the Healing Brush, the Spot Healing Brush and the Patch Tool. Press J again to move to the next one. You can also click and hold the band-aid icon to open the flyout and pick the Healing Brush directly. To size the brush once the tool is active, press the left bracket for smaller and the right bracket for larger.
What is the difference between the Healing Brush and the Spot Healing Brush?
You tell the Healing Brush where to sample by Alt-clicking, which gives you control over texture and light. The Spot Healing Brush picks its own sample automatically, scans the surrounding area and blends for you, which is faster on small dust spots and blemishes but less predictable on textured or detailed surfaces. Use the Spot Healing Brush for quick cleanups and the Healing Brush whenever you need to guide the source.
Why isn’t the Healing Brush working on my image?
Four causes account for most cases: you are on a layer with no pixel data such as an adjustment layer, a layer mask is active instead of the pixels, the brush hardness is at 0 percent, or smoothing in Brush Settings is interfering. Also confirm you Alt-clicked to set a source. If the tool worked earlier in the session and has now stopped, reset the tool from the three-dot menu in the Options bar.
How do I choose the right brush size and hardness?
Make the brush a little wider than the spot you are removing, then set hardness between 30 and 70 percent for skin and dust, and 70 to 90 percent for edges and straight lines. Use the bracket keys to resize once the cursor is on the canvas, and hold Ctrl or Cmd while dragging the size slider to change hardness. Test on a duplicate layer and judge the result at 100 percent.
How do I reset the Healing Brush when it stops behaving?
Open the three-dot menu at the right of the Options bar with the Healing Brush active and choose Reset Tool or Reset All Tools. That restores the brush, hardness, spacing and mode to defaults and clears a stuck source sample. If dark marks persist, open the Brush Settings panel and lower the Smoothing value, then restart Photoshop if a tablet pressure setting has locked itself off.
Conclusion
Start with the layer. Duplicate your photo, name the copy, and do every heal there. Then pick a brush slightly wider than the imperfection, Alt-click a clean nearby area, and make one short pass at around 70 percent opacity.
Work on a single spot, then zoom out and look at the whole image before you touch the next one. That inspection step is what separates a clean retouch from a face full of faint smudges, and it takes two seconds. Once you are comfortable with the basics, the Clone Stamp handles the cases where you need a literal copy, and a recorded action makes the same cleanup repeatable across a whole shoot.