
To fix white balance in Lightroom, open the photo in the Develop module, find the WB section at the top of the Basic panel, and either click the eyedropper on a genuinely neutral area or drag the Temp and Tint sliders until the cast disappears. Fix it before anything else, because every later tone and color adjustment depends on it.
A photo shot under tungsten bulbs or a heavy overcast sky will not match what your eyes saw in the moment. That mismatch is a color cast, and Lightroom can strip it out in a couple of minutes without touching a single pixel of the original file.
Table of Contents
- What You Need
- Step-by-Step: How to Fix White Balance in Lightroom
- Common Mistakes
- Frequently Asked Questions
- How do I change white balance in Lightroom Mobile?
- What does Ctrl+B do in Lightroom?
- How do I fix my white balance?
- What does white balance adjust in an image?
- How do I get the perfect white balance in Lightroom?
- How do I batch white balance in Lightroom?
- Should I use the eyedropper or the sliders in Lightroom?
- Conclusion
What You Need
You need a copy of Lightroom, the Develop module, and one photo to test on. Both Lightroom Classic and the current desktop app handle white balance in the same place, so the steps here work in either.
Shoot or open a RAW file if you can. A RAW file stores the color data unrendered, which means you can move the white balance across the entire range later and still recover highlight and shadow detail. A JPEG has already been baked with a white balance decision, so you are correcting a guess instead of a measurement.
Work non-destructively. Every change you make in Develop lives inside Lightroom’s catalog until you export, so keep your camera originals untouched and resist the urge to save over them. If you want a permanent, reusable version of the fix, build a preset instead.
One honest note: how to fix white balance in Lightroom accurately depends on your screen. An uncalibrated monitor will make a correct image look cast, and a cast image look fine. If you are delivering work for a client, calibrate first.
Step-by-Step: How to Fix White Balance in Lightroom
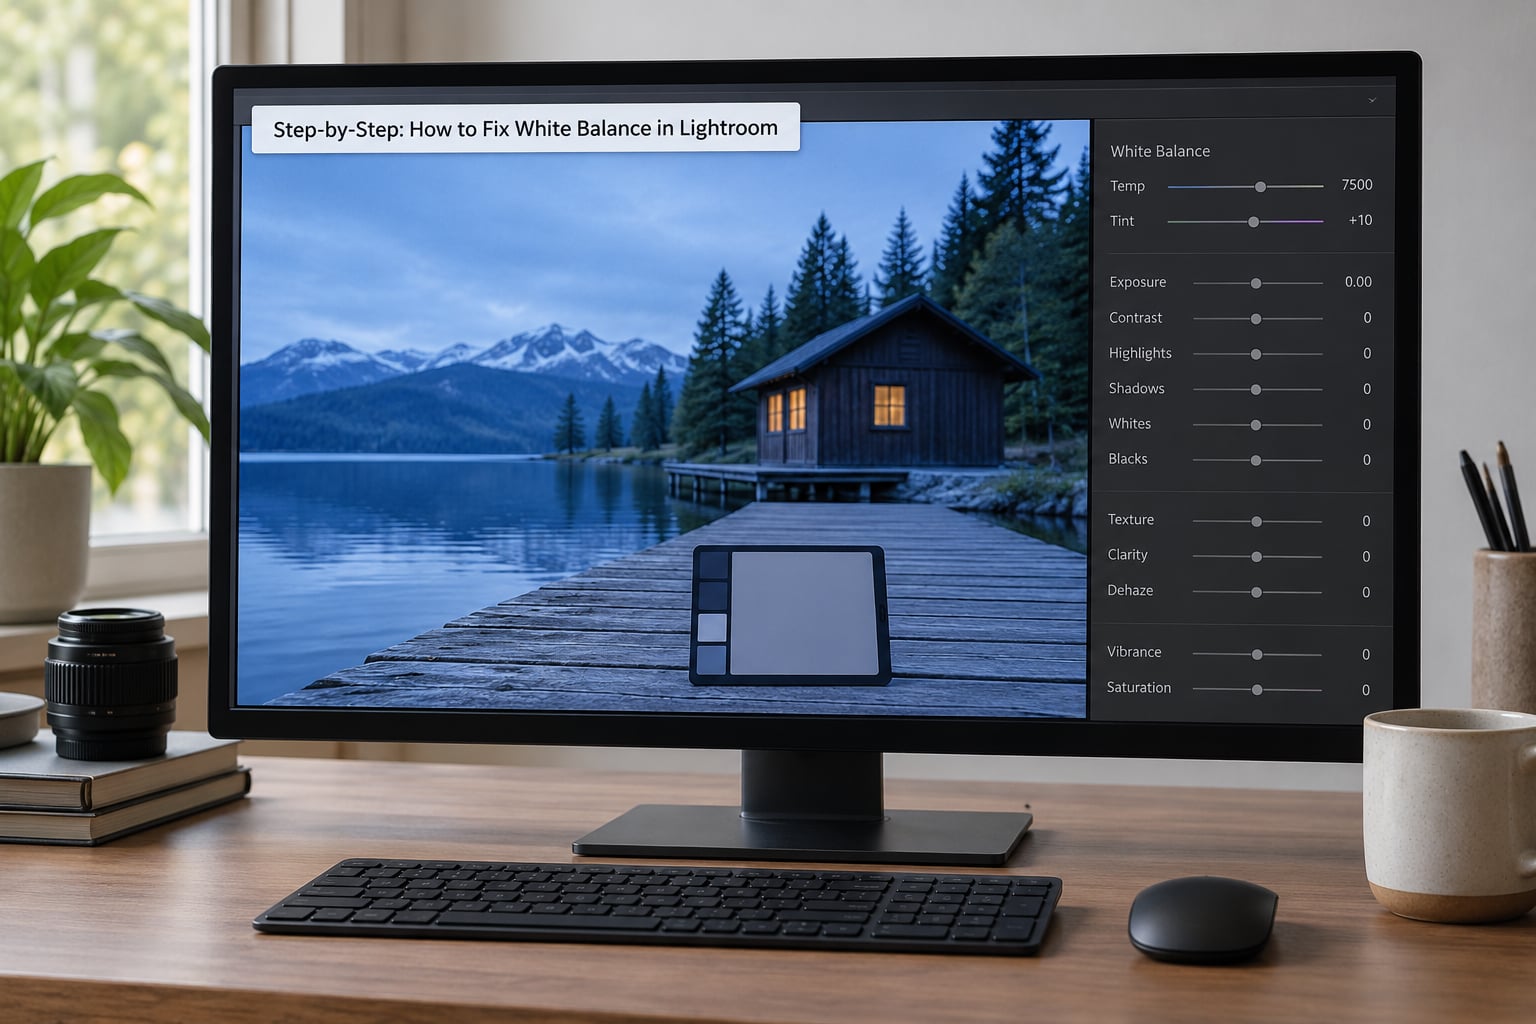
Step 1: Check the Original Before You Fix White Balance in Lightroom
Before touching a slider, look at the frame and decide what kind of problem you have. A global cast means the whole image skews one direction, which a single global correction solves. A local problem means one region is off, usually a window blown to blue daylight next to a warm interior, and that needs a mask rather than a slider.
Judge the cast on the largest neutral-looking object you can find, not on your overall impression. A photo can look blue overall and still have a warm subject sitting in the middle, and correcting for the overall impression wrecks the subject.
Step 2: Use Lightroom’s White Balance Selector
The fastest accurate fix is the eyedropper in the WB section, and the W key activates it in the desktop app.
Find it in the Basic panel: the WB row sits directly under the Tone section at the top, with a temperature dropdown on the left and the eyedropper icon right next to it. Click the icon, your cursor becomes a target, and click once on a neutral area of the photo. Lightroom reads that spot, works out the correction, and drops the Temp and Tint sliders into place.
On Windows, the shortcut is W. On Mac, it is the W key as well. You can also hold Shift and click in the image to sample a neutral area directly without selecting the tool, and the Navigator panel gives you a hover preview of the sampled patch before you commit.
What to sample: a neutral gray or white object lit by the same light as the rest of the frame. Concrete good options are a gray shirt collar, an unblown patch of snow, a weathered gray rock, a white wall in shade, or a sheet of paper you placed in the scene. If you carry a gray card or shoot a ColorChecker frame, sample that and the number travels with you to the rest of the set.
What not to sample: anything already tinted by the scene, such as a painted wall, autumn leaves, a wooden table, a colored piece of clothing, or a bright highlight that has clipped to pure white. Sampling a shadow gives you a dark patch with a different cast than the midtones, so it will push the correction too far.
Step 3: Refine the Temp and Tint Sliders
The eyedropper gets you close; the two sliders finish the job. Set Temp first, then Tint, and change them in small amounts.
Temp moves along the blue-to-yellow axis. Toward the cooler end, colors shift blue; toward the warmer end, they shift yellow. Tint moves along the green-to-magenta axis and removes the greenish or magenta skin tones that a temperature change alone leaves behind.
| What you see | Which slider | Which direction | Typical move |
|---|---|---|---|
| Too blue, too cold, like a snow scene indoors | Temp | Toward warmer (yellow) | 300 to 900 K |
| Too orange, too warm, like a sunset at noon | Temp | Toward cooler (blue) | 400 to 1200 K |
| Greenish skin tones or a sickly wall | Tint | Toward magenta | Plus 5 to Plus 15 |
| Purple or magenta highlights | Tint | Toward green | Minus 5 to Minus 15 |
| Warm highlights and cool shadows at once | Neither, yet | Use Split Toning or Color Grading | White balance cannot split the frame |
Most presets sit in a predictable range, so the Temp value alone often tells you what is going on. Values around 2000 to 3200 K point to indoor tungsten, 4000 to 5000 K to fluorescent, 5200 to 6000 K to daylight, and 7000 to 8500 K to open shade or heavy overcast.
| Light source | Typical Temp starting point | Matching WB preset |
|---|---|---|
| Candle or sunrise | 1800 to 2000 K | Tungsten, on the warm end |
| Household bulb | 2800 to 3200 K | Tungsten |
| Warm fluorescent | 3200 to 4000 K | Fluorescent |
| Cool fluorescent | 4000 to 4500 K | Fluorescent |
| Overcast sky | 6000 to 7000 K | Cloudy |
| Open shade | 7500 to 8500 K | Shade |
| Direct sun | 5200 to 5600 K | Daylight |
| Camera flash | 5200 to 5500 K | Flash |
When a photo has no true neutral to sample, a preset is the better starting point. Open the WB dropdown and pick the light source that matches the scene, then refine by eye. If a previous frame from the same session got the balance right, copy its settings instead of starting over.
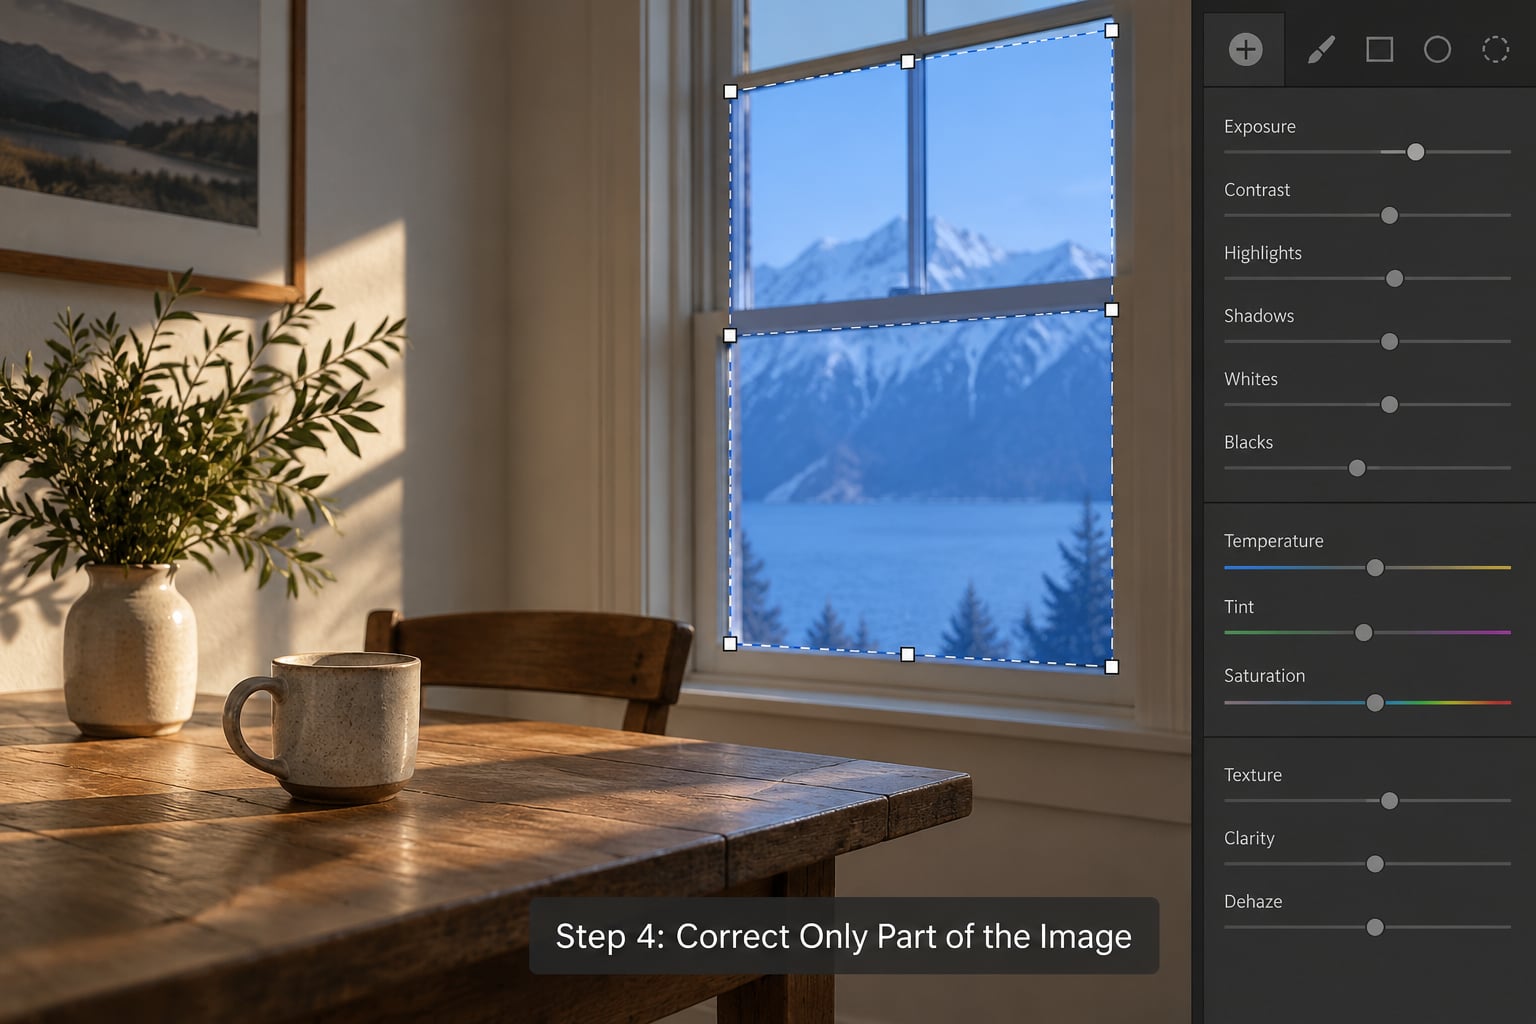
Step 4: Correct Only Part of the Image
Some frames need two white balances, and that is normal. When one region of a photo sits under a different light source than the rest, mask it and adjust it on its own.
In the current desktop app, open the masking tool, choose Adjustment Brush, and paint over the area that needs the separate correction. Set that area’s Temp and Tint to values that make it match its surroundings. If you use the Adjustment Brush rather than the masking panel, keep Auto Mask on so the stroke stops at edges, and lower the Flow to around 30 percent while painting so you can build the correction in passes rather than one heavy sweep.
A radial filter works better for something bounded and geometric, like a single window or a strip of sky. Invert the mask if the region you want to fix is everything outside the selection.
Change white balance inside a mask only after you have set exposure there. Exposure and white balance interact, so pushing brightness in a masked area can shift its apparent warmth and leave you chasing a moving target.
Step 5: Check for Clipping and Color Casts
Now confirm the correction actually worked instead of looking right only on your screen. Hover the eyedropper over the neutral area you sampled and check the RGB values in the Develop panel readout; equal red, green, and blue numbers mean the area is genuinely neutral.
Open the histogram and look at the channel peaks on the right. With white balance corrected, the three colored channels should converge at the highlight end instead of one channel stopping short. If the Temp slider change pulled the blue channel down, your colors may now look dull, and nudging vibrance back up is a normal follow-up.
Turn clipping warnings on with the top menu in the Basic panel. If the sampled area is blown out, the eyedropper read pure white and any correction it calculated is meaningless, so pick a different sample point.
Finally, look at the photo at small size in the Library grid. A cast that hides at full screen jumps out at thumbnail size, and skin tones are usually the last thing to check because people notice a wrong skin tone before they notice anything else.
Step 6: Save the Correction for Consistent Edits
One frame per shoot is not efficient. Once a photo is right, copy the settings to the rest of the set so the whole sequence stays consistent.
Hold Shift and click additional photos in the Library grid, or Ctrl-click on Windows and Cmd-click on Mac to select a range. Right-click any selected photo, choose Sync Settings, tick only White Balance, and click Synchronize. Unticking everything else matters, because the default sync also applies exposure, contrast, and tone, which can wreck a sequence you already graded.
If you correct the same type of cast regularly, save it as a preset. Open the panel on the right, click the three-dot menu at the top, and choose Create Preset. Name it for the light source rather than the look, and add it to a folder you can find later.
A few keyboard shortcuts cover most of this workflow. W picks the white balance eyedropper. Ctrl+B on Windows or Cmd+B on Mac toggles the White Balance Preview, which lets you flip between the corrected frame and the original and judge the result honestly. J takes you into the Basic panel, and Z toggles a before-and-after view of the whole edit.
Common Mistakes
Sampling a tinted or shadowed area. This is the most common reason the eyedropper makes a photo worse. Sample a midtone neutral surface lit by the same light as the subject, and re-sample if the result swings the whole image.
Fixing white balance last. Every adjustment after a skewed white balance, from the tone curve to the HSL panel, works from a shifted baseline and lands in the wrong place. Move white balance to the top of your workflow and redo what follows.
Over-correcting a scene that was warm on purpose. Sunrise light and golden-hour interiors are not mistakes. Decide whether you are repairing a cast or removing a mood, and do not neutralize the second one by accident.
Trying to force a heavy mixed-lighting cast global. A room lit by a window and a table lamp has no single correct value. Fix the dominant light, mask the second one, and accept that you are making a choice rather than measuring one.
Confusing white balance with color grading. If the cast is a straight orange or blue shift, white balance is the tool. If you want warm highlights and cool shadows at the same time, use Split Toning or the Color Grading panel instead, because white balance cannot separate the frame.
Skipping the monitor check. Before you trust a correction, view the image on a second screen or phone. If the cast disappears on one device and not the other, the problem is your display, not the photo.
Syncing more than white balance. Right-click, Sync Settings, then uncheck everything except White Balance. Syncing exposure and tone across a mixed set is the fastest way to ruin a shoot you had already fixed.
Editing a JPEG when a RAW exists. A JPEG is already rendered with a white balance guess, so corrections are guesses layered on a guess. Go back to the RAW original and start clean.
Frequently Asked Questions
How do I change white balance in Lightroom Mobile?
Open the photo, swipe up or down to reach the Basic panel, and scroll to the WB section at the top. Tap the eyedropper icon, then tap once on a neutral area of the photo. There is no W key on mobile, so the tool has to be tapped directly. Adjust the Temp and Tint sliders with a finger to refine, and hold a photo in the grid to reach Sync Settings when you want to copy the correction to other frames from the same shoot.
What does Ctrl+B do in Lightroom?
Ctrl+B on Windows, or Cmd+B on Mac, toggles the White Balance Preview on and off. The image flips between the version with your white balance correction and the version without it, which is the fastest honest way to judge whether your change helped. It is separate from the before-and-after view you get with Z, because it isolates the white balance edit alone.
How do I fix my white balance?
Three methods cover almost every photo. Use the eyedropper in the WB section of the Basic panel to sample a neutral area. Use a preset from the WB dropdown when you know the light source and have no neutral to sample. Or drag the Temp and Tint sliders by eye, setting temperature first, then tint. Start with the eyedropper, confirm with the histogram, and only mask a section when part of the frame sits under a different light.
What does white balance adjust in an image?
White balance tells Lightroom which color in your frame should render as neutral white, then corrects every other color relative to that reference point. In practice it removes an unwanted color cast, so a snowfield reads as neutral white and skin reads as skin rather than orange or green. It adjusts two values only: Temp along the blue-to-yellow axis and Tint along the green-to-magenta axis.
How do I get the perfect white balance in Lightroom?
There is no single perfect value, only a defensible one. Sample a genuinely neutral midtone with the eyedropper, confirm the patch reads equal red, green, and blue values, and check that the histogram channels converge at the highlight end. Then view the file on a second screen or phone, because an uncalibrated monitor is the most common reason a correct image looks wrong.
How do I batch white balance in Lightroom?
Fix the balance on one representative photo, then hold Shift or Ctrl-click to select the rest of the frames in the Library grid. Right-click any selected photo, choose Sync Settings, tick only White Balance, and click Synchronize. Untick exposure, contrast, and tone first, since syncing those across a mixed set will undo the work you already did on individual frames.
Should I use the eyedropper or the sliders in Lightroom?
Use the eyedropper whenever the frame contains a true neutral, because it measures the cast instead of guessing at it. Use the sliders when no neutral exists, when the eyedropper overshoots on a tinted subject, or when you are nudging the result to taste. A common workflow is eyedropper first, then small slider moves, since the sliders are better at the final adjustment than at finding the starting point.
Conclusion
Start by opening the Develop module and clicking the WB eyedropper on the most neutral surface you can find. Give the correction a second pass with the Temp and Tint sliders, then check the result against the histogram and at thumbnail size before you move on to any other edit.
Do that before tone, curves, or color grading, and the rest of your workflow gets a lot easier. If you want the wider editing context, we have guides on editing black and white photos in Lightroom, creating presets in Lightroom Classic, and color grading photos in Lightroom. None of this changes with the 2026 releases; the WB panel has stayed in the same corner of the Basic panel for years.