
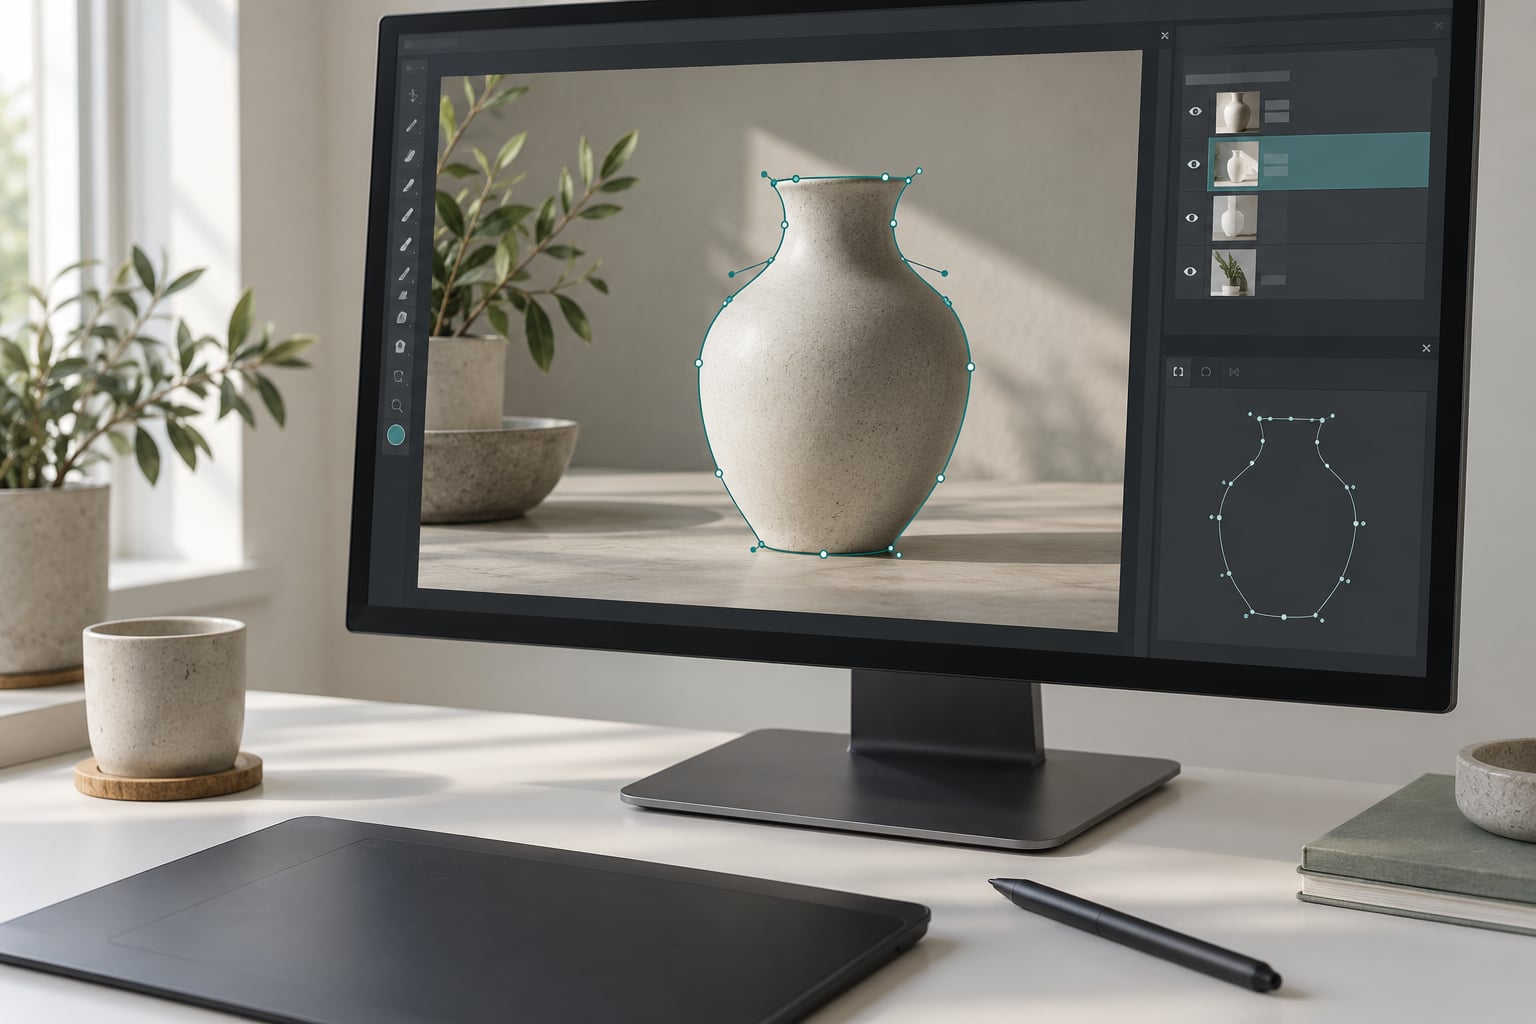
To use the Pen tool in Photoshop, press P, set the options bar to Path mode, then click to place anchor points and click-drag to pull out Bezier handles. Those clicks and drags build a vector path you can turn into a precise selection, a clean cutout, or a shape. Give it ten to twenty deliberate repetitions on a real photo before you judge it.
The Pen tool has a reputation for being difficult, and some of that is deserved. It asks you to describe a curve with a handful of points, and if your points are in the wrong places the result looks wiggly rather than smooth. It is still the only selection method in Photoshop that stays accurate on a curved product edge, a glass rim, or a strand of hair, where the Magic Wand and Quick Selection fall apart.
What makes it worth the afternoon is that a path stays editable. Select the wrong area and you drag a point instead of starting over. Everything below is the workflow I would hand a beginner: pick a subject, draw a path, adjust the points, load it as a selection, then clean the edge.
If your goal is a full cutout rather than the tool itself, start with how to remove a background in Photoshop, then come back for the precise-edge section below.
Table of Contents
- What You Need
- Step-by-Step
- Common Mistakes
- Frequently Asked Questions
- How do I convert a pen tool path to a selection in Photoshop?
- Why is my Pen tool path invisible after I draw it?
- Should I use Path mode or Selection mode for the Pen tool?
- How do I delete a pen path once I have my selection?
- Do I need a pen tablet to use the Pen tool well?
- When should I skip the Pen tool for Quick Selection or Magic Wand?
- Conclusion
What You Need
Everything here is in the desktop version of Photoshop on Windows or macOS. The steps are written for current releases, and I flag the differences where older versions or the web and iPad apps behave differently.
- A photo with a defined edge. A hard-edged object on a plain background is ideal for your first pass. Hair and fur are the hardest case, not the easiest.
- A duplicate layer. Press
Ctrl+Jon Windows orCmd+Jon macOS to duplicate your background layer before you start. - The Paths panel. Open it from the menu bar: Window > Paths. If it is not listed, choose Window > Panels > Paths depending on your layout.
- A zoom level between 200% and 400%. Most beginner curves fall apart because the work is too small on screen. Zoom in, trace, then zoom back out.
- Optional: a tablet or mouse. A pen tablet is not required. A mouse works fine, and a tablet with pressure turned off for the Pen tool behaves almost identically.
Two interface differences are worth knowing. On macOS, the modifier key for isolating one handle is Option; everywhere else it is Alt. And in Photoshop CC 2018 and later you can set a visible stroke colour and width for your path in the options bar, which is the fix for the most common “the tool is broken” complaint.
Step-by-Step
How to Choose a Pen Tool Mode
Set up these three things before your first click, or you will spend ten minutes wondering why nothing is happening.
- Find the tool. It sits in the left toolbar grouped with the shape tools and the Type tool. Click and hold the small arrow in the corner to see the variants, or press and release
Prepeatedly to cycle through them. - Set the options bar mode to Path. The leftmost dropdown in the tool options bar offers Path, Selection, Shape and Pixels. Path draws an editable outline. Selection draws and immediately selects. Shape draws a filled shape. Pixels draws with a brush.
- Turn the path visibility up. In the same options bar, click the gear icon next to Path Options and set Stroke to a solid colour at 2 or 3 pixels. A path thinner than a hairline is effectively invisible, and beginners regularly conclude the tool failed.
- Decide about Auto Add/Delete. With this on, clicking on an existing segment inserts an anchor point and clicking on an anchor removes it. That is convenient for cleanup and dangerous while you are still drawing. Leave it on if you like live editing; switch it off if you keep losing points by accident.
| Mode | What it produces | Use it for |
|---|---|---|
| Path | An editable vector outline | Cutouts, tracing, precise selections |
| Selection | A selection as soon as you click | Quick straight-edged selections on solid backgrounds |
| Shape | A filled vector shape layer | Graphics, icons, flat vector art |
| Pixels | Brush strokes | Hand-drawn marks, not selections |
The four Pen tool variants come out of the same toolbar group. Each solves a slightly different problem, and picking the right one saves a lot of frustration.
| Variant | How it draws | Best for |
|---|---|---|
| Standard Pen | You place every anchor and drag every handle | Precise cutouts and complex curves |
| Curvature Pen | You click points, it creates smooth handles for you | Learning curves without the maths feel |
| Magnetic Pen | You click roughly, it snaps to contrast edges | Fast rough outlines you will refine |
| Freeform Pen | You draw freehand and it follows your stroke | Sketchy paths, not precision work |
The Curvature Pen is the one most beginners should try first. It produces real, editable paths with a single click per point, and you can always switch to the Standard Pen to finish a difficult corner. If you want a gentler on-ramp, that is it.
Three more tools live in the same group. Add Anchor Point inserts a point where you click on a segment. Delete Anchor Point removes the point you click. Convert Point switches a smooth point into a corner point and back. You will use Convert Point constantly once you are editing.
How to Draw a Precise Path Around an Object
Zoom to 200% or more first. Then place points where the subject changes direction, not every few pixels along the edge.
Click once to place your first anchor point. That click puts a fixed point on the path with no direction attached. Click again somewhere else and Photoshop draws a straight segment between the two points.
Hold Shift while you click and the segment snaps to 15-degree increments, which makes 45-degree lines and triangles behave. This is the fix for the ragged straight edges most beginners get.
Click and drag instead of clicking to get a curve. The drag pulls out two direction handles, one on each side of the point, and Photoshop draws the curve so it leaves the point in the direction of each handle. Handles only appear after a drag. If you see no handles, you clicked instead of dragging.
Hold Alt on Windows or Option on macOS and drag a single handle on an existing point to change how the curve enters or leaves that point without disturbing the other side. That is the most-used shortcut in the whole tool.
Place your last point by hovering over the first anchor point until the cursor shows a small circle, then click. The path closes. Some beginners find this maddening because clicking anywhere near the first point snaps it shut; the trick is to click slightly further away when you want a deliberate corner there, or zoom in so the snap radius covers less ground.
You will know it worked when the marching ants trace the subject and the path sits in the Paths panel as a new row.
How to Adjust Anchor Points and Bezier Handles
Drawing is half the skill. Editing is the other half, and it is where most people who can draw but cannot use the tool get stuck.
Press A for the Direct Selection tool, which selects and drags individual anchor points. Hold Shift with A for the Path Selection tool, which grabs the whole path at once. Dragging a point moves it and the curves around it follow.
Drag a handle to reshape the curve. Hold Alt or Option to move one handle independently. If a handle shrinks so short you cannot grab it, press Ctrl+Z once to bring the point back to its previous state rather than trying to catch a two-pixel line.
To change a smooth point into a sharp corner, use the Convert Point tool and click it. Press it again to make it smooth. Corners are for the corners of a product, and smooth points are for everything between them.
Adding a point mid-curve is easy: with Auto Add/Delete on, click on the segment. Removing one is a click on the point with that option on, or drag the point off the path to pull it out.
The anchor point budget matters more than technique. A simple subject needs six to ten points, not twenty-five. Every extra point you place on a curve gives Photoshop another chance to introduce a lump, which is exactly why first attempts look scalloped. Fewer points, placed further apart and dragged further out, produce smoother curves.
Practising on a rectangle with rounded corners for ten minutes does more for your curve control than an hour on a face. Repeating the shape is what builds the hand movement.
How to Convert the Pen Tool Path into a Selection
Here is how to use the Pen tool in Photoshop for selection work: you draw the path, then you load it.
- Open the Paths panel (Window > Paths) and click your path thumbnail so it is highlighted.
- Right-click the thumbnail and choose Make Selection.
- In the dialog, leave Feather Radius at 0 px for a hard edge, or set 0.5 to 2 px for a slight soften that helps on hair and fabric.
- Leave Anti-Alias ticked and choose New Layer in the mask options if you want a layer mask straight away.
- Click OK. Marching ants appear around your path.
Two faster routes exist. Hold Alt or Option and click the path thumbnail in the Paths panel to turn the path into a selection instantly. And dragging the thumbnail down into the document fills the path with the foreground colour, which is handy when you want a shape rather than a selection.
Check the result by hiding the layer and looking at the ants on a neutral background. If the selection is offset from the subject, go back and adjust the path rather than feathering it. A path you can still edit is the whole reason to use this tool.
For people and full figures, our guide to cutting out a person in Photoshop builds on this step with the cleanup pass.
How to Refine and Use the Selection
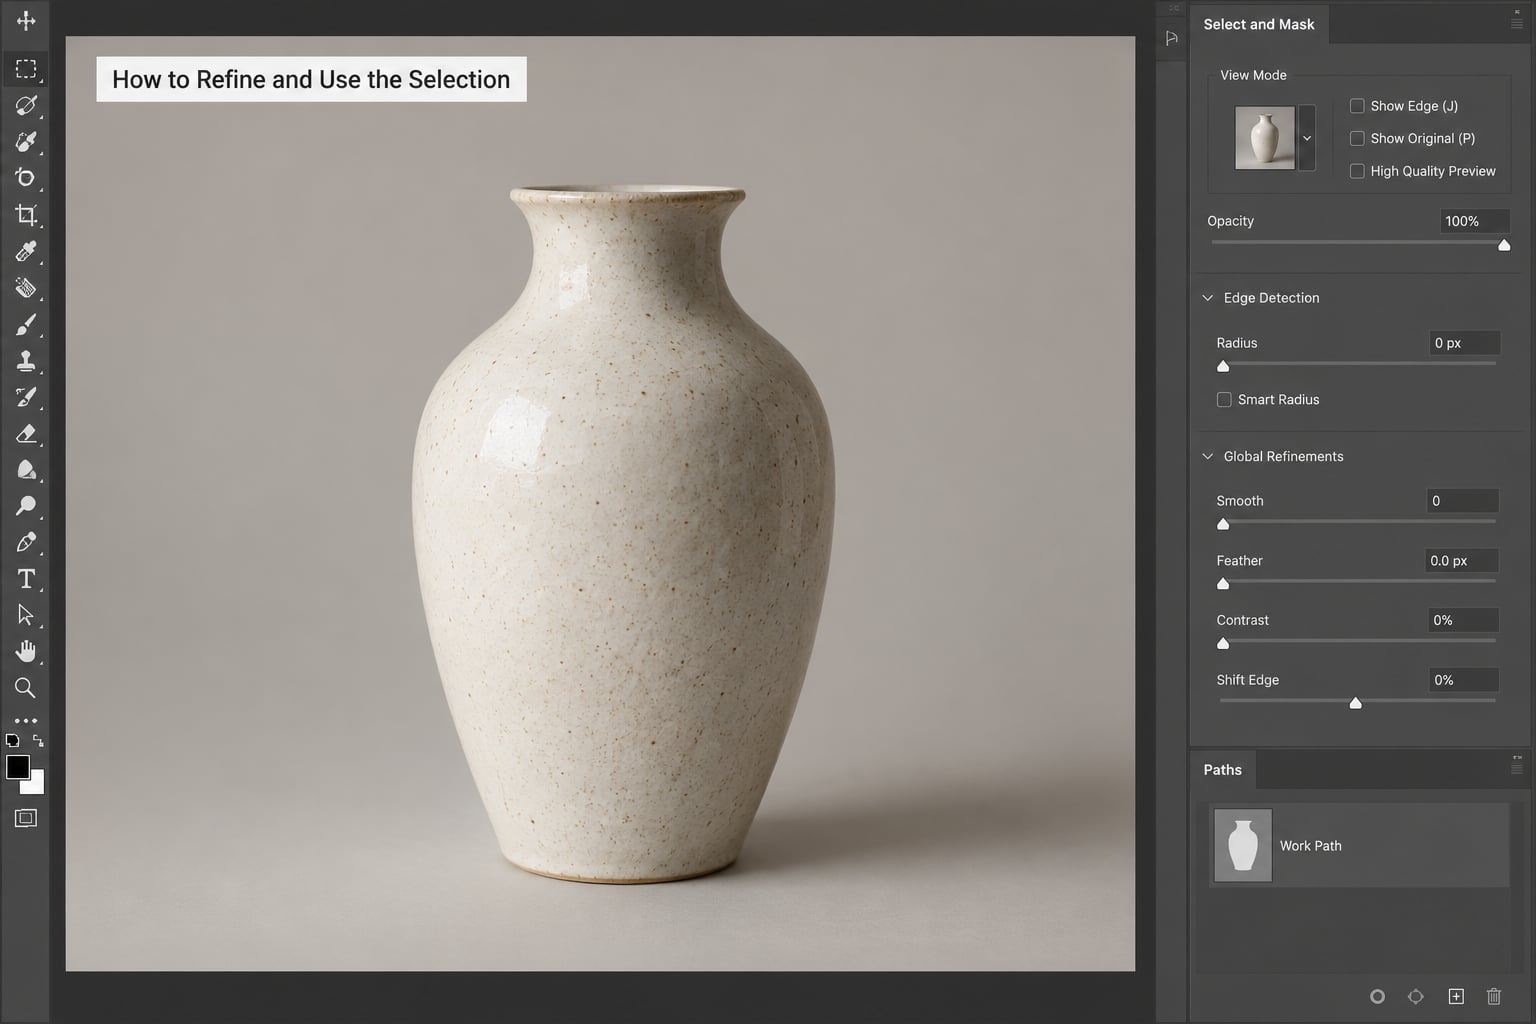
Straight out of the Pen tool, an edge is mathematically correct and visually rough. Refinement is where a cutout stops looking like a cutout.
With the selection active, go to Select > Select and Mask. The workspace that opens gives you a handful of settings that do most of the work:
- Smooth lowers the small high-frequency ripples a hand-drawn path always has. Start at 1 to 3 pixels.
- Feather softens the edge by a given radius. Half a pixel removes the sharp digital look; 2 to 4 pixels helps on out-of-focus edges.
- Shift Edge moves the edge inward or outward to catch background spill or trim a leftover rim.
- Decontaminate Colors pulls the background colour out of semi-transparent edge pixels, which is what stops a white halo around dark hair against a light backdrop.
Watch the output preview at 100% or 200% while you adjust. If you cannot see the changes, you are working at too small a zoom, which is the same discipline problem as drawing.
Then convert the selection to a layer mask so nothing is destructive: click the Add Layer Mask icon at the bottom of the Layers panel, or use Layer > Layer Mask > Reveal All with the selection active. You can always brush it back in later.
To see whether the edge holds up, drop the cutout onto a plain mid-grey background. Halos and leftover fringes that were invisible against the original background become obvious immediately. Our photo composite walkthrough covers that placement step in more detail.
How to Save and Reuse the Path
Paths live in the Paths panel until you do something with them, and new Pen paths appear there as a temporary Work Path row.
To keep a path permanently, drag its thumbnail onto the shape icon at the bottom of the Paths panel. That stores it as a custom shape you can reopen later from the Shapes panel. Give it a useful name by double-clicking the thumbnail, or you will have six rows called Path 1 and no idea which is which.
To delete a path you did not want, click its thumbnail and press the trash icon at the bottom of the panel, or drag the thumbnail to any other panel. Paths also persist after you switch tools, which surprises people who assume selecting the Move tool clears the screen.
Keeping the path is worth it when you will revisit the cutout, when the same shape appears in several images, or when the client asks for a variation next month. A layer mask flattened to pixels can still be brushed, but the original curve positions are gone.
Quick Fixes While You Draw
- Missed a spot on the edge? Do not undo the whole path. With Auto Add/Delete on, click once on the segment to add a point, then drag it into place.
- A curve bulges the wrong way? Flip the handle past vertical. Dragging it straight through the point is not the only position that works.
- The path snapped closed by accident? Press
Ctrl+Zon Windows orCmd+Zon macOS. The click-off returns it to an open path. - You cannot see the path at all? Check Path Options in the tool options bar and raise the stroke width and change the colour.
- The wrong mode is selected? The mode dropdown at the far left of the options bar reads Selection or Shape instead of Path.
Common Mistakes
Nearly every “the Pen tool is not working” report comes down to one of these.
Why is my pen tool not working in Photoshop?
If the path is invisible, the stroke width and colour in Path Options are the cause. If clicks are inserting or deleting points you never clicked, Auto Add/Delete is on. If curves come out wiggly, you are placing too many points. If clicking near your first point keeps snapping the path shut, that is automatic closing, and it is not a fault.
The path is drawn but you cannot see it
Click the gear icon in the tool options bar, choose Solid Color, pick something obvious, and set the width to 2 or 3 px. Since CC 2018 this is a live setting rather than a one-time edit, so you can change it without redrawing.
The path keeps closing itself
Photoshop closes a path when you click within snapping distance of the first anchor point. Zoom in further so that radius covers less of your subject, or click deliberately away from the start when you want a corner there.
Bezier handles do not appear
Handles only exist after a click-drag. A plain click makes a corner point with fixed direction and nothing to grab. To add handles to an existing point, hold Alt or Option and drag the point itself.
My curves look scalloped or lumpy
Cut the point count in half. Delete every point that sits on a straight section of the edge, keep points only where direction changes, and lengthen the handles so each one controls more of the curve.
The path will not load as a selection
Check that the path thumbnail is highlighted in the Paths panel before you right-click, and that the path is closed if you need a filled selection. An open path still makes a selection, but the closing edge cuts straight across the gap.
The path will not go away
Switching tools does not clear a work path. Select its thumbnail and click the trash icon at the bottom of the Paths panel, or hide it with Ctrl+H or Cmd+H to see the layer underneath.
Efficiency tips that actually help
- Work at 200% or more. Precision and speed are inversely related here, and speed comes from the zoom, not the shortcut.
- Set Auto Add/Delete before the first click, not after. Leave it off while drawing so a stray click cannot delete an anchor, then switch it on for cleanup when clicking a segment to add a point deliberately.
- Use the Magnetic Pen for the rough first loop, then switch to the Standard Pen to tighten it. That combination halves the time on complicated subjects.
- Keep a scratch layer and a neutral grey behind your cutout while you refine, so edge defects have somewhere to show up.
- Use layer masks rather than Delete on the background layer, so every decision stays reversible.
And know when to skip the tool entirely. On a solid background with hard edges, Select Subject or the Magic Wand is faster and good enough. On a straight rectangular border, the Rectangular Marquee wins. The Pen tool earns its time on curved, layered edges where automated methods cannot follow the boundary.
Frequently Asked Questions
How do I convert a pen tool path to a selection in Photoshop?
Open the Paths panel with Window Paths, click your path thumbnail to highlight it, then right-click the thumbnail and choose Make Selection. Set the Feather Radius to 0 px for a hard edge, or 0.5 to 2 px for a softer edge, tick Anti-Alias, then press OK. Marching ants appear around the path. You can also hold Alt or Option and click the thumbnail to load it as a selection instantly.
Why is my Pen tool path invisible after I draw it?
The path is probably drawn correctly but rendered as a hairline you cannot see. Click the gear icon in the Pen tool options bar, choose Solid Color, pick a bright colour, and set the stroke width to 2 or 3 pixels. This setting is editable live since Photoshop CC 2018. Also check that the tool mode dropdown reads Path rather than Shape or Pixels.
Should I use Path mode or Selection mode for the Pen tool?
Use Path mode while you are learning and while refining, because a path stays editable and you can drag individual anchor points after the fact. Selection mode converts each click into a selection immediately, which is quick for straight-edged subjects on flat backgrounds but gives you far less control over curves. Shape mode draws filled vector art, and Pixels mode draws brush strokes.
How do I delete a pen path once I have my selection?
Select the work path thumbnail in the Paths panel and click the trash icon at the bottom of the panel, or drag the thumbnail out of the panel to discard it. Paths survive switching tools, which is why they often appear to linger. To hide one temporarily instead, press Ctrl+H on Windows or Cmd+H on macOS, or click the eye icon on the thumbnail.
Do I need a pen tablet to use the Pen tool well?
No. A mouse works, and the tool behaves the same way. A tablet is comfortable for long sessions and for making small corrections, but most beginners gain more from zooming in to 200% or 400% than from switching hardware. If you do use a tablet, check that pressure is not set to alter the stroke size, since Pen tool pressure maps to taper by default.
When should I skip the Pen tool for Quick Selection or Magic Wand?
Skip it on subjects with hard edges against a plain, contrasting background, where Select Subject, Quick Selection or the Magic Wand will finish in seconds. Use the Pen tool when edges are curved, overlapping, semi-transparent or fine like hair, and when the automated tools start chewing holes in the subject. It also wins when you need the path again later for a mask.
Conclusion
Start with one action: open a photo with a hard-edged object, press P, set Path mode, raise the stroke width, and trace the outline at 200% zoom. Fifteen minutes of that on a real subject teaches more than an hour of reading.
Once the loop becomes familiar, it is always the same four moves: draw the path, adjust the anchor points, load it as a selection, refine the edge in Select and Mask. Everything else is detail. From there, the natural next step is a full composite workflow, where that clean selection gets put to work on a new background.