
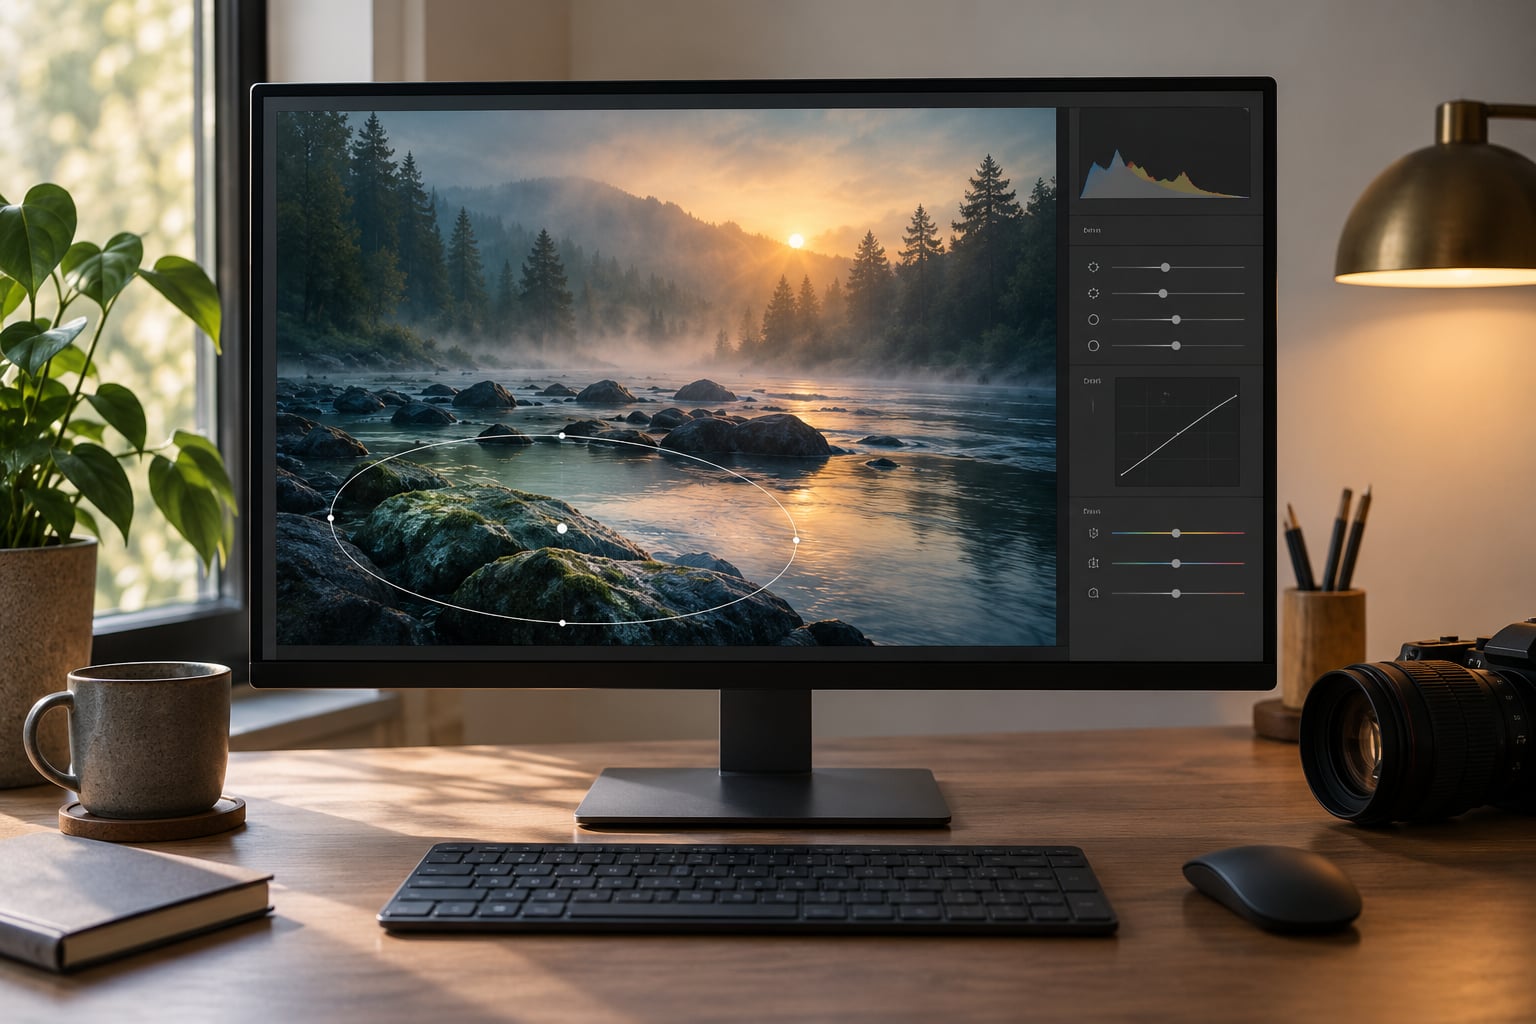
The radial filter is the local adjustment tool in Lightroom’s Develop module that lets you change exposure, colour, or detail inside an ellipse you draw on the photo. You can darken everything around a subject, brighten one corner, tint a sky, or fake light that was never there, and every change stays fully editable. Learning how to use the radial filter in Lightroom takes about ten minutes, and the difference between a subtle mask and a heavy one is the whole game.
Below is the workflow I use, tested against both the current Masking panel in Lightroom and Lightroom Classic, where the tool still sits in the masking toolstrip. Menu wording and icon positions moved around with the 10.3 masking update, so I’ll flag where the two versions differ.
Table of Contents
- What You Need
- Step-by-Step: How to Use the Radial Filter in Lightroom
- Step 1: Open the Photo in Lightroom’s Develop Module
- Step 2: Select the Radial Filter Tool
- Step 3: Choose the Mask Type
- Step 4: Position and Size the Ellipse
- Step 5: Adjust the Radial Mask
- Step 6: Refine the Local Adjustment
- Step 7: Check the Result at Different Sizes
- Step 8: Create a Balanced Final Look
- Keyboard Shortcuts Worth Memorising
- Common Mistakes
- Frequently Asked Questions
- How do I make a perfect circle with the radial filter?
- Why does my radial filter have a hard edge?
- How do I invert a radial filter in Lightroom?
- What does the feather slider do on a radial filter?
- Can I save radial filter settings as a preset?
- What is the difference between a radial filter and a graduated filter?
- Conclusion
What You Need
You need a photo and Lightroom. Both the cloud app and Lightroom Classic ship with the radial filter, so nothing extra to install, and the mobile app has the same tool under the masking icon.
More useful, open the photo in the Develop module and finish your global corrections first: exposure, contrast, white balance, and the tone curve. A local adjustment layered on top of an unfinished frame tends to hide problems rather than fix them, and you end up chasing brightness with the ellipse.
It also helps to know what the basic sliders do. Exposure, contrast, highlights, shadows, whites, blacks, temperature, tint, clarity, dehaze, and vibrance all behave the same inside a radial mask as they do globally. The difference is that only the pixels inside the mask move.
One last thing worth knowing before you start: radial filters are non-destructive. They sit as an editable layer on the photo in the Develop module, and you can delete or change any of them at any point, even after export.
Step-by-Step: How to Use the Radial Filter in Lightroom
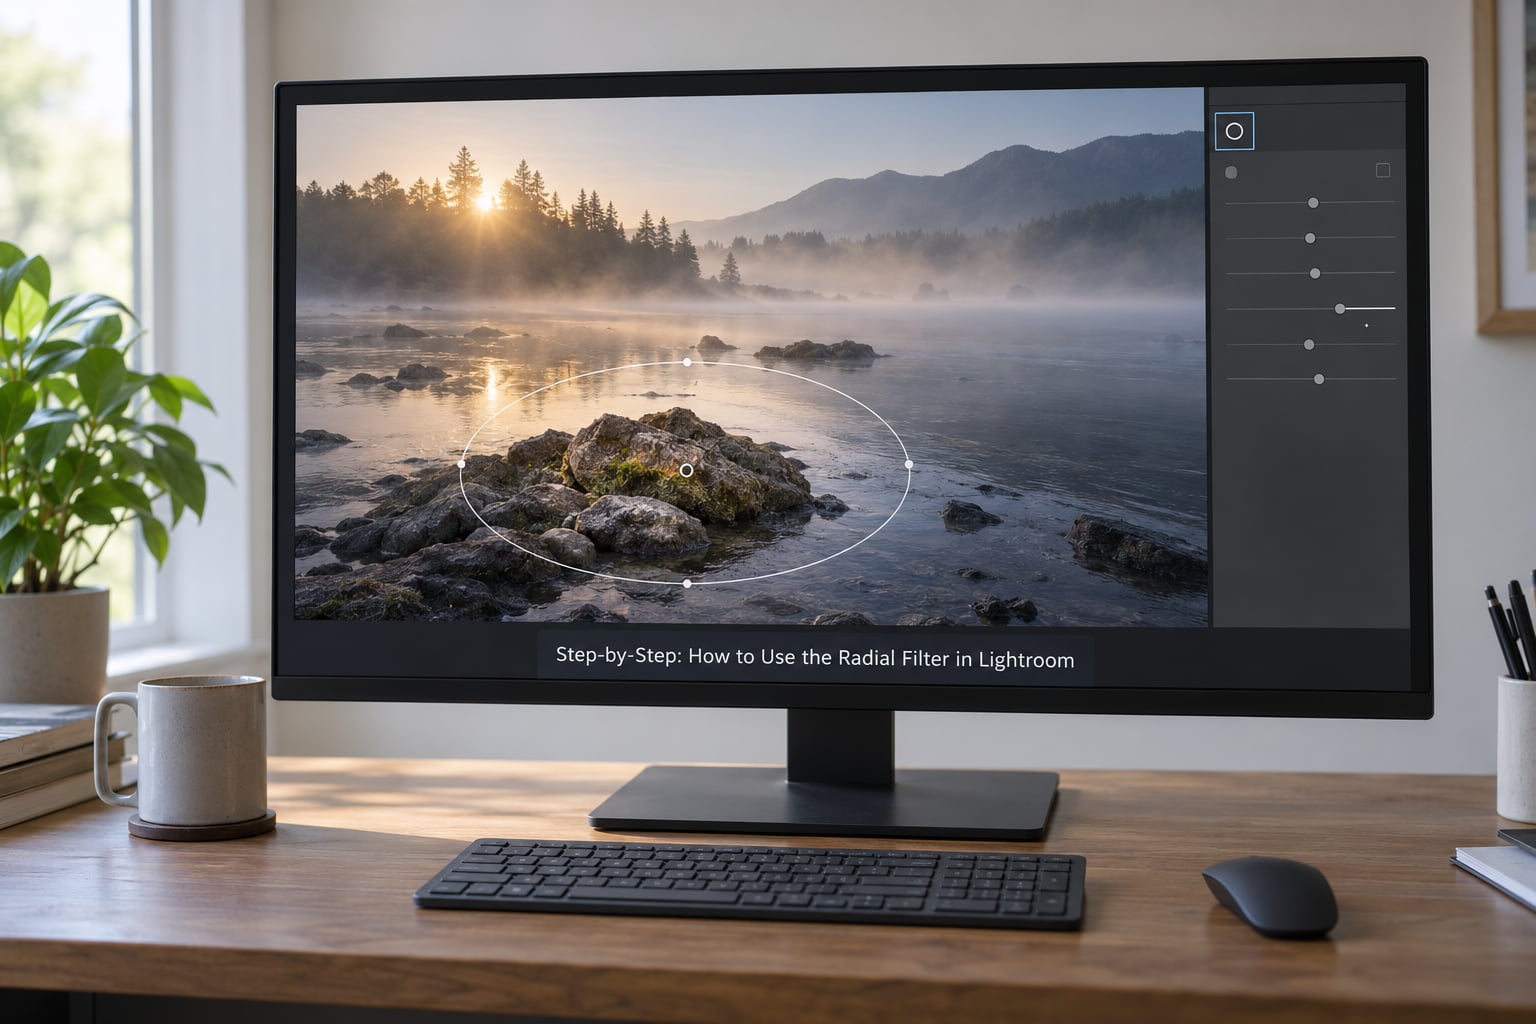
Step 1: Open the Photo in Lightroom’s Develop Module
Select the photo in the Grid view and press the Develop module key, which is E on desktop. In Lightroom Classic it’s the second icon in the right-hand panel strip; in the cloud version it’s the icon that looks like a slider.
Make your global edits before touching the mask. Set overall exposure, white balance, and contrast while you can still see the whole frame at once, then press the backslash key to hide the side panels and judge the image cleanly. Once the radial filter is active you are looking through a local lens, and it’s easy to over-correct.
Step 2: Select the Radial Filter Tool
In Lightroom Classic, press Shift and M to select the Radial Gradient filter. You can also find it in the masking toolstrip along the right edge of the Develop module, usually just below the Crop Grid icon.
In the current Lightroom, the tool lives in the Masking panel. Open Masking from the panel menu on the right, then click the radial pin icon beside Add Mask. Menu placement differs between versions, so if you can’t see it, search the tool with the panel’s search field rather than hunting through menus.
Step 3: Choose the Mask Type
The default radial mask is an ellipse with a soft, adjustable edge. It’s the right choice for roughly nine edits out of ten: a spotlight on a subject, a corner darkening, a soft glow behind a head.
Draw Mask gives you a plain gradient inside the same ellipse, with no extra smoothing at the boundary. Use it when you want a clean linear falloff, such as a straight brightness ramp across a wall or a sky, or when you plan to refine the shape with the brush. Pin is a third option that keeps the ellipse centred on the pin point, useful for symmetrical light falls.
Step 4: Position and Size the Ellipse
Drag over the area you want to emphasise. The drag starts the ellipse wherever your cursor is, so begin in the middle of your subject rather than at the edge of the frame.
Hold Shift while you drag and you get a perfect circle instead of an ellipse, which is the trick most people miss. Circles suit portraits and product shots; ellipses suit wide outdoor scenes where you need to cover a horizontal band.
Once the ellipse exists you get a pin at its centre and handles on the boundary. Click the pin to select the whole mask, then drag inside the ellipse to move it. Hover over a handle to resize it, and hold Shift while resizing to keep the shape proportional instead of stretching it.
Step 5: Adjust the Radial Mask
Four controls do most of the work here. Pin position and size is the toggle above the sliders: in Position mode a drag moves the ellipse, in Size mode a drag scales it. Getting this confused is the usual reason people think the tool won’t cooperate.
Feather controls the falloff at the mask edge. Zero gives you a hard ring, which is the single most common mistake in this tool. Start at 50 and push higher for skies and any smooth gradient; forum regulars on r/Lightroom and r/photography repeat the same 50 to 70 range for good reason.
Invert flips where the adjustment lands: off means inside the ellipse, on means everything outside it. Most people expect the opposite when they first click it.
Edge blending, on the newer panels, keeps a mask from picking up the colour cast of the adjustment. If a masked area picks up a strange tint, nudge Edge Blending a few points rather than trying to correct the tint itself.
Step 6: Refine the Local Adjustment
Now move the sliders and watch only the ellipse change. For a vignette, drop Exposure to somewhere between -0.30 and -0.70 and pull Feather to 60 or higher. Going much darker than that usually reads as a mistake rather than as mood.
To spotlight a subject, brighten it instead of darkening everything around it. Raise Exposure by 0.20 to 0.40, lift Shadows, and add a touch of Texture if the area was flat. Then draw a second radial filter outside the subject and pull Exposure down slightly, which gives you more control than one big inverted ellipse.
Colour works the same way. Shift Temperature warmer for a golden-hour feel on a midday shot, or push Tint green on skin tones that read too pink. The colour swatch at the bottom of the panel lets you tint the mask directly, which is faster for a green or magenta cast than sliding Temperature around. If you want the effect to last beyond this photo, our guide to color grading photos in Lightroom goes further into the tone curve and HSL mixer.
Stack small adjustments instead of one strong one. Three filters at -0.25 each look far more natural than a single filter at -0.75, and you can dial any one of them back later.
Step 7: Check the Result at Different Sizes
Click the pin and then the mask icon in the Mask panel to switch the red overlay off and on, and compare the edited frame with the original. Anything obvious at full view is obvious in print.
Zoom in to 100 percent and check the mask edge for halos, banding, or clipped highlights. If you see a bright rim just inside the ellipse, the edge is still too hard and needs more feather. If the corners go muddy, the adjustment was too strong or the ellipse too large.
Also step back and look at the thumbnail. A mask that looks fine at fit-to-screen can look heavy in the grid, which is where most people judge your work.
Step 8: Create a Balanced Final Look
Radial filters rarely need to stand alone. A subtle effect usually finishes better once you combine it with a graduated filter for the overall light balance, or with an adjustment brush for irregular shapes, since the ellipse can’t follow a face or a curve of coastline.
One trick worth learning early: right-click the pin above the sliders and choose Copy Settings, then paste onto another photo. The ellipse position transfers too, so it works best on similarly framed shots. When a look repeats across a whole shoot, save it as a preset and reuse it from the Effects panel. Our walkthrough on creating Lightroom presets in Classic covers where those files live.
Keyboard Shortcuts Worth Memorising
These are the ones I actually use, and they cover most of the fiddly parts of positioning an ellipse.
| Shortcut | What it does |
|---|---|
| Shift + M | Selects the radial filter in Lightroom Classic |
| Shift + drag | Draws a perfect circle instead of an ellipse |
| Shift + resize handle | Keeps the ellipse proportional |
| Backslash () | Hides and shows the Develop side panels |
| Delete | Removes the selected radial filter |
| Cmd/Ctrl + double-click | Sets the ellipse to fill the frame |
Two more come from the community rather than Adobe’s documentation. Pressing the apostrophe key while hovering over a pin inverts that filter, which is quicker than finding the checkbox. And Cmd/Ctrl + Z removes the last radial filter you added, same as any other edit in the undo history.
Common Mistakes
Too much exposure. A radial filter of -2 EV turns a frame muddy. Stay between -0.30 and -0.70 for a vignette, and remember the ellipse darkens the corners it covers, not just the subject.
An ellipse that’s too large. If the ellipse covers most of the frame, you get a global adjustment with extra steps. Shrink it to sit around the subject, then invert a second filter to handle the outside.
A hard edge. Feather at zero is the usual culprit. Push it to 50 minimum and check the boundary at 100 percent zoom before you export.
Masking the wrong area. Dragging from the frame edge instead of the middle of the subject puts the falloff right where the eye goes. Start your drag in the centre of what you want bright.
Never checking the overlay. Toggle it off regularly. A mask you never inspect is a mask that’s quietly wrong in four or five places.
One giant mask instead of several small ones. Two or three gentle filters are easier to control and blend far more naturally than one heavy one.
Applying it before the global edits. Fix exposure and white balance first. Otherwise you’ll spend the whole session compensating with the ellipse and get a muddy frame.
One more, specific to monochrome work: if you’re converting to black and white, finish that conversion first, then use radial filters for local dodge and burn on the tone curve. Editing black and white photos in Lightroom covers the conversion side.
Frequently Asked Questions
How do I make a perfect circle with the radial filter?
Hold Shift while you drag on the image. Lightroom constrains the ellipse to a circle instead of letting it stretch into an oval. Circles suit portraits and product shots; plain ellipses are more useful for wide scenes where you need to cover a horizontal band.
Why does my radial filter have a hard edge?
Feather is set too low, usually left at zero. Feather controls how gradually the adjustment fades out at the mask boundary, so raising it to 50 or higher removes the visible ring. Zoom to 100 percent and inspect the boundary, since hard edges are much easier to spot at full magnification.
How do I invert a radial filter in Lightroom?
Tick the Invert checkbox above the slider panel to move the adjustment from inside the ellipse to outside it. Hovering the pin and pressing the apostrophe key is a faster shortcut for the same thing. Most first-time users expect the opposite behaviour, which is why inverted filters initially seem to darken the subject.
What does the feather slider do on a radial filter?
Feather sets the width of the falloff at the edge of the elliptical mask. At zero the adjustment stops abruptly and leaves a visible seam. Higher values blend the masked area into the rest of the image, which matters most on skies and any smooth gradient. Start at 50 and raise it until the boundary disappears.
Can I save radial filter settings as a preset?
Yes, though it is a Masking preset rather than a Develop preset. Right-click a radial filter pin and choose Copy Settings, or use Save as Preset when a look repeats across a shoot. Presets created in the classic Develop module will not capture radial filters, since those live in the Masking panel’s Effects section.
What is the difference between a radial filter and a graduated filter?
A radial filter works inside an ellipse or circle, so its strength peaks at the centre and falls off outward. A graduated filter works in straight lines from one edge of the frame, which suits skies and horizons. Use the radial one for a subject, the graduated one for the overall light balance.
Conclusion
Start by finishing your global edits, then draw one small ellipse over the subject and move a single slider. Exposure between -0.30 and -0.70 with Feather above 50 is a safe starting point for most frames.
Keep the mask subtle and check the overlay as you go, since the difference between a good radial adjustment and an obvious one is almost always restraint. When the look starts working on more than one photo, copy the settings or save it as a preset so the next edit takes seconds instead of minutes.