
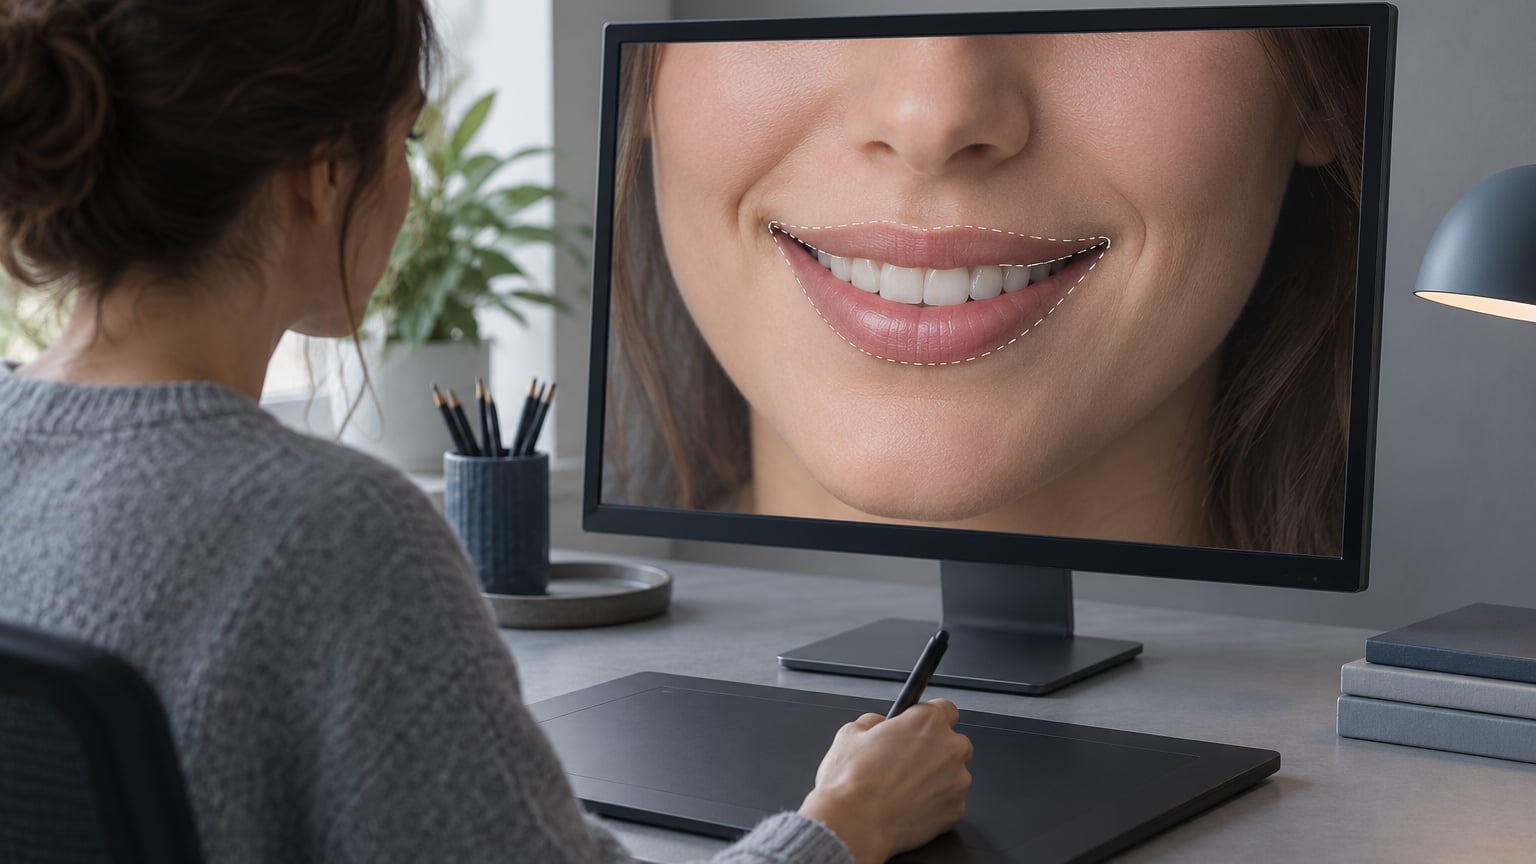
To whiten teeth in Photoshop quickly and naturally, add a Hue/Saturation adjustment layer, set the dropdown from Master to Yellows, drag Saturation left to roughly -80, switch the dropdown back to Master, and raise Lightness about +20. Then clean the edges on the layer mask. That four-control method is what every working retoucher uses, and it stays reversible because nothing is painted into the pixels.
Photoshop does not whiten teeth the way a whitening toothpaste does. It removes chroma. Teeth pick up yellow tones that skin, lips and gums do not share, so you can desaturate the yellow range and the smile lifts while the rest of the face holds its colour. Practisers on the dpreview forums describe the same consensus build: a Hue/Saturation/Lightness layer with the yellows pulled down, a modest brightness lift, then the mask and opacity slider used to dial it back.
Everything below works in current Photoshop releases and back through Photoshop CC. The menu names have barely moved, and Elements uses nearly the same panels.
Table of Contents
What You Need Before You Start
Five things do the work, and you have all of them in any Photoshop version:
- Adjustment layers. Click the half-filled circle icon at the bottom of the Layers panel, or use Layer > New Adjustment Layer. A new Hue/Saturation layer above your photo changes nothing until you tell it where.
- A selection tool. The Lasso Tool for a careful hand-drawn outline, the Quick Selection or Object Selection Tool for a faster auto-select, or Color Range to grab every yellow pixel in the frame.
- The Properties panel. If you have never opened it, this tutorial is much easier with it docked under the Histogram. Menu > Window > Properties.
- A layer mask. It arrives attached to the adjustment layer automatically, which is why this correction is non-destructive.
- A soft-edge brush set to black. Press B, hold Alt (Option on Mac) to sample black into the foreground swatch, and drop the opacity to around 50%.
Photograph or image choice matters more than most tutorials admit. A high-resolution portrait where the front teeth are sharp and reasonably lit gives you a clean edge to trace. A wide group shot with small faces gives you three pixels of tooth and no margin for error. If you shoot raw and the smile is blown out or lost in deep shadow, no slider recovers detail that was never recorded.
Before you touch anything, duplicate your background layer and work on the copy. Working non-destructively in the sense that retouchers mean it is covered in my guide to how to use Smart Objects in Photoshop, and the same logic applies here: the original pixels stay intact underneath.
Step-by-Step: How to Whiten Teeth in Photoshop
Step 1: Duplicate the Image and Check the Teeth
Zoom to 100% or 200% first. Teeth retouching done at fit-screen zoom is the single most common source of sloppy edges. With the copy active, look at the teeth before changing anything and note which ones are already bright and which sit in shadow. That note saves you the second pass.
If you want to know exactly how much colour you are dealing with, open the Color Sampler Tool and click a tooth. Switch its sample size from Point Sample to a 5 by 5 or 9 by 9 average, because Point Sample happily reports the value of a single blemish or hot pixel and sends you chasing a number that does not exist.
Step 2: Select the Teeth Carefully
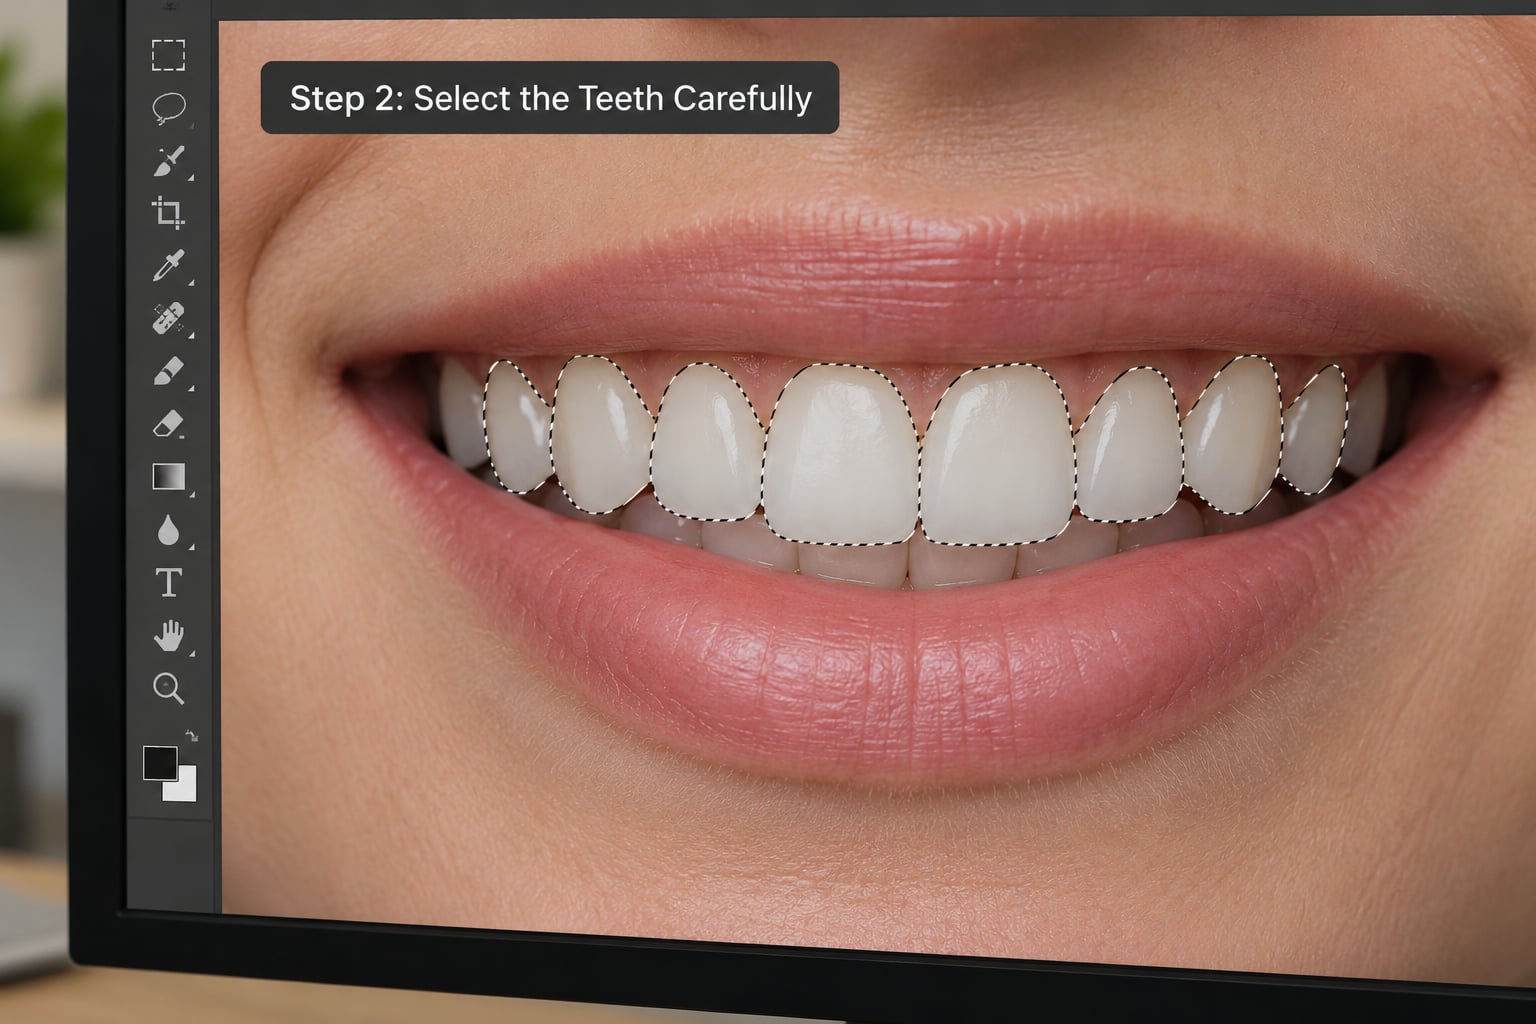
Take the Lasso Tool and draw a loose but complete loop around the visible teeth. Stay outside the lip line and outside the gum line with a few pixels to spare. Loose is correct here: a generous selection is easy to shrink back with Select > Modify > Contract by 2 pixels, while a tight one that clips the teeth leaves ragged edges you cannot paint out.
For a fast job, use the Object Selection Tool and click once on the mouth. It usually finds the teeth on a clean portrait. Refine the edge with Select and Mask (Select > Select and Mask, or Alt-click the Add to Mask button on the Layers panel) and nudge Feather to 1 or 2 pixels so the transition is not a cut edge.
One trick worth stealing: with a Hue/Saturation layer selected, drag the Hue slider all the way to one side. The teeth turn a screaming colour and everything that is not a tooth stays put, which shows you instantly where your selection leaked and where it missed. Drag Hue back to zero when you are satisfied. This visualisation step takes ten seconds and saves a masking session.
Step 3: Add a Whitening Adjustment Layer
With the teeth still selected, open the New Fill or Adjustment Layer icon at the bottom of the Layers panel and choose Hue/Saturation. Because a selection was active, Photoshop adds the layer masked automatically, so you can skip straight to the sliders in the Properties panel.
Change the dropdown at the top from Master to Yellows. The slider set changes to Hue, Saturation and Lightness for that range only. Drag Saturation left to about -70 or -80 and watch the yellow drain out. Do not drag it to -100. Full desaturation on the yellows leaves teeth grey, flat and lifeless, which is exactly the dead look that gives away a heavy retouch.
Switch the dropdown back to Master, then drag Lightness right by about +10 to +20. Brightening under Master rather than under Yellows lifts the overall tooth without shifting hue on anything else. If you want a small comparison, Alt-click the eye icon on the adjustment layer to peek at the original.
Curves or a Black and White adjustment can finish a stubborn smile, but reach for them second. My guide to using the Black and White adjustment layer in Photoshop explains why desaturating everything at once is the wrong tool for a face.
Step 4: Mask, Refine, and Blend the Result
Now look at what your mask actually did. White on the mask thumbnail means the adjustment applies there; black means it is hidden. Switch to the mask thumbnail (click the second small image, not the layer name), press B, and paint black over any lip, gum or skin that brightened with the teeth.
Set brush opacity to 30% or 50% first. At full opacity you will punch a hard black shape into the mask and create exactly the halo you are trying to avoid. Soft edges, low opacity, several light passes. If the mask has a light grey haze where teeth meet lip, that grey is a partial effect, and painting it out is a matter of building density rather than switching the brush.
For anything the brush cannot rescue, lower the opacity of the adjustment layer itself until the correction sits back in the face, then raise it. The best result is usually somewhere around 80%, not 100%.
Step 5: Correct Uneven Teeth and Finalize the Look
A global lightness lift flattens teeth that were in shadow, and one front tooth that started darker ends up the same brightness as the rest, which reads as fake. Fix them on the mask: drop brush opacity to 15%, paint white over the teeth that need to come back, and build them up in two or three passes. White is restoring the adjustment, black is removing it, and fine control at low opacity is what keeps texture intact.
Zoom back out and compare the smile with the rest of the face. Teeth should still show the slight translucency and edge variation you started with. If they look like a solid white strip, you went too far.
For a group photo, duplicate the adjustment layer and mask once per person. Each person needs their own values anyway, and the alternative is one compromise layer that looks wrong for everyone. When you have tuned a mask you like, save it as an Action and reuse it across the shoot, as I walk through in how to use Photoshop Actions.
Save the working file as PSD or PSB to keep the layers, then export a flattened copy for delivery. Keeping the layer stack means the client asks for a warmer version five minutes later and you change one number instead of redoing the retouch.
Slider Values for Common Starting Points
| Situation | Saturation (Yellows) | Lightness (Master) | Watch for |
|---|---|---|---|
| Mildly warm teeth, studio light | -50 | +10 | Colour returns on a low-light reshoot; the numbers are not fixed |
| Typical portrait or wedding smile | -70 | +15 | The usual starting point most retouchers land on |
| Very warm teeth under tungsten light | -80 | +20 | Watch the gum line and inner lip for halos |
| Teeth that must stay natural | -40 | +5 | Enough to look awake, not enough to look edited |
These are starting points, not settings. Teeth vary more between people than any other feature in a portrait, and forum retouchers say the same thing: no slider value travels from one photograph to the next.
Common Mistakes and Quick Fixes
Teeth look grey and lifeless. Saturation hit -100. Bring it back to about -80 and let some warmth survive.
Lips, gums or skin brightened too. Your selection was too loose. Paint it out on the mask with a black soft-edge brush at 30 to 50% opacity, or shrink the original selection with Select > Modify > Contract.
Hard halo around the teeth. Usually a full-opacity brush stroke on the mask, or a Feather value of zero. Soft edges and feathered selections fix it.
One or two teeth look flat. They were in shadow originally and got the full lift. Restore them on the mask with a white brush at about 15% opacity.
The smile looks like a bright strip with no detail. Drop the adjustment layer opacity rather than redoing the values. You keep the corrected hue and lose the cartoon brightness.
You edited at fit-screen zoom. Zoom to 100% and inspect the tooth edges against the lip. Every problem above usually disappears or becomes obvious at that zoom level.
A last honest note: if the teeth in the original photo are genuinely brown or missing their enamel sheen, pushing them toward white tells people you edited the image, and clients read that as dishonest. Leave them slightly warm and let the smile carry the frame.
Frequently Asked Questions
Why do my whitened teeth look fake in Photoshop?
Usually one of three things. You dragged Saturation to -100, which kills the warm tone and leaves grey. Or your Lightness lift was large enough to erase the natural shading between teeth. Or your selection leaked onto the lips and gums. Fix it by pulling Saturation back to about -80, lowering layer opacity to 80%, and cleaning the mask edge with a black soft brush.
What is the fastest way to whiten teeth in Photoshop?
Select the teeth loosely, add a Hue/Saturation adjustment layer, set Edit to Yellows, drop Saturation to about -80, switch Edit back to Master and raise Lightness about +20, then clean the mask. That takes under a minute per face. The Object Selection Tool replaces the manual lasso if you want to skip the drawing step entirely.
Can AI whiten teeth in photos?
Yes, in the sense that Adobe’s Neural Filters and Select and Mask use machine learning to find the subject. Neither is a teeth-whitening button. Recent Photoshop releases can also build a Camera Raw mask from a quick brush stroke, which handles a whole face at once, but most retouchers still land on the Hue/Saturation layer for precise control.
Can Adobe Lightroom whiten teeth?
Yes, though Lightroom has no Hue/Saturation layer, so it works differently. Use the Color Mixer and add a saturation correction for the orange-yellow range, or mask the teeth with a brush and drop Temp or Tint slightly. A local adjustment over a brushed mask of the mouth gives a comparable result for a single photo.
Can I whiten teeth in an iPhone photo or Photoshop Express?
Yes. In Photoshop Express, tap the photo, open Adjust, lower Saturation a little and raise Exposure or Brightness, then use the brush mask tool to limit the change to the mouth. On iPhone, the iOS editor in Photos has Saturation and Brightness under the Adjust panel with no masking, so desaturating shifts the skin too. Keep it gentle.
Does Photoshop whiten teeth?
Photoshop has no dedicated whitening tool. What it does is give you a Hue/Saturation adjustment layer that can desaturate the yellow tones in teeth while leaving skin, lips and gums untouched, plus a layer mask so you can control exactly where the change applies. That combination is what produces a natural-looking smile rather than an over-processed one.
Conclusion
Duplicate your image, zoom to 100%, and draw a loose Lasso selection around the teeth. Add a Hue/Saturation layer, set Edit to Yellows, take Saturation to about -80, switch back to Master and raise Lightness about +20. Then work on the layer mask with a black soft brush at 30 to 50% opacity until the lips and gums are clean, and pull layer opacity back if the smile reads as too bright. That sequence, done on one adjustment layer per person, is the whole job.