
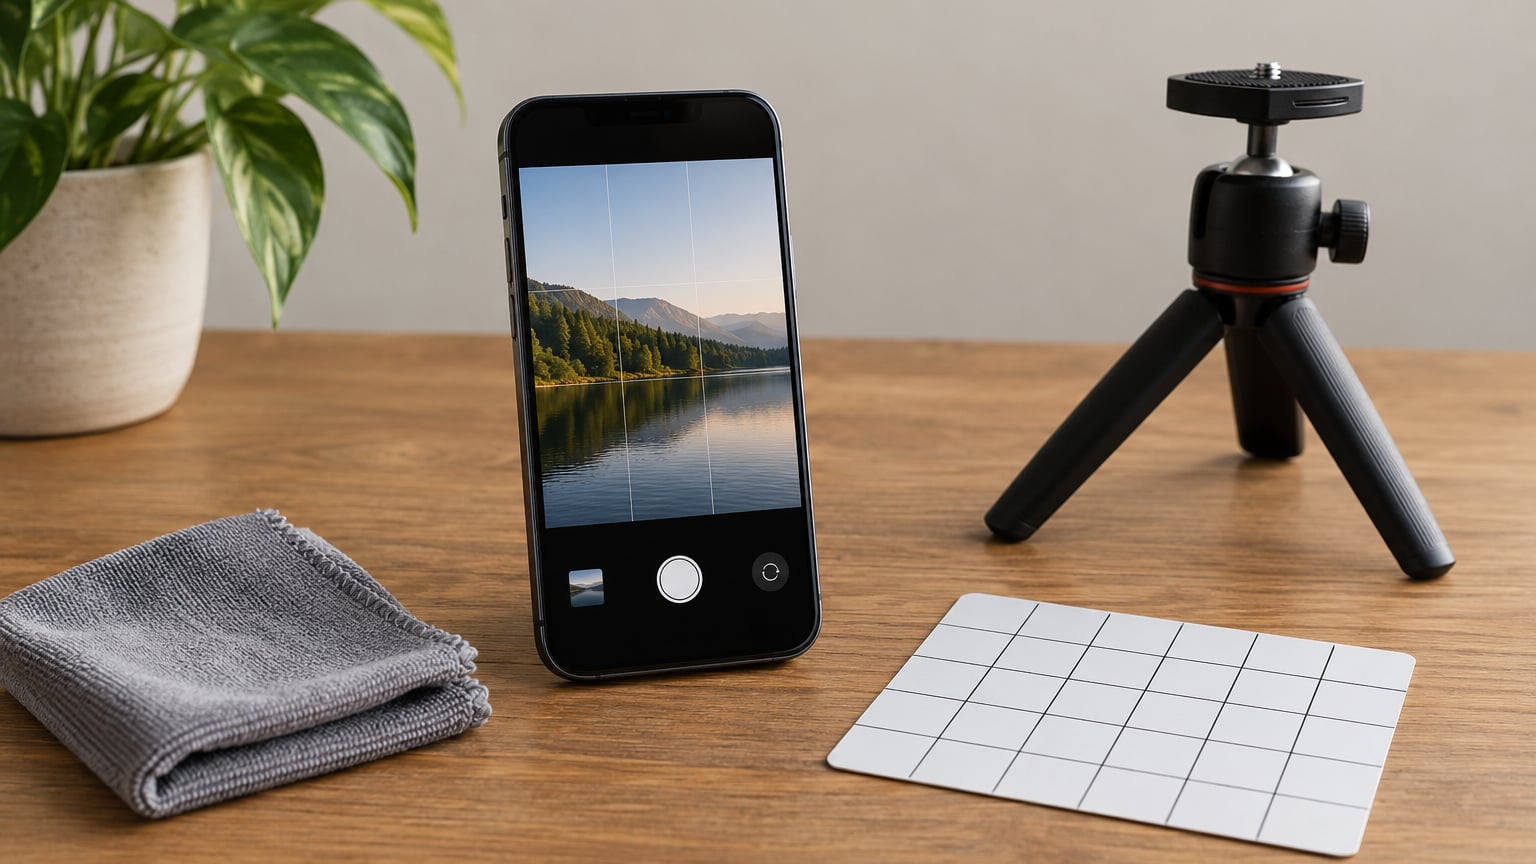
The iPhone camera settings that change your photos most are the ones that control focus, exposure and processing: turn on Grid and Level, lock focus and exposure with AE/AF Lock, pull exposure compensation down to roughly -0.7 EV in bright scenes, and shoot High Efficiency unless you intend to edit. Make those four changes and the soft, washed-out frames you are used to get noticeably better.
None of it takes long. Budget about ten minutes for the Settings app work and another five minutes to practise the in-app controls until your hand reaches them without thinking.
One honest caveat before we start. Apple moves these toggles between iOS versions and drops some of them depending on the model, so a guide written for an older phone will send you hunting. Everything below reflects the current Camera app in iOS on recent iPhones, and I note where a setting is missing on older hardware. Check the label in your own Settings app once and the rest lines up.
Table of Contents
- What You Need
- Step-by-Step
- 1. Clean the Lens and Choose the Right Camera
- 2. Set the Resolution and Frame Rate
- 3. Turn Off Flash When the Scene Does Not Need It
- 4. Use Exposure Compensation for Brighter or Darker Shots
- 5. Lock Focus and Exposure for Consistent Composition
- 6. Choose the Right Photographic Style
- 7. Enable Grid, Level, and Composition Aids
- 8. Set a Capture Workflow That Produces Better Results
- Common Mistakes
- Frequently Asked Questions
- Conclusion
What You Need
You need an iPhone running a currently supported iOS release, a soft cloth, and about fifteen minutes. That is the whole kit list.
- An iPhone with the current or a recently supported iOS version. The Settings menu paths below match recent releases.
- A soft microfiber cloth. Fingerprints on the rear lens cause haze and softness faster than any bad setting.
- A surface to shoot from if you plan to use Night mode or longer exposures. A small tabletop tripod helps, but a steady flat surface works too.
- Basic familiarity with your lenses. Every recent iPhone has an Ultra Wide at 0.5x, a Wide at 1x and a Telephoto at 2x or 3x. Knowing which one you are using stops the phone from switching mid-shot.
Settings live in two places, and this trips up most people. Long-term options sit in the Settings app under Camera. Focus, exposure, flash and mode choices sit inside the Camera app while you shoot. Both matter, so we cover both.
Menu labels shift a little between older and newer iPhones. If a toggle is not where this article says, search for its name in the Settings app search bar rather than guessing at the path.
Step-by-Step
1. Clean the Lens and Choose the Right Camera
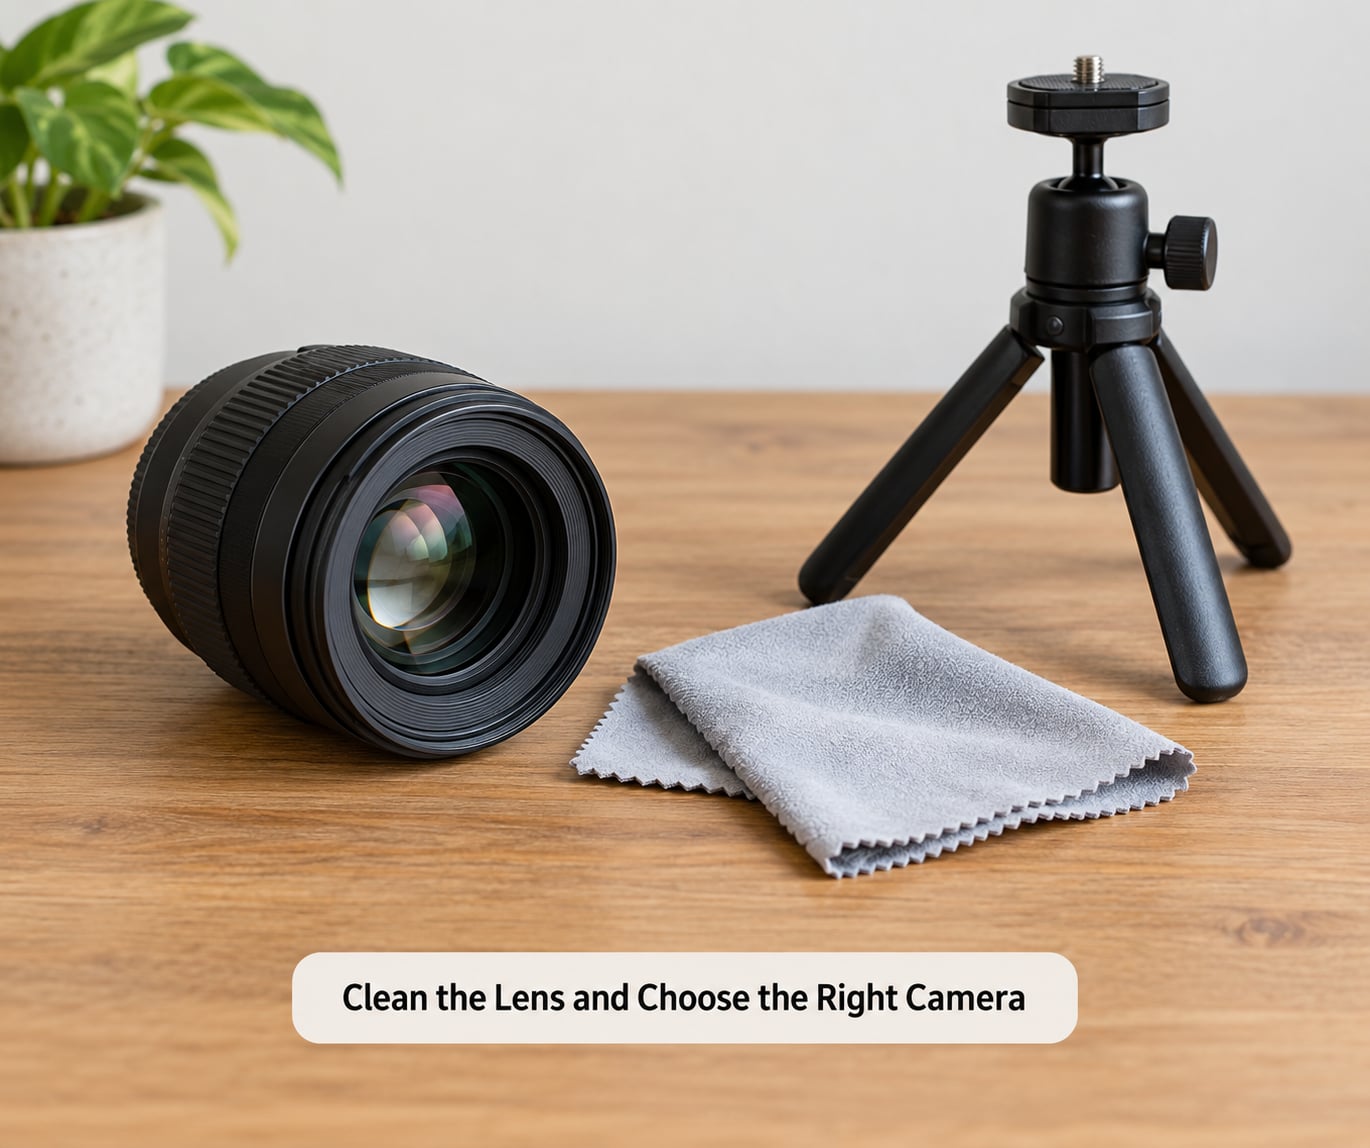
Wipe the rear camera glass with a soft cloth before every session. Smudges scatter light inside the lens, which reads as haze, a milky veil and soft detail, and it is the single most cited cause of disappointing iPhone photos in photography forums. More often than not, the settings are fine and the lens is dirty.
Next, pick the mode deliberately. Swipe horizontally across the row above the shutter button to move between Photo, Portrait, Night mode, Panorama, Cinematic and the other modes your model offers. Raw capture is not a mode of its own on most phones. It is a format you switch on in Settings > Camera > Formats, then the Camera app shows a RAW indicator when it is active.
How to confirm it worked: the label under the shutter button names the mode you selected, and the RAW badge appears when raw capture is on. Take one test frame, zoom to 100 percent on screen and look at an edge. If the edge is soft and glowing, clean the lens again.
2. Set the Resolution and Frame Rate
Open Settings > Camera > Formats. You will see two main choices: High Efficiency, which saves HEIF/HEIC files, and Most Compatible, which saves JPEGs. Under those sit Apple ProRAW and JPEG XL Lossy. High Efficiency is the right default because it holds more highlight and shadow detail than JPEG at a fraction of the file size, and every current phone handles it without extra work.
Choose Most Compatible only if you regularly hand photos to a printer, a shop counter or an older program that refuses HEIF. Choose Apple ProRAW when you intend to edit seriously, and expect much larger files plus a flatter-looking preview straight out of the camera. JPEG XL Lossy is the option to reach for when storage is tight and you still want better colour handling than plain JPEG.
Resolution and frame rate live elsewhere. Still photo resolution on Pro models is under Settings > Camera > Apple ProRAW, where 24MP and 48MP appear once ProRAW is enabled. Video resolution and frame rate sit under Settings > Camera > Record Video.
For still photos, 24MP is the sensible default. Move to 48MP when you need a very wide crop or plan to print large. For video, 4K at 24 or 30 fps suits almost everyone. 24 fps gives the cinematic motion look, 30 fps is steadier for handheld footage, and 60 fps only earns its place for slow motion or heavy movement.
How to confirm it worked: open the Camera app and look at the top row. Your lens choice and the flash setting appear there, and on ProRAW you will see the RAW badge. The frame rate only shows once you switch to video mode.
3. Turn Off Flash When the Scene Does Not Need It
The flash control sits at the top of the Camera app on recent iPhones, and there is also a Flash option under Settings > Camera. Set it to Off for anything outdoors, indoors with decent light, or anywhere you want the existing atmosphere preserved. Leave it on Auto for dark rooms where you are not sure.
Direct flash at close range creates a bright hotspot in the middle of a face, hard shadows behind the subject and a colour cast that fights the scene. Turning it off keeps the natural light, the colour and a sense of depth in the frame. In a dark venue it does the opposite, so use your judgement rather than treating off as a permanent rule.
Quick test: take one frame with flash on and one with it off, at arm’s length from your subject. If the flash version shows flat pale skin, a black backdrop behind the subject where there should be detail, or a washed-out colour, turn the flash off. That is the tell.
4. Use Exposure Compensation for Brighter or Darker Shots
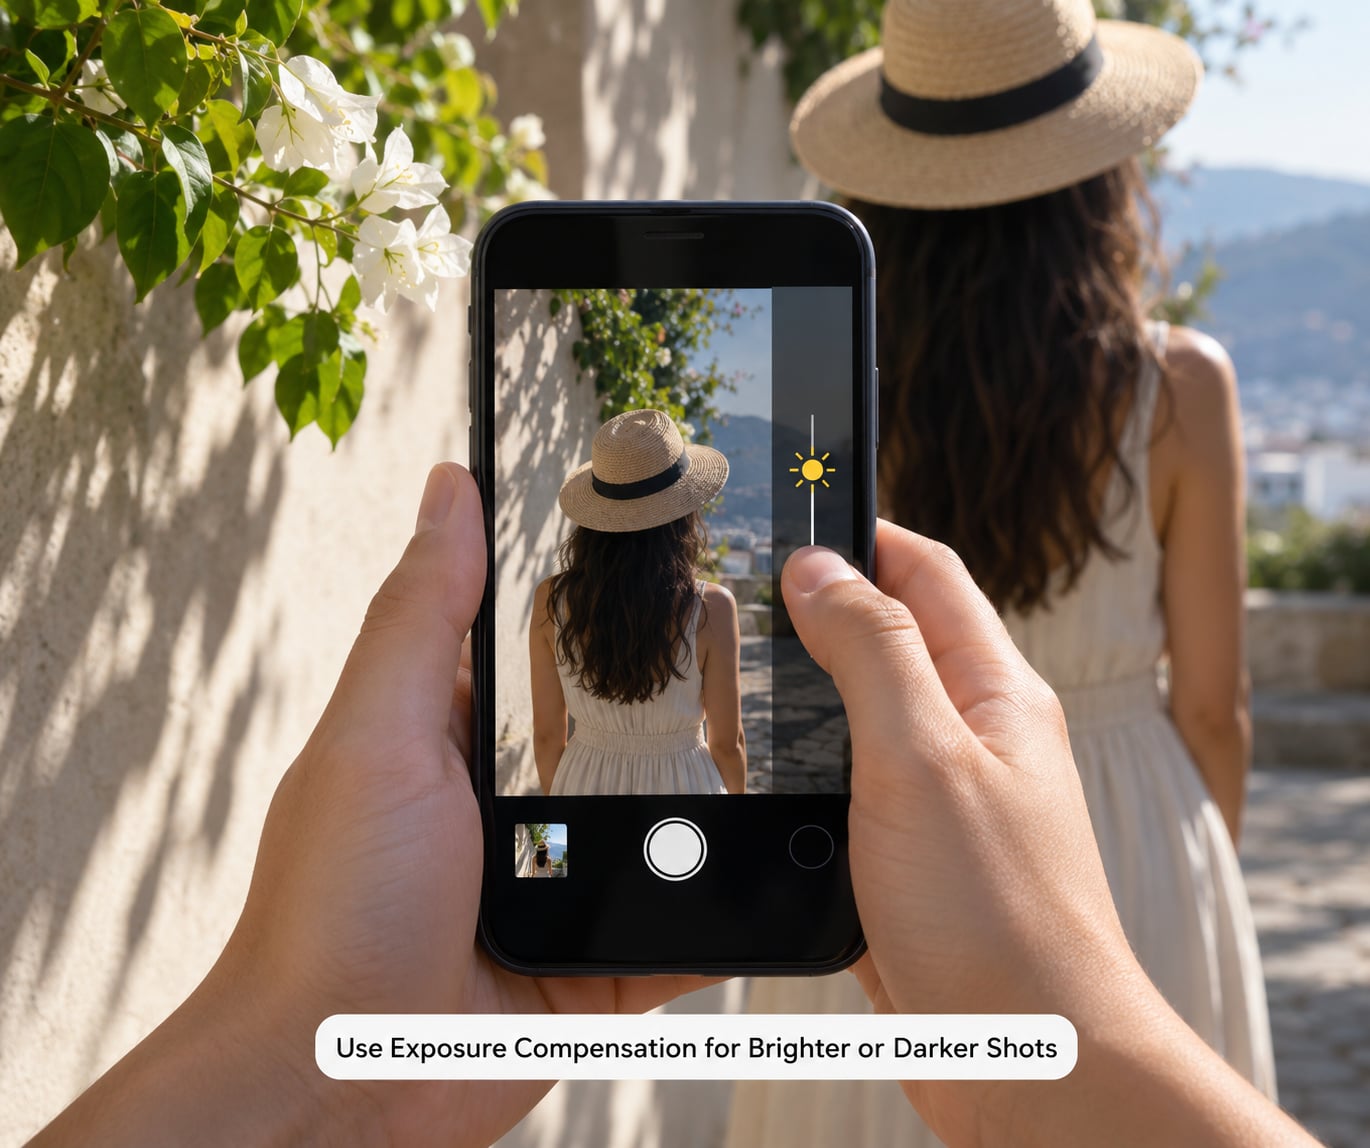
The sun icon above the shutter button is your exposure control. Tap it, then drag your finger up or down while watching the image change, then lift your finger to set it. Up brightens the frame, down darkens it.
The phone already metered the scene correctly. What the sun icon does is tell it you disagree. For outdoor daylight, sunlight or a bright sky behind your subject, photographers regularly pull the compensation down to around -0.7 EV. The result is richer colour, deeper blacks and highlights that keep their detail instead of clipping to white.
Combine it with tap-to-focus for full control. Tap your subject to set focus and base exposure, then tap the sun icon and adjust. The two settings stay independent, so you can focus on a face and still darken the background by half a stop.
How to tell whether it worked: check two things. Highlights on a bright sky or a white wall should still show texture rather than a solid blown-out patch, and shadow areas should still have visible detail rather than turning into black holes. If both are true, the exposure is right.
5. Lock Focus and Exposure for Consistent Composition
Tap and hold on your subject. A banner reading AE/AF Lock appears above the shutter, and both focus and exposure freeze on that point. Tap anywhere else to release it.
This is the most useful control in the app and the least used. Locking stops the autofocus from pumping when you step forward, and it stops the exposure from wandering as you recompose. Use it for landscapes, architecture and group shots where you want a moment to line everything up before the shutter moves.
For video it matters even more. Without a lock, video focus hunts back and forth whenever anything moves in the frame, and exposure pumps with it. Tap and hold before you start recording.
Lock it on the brightest part of the frame for a landscape and the exposure will protect the sky. Lock it on a face for a portrait and the whole shot balances around the subject.
Quick test: lock focus, then move the phone a few inches and watch the preview. If the image stays steady while you reframe, the lock is holding. If it brightens and darkens as you move, it is not.
6. Choose the Right Photographic Style
Photographic Styles is the main colour and contrast control in the current Camera app. Tap the Photographic Styles button in the top row to open the panel, then pick a look. Recent iPhones ship with Standard, Vivid, Rich Contrast and Natural, plus two slots you can customise and save your own versions into.
Standard is the accurate choice and the right default for most scenes. Vivid pushes saturation and contrast, which suits food, travel and social posts. Rich Contrast deepens shadows and holds onto highlight detail. Natural tames the processing for a flatter, more neutral rendering.
Each style has its own tone and saturation controls. Warming the tone slightly suits golden-hour and indoor tungsten light, and cooling it fixes the orange cast you get under street lamps. Adjust these once per style and they persist.
A style cannot rescue a badly exposed frame. If the highlights are already clipped, no amount of contrast setting brings them back. Set exposure first, then choose the look.
If you shoot monochrome deliberately, my guide to the best phone camera settings for black and white covers the conversion settings separately, since they work differently from these in-camera styles.
One more thing here. Recent iPhones merge several exposures computationally to extend dynamic range, and that merging plus automatic HDR is the usual reason photos look flat and processed. Two fixes work well: pull exposure down slightly so highlights survive the merge, and switch to Rich Contrast. Anyone who wants a deliberate high-contrast result or a clean silhouette can also turn Smart HDR off under Settings > Camera.
7. Enable Grid, Level, and Composition Aids
Go to Settings > Camera and turn on Grid. Two sets of lines appear in the viewfinder, giving you the rule of thirds without guessing. Put your subject on an intersection rather than dead centre, and landscapes and street scenes gain structure immediately.
Turn on Level in the same place. A thin line appears when the phone is genuinely level, which is the fix for leaning horizons in architecture and building shots. Turn on Mirror Front Camera as well if you shoot yourself and want the preview to match the frame rather than appearing flipped.
Turn on Preserve Settings too. It keeps your chosen lens, flash, timer and Live Photo mode between launches of the Camera app, so the camera does not silently reset to defaults in your pocket.
How to confirm it worked: close the Camera app fully and reopen it. If the grid lines are still there, the settings took effect. Grid and Level are the two changes photographers recommend most often because they cost nothing and fix a real problem.
8. Set a Capture Workflow That Produces Better Results
Put the eight steps into one repeatable sequence: clean the lens, choose the mode, compose with the grid, tap to focus, lock if the scene needs it, set the sun icon, check sharpness and highlights at full zoom, shoot, then review. Twenty seconds of preparation, and the shot is usually right the first time.
Use Burst mode when something moves. Press and hold the shutter and the camera captures about ten frames a second, then Keep Only Favorites trims it down to the best one. Use Live Photos when a moment matters more than a clean file, and press the shutter normally to save it as a still instead.
Action mode and Night mode switch themselves on when they detect the conditions. Treat that as a starting point, not a guarantee. Stabilisation smooths movement during the exposure, but if the subject moves during a multi-second Night mode capture the result will be soft no matter how steady the phone is. For a dark indoor scene, rest the phone on something solid, let Night mode finish, and take the shot on a tripod if you have one.
Check the result at full zoom every few shots. If edges glow, the lens needs a wipe. If the sky is white with no texture, pull exposure down. That two-second review teaches you faster than any article.
Common Mistakes
Not cleaning the lens. The most common cause of soft photos and the easiest fix. Wipe the glass, then check an edge at full zoom before you shoot anything important.
Leaving the flash on Auto indoors. It fires in dim restaurants and dark rooms when ambient light would have looked better. Set Flash to Off and let the camera meter the room.
Digital zoom instead of switching lenses. Pinching to 4x or 8x crops a sensor and produces mush. Tap the 0.5x, 1x or 2x button, or move closer. The frame rate for video options also matters here, since heavy cropping on video is even less forgiving.
Clipped highlights. If the sky or a white wall is solid white, the scene exceeded what the sensor held. Pull exposure compensation down by half to one stop and reshoot. Nothing recovers those pixels afterwards.
Unstable shooting. A shaky capture ruins detail even when exposure is perfect. Two elbows against the torso, both hands on the phone, and a slow press rather than a jab.
Confusing megapixels with quality. A 48MP frame from a 24MP sensor does not beat good exposure and a steady hand. Most scenes are limited by light, not by resolution.
Editing that tries to rescue a blown frame. Shadow recovery can pull back detail. Highlight recovery cannot bring back pixels that never recorded.
The lens auto-switching that frustrates people most is a separate issue worth knowing about. Bring the phone very close to a subject and it may jump from the Wide lens to the Macro or Ultra Wide on its own, changing framing and quality mid-shot. On models with Macro Control under Settings > Camera you can turn that behaviour off, or you can tap the lens you want just before the shot. Knowing it is automatic makes it far less annoying.
Last tip: when a scene genuinely exceeds the camera’s range, shoot several exposures instead of one. Bracket it by capturing one frame with exposure pulled down, then again at the neutral setting, then above it. Blend them later for a shadow detail shot that a single frame could not hold.
Frequently Asked Questions
Should I use the highest resolution available on my iPhone?
Not usually. The default resolution is a deliberate balance of detail, file size and processing speed, and it is the right choice for almost every shot. Pick the higher option when you know you will crop tightly or print large, because that is the only time the extra pixels survive. It also slows the shutter slightly, which matters if anything in your scene is moving. On some models the higher resolution setting only appears once ProRAW is enabled.
How do I keep iPhone photos sharp when taking pictures?
Four habits cover most of it. Clean the lens, hold the phone with two hands and your elbows tucked in, tap to focus on the actual subject rather than the background, and make sure something is holding steady when you shoot in low light. Add the burst mode for anything that moves. If you are still seeing soft results in bright conditions, check that a case or a lens clip is not partly covering the camera glass.
What should I set exposure compensation to for outdoor photos?
Around -0.7 EV is a good starting point in bright daylight, because it protects the sky and skin highlights from clipping while letting the phone keep colour that a fully bright frame would wash out. In open shade or overcast light, drop it to about -0.3 EV. If the scene is already dim, return it to zero. You can see the effect live on screen while dragging the sun icon, so adjust by eye rather than trusting a fixed number.
Is ProRAW necessary for better iPhone photos?
No. The default High Efficiency format already produces excellent files, and ProRAW mainly matters if you plan to recover shadows, adjust white balance or print big. Two honest costs come with it. Files get considerably larger, and the preview straight out of the camera looks flatter and darker than the standard capture because it has less processing applied. If you are not editing, stay on High Efficiency.
How do I change the default settings for the iPhone Camera app?
Most defaults live under Settings Camera, where you can change image format, resolution, HDR, grid, level, flash behaviour, timer and lens preferences. Turn on Preserve Settings so the Camera app keeps your choices when it reopens instead of returning to Photo mode with flash on Auto. In-app controls such as exposure compensation, focus lock and mode selection are set as you shoot, and the grid or level lines confirm your Settings changes took effect.
Conclusion
Start with the four highest-impact actions: clean the lens before anything else, choose the right mode instead of leaving it on whatever it was, tap to focus on your subject, and pull exposure down slightly in bright light. Add Grid and Level so your compositions land where you intend.
Keep one reliable setup and build from there rather than changing every control at once. If you enjoy searching scenes for photos instead of only capturing them, finding abstract photos in everyday objects is a good way to practise the focus, exposure and style settings you have just turned on.