
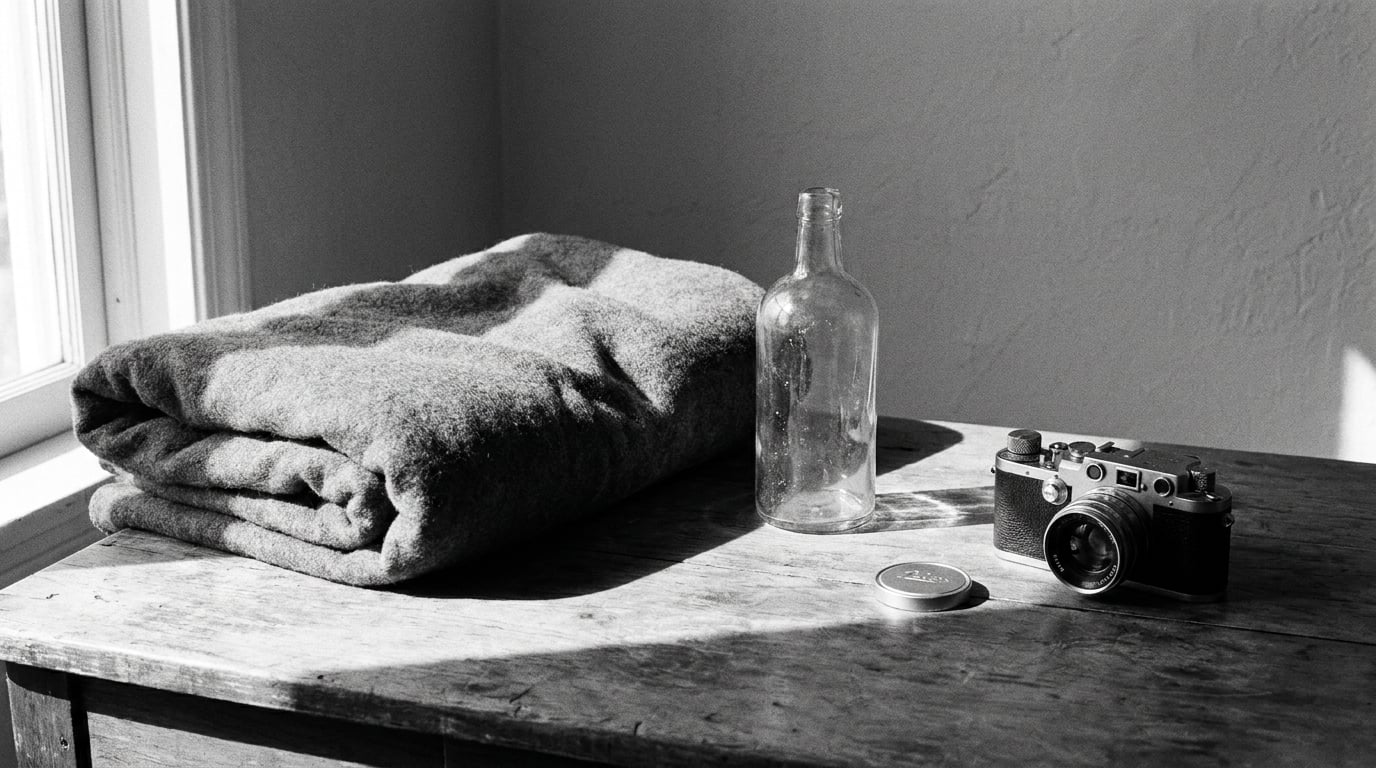
Black and white photography for beginners is the easiest place to start learning photography, because taking the colour away forces you to look at light, shadow, shape and texture instead of at whether a wall is red or green. You need nothing more than a camera, a subject and ten minutes outside.
This guide walks through the whole beginner workflow: what equipment actually matters, how to set your camera up, how to use light and composition without colour to guide you, and how to edit a frame so it does not end up a flat grey picture. It is written for someone who has never deliberately shot monochrome before.
Key takeaways
- Shoot in RAW even when your camera is set to monochrome — the RAW file keeps the colour information.
- Judge a monochrome frame by its tones, not by the colours you expected to see.
- Side light gives you shape; flat light gives you nothing to work with.
- The B&W mix sliders in editing are how film filters work, translated for digital.
- One subject, one light setup, thirty frames — repetition is how the eye learns.
Table of Contents
- What You Need
- Step-by-Step Black and White Photography for Beginners
- Common Mistakes
- Frequently Asked Questions
- What camera settings are best for black and white photography for beginners?
- Do I need a special lens to take black and white photographs?
- Should beginners shoot in black and white mode or capture in color?
- Is it better to photograph in RAW or JPEG for black and white images?
- What editing software is best for beginners converting photos to black and white?
- How do beginners create contrast when shooting in black and white?
- Conclusion
What You Need
The short answer is that you already have everything. A camera, a lens, and an app that can convert a photo to black and white are the entire kit, and any modern phone satisfies all three.
That is worth saying plainly, because plenty of beginners assume monochrome photography needs specialist hardware. It does not. A red filter on a lens, a dedicated black and white body, a special film back — all of that is nice, none of it is a starting requirement. Shooters on photography forums are consistent about this: the useful upgrade is not a new camera, it is an hour of practice looking for contrast and shape.
What does help is preparation in software. Free options such as darktable and RawTherapee handle RAW files and give you the tone controls the rest of this guide uses. Adobe Lightroom Classic and the current Adobe Lightroom both do the same job, and Snapseed covers phone shooters who only want a quick conversion.
Two more practical points. First, make sure you know where your camera’s monochrome picture style lives before you walk out, because finding it on a busy afternoon wastes light. Second, decide now that you will shoot RAW. It costs you nothing, and it is the reason you can change your mind later.
Step-by-Step Black and White Photography for Beginners
How to Start Black and White Photography for Beginners With a Visual Goal
Decide what the picture is about before you decide anything technical. Pick one subject — a fire door, a person’s hands, an empty stairwell — and ask what has to be in the frame for the picture to work. With colour gone, that question becomes unavoidable.
Here is the test I use. Look at the scene and squint until the colour blurs out. What is left is shapes, edges, textures and light. If a shape overlaps a shape, that overlap is your structure. If a rough wall sits next to a smooth one, that is your texture. If half the frame is dark and half is bright, that is your composition.
Getting specific like that is what separates a frame from a snapshot. A crowded street is not a subject. The gap between two buildings, filled with light, with one figure crossing it, is a subject.
How to Set Up Your Camera for Monochrome Shooting
Switch the picture style or film simulation to monochrome, and shoot RAW. On most cameras this gives you a grey preview on the rear screen while the RAW file silently holds every colour channel. That combination is the one to learn with, and it is the most common “nobody told me this” moment in photography forums.
Leave white balance on auto. In RAW it barely matters, and fiddling with it while you are learning exposure is a distraction.
For exposure, start in aperture priority and set the aperture to f/5.6 for streets and groups, f/2.8 or wider for a single subject against a busy background, and f/8 to f/11 for architecture. Then watch the shutter speed the camera chooses and raise ISO to meet it rather than letting the shutter drift.
Use these as starting points, not rules:
- Bright sun: f/8, ISO 100, whatever shutter speed the meter gives. Watch for blown highlights on skin and pale walls.
- Overcast: f/5.6, ISO 400. Soft light is kind to beginners because shadows stay open, but the scene can end up flat — add contrast in editing.
- Golden hour and late afternoon: f/2.8 to f/4, ISO 200 to 400. Long shadows do the compositional work for you.
- Indoor low light: f/1.8, ISO 1600 to 6400. Higher ISO noise is not a fault; in monochrome it reads as grain, and grain suits a monochrome frame.
Focus on your subject, and check the histogram after every few frames. If the highlight end is running hard against the right edge, add negative exposure compensation. If the shadows are crushed, add a third of a stop positive. Monochrome loses detail in the extremes faster than colour does, so this habit pays off early.
How to Use Light and Contrast in Black and White Photography
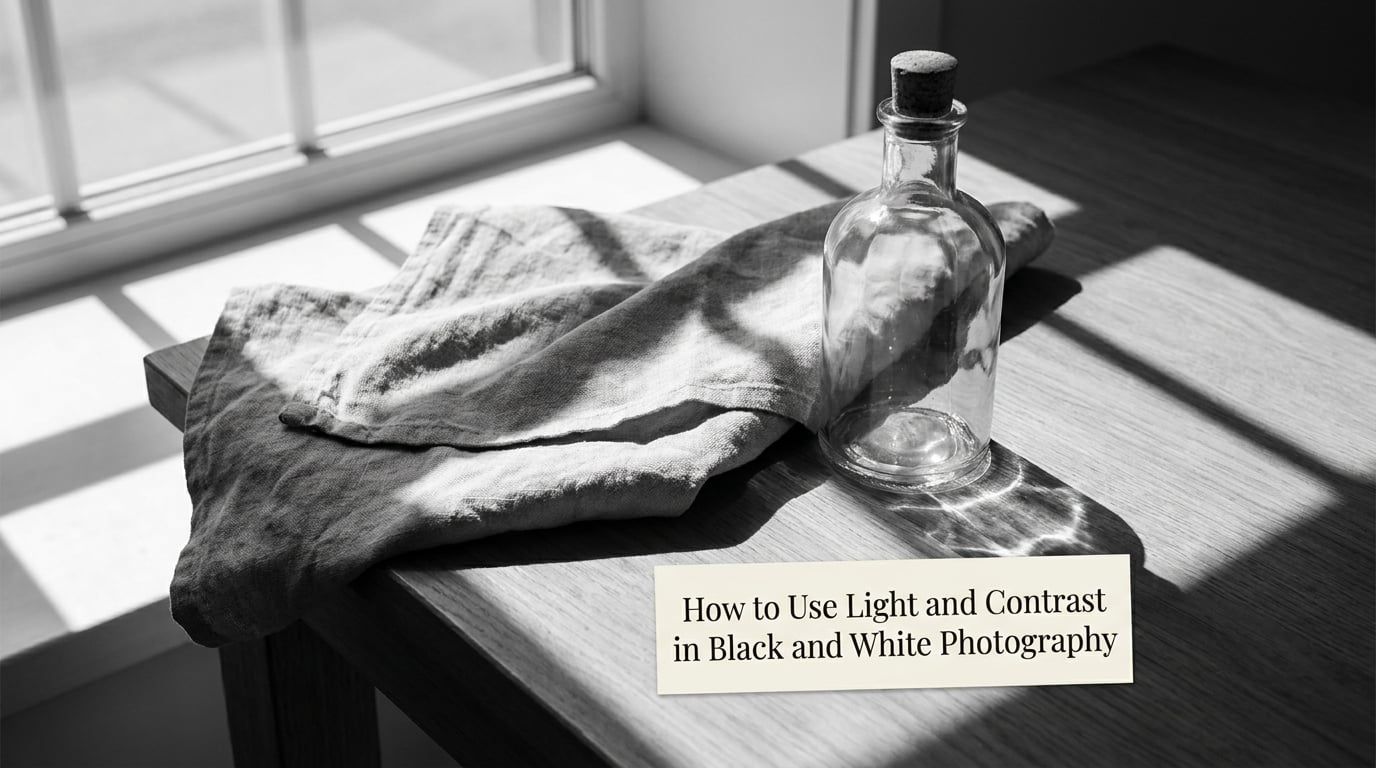
Contrast is the entire game. Without colour, the only thing separating a subject from its surroundings is a difference in tone, and light is what creates that difference.
Side light is where you should start. Put your subject beside a window rather than in front of it, and the texture of anything rough gets picked out in a way that flat frontal light never manages. A folded fabric, a brick wall, a weathered door — side light gives each one a light side and a dark side, and that is what the eye reads as shape.
Watch the shadows as carefully as the subject. A shadow with a clean edge tells you hard light and sharp texture. A soft-edged shadow tells you the opposite. Beginners usually try to fill every shadow; try letting one stay dark instead and see whether the picture gains or loses.
Overcast light is the hardest case, and it is worth practising on. Everything is evenly lit, so nothing separates. The fix is not to hunt for a different sky but to look for the one thing in the frame that is genuinely darker or lighter than the rest, and to build the composition around it.
How to Compose Strong Black and White Images
Without colour to carry the eye, composition has to do the work. Four tools cover most of what beginners need.
Leading lines. A wall, a kerb, a shadow edge or a row of windows pulls the eye through the frame. Put the line on a third and let it run into the picture rather than off the edge of it.
Negative space. Empty tone around your subject is free in monochrome, so use it. A small dark shape in a large area of pale grey reads instantly; the same shape in a cluttered frame disappears.
Layering. Look for a foreground element, a mid-ground subject and a background, each a different tone. Depth in a monochrome picture usually comes from overlapping tones rather than from perspective.
Pattern and repetition. Railings, shutters, windows, stair treads. Photograph the pattern first, then wait for one thing to break it — a person, a bird, a shadow — and that becomes your subject.
The removal of colour is also an editing tool. Something distracting in the frame — a bin, a sign, a bright car — often just drops to a harmless midtone once converted. Photograph anyway, and cut it out in post. A beginner with a prime lens will find this a freedom, because you stop being able to zoom the distraction away anyway.
How to Edit Black and White Photos Without Overdoing It
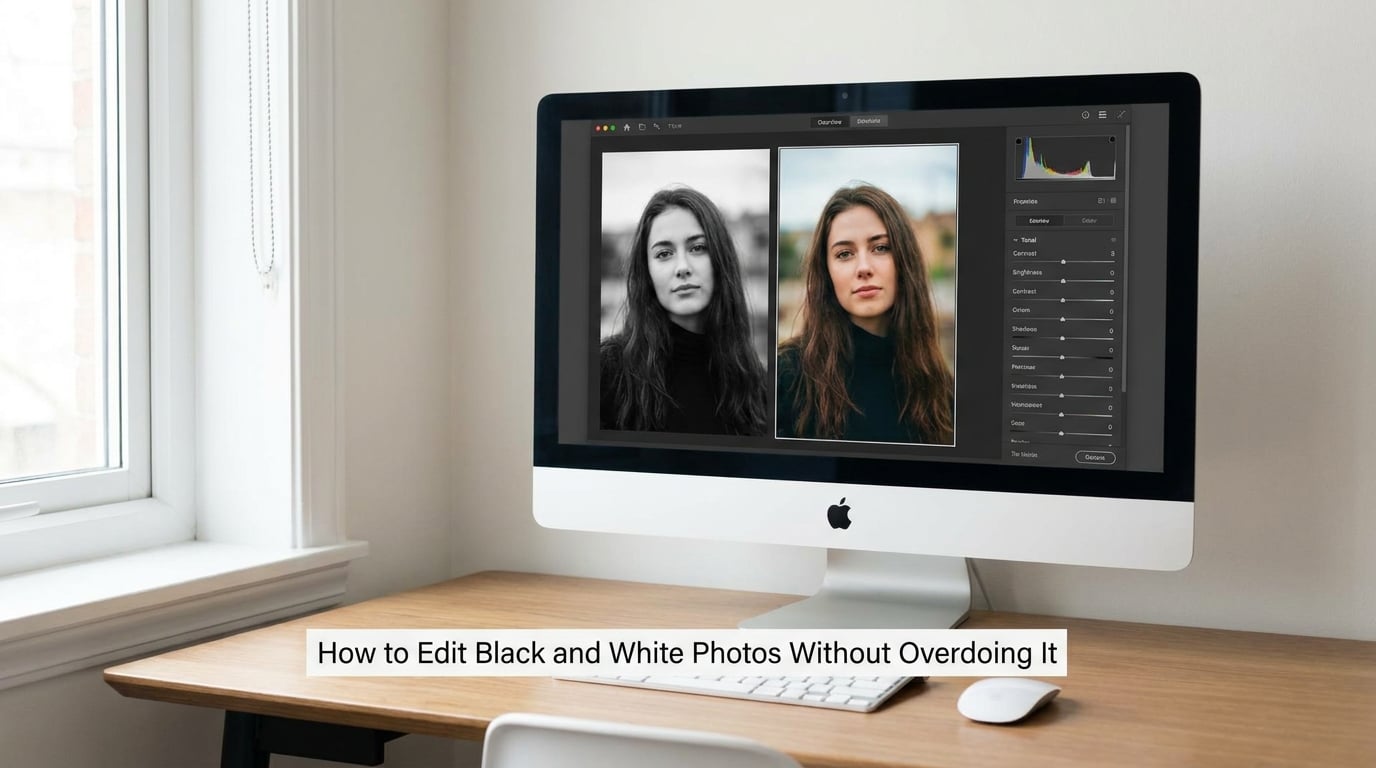
Editing monochrome is five decisions in a fixed order. Do them in sequence and the picture will look considered rather than processed.
One, convert honestly. In Lightroom the control is under the Profile panel — choose B&W, then B&W Neutral, High Contrast or Medium Contrast. In Photoshop, open the Image menu, go to Adjustments, then Desaturate, or use a Black and White adjustment layer for the extra sliders.
Two, set the black and white points first. Before any curve, put a point on the darkest area that should stay detail and one on the brightest area that should stay detail. Everything else falls between them. If you skip this step, no amount of contrast work will rescue the frame.
Three, use the mix sliders. The B&W mix panel, called the channel mixer in older versions, changes how much each colour channel contributes. This is exactly what a red, yellow or green filter does on film, and it is how you choose the version you like rather than accepting the automatic one. The same mechanism is how software can add a little blue to a sky or a little warmth to a portrait’s skin tones after the fact.
Four, add a gentle S-curve. Slightly deepen the shadows and lift the highlights without touching the midtones. Pull it too far and you get crunchy, posterised files with visible banding; a subtle curve does most of the work.
Five, dodge and burn in plain English. Burning darkens a specific area; dodging lightens one. Use a soft brush at low opacity to shape light on a face or darken the edge of a distracting wall. This is the step that separates an automatic conversion from a photograph you meant to make, and it needs more patience than sliders.
Finish with restraint: a little sharpening on the subject, and grain only if you want it. Judge the result at arm’s length and at 100 percent, because a screen at low brightness flatters dark files and hides noise. A print tells you the truth about your tonal range in a way no display does.
Common Mistakes
The complaint I hear most often from beginners is that their monochrome photos look flat and boring. It is nearly always fixable, and the cause is usually one of these five.
1. Flat light. Everything is lit from the front, so there is no tonal difference to look at. Fix: move the subject 90 degrees from the light source, or put the light behind the subject and expose for the shadow side.
2. Converting a colour frame that was composed for colour. The red car was your subject, and once it goes grey it is just another midtone blob. Fix: when you review a monochrome frame, ask what holds the eye without colour. If the answer is nothing, recompose.
3. Shooting JPEG only, in monochrome mode. You locked in one look and gave up every colour channel. Fix: switch to RAW, or turn off the monochrome picture style for the shot and convert afterwards.
4. Dropping the saturation and calling it done. This is the desaturate button, not a conversion. Fix: set the black and white points, then work the mix sliders and a gentle curve.
5. Pushing the slider to the end. Maximum contrast makes every texture look like concrete. Fix: pull the slider back to where the picture still has soft transitions, then add local contrast with dodge and burn instead of global contrast.
Two smaller ones worth naming. Shooting in colour JPEG and trying to grade later means the only adjustment available is saturation, and there is nothing left to grade. And photographing only at midday in bright sun gives you the same harsh shadow shapes every time, which is exactly the reason advanced monochrome shooters plan around the hour rather than the subject.
If you want a routine, shoot one subject for a week: the same doorway, the same tree, the same person, at different hours. Some photographers commit to a month of monochrome street work and say the constraint is what teaches them. The point is repetition, not the subject.
Frequently Asked Questions
What camera settings are best for black and white photography for beginners?
Start in aperture priority with f/5.6 for general subjects, f/2.8 or wider for a single subject, and f/8 to f/11 for architecture. Let the camera pick the shutter speed, then raise ISO to keep it fast enough. Use ISO 100 in bright sun, 400 on an overcast day, and 1600 or higher indoors. Check the histogram and add exposure compensation if the shadows crush or the highlights blow.
Do I need a special lens to take black and white photographs?
No. A normal zoom or a 35mm prime is enough for everything in this guide. The colour filters used on film lenses simply control which colours turn dark, and in digital that job is done by the Bu0026amp;W mix sliders in your editing software, where you can also undo the decision later. Spend money on a lens only once you know what kind of pictures you want to make.
Should beginners shoot in black and white mode or capture in color?
Shoot in monochrome mode for the preview, but capture in RAW. The rear screen shows you a grey image that trains your eye, while the RAW file quietly keeps all three colour channels so you can revisit the conversion later. Beginners who shoot monochrome JPEGs often regret it, because they cannot change their mind once the file is written.
Is it better to photograph in RAW or JPEG for black and white images?
RAW, every time. It keeps the full tonal information the sensor recorded, so you can lift shadows and pull back highlights that a JPEG has already discarded. It also leaves the colour channels intact for the Bu0026amp;W mix sliders to work with. A JPEG is fine for sharing or for a quick phone edit, but it removes the recovery room that makes monochrome editing flexible.
What editing software is best for beginners converting photos to black and white?
Lightroom is the most common answer because its Bu0026amp;W mix panel and tone curve do exactly the work described in this guide. darktable and RawTherapee are free, open-source alternatives with the same controls. For phone work, Snapseed has a monochrome filter with a separate saturation and tint control. Whichever you pick, learn the black point, the mix sliders and the curve first, and ignore everything else until those three are automatic.
How do beginners create contrast when shooting in black and white?
Create it in the light, not in the slider. Side light picks out texture and gives a subject a light side and a dark side, which is what the eye reads as shape. Backlight and long shadows at the ends of the day add separation without any extra equipment. In editing, set the black and white points first, then add a gentle S-curve, and use dodge and burn for local contrast rather than turning the global contrast slider to maximum.
Conclusion
Black and white photography for beginners comes down to three habits. Look for shape and contrast before you press the shutter, shoot RAW so the decisions can wait for the editing desk, and set your black and white points before touching anything else on the screen.
Start with one subject and one light setup tomorrow. Pick a doorway or a tree, work the same spot at three different hours, and shoot thirty frames at each. Then pick the edit routine in this guide, apply it to all ninety, and compare. The pictures that survive that comparison are the ones you should photograph again next week. This guide was written and updated for 2026, and the workflow has not changed much since film — only the speed at which you can see the result.