
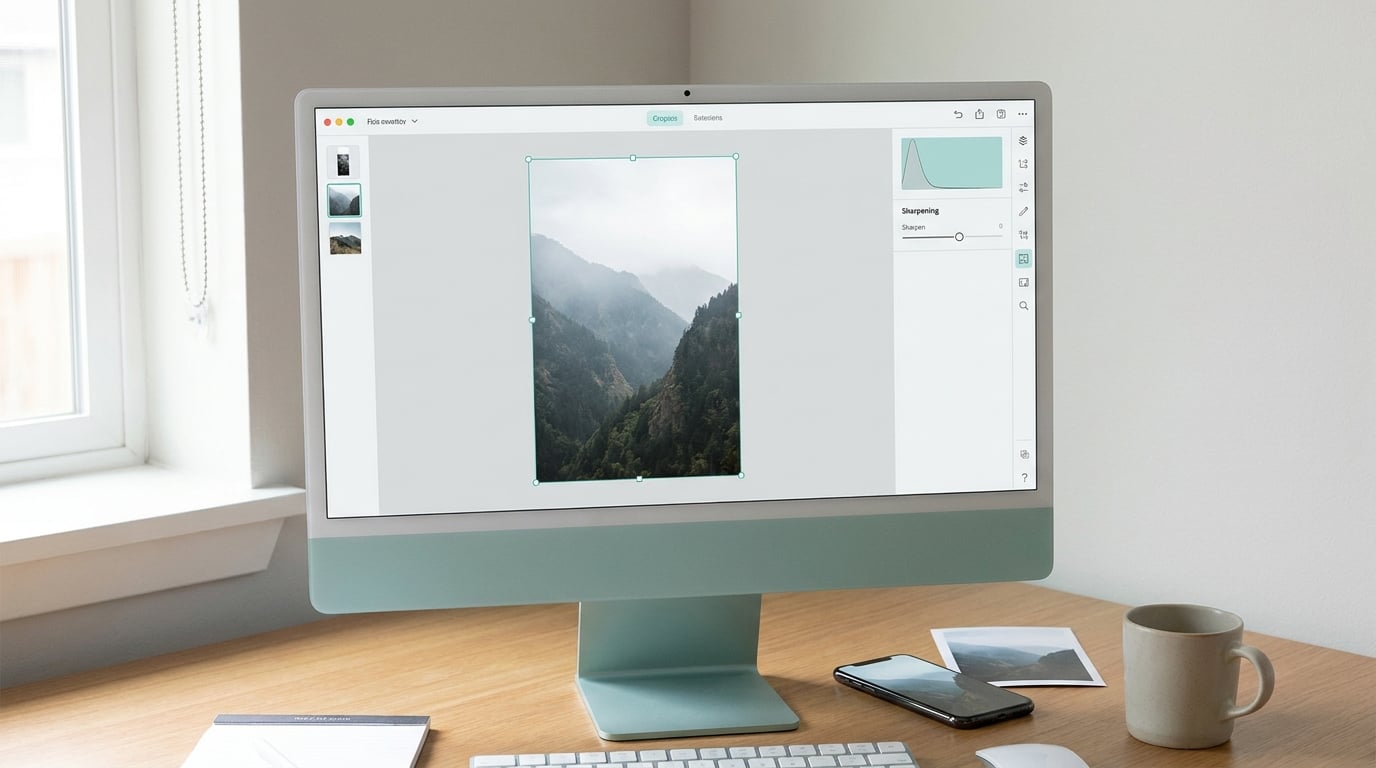
Learning how to crop photos for Instagram without losing quality comes down to three moves: crop from the largest original you have, never zoom past 100 percent, and export an sRGB JPEG at the exact pixel size for the ratio you are posting. Ten minutes in any editor, and the post arrives nearly as sharp as the file you started with.
Most blurry posts are not blurry because of the crop. They are blurry because of what happened to the file after the crop: an oversized original, the wrong colour space, or a mismatched ratio forced Instagram into a heavier compression pass. Those are three different problems with three different fixes, and once you can tell them apart, cropping stops being a gamble.
Here are the six rules that keep the whole thing predictable:
- Crop from the biggest original available, never from a copy you already resized.
- Never zoom past 100 percent. Zooming does not reveal detail, it interpolates pixels that were never there.
- Decide the placement and ratio before you open the crop tool, not after.
- Keep important subjects clear of the edges that the interface covers, especially in Stories and Reels.
- Sharpen only after the final size is set, and keep the pass restrained.
- Export sRGB, JPEG quality 90 to 100, at the pixel dimensions for your chosen ratio.
Table of Contents
- What You Need
- Step-by-Step
- How to Crop Photos for Instagram Without Losing Quality in Each App
- Why Instagram Still Makes Your Photo Look Blurry
- Common Mistakes
- Frequently Asked Questions
- How do I crop pictures so they fit on Instagram?
- Why are my Instagram photos losing quality?
- Is it possible to resize an image without losing quality?
- How can I post a full-size photo on Instagram without cropping it?
- Is 4:3 or 16:9 better for Instagram?
- What is the ideal size for an Instagram image with a 4:5 aspect ratio?
- Conclusion
What You Need
You need four things, and three of them you probably already own.
- The original high-resolution file. Ideally the raw file or the largest export your camera produced. If you only have the version you already posted, the damage is done and the fix is in the mistakes section below.
- An editor with ratio presets. On a phone: iPhone Photos, Google Photos, Lightroom mobile, Snapseed or Canva. On a desktop: Lightroom Classic, Photoshop, Affinity Photo or GIMP. Every one of them is enough; the differences are in control, not in results.
- Instagram’s current format requirements. Instagram’s own help page states a width of at least 1080 pixels and an aspect ratio between 1.91:1 and 3:4. The maximum portrait ratio was recently raised from 4:5 up to 3:4, which is why older guides still tell you a tall photo gets auto-cropped.
- An export method that keeps the maximum available quality. In practice that means JPEG, sRGB, quality 90 or higher, and no scaling step after the crop.
One clarification that saves a lot of confusion: DPI is irrelevant here. A 1080 x 1350 file at 72 ppi and the same file at 300 ppi upload identically. Pixels decide sharpness on a screen, not dots per inch.
Step-by-Step
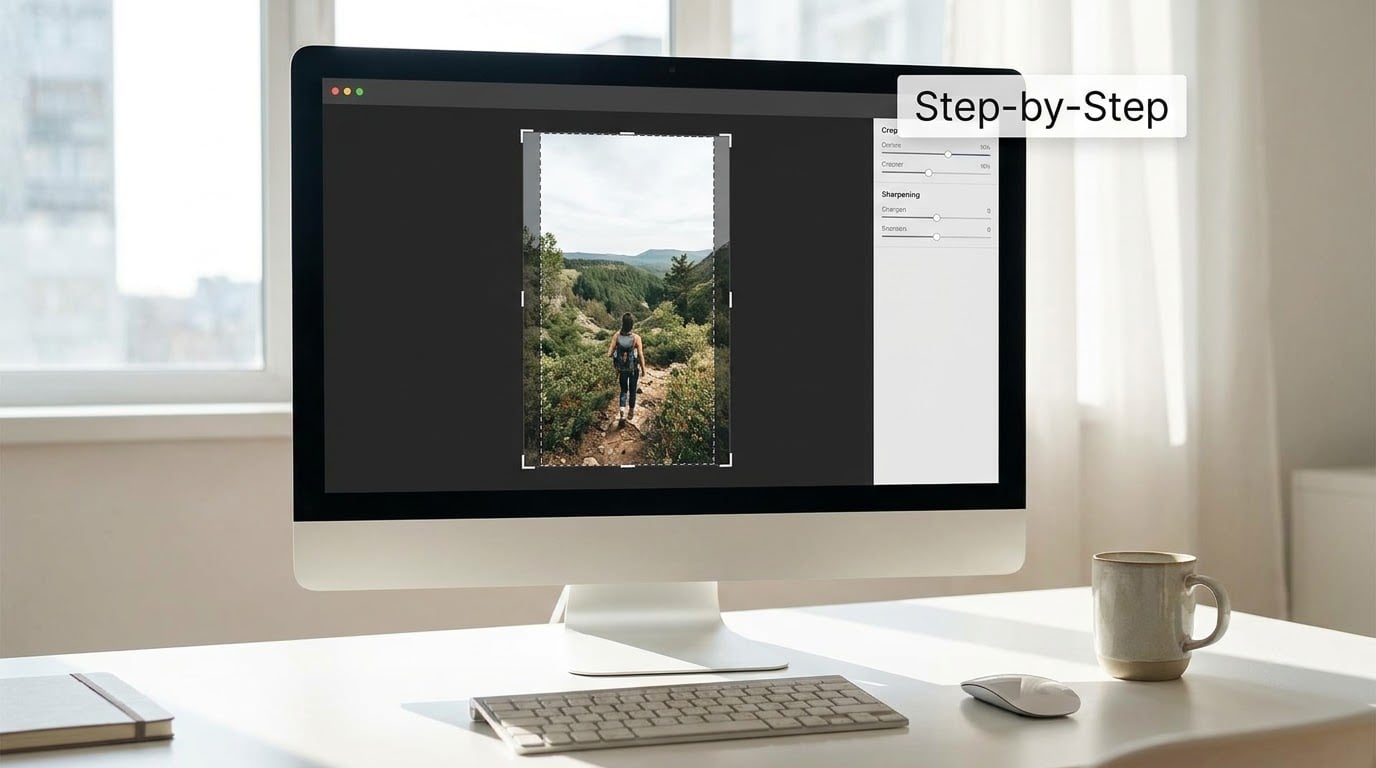
1. Choose the right Instagram format before you crop
Deciding where the photo will live changes the ratio, the pixel dimensions, and how much of the frame you keep. Pick the placement first, then crop for it.
| Placement | Aspect ratio | Pixel dimensions | Use it for |
|---|---|---|---|
| Square feed post | 1:1 | 1080 x 1080 | Safe default, and the ratio Instagram historically compresses least |
| Portrait feed post | 4:5 | 1080 x 1350 | Takes the most screen space in the feed; the standard choice now |
| Wide feed post | 1.91:1 | 1080 x 566 | Landscapes, banners, group shots |
| Grid thumbnail | 3:4 | 1080 x 1440 | What the profile grid crops to, so 4:5 posts lose a little when previewed |
| Stories and Reels | 9:16 | 1080 x 1920 | Full-screen vertical, from a still or a video frame |
Instagram accepts 1.91:1 through 3:4, so all of the above are legitimate. The trap is uploading something outside that range, like a 2:3 camera portrait, and letting the app decide the framing for you.
For Stories and Reels, keep text and faces away from roughly 250 pixels at the top and 340 pixels at the bottom, since that is where the caption, reply box and account icons sit.
2. Work from a duplicate of the original
Before you resize anything, duplicate the file. In Lightroom this is a virtual copy, so no extra space is used. In Photoshop it is a smart object, which means the crop stays live and reversible. In Snapseed, editing opens a non-destructive stack and you can always step back through it.
Why bother? Because a cropped and exported file is a closed door. Once you flatten it, the removed pixels are gone, and any later reframe means starting again from the file you should have protected. If it worked the first time, you skip that entirely.
3. Set the canvas without enlarging the photo
Enter the target pixel dimensions directly in the crop tool, or choose the ratio preset and check the resulting size. Then position the image inside that frame.
The rule is simple: the crop box must never be larger than the image in either direction. If a software panel asks you to scale the picture up to fill 1080 x 1350, decline. A 1200 x 800 photo cannot become 1080 x 1350 without inventing roughly 45 percent of its height, and invented pixels look like softness the moment anyone zooms in.
This is where the pixel math becomes concrete. A 3:2 frame at 6000 x 4000 cropped to 4:5 gives you about 3200 x 4000, so you keep around 53 percent of the pixels. Nothing is degraded, you simply have a smaller image, which is plenty for 1080 x 1350. The moment you resize that 3200 x 4000 result to something larger than Instagram’s native size, you have started inventing again.
4. Compose the crop around the subject
Choose the framing before you worry about the edges. Find the subject, decide where the eye should land first, and then cut.
A few things that reliably improve a crop: keep the horizon level, cut loose at the base of a subject’s feet rather than mid-shoe, and leave a little air on the side the subject is looking toward. For architecture, keep verticals truly vertical; converging lines are hard to fix later. For a black-and-white frame, check the histogram after the cut, because trimming the outer thirds often removes the tonal anchor that kept the image from looking flat.
Edge tension matters too. A subject that touches three sides of the frame feels trapped, and the same photograph cropped with a little breathing room reads as composed rather than accidental.
5. Sharpen after the final size is set, not before
Sharpening works by increasing local contrast between neighbouring pixels. Do it at full resolution and then downscale, and the sharpening gets averaged away. Do it on an image you are about to enlarge, and it produces crunchy micro-contrast and halos along high-contrast edges like a roofline against sky.
So set the final size first, then apply one restrained sharpening pass. If your editor offers output sharpening, turn it on, keep the radius low, and push the amount only far enough to compensate for the resampling. If you are sharpening by hand, a radius near 1 pixel and an amount around 30 to 40 percent is a sane starting point, and then look at the result at 100 percent rather than at fit-to-screen.
6. Check at 100 percent and export
Zoom to 100 percent and inspect. Look at the crop edges for anything accidentally half-cut, especially hairlines and fingertips. Look at smooth areas such as skies and skin for banding. Look at the brightest highlights for clipping. If any of those appear, fix them now rather than after the upload.
Then export: JPEG, sRGB, quality 90 to 100, at the exact dimensions from the table. Prefer maximum size, never resample during export. PNG is worth considering only if your image is flat graphics or line art with large uniform areas; for photography, JPEG at 95 or higher is smaller and visually identical.
If you are posting a full photo with no crop at all, expand the canvas instead of trimming. A horizontal shot padded to 4:5 with a soft or matched background keeps every original pixel and still fills the feed.
How to Crop Photos for Instagram Without Losing Quality in Each App
iPhone Photos
Open the photo, tap Edit, then Crop. Tap the aspect ratio icon at the top and choose 4:5. Drag the frame rather than pinching to zoom, because pinching scales the image and shrinks your effective resolution. Then tap the arrow in the top corner to commit, and share from the edit screen so Instagram receives the cropped file rather than the untouched original.
Keep in mind that iPhone Photos works in HEIC and exports through the system pipeline. If you want a guaranteed sRGB JPEG with a quality slider, use a full editor instead.
Android: Google Photos and the stock gallery
In Google Photos, open the image, tap Edit, then Crop, and set the ratio to 4:5 or 1:1. Android gallery apps vary by manufacturer but follow the same pattern: edit, crop, aspect ratio, save a copy. The one thing to avoid is editing a thumbnail-sized preview instead of the full file, which quietly resizes as you go.
How to crop photos for Instagram without losing quality in Lightroom mobile
Import the original, tap Crop, open the aspect menu and pick 4:5 or 1:1, then use the corner handles to compose rather than the zoom slider. Tap Done, and then tap the Export icon in the top corner. In the export panel set the long edge to 1350 pixels for a 4:5 post, or leave it on the custom setting and type 1080 into the short edge. Save as JPEG at quality 90 or higher.
Lightroom mobile is the strongest free option here because the crop is non-destructive and the export panel exposes the actual pixel dimensions, which most phone editors hide.
Snapseed
Open the image, tap Tools and Crop, then set the aspect ratio to 4:5 or 1:1 and the orientation to portrait. Compose with the corner handles. Go back to the main screen and open Looks and Tools for any tonal work, then export through the top-right icon. Choose Export and change the format and quality settings to JPEG, quality 100, to make sure the file is a full-size JPEG rather than a stripped-down version.
Snapseed never overwrites the original, so the whole edit stack stays reversible, which is exactly what step two of the workflow asks for.
Photoshop and Lightroom Classic on the desktop
Duplicate the layer and convert it to a smart object, then use the Crop tool with a ratio override so the box locks to 4:5. Set Image, then Image Size, and enter the final dimensions with resampling set to bicubic or better. Sharpen last with a small radius. Then File, then Export As, JPEG, quality 90 to 100, sRGB, and check Maximum.
Lightroom Classic handles the same sequence without layers: Develop, then the Crop Overlay tool where you can type the exact aspect ratio, and then the Export dialog where the long edge goes to 1350 pixels for a 4:5 post.
Canva and other quick tools
Canva’s Instagram post templates are set to 1080 x 1350 already, so the useful move is to place your photo and use crop-to-fill, then check the zoom. If the image is soft at 100 percent on the canvas, the source was too small and no export setting will rescue it. Canva is fine for layout and quick design work, and for a single photograph with careful cropping a dedicated editor gives you more control.
Why Instagram Still Makes Your Photo Look Blurry
If your crop was careful and the post still arrives soft, the loss happened on Instagram’s side, not yours. Five triggers account for nearly every case:
- You uploaded an oversized file. A 6000 pixel original gets downscaled, and downscaling is destructive. The community consensus on r/AskPhotography is consistent: when your file is already at the resolution Instagram wants, it can skip its own compression pass.
- You uploaded the mobile app version. Uploading from the desktop web interface generally keeps more detail than the mobile app. In Stephen Knight’s 53-person poll, 68 percent of voters preferred web uploads, and 66 percent preferred 1440 pixels on the short edge over 1080, with the difference most visible when zoomed in the app.
- Your ratio sits outside 1.91:1 to 3:4. Off-spec uploads get cropped or letterboxed automatically, and the framing you chose is not the framing people see.
- Your colour space was not sRGB. Display P3 or Adobe RGB files get converted, which shifts the colour and can dull fine texture.
- You edited an already-uploaded copy. Once Instagram has recompressed a file, downloading it and re-editing stacks a second generation of loss on top of the first.
Professionals on r/TopazLabs make the matching point from the editing side: cropping to fill beats upscaling and then cropping, because zoom is interpolation and adds no real detail. Both halves of that advice come back to the same idea, which is that you cannot create information, only remove it or fake it.
Common Mistakes
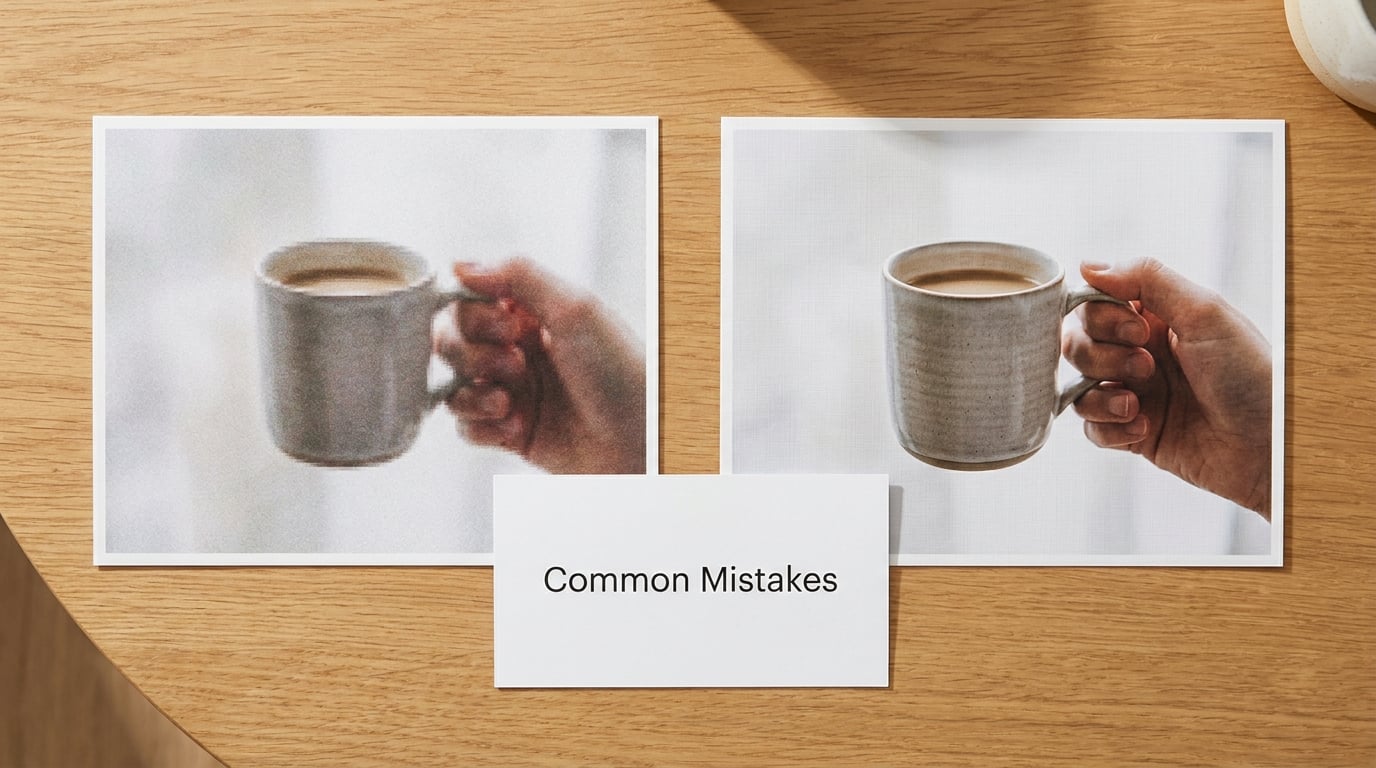
These are the errors that cost the most detail, with the correction for each.
- Cropping before choosing the platform. Crop last. Decide feed, Stories or grid, then crop for that ratio.
- Enlarging a small file to fit 1080 x 1350. If your photo is under 1080 pixels on the short edge, it cannot be made sharper by scaling. Recompose inside Instagram instead, using a 1:1 post.
- Zooming past 100 percent in the editor. At 100 percent you are looking at the actual pixels. Beyond that the editor is inventing them.
- Sharpening before the final resize. Sharpen last, at the final size, with a small radius.
- Exporting from a preview or a small saved copy. Export the full file. A 640 pixel web preview cannot produce a sharp 4:5 post.
- Cranking the JPEG quality slider down to hit a file size limit. Instagram has no upload limit you need to work around here. Keep quality at 90 or higher.
- Re-editing a copy you already uploaded. Instagram recompresses on upload. Start again from the original every time.
- Repeated edits of the same file across days. Each save with lossy compression adds a generation of artifacts. Do the work once, in one non-destructive pass, and export once.
One last habit pays off more than any other: batch it. If you are posting a carousel or delivering a set of ten images, crop every frame to identical dimensions in one pass and the grid will look intentional. Lightroom Classic can do this from a collection, and Snapseed and Canva can be held to the same canvas size manually with little effort.
Frequently Asked Questions
How do I crop pictures so they fit on Instagram?
Pick the placement first, then crop to that ratio: 1:1 at 1080 x 1080 for a square feed post, 4:5 at 1080 x 1350 for a portrait post, 1.91:1 at 1080 x 566 for a wide post, and 9:16 at 1080 x 1920 for Stories and Reels. In any editor, set the aspect ratio in the crop tool, compose with the frame handles rather than pinching to zoom, and export as sRGB JPEG at quality 90 or higher. Instagram accepts ratios from 1.91:1 to 3:4, so anything outside that range gets cropped for you.
Why are my Instagram photos losing quality?
Usually because of what happens after the crop. An oversized original gets downscaled, which is destructive. A file that is not already at Instagram’s resolution forces a heavier JPEG compression pass. P3 or Adobe RGB colour gets converted, dulling fine texture. Uploading from the mobile app often keeps less detail than the desktop web interface, and in one 53-person poll 68 percent of voters preferred web uploads. Export to spec first, and the platform has much less work to do.
Is it possible to resize an image without losing quality?
Not entirely, but you can make the loss trivial. Scaling down discards pixels, which is safe, and every editor does it well. Scaling up adds pixels the camera never recorded, and those are guesses. That is why photographers on r/TopazLabs argue that cropping to fill is better than zooming in first: zoom in an editor and you are interpolating. If your original is already larger than 1080 x 1350, scaling down to that size will look indistinguishable from the source.
How can I post a full-size photo on Instagram without cropping it?
Use a supported ratio and pad the image instead of trimming it. A horizontal photo placed in a 4:5 frame at 1080 x 1350 with a soft or matched background keeps every original pixel and still fills the feed. In Photoshop, place the photo on a layer, add a solid or gradient layer behind it, then flatten and export. In Canva, use an Instagram post template and set the background to fill the empty area. A 1:1 post at 1080 x 1080 is the least work for wide images.
Is 4:3 or 16:9 better for Instagram?
Neither, because both sit at the extremes of what the feed displays well. 4:3 is a 1.33 ratio and 16:9 is 1.78, while the feed’s wide option is 1.91:1 and the grid crops portrait posts to 3:4. For most photographs, 4:5 at 1080 x 1350 is the better fit because it takes the most vertical space in the feed and stays close to what camera sensors actually produce, which means you keep more of your original frame.
What is the ideal size for an Instagram image with a 4:5 aspect ratio?
1080 x 1350 pixels is the standard answer, and it is what most tools default to. Instagram’s own help page asks for a width of at least 1080 pixels and an aspect ratio between 1.91:1 and 3:4. If you upload through the desktop web interface, testing by photographer Stephen Knight found 1440 pixels on the short edge was preferred by 66 percent of voters in a 53-person poll, particularly when zoomed in the mobile app. Both work; do not go far above them, or Instagram compresses harder.
Conclusion
Start by choosing the final Instagram format, crop from the largest original you have, and keep the crop box from ever exceeding the image. Inspect the result at 100 percent, sharpen once at that size, and export sRGB JPEG at 90 or higher using the pixel dimensions for your ratio. Get those five things right and the quality you see on screen is the quality your followers get.