
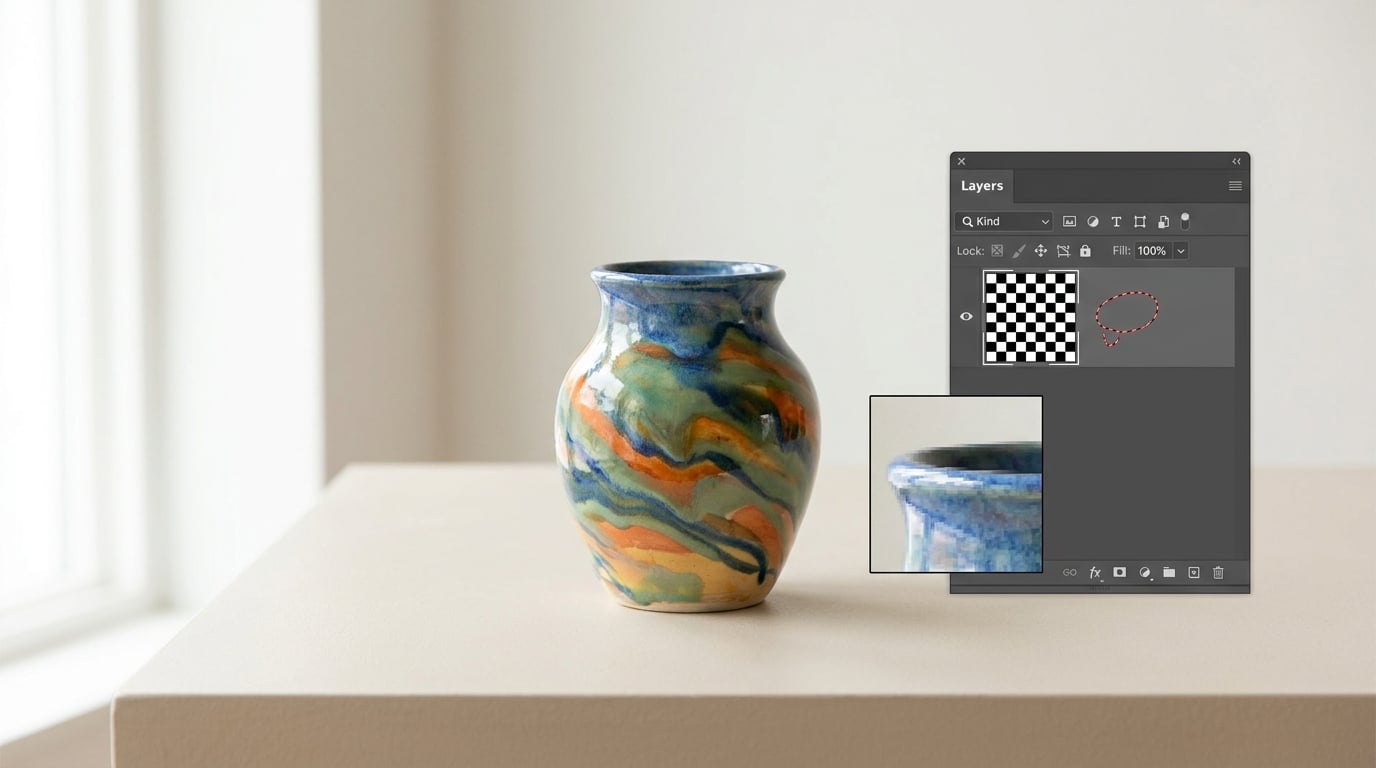
To remove a background in Photoshop, open the image, make sure it sits on a regular pixel layer, then choose Select > Select Subject and Adobe’s AI builds the selection in one click. Open Select and Mask with Alt+Ctrl+R (Windows) or Option+Cmd+R (Mac), clean up the edges, and your selection is applied as a layer mask you can keep adjusting.
That mask is the important part. A layer mask hides pixels instead of deleting them, so you can paint the background back at any point and nothing is lost. Plenty of tutorials still open by telling you to grab the eraser, which is the fastest way to permanently destroy the parts of your photo you might need later.
Most images take under a minute for the first selection. Hair, fur, glass and anything that overlaps the background in colour take longer, because the automatic tools guess and guess wrong on those edges.
Table of Contents
- What You Need
- Step-by-Step
- Common Mistakes
- Frequently Asked Questions
- How do I make my Photoshop background transparent?
- How can I quickly remove a background in Photoshop?
- Why can’t I delete the background in Photoshop?
- How do I easily remove a white background in Photoshop?
- How do I remove a background in Photoshop without losing hair?
- How long does it take to remove a background in Photoshop?
- Final Steps for a Clean Photoshop Cutout
What You Need
You need Photoshop 2021 or later for the Remove Background button that sits in the Properties panel. On older builds, or if you prefer the explicit menu route, Select > Select Subject does the same job and has been there far longer.
Your image needs to be a normal pixel layer. A Smart Object, a background layer, or an adjustment layer all behave differently, and a locked Background layer is the reason so many people report the button being missing.
A few things worth setting up before you touch anything:
- Duplicate your layer with Ctrl+J (Cmd+J on Mac) and rename it. Work on the copy, keep the original underneath.
- Rename the layer to something you’ll recognise at 2 a.m. “Layer 1” tells you nothing.
- Add a solid black and solid white layer beneath the subject, and toggle between them. Edge problems that are invisible on one colour are obvious on the other.
- Zoom to 100 percent before judging an edge. Judging a cutout at 33 percent is how jagged hair ships.
If you have a folder of images to process, an empty layer isn’t enough. Add a transparent PNG layer beneath the subject as your output canvas, and open the Actions panel (Window > Actions) now rather than later.
Step-by-Step
Four rules carry most of the weight, and they apply to every method below:
- Duplicate before you cut. Ctrl+J, then rename.
- Work on a mask, never the eraser.
- Refine the edge on black and on white, not on the colour you started with.
- Save a PSD copy before you flatten or apply anything.
Pick the method before you start. Each one has a different cost in time and a different failure point.
| Your image | Best method | Time | Result quality |
|---|---|---|---|
| Single person or product on a plain background | Select Subject, then Select and Mask | Under a minute | Excellent |
| Portrait with curly or flyaway hair | Select and Mask with the Refine Edge Brush | 5 to 15 minutes | Very good |
| Product shot on a solid white or flat colour | Select > Color Range | Under a minute | Very good |
| Hard-edged object with crisp geometry | Pen Tool path | 10 to 45 minutes | Pixel perfect |
| Glass, smoke, sheer fabric | Blend If plus manual masking | 30 minutes plus | Varies by object |
How to Remove a Background in Photoshop With Select Subject
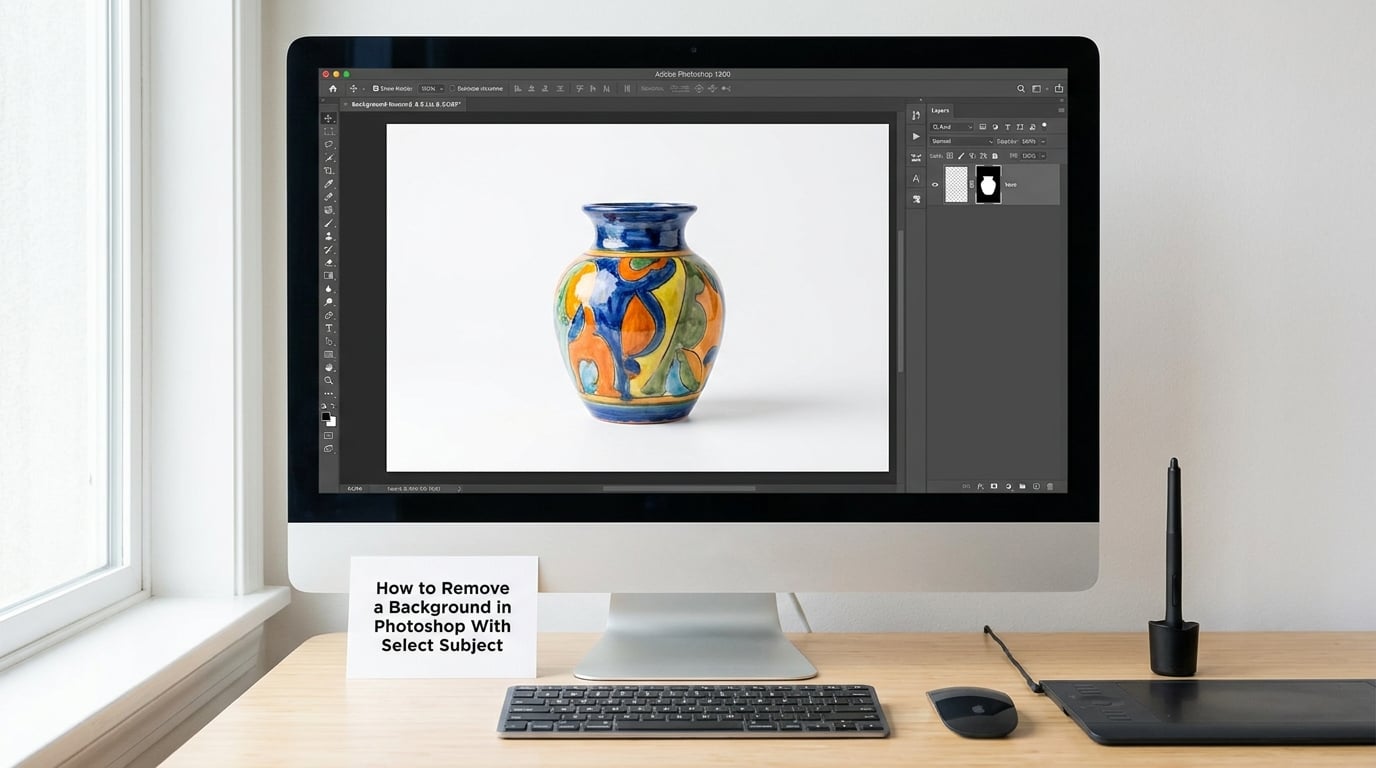
Select Subject is the fastest route and it is right about 80 percent of the time.
- Click your duplicated layer in the Layers panel to make it the active layer.
- Choose Select > Select Subject. The selection appears as marching ants around your subject.
- Zoom in and look. If a chunk of background stayed selected, Ctrl+Shift+click (Cmd+Shift+click) that area to subtract. If part of the subject got left out, Shift+click it to add back.
- For portraits, open Window > Properties and click Refine Selection. It runs a dedicated edge model that handles hair better than the first pass.
- With the selection still active, choose Layer > Layer Mask > Hide All. Your subject stays visible and everything else is masked away.
That is the whole method for a clean product shot on white. If you want to nudge the edge, hold Alt (Option) and click the mask thumbnail, then paint white on whatever the selection missed.
How to Remove a Background in Photoshop With Select and Mask
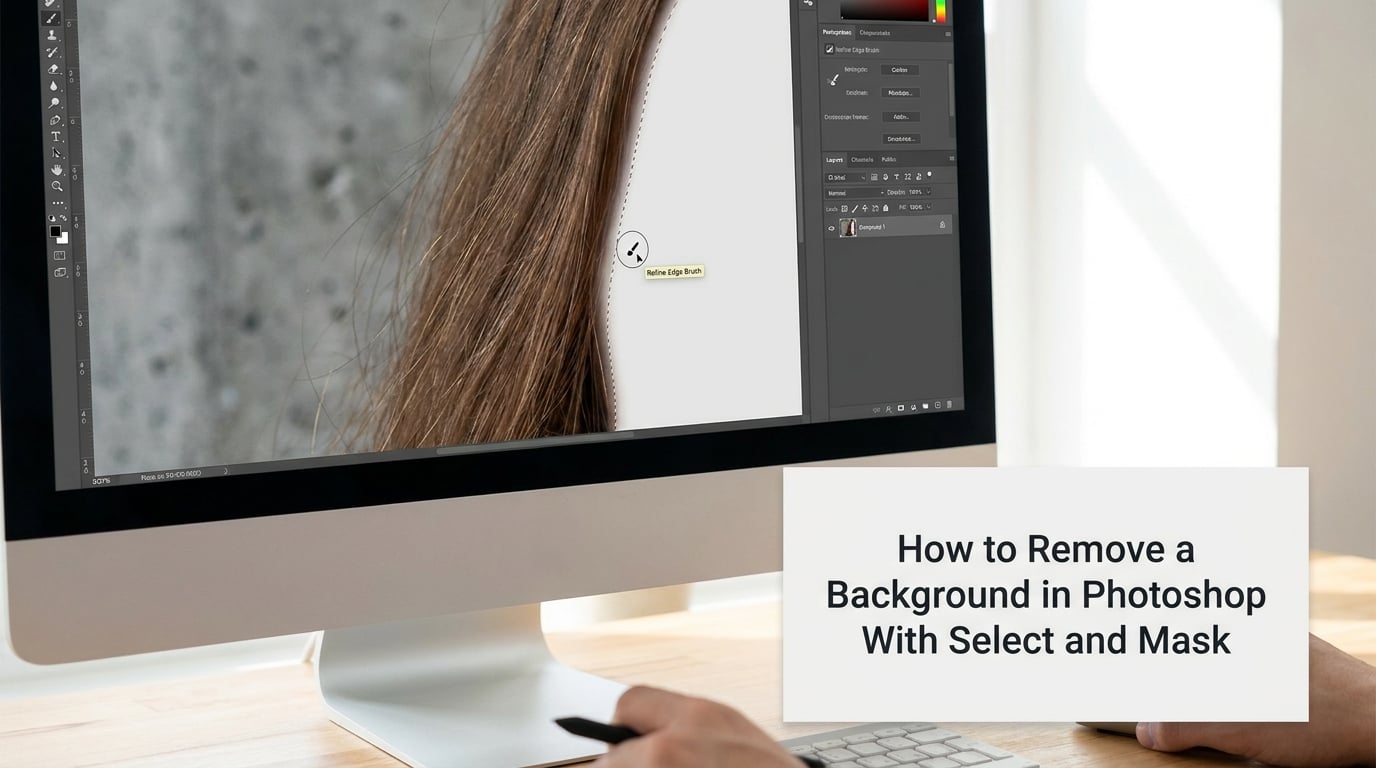
This is where difficult edges get fixed. Select and Mask, formerly Refine Edge, is a dedicated workspace built for exactly this.
Open it with Alt+Ctrl+R or Option+Cmd+R, or right-click the mask thumbnail and pick Select and Mask. You get three tabs: View, Refine, and Output.
In the View tab, set the mode dropdown. On Black exposes light fringes, On White exposes dark ones, and Overlay is where stray background specks show up first. You will switch between these constantly.
Switch to the Refine tab, then select the Refine Edge Brush. Press R to toggle it without leaving the keyboard.
- Tick Smart Radius. It lets Photoshop work out the edge width for you instead of using one hard brush size across a head and a pair of glasses.
- Set the size slider to roughly 25 px, which suits most head-and-shoulders work.
- Paint over hair, fur and soft edges. The brush detects the edge and pulls it in. Use [ and ] to shrink or grow the brush as you move from coarse hair to fine flyaways.
- Turn Smart Radius off once the main edge work is done. It can loosen edges you already fixed.
Global Refinements, below the brush, fixes the rest:
- Smooth, 1 to 5. Higher values shave off the isolated specks the brush left behind. Above about 5 you start eating the edge itself.
- Feather, 0 to 2 px. A small amount softens a cut edge that looks too crisp against the new background. More than 2 px looks like a bad mask.
- Contrast, 10 to 30 percent. Pushes a soft selection into a defined one. Useful on fur, dangerous on hair you just cleaned up.
- Shift Edge, negative values like -10 to -20 percent, pull the selection inward and eat the halo left over from the original background colour.
- Decontaminate Colors, 20 to 50 percent. This is the fix for colour fringing. It strips the background colour that has bled into semi-transparent edge pixels, and it can also darken the edge, so watch it at 100 percent.
Finish in the Output tab: set Output to as New Layer with Layer Mask, then click OK. The refined selection comes back as a new masked layer above the original, so you can compare the two at any time.
If Photoshop’s automatic selection is consistently underperforming, open Edit > Preferences > Image Processing and set Device for the Select Subject and Remove Background dropdown. Device processing runs on your machine and is usually sharper and works on files that never leave your computer. Cloud is the fallback when a local result is poor.
How to Clean Up the Cutout and Export It
Cleanup is where a good selection becomes a usable cutout.
- Toggle between your black and white proof layers. Fringing is nearly always a colour halo left over from the old background, and it only shows on the contrasting colour.
- Zoom to 200 percent and scrub along the edge with a small hard brush. Paint black on the mask to remove what the selection kept, white to bring back what it lost.
- Look for holes in the subject. Semi-transparent areas like eyeglass lenses and lace get treated as background, and you have to paint them back in white.
- Select the mask thumbnail and run a 1 px black stroke on it with a hard brush to clean up any remaining jaggies from the original selection.
To place the subject on a new background, add your scene below it in the Layers panel and set the mask layer’s blending to Normal. Because the mask is non-destructive, you can still adjust it after the composite is built.
To save a transparent file, use File > Export > Export As, choose PNG, and leave transparency enabled. JPEG has no alpha channel, so a transparent background becomes white or black the moment you save it. If the subject needs to sit on white for a listing, fill a layer with white beneath it and save a flattened copy instead.
Keep the layered PSD as your working file. The PNG is the export, not the master.
Common Mistakes
Erasing the background away. The eraser deletes pixels permanently. Every older tutorial that starts this way costs you the shadow, the reflection and the edge detail you would have kept with a mask. Duplicate the layer, mask it, move on.
Judging the cutout at low zoom. At 33 percent a soft edge looks perfect and is actually a staircase. Check the edge at 100 percent, and 200 percent around hair.
Leaving a halo from the old background. A light or dark rim around your subject is color contamination, not a mask problem. Fix it with Decontaminate Colors, or a negative Shift Edge value if the halo is heavy.
Trusting the AI with hair. It eats fine strands because those pixels are a mix of subject and background. Finish with the Refine Edge Brush; that is the whole point of the Select and Mask workspace.
Not finding the Remove Background button. Four causes, in order of likelihood: the layer is locked, it is a Smart Object rather than a pixel layer, it is an adjustment layer, or the Properties panel is closed. Double-click the layer name to release the lock, or open Window > Properties.
Saving over the original file. Export a copy. The layered file is the only place the mask still exists, and a flattened export cannot bring it back.
On large batches, the one thing to watch is that batch runs often apply every recorded step, including ones that were a mistake. Record an Action on a single finished image first, test it on three more, and only then point the Batch command at the whole folder.
Frequently Asked Questions
How do I make my Photoshop background transparent?
Add a layer mask to your top layer and mask out everything except the subject, then use File u0026gt; Export u0026gt; Export As and choose PNG with transparency enabled. JPEG cannot hold transparency, so saving as JPEG replaces it with white or black. Keep your layered PSD as the working file, since the flattened PNG has no mask left in it.
How can I quickly remove a background in Photoshop?
Use Select u0026gt; Select Subject, then Layer u0026gt; Layer Mask u0026gt; Hide All. That single menu path gives you a masked subject in a few seconds, and nothing is deleted so you can paint the background back. Follow with Alt+Ctrl+R or Option+Cmd+R to open Select and Mask whenever the edge needs tidying up.
Why can’t I delete the background in Photoshop?
A layer arriving from a camera, phone or screenshot is named Background and is locked. Double-click the layer name in the Layers panel to unlock it, or drag the padlock to the right. If the layer is a Smart Object or an adjustment layer, the Remove Background button will not appear either, since both need to be rasterised first.
How do I easily remove a white background in Photoshop?
For a solid white backdrop, Select u0026gt; Color Range beats the automatic tools. Click the eyedropper on the white area, set Fuzziness to about 30 and adjust it until the preview shows only white selected, then click OK and add a layer mask. If your subject contains white too, sample the background away from the subject to avoid selecting it.
How do I remove a background in Photoshop without losing hair?
Run Select Subject first, then open Select and Mask and paint over the hair with the Refine Edge Brush at around 25 px with Smart Radius on. Raise Smooth to 2 or 3 to drop the specks it leaves behind, and use a negative Shift Edge value to pull in a halo. A small amount of Contrast at the end firms the edge up.
How long does it take to remove a background in Photoshop?
A single subject on a plain background takes under a minute with Select Subject. Curly hair or fur runs five to fifteen minutes because the Refine Edge Brush work is done by hand. Hard-edged products traced with the Pen Tool can take longer than either, since every edge is an individual path.
Final Steps for a Clean Photoshop Cutout
Duplicate your layer before anything else. Then use Select > Select Subject and Layer > Layer Mask > Hide All, which resolves most images in under a minute without deleting a single pixel.
Open Select and Mask only when the edge needs it, and check the result on black and on white at 100 percent before you call it finished. Export a transparent PNG for delivery and keep the layered PSD as the file you come back to.