
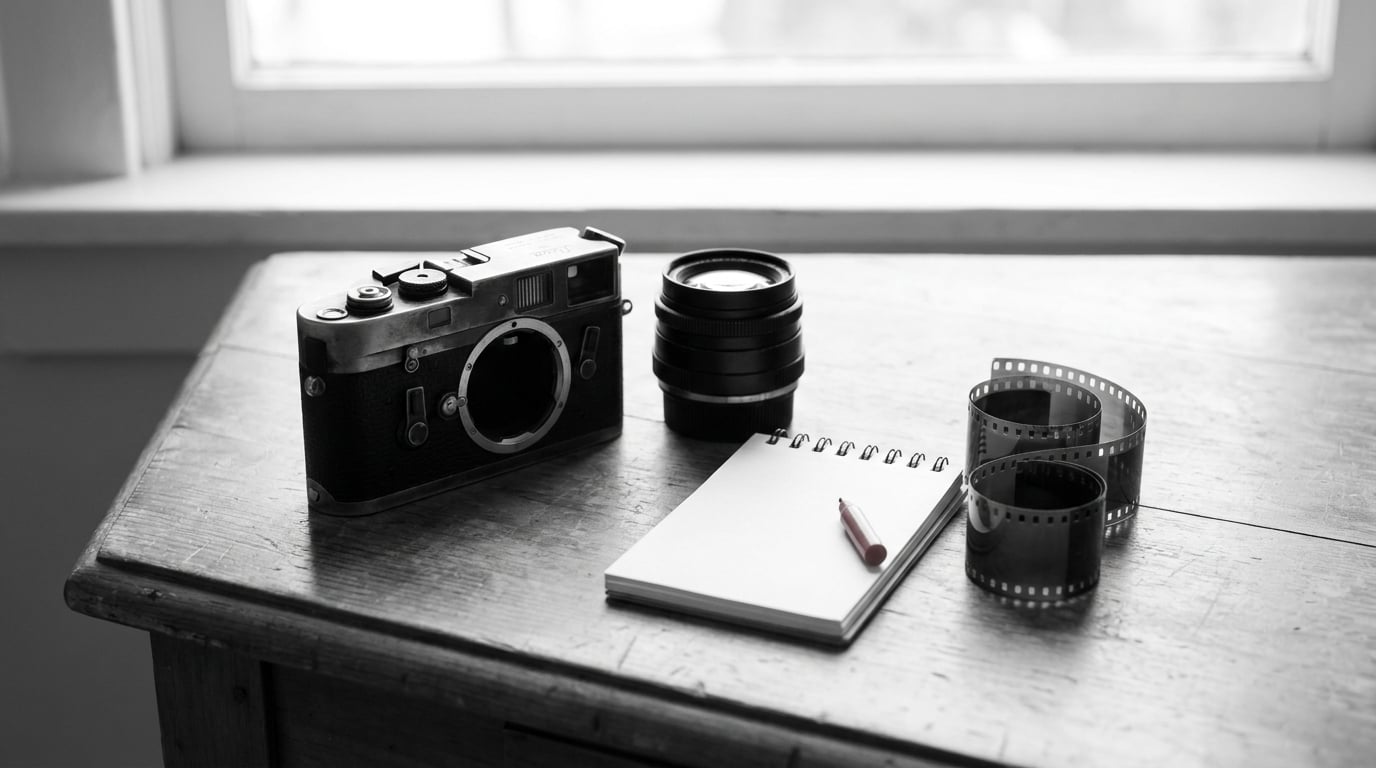
To start working out how to shoot black and white photos with a digital camera, you have two options: turn on the camera’s built-in monochrome mode, or shoot color RAW files and convert them in editing software. The second option keeps every bit of color data, so you can change your mind later, and that is the workflow I recommend to anyone starting out.
Neither route is complicated. The harder part is learning to see a scene in tones rather than colors, and that part takes about a month of practice, not a camera upgrade.
Below is the full workflow: the gear you actually need, the menu path to find monochrome mode on your brand, the settings that protect detail, how to compose when color is gone, and how to convert a file properly. It takes about 15 minutes to set up and an afternoon to shoot.
Table of Contents
- What You Need
- Step-by-Step
- Common Mistakes
- Monochrome Shooting Tips for Better Results
- Frequently Asked Questions
- Should I shoot black and white photos in RAW or JPEG?
- Can I shoot black and white photos with a digital camera that has no monochrome mode?
- What is the best black-and-white setting for a digital camera?
- Do black-and-white filters still help with a digital camera?
- How do I convert a color digital photo to black and white?
- How do I know if my black-and-white photo has enough contrast and detail?
- Conclusion
What You Need
Here is the short version: any digital camera with a RAW option, a card reader, and free editing software. Everything else is optional.
A camera with RAW capture. Nearly every DSLR and mirrorless body made in the last decade can shoot RAW. It is the single most useful feature for monochrome work, because RAW holds the color information that a black-and-white JPEG throws away. Small compacts and phones often skip it.
A normal zoom lens. A 35mm or 50mm equivalent is the sweet spot: wide enough for street scenes, tight enough for portraits. A kit zoom covering roughly 24 to 70mm handles almost everything and is lighter than carrying primes.
Free editing software. Adobe Lightroom and the free Adobe Express app both convert RAW files. Darktable, RawTherapee, and Affinity Photo are the other serious options, and GIMP handles JPEG conversion fine. Phones have Snapseed and similar apps built in.
Optional: a polarizing filter. It costs little, cuts haze and glare, and darkens skies, which is exactly the effect photographers used to get from red filters on film. Not required.
Optional: a tripod or ND filter. Only if you want long exposures of water or moving crowds. Skip both until monochrome basics feel automatic.
A simple recommended setup: your camera in aperture priority, RAW plus JPEG recording, the histogram switched on, aperture around f/5.6 to f/8, base ISO, and a tripod you use only when the light forces it.
Step-by-Step
1. Set the camera to shoot in color or monochrome
Every camera gives you a choice here, and the menu name changes by brand and model generation. What follows are the paths on recent bodies.
- Canon EOS (DSLR and R series): Menu button, then Shooting menu, then Picture Style. Choose Monochrome, or a black-and-white Picture Style you have loaded. On newer bodies, style customization sits under Photo Style.
- Nikon Z and Zf, newer D series (for example the Z6, Z7, Zf): Menu, then the Photo shooting menu, then Picture Control, then Monochrome. You can load Monochrome from the Picture Control Utility to adjust the curve and filter effect.
- Sony Alpha (for example the a7 III, a7 IV, a6700): Menu, then Creative Look, then the black-and-white option. Older Alpha bodies used Picture Effect, with a B&W setting under the same idea.
- Fujifilm X and G series (for example the X-T5, X-Pro3): Fn, then the film simulation, then B&W or Acos. These are the most adjustable film simulations Fujifilm offers.
- Panasonic Lumix and Micro Four Thirds: Menu, then Photo Style, then the monochrome style, and then Picture Profile for more control.
- Phones and compacts: iPhone has the three black-and-white Photographic Style filters in the Camera app’s Filters control. Android phone makers and compacts vary; look for a Monochrome or B&W filter in the viewfinder menu.
Menu names shift with firmware versions, so if your body differs, search the manual for Picture Style, Picture Control, Creative Look, Picture Effect, or filter. The setting exists, it just wears a different label.
Now the honest question: which one should you actually use? My answer is to set monochrome preview and record color. Turn on the black-and-white look so the viewfinder shows you tones, but keep the file in color. Shooters who convert later can dial contrast exactly where they want it, while in-camera monochrome gives you a fixed curve you cannot undo.
The creative argument for committing to monochrome is real too. Without color to distract you, you stop photographing a red door and start photographing the light falling across it. Try both for a week and see which one you actually shoot more of.
2. Choose a suitable black-and-white picture format
Pick the file format before you walk out the door, because you cannot change it later without losing something.
RAW keeps a full tonal range and all the color data. It is the right choice for anything you might edit, and it costs card space. Shoot it as the default for monochrome work.
JPEG is smaller, ready to share, and already processed by the camera. Shoot it when you are delivering files straight to a client and want to keep the card light.
Monochrome JPEG is a direct camera conversion, usually produced with a Picture Style. The file opens as black and white in any app, which is useful for a specific reason: reviewing monochrome images on a phone or laptop is more honest than reviewing a small color thumbnail.
The safety-net setup solves almost every argument: set the camera to record RAW plus JPEG, with the JPEG set to monochrome. You get a full-color RAW you can convert later, plus a grayscale JPEG you can judge in the back of the camera. If you do it as a habit, the fear of committing to black and white disappears.
Note the tradeoff: a RAW file is roughly three to four times larger than a JPEG, so a 64GB card fills sooner than the number on the box suggests. Format the card in the camera before a shoot rather than deleting files in a hurry.
3. Expose for detail in bright and dark areas
Expose so that no important area clips to pure white or pure black, because clipped tones cannot be recovered later. A clipped pixel is gone, in any format.
Monochrome is where this discipline matters most. Bright skies that look merely bright on a color screen often read as empty white paper in black and white, and the histogram makes the damage obvious.
Turn on the histogram. Canon calls it Live View Display with a histogram under the shooting menu; Nikon, Sony, Fujifilm, and Panasonic all have a live histogram in the shooting display. A mountain shape hugging the frame edges is healthy. A spike flat against the right edge means blown highlights.
Use the highlight warning. Nikon’s display options and Canon’s live view can blink anything close to clipping, and Fujifilm and Panasonic use zebra stripes. If the sky is flashing, the exposure is too high for that frame.
Dial in exposure compensation. In aperture priority the camera meters for an average gray. Against a bright sky it underexposes, against a dark doorway it overexposes, and the camera knows nothing about which one you care about. Compensate with plus or minus and check the histogram.
Meter from the part that matters. For a backlit portrait, meter on the face and let the background clip; a clipped background at f/4 can look like a deliberate choice, a clipped face cannot.
A bright, evenly lit scene with a full range of grays gives you the most to work with. Flat light and hard, empty shadows are harder, which is a reason to wait for better light rather than to fix it in the software.
4. Compose for shape, light, and texture
With color removed, the elements that carry a photograph are light, shadow, shape, line, and texture. Look for those instead of colors.
Find tonal contrast. A frame needs light and dark areas with an edge between them. A person in a dark coat against pale fog, a lit window in a dark wall, a hard shadow cutting across a step. Content contrast means subject against background, emotional contrast means a face set against emptiness, and light contrast is simply light against shade. You need at least one, and two is better.
Read the gray range. The best black-and-white images are mostly middle tones, with pure black and pure white used sparingly as accents. A frame that is 80 percent black is a silhouette. A frame that is 80 percent white is fog. Aim for a spread of grays and let the extremes punctuate.
Follow lines and shapes. Railings, staircases, doorways, and fences draw the eye. Repeat patterns (windows, roof tiles, a crowd of umbrellas) give a flat subject rhythm, and repeating curves in fog or steam are as clean as sculpture.
Use texture where color used to do the work. Wet cobblestones, peeling paint, gravel, weathered wood, and rough stone carry their own interest in grayscale. These are the frames that would be a weak color shot and a strong monochrome one.
Use negative space. One subject in an empty frame reads stronger than five subjects in a busy one. In black and white the empty area becomes a tone, so check that it is a pleasant gray rather than a dead flat block.
Know which subjects fight monochrome too. A flat white sky on an overcast day, a sunset, autumn foliage, or a market stall defined only by color of the produce. Those scenes depend on hue, and desaturation takes away the very thing that made them worth photographing. Shoot them in color.
5. Focus on the subject and capture a test frame
Settings now that exposure is safe. A typical monochrome setup is aperture priority at f/5.6 or f/8, base ISO, and the lowest shutter speed your camera can hand-hold at that aperture.
Aperture. f/5.6 to f/8 is the working range. It keeps enough depth of field for most scenes and stops down enough to avoid the softness wide open can give on older lenses. For a portrait with blurred background, open to f/2 or f/2.8 and raise ISO to compensate.
Shutter speed. In daylight anything above about 1/250s is free from camera shake. Below that, use the fastest speed the aperture allows before touching ISO, and turn on image stabilization if your lens or body has it. Stabilization does not freeze a moving subject, though.
ISO. Modern sensors handle high ISO well and the noise grain is often acceptable in monochrome. Base ISO produces the cleanest file and the smoothest tones, so start there and raise ISO only when the light forces it. Most shooters push base ISO first anyway, and the files are noticeably cleaner.
Focus. Single-point autofocus on the eye or the nearest edge of the subject, and use focus peaking or magnification if your camera offers it. In a monochrome frame, an out-of-focus subject reads as a vague shape, so softness is more obvious than it is in color.
Shoot a test frame and check it. Take one shot, review it on the camera at full size, and ask three questions. Is the subject sharp? Is the brightest important area still holding detail, or is it empty white? Is there a clear separation between the subject and its background? Fix the exposure with compensation, adjust the angle or aperture, then shoot the series.
Common Mistakes
Nearly every beginner error in monochrome has a quick fix. These are the ones I see most.
Committing to monochrome and never looking back. Plenty of people learn how to shoot black and white photos with a digital camera, switch the camera to its black-and-white mode, and file the frames away. A camera monochrome conversion is permanent, and if you later decide you want a hint of color back, the file cannot supply it. Fix: record RAW alongside every monochrome JPEG.
Blown highlights. In black and white, a blown sky looks like a hole in the picture and no edit brings it back. Fix: check the histogram, enable the highlight warning, and apply minus exposure compensation until the flashing stops.
Crushed shadows. A portrait with black eye sockets and no detail reads as damage, not drama. Fix: expose for the face, lift the shadows a little in post, and stop down to f/4 or f/5.6 for more depth of field.
No contrast. A scene that felt contrasty in color can turn flat in grayscale, because two different hues sometimes map to the same gray. Fix: use a tone curve to separate the tones, and look for a different angle that puts a real light-to-dark edge behind the subject.
Composing around color. If you framed the shot because the door was red, the grayscale version has lost the reason. Fix: check the monochrome preview before committing, and ask whether the frame still works as shape, line, and tone.
Converting a bad photograph. Monochrome does not fix a weak composition or a distracting background. Fix: judge the frame on its own first. If it is not interesting in color, it will not be interesting in gray.
Trusting heavy auto contrast. Aggressive in-camera contrast pushes tones to clipping on both ends. Fix: keep contrast neutral or slightly low in the file and add it in editing, where you can see what you are doing.
Leaving white balance on automatic. It has no effect on a final black-and-white file, but it changes the color RAW underneath. Fix: set auto or a fixed white balance, and check the RAW file in a color view from time to time so a color cast does not creep into the shadows unnoticed.
Monochrome Shooting Tips for Better Results
Look for contrast before you raise the camera. Find the light edge and the dark edge. If a scene has neither, change your position, change the hour, or wait for cloud cover to give you a big soft light source.
Use filters when they help, and know the digital equivalent. A red filter on film darkened skies and separated atmospheric layers, and the same effect is available in software. Most editors have a red filter effect in the black-and-white panel or an HSL and Color Mixer panel where you can deepen the luminance of a red or orange channel. A polarizing filter still does its own job, cutting glare on water and glass and darkening skies. An ND filter is the tool for long exposures, not for tone. Skip filters until you know which problem you are solving.
Protect skin tones in portraits. Skin often lands in a similar gray range to the background, which flattens a face. In editing, use a mask on the skin and lighten it, or use a dodge and burn pass to shape the cheeks, nose, and jaw. With in-camera monochrome styles, the filter effect slider is what changes how the camera renders the red channel, so shifting it lighter or darker shifts skin against hair or clothing.
Control tones with a curve, not with the contrast slider. Put an anchor point on the histogram and pull the shadows down for depth or the midtones up for brightness. Small moves produce more control and fewer clipped pixels than a large contrast adjustment.
Use the black-and-white mix panel. In Lightroom the B&W panel and in Capture One the Color Mixer give you one slider per color, controlling how bright each hue becomes. That is where the red-filter effect, and most other classic filter effects, actually happens.
Set up a repeatable conversion workflow. Pick a starting preset, adjust the mix sliders until the tones separate, refine with the tone curve, dodge and burn where it needs shape, add a small amount of grain to hide any banding in smooth skies, and apply a subtle vignette to settle the edges. Write it down. The point is that every photo from your camera gets the same starting point, so the series looks like one body of work.
Do not overdo grain or clarity. Both are easy to add and hard to undo. If the image already has contrast and detail, the heavy-handed one-click look is what makes monochrome files look cheap.
Train the eye with a short routine. Pick 30 minutes and one location. Set monochrome preview, shoot only JPEG black and white so nothing is wasted, and frame 20 images based on light and shape alone. Review the set and note which frames work as tone. Repeat the same walk for a week. This is the exercise that actually changes how you see, and it works faster than any settings change.
Smartphones work too. iPhone’s black-and-white photographic styles and apps like Snapseed convert a color frame well, and the limit is usually file control, not the look. Shoot ProRAW or the largest quality setting on the phone, convert in an app, and use a manual control app if you want to set exposure independently.
Frequently Asked Questions
Should I shoot black and white photos in RAW or JPEG?
Shoot RAW whenever you plan to edit, because it holds the color data a monochrome conversion needs and gives you room to recover shadows and highlights. JPEG is fine when you are delivering files directly or want small files that are already camera-processed. The easiest habit is RAW plus a monochrome JPEG, so you get an editable file and a grayscale file you can review in the back of the camera.
Can I shoot black and white photos with a digital camera that has no monochrome mode?
Yes, and it is the better way to do it. Every camera sensor records light in color, so you can shoot a normal color JPEG or RAW file and convert it to black and white in any editing app. A monochrome mode only adds a tone curve and saves you the click, and it permanently discards the color information, so working from color files is the more flexible choice.
What is the best black-and-white setting for a digital camera?
A workable starting point is aperture priority at f/5.6 to f/8, base ISO, the lowest shutter speed the camera can hand-hold, RAW plus JPEG recording, and exposure compensation adjusted while watching the histogram. Open up to f/2 or f/2.8 for portraits with a blurred background, and raise ISO when the light requires it rather than accepting a blurred frame.
Do black-and-white filters still help with a digital camera?
Physical red filters were used to darken skies and separate distance in film, and software now reproduces that effect more precisely with a red filter setting or an HSL and Color Mixer panel. A polarizing filter is still worth having on a digital camera because it cuts glare on water and glass and darkens skies. A neutral density filter is only about long exposures, not about tone.
How do I convert a color digital photo to black and white?
Open the file in an editor such as Lightroom, Capture One, Affinity Photo, Darktable, or a phone app, switch the black-and-white mix or HSL panel on, and start by nudging the red and orange sliders, since skin and skies are usually built from those. Then set the overall tone with the tone curve, lift the shadows slightly, and dodge and burn the subject. Apply the same starting settings to every photo in a set for a consistent look.
How do I know if my black-and-white photo has enough contrast and detail?
Look at the histogram first. A healthy frame has a spread of tones with nothing piled flat against either edge. Turn on the camera’s highlight warning or zebra stripes and shoot until the flashing stops, then check the shadows by zooming in at 100 percent on the back of the camera. A good test is whether you can still see texture in the brightest and darkest areas that matter to the picture.
Conclusion
Start with a flexible file format: record RAW, and add a monochrome JPEG if your camera offers it. Then check the histogram on every frame and adjust exposure compensation until the highlights stop flashing.
Before raising the camera, read the scene for light and shape. Find the bright edge and the dark edge, look for lines, texture, and a subject that separates from its background, and skip the shots that only work because of their color.
That is the short version of how to shoot black and white photos with a digital camera: flexible files, honest exposure, frames chosen for tone rather than hue, and the conversion done in editing software where the curve is still yours to set. Take the same 30-minute walk with a monochrome preview on and nothing else to think about, and the eye for tones arrives faster than any gear upgrade would.