
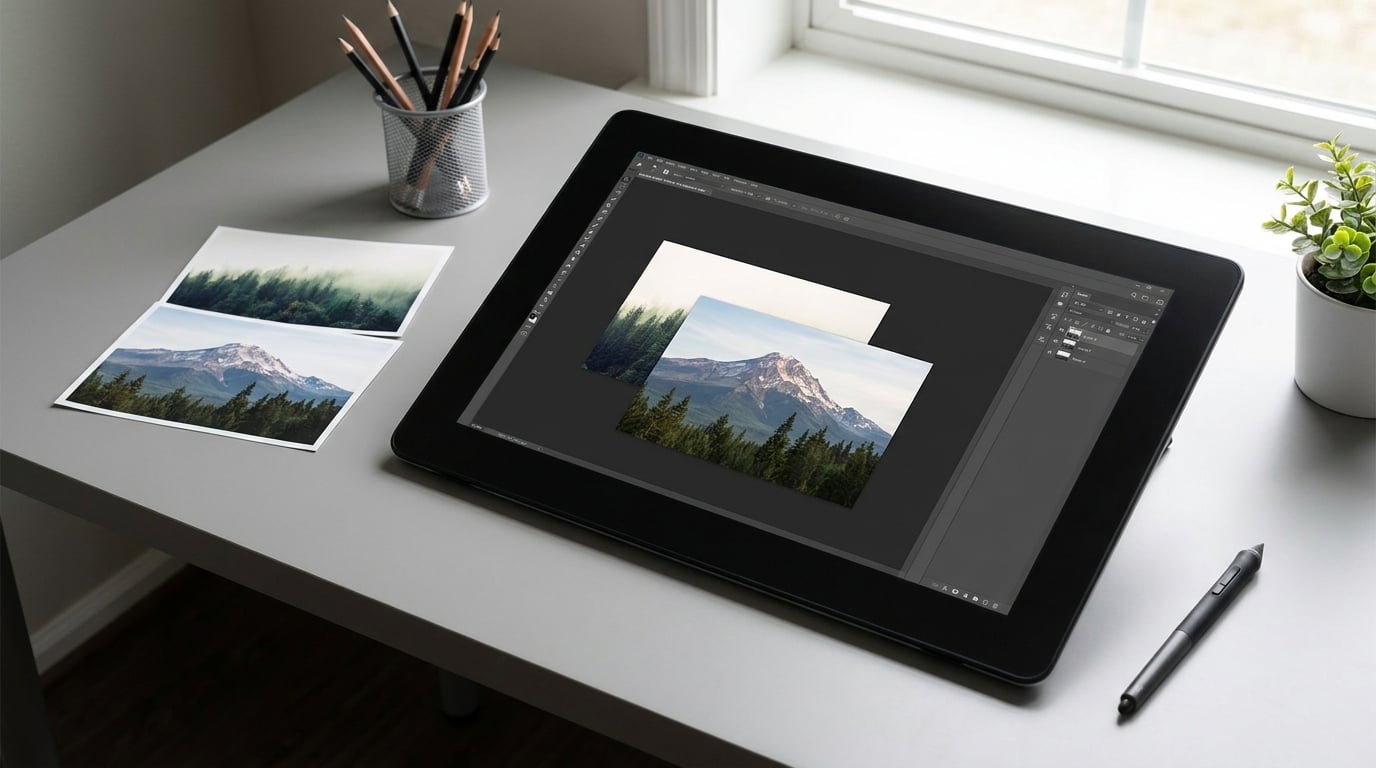
Blending two photos together in Photoshop means stacking one image above another and using a layer mask, a gradient, or a blending mode so only part of the top photo shows, and the two read as one picture. The fastest route is a gradient on a layer mask, then brush work for the edges.
That takes about ten minutes on a first attempt. The part people get wrong is not the software, it is stopping halfway and merging photos shot under different light, so the join shows as a line. Everything below is written for the current desktop version of Photoshop, and the same menu paths work on Windows and Mac.
One rule before you start: work non-destructively. The consensus in r/Photoshop and r/photoshop threads is that you should never use the Eraser tool on a photo you want to combine. Masks hide pixels, erasing destroys them, and one undo later you have lost the sky you needed.
Table of Contents
- What You Need
- Step-by-Step: How to Blend Two Photos Together in Photoshop
- Step 1: Prepare and Check the Source Images
- Step 2: Place the First Image and Add the Second
- Step 3: Align Scale, Perspective, and Composition
- Step 4: Create a Layer Mask to Control the Blend
- Step 5: Refine Edges and Natural Transitions
- Step 6: Match Color, Light, and Sharpness
- Step 7: Add Creative Blending and Finish the Composite
- Common Mistakes and How to Fix Them
- Frequently Asked Questions
- What is the easiest way to blend two photos together in Photoshop?
- Should I use a layer mask or a blending mode for photo blending?
- How do I match the lighting and color of two photos in Photoshop?
- How do I hide a visible horizon or hard edge after blending photos?
- Can I make a blended photo look realistic instead of surreal?
- How should I save a Photoshop photo composite for printing and web use?
- Conclusion: What to Do First
What You Need
You need three things: both photographs, Photoshop, and ten minutes of attention to the light in each frame.
Which Photoshop features to have open
Layer masks, the Gradient tool and Free Transform all ship with every paid Photoshop plan, and the same three tools exist in the free trial. Open the Layers panel with Window > Layers if it is missing, because half of this workflow happens there.
Two newer tools shorten the job considerably. Select Subject isolates a person or animal in one click, and Refine Edge (Select and Mask) cleans the outline afterwards. If your version has Auto-Blend Layers under Edit, it will blend an entire stack of exposures at once.
Source images that actually work together
Match the resolution of both files before you open them. If one shot is 6000 by 4000 and the other is 3000 by 2000, the smaller one will soften the moment you scale it up. Check pixel dimensions in Image > Image Size, and keep both in sRGB so the colors do not shift when they meet.
Then look at the light. Both frames should share a light direction: sun from one side in each, not sun from the left in one and behind the camera in the other. Where direction is reversed, flip one image horizontally with Edit > Transform > Flip Horizontal before you start.
Perspective matters as much as light. A portrait shot from chest height will never sit convincingly on a wide shot taken from ground level. Matching the eye line of the subject to the horizon of the background is the single most useful check you can do before layering anything.
Step-by-Step: How to Blend Two Photos Together in Photoshop
Step 1: Prepare and Check the Source Images
Open the background photograph first, then open the second file and drag its tab onto the first to place it as a new layer in the same document.
Before you do, spend two minutes on each image on its own. Crop out power lines, bin bags, half-finished coffee cups and anything else that will draw the eye to the join. Straightening a horizon takes four seconds now and about an hour of masking later.
Rename the layers as you go. A layer called “Layer 1” tells you nothing at the point where you have four of them, and double-clicking the name in the Layers panel renames it in place.
Step 2: Place the First Image and Add the Second
Stack the photo you want on top of the other and drag it above the background layer in the Layers panel. Keep the blend mode on Normal and opacity at 100% for now.
To get the second file in, use File > Place Embedded, navigate to the image and click to import it as a smart object. Smart objects are worth the habit: you can scale and rotate them non-destructively later, and a smart filter applied to one stays editable.
The top layer covers everything beneath it right now, which is normal. Nothing is wrong. You are about to cut a hole in it.
Step 3: Align Scale, Perspective, and Composition
Use Ctrl+T on Windows or Cmd+T on Mac for Free Transform, then hold Shift while dragging a corner handle to scale without distorting the proportions.
Turn on guides as you work. View > Guides > New Guide places a line at any measurement, which is how you match a horizon or an eye line from one photo to the other. Hold Alt (Windows) or Option (Mac) as you drag a guide to copy it, so both frames share the same reference.
To check the match, drop the top layer’s opacity to 50% and look for doubled edges on the subject. If you see a ghost outline, scale or nudge it until the two outlines overlap, then put opacity back to 100%. Select the Move tool with V and use the arrow keys for single-pixel nudges.
Step 4: Create a Layer Mask to Control the Blend
With the top layer selected, click the Add Layer Mask button at the bottom of the Layers panel. A white thumbnail appears next to the layer thumbnail, and now only that white mask controls visibility.
White reveals, black conceals, and grey gives you a partial blend. That single line is the whole idea behind how to blend two photos together in Photoshop, and it is the phrase beginners most often get backwards.
Paint on the mask thumbnail, not the layer thumbnail. Select the mask by clicking its white square once (a white border appears around it), press B for the Brush tool, set your foreground to black with D then X, and paint to hide. Press X again for white and paint to bring the top photo back.
New masks are always white, so a beginner often paints black, sees no change, and assumes the mask is broken. If you want a fully hidden layer to start from, fill the mask with black using Edit > Fill with the mask selected. A mask thumbnail that looks grey is not a problem either; grey simply means you have already softened some areas.
Step 5: Refine Edges and Natural Transitions
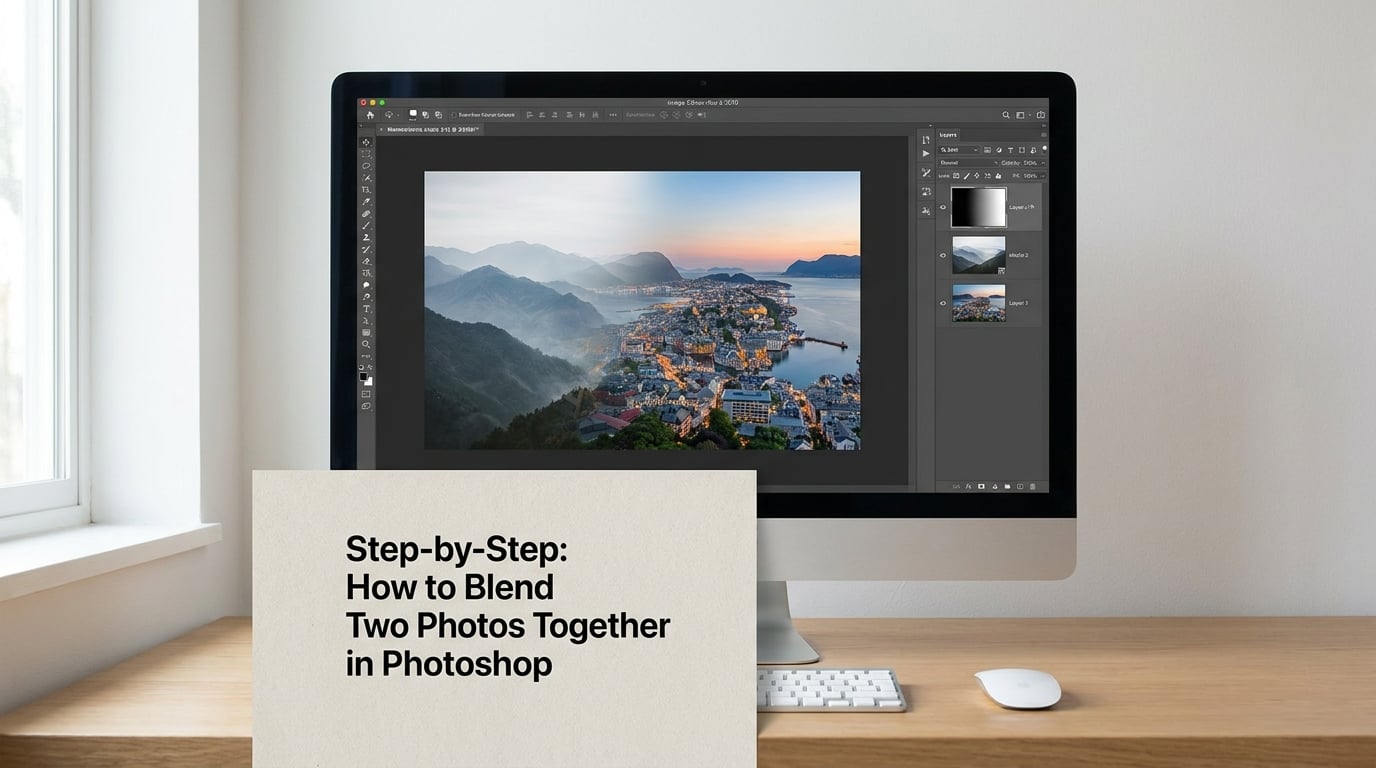
For a straight fade between two complete photos, press G for the Gradient tool, choose Linear in the Options bar, set the blend mode to Normal and check Reverse if you want white at the start of the drag.
Drag a line across the transition, holding Shift to keep it perfectly horizontal or vertical. The top photo now dissolves into the bottom one across that line, and you can drag the line later to move the fade without repainting it.
For a cut-out subject, hair or fur will not survive a hard mask. Run Select Subject first, then Select and Mask (Alt+Ctrl+R on Windows, Option+Cmd+R on Mac) and set a small radius with feathering turned up. The four controls that matter there are radius for how far out Photoshop samples, feather for softness, smooth for stray edges, and shift edge to pull the outline back inside the subject. That refinement step is where most fake-looking cut-outs are won or lost.
Brush hardness is a choice, not a default. Use 0 to 15 percent hardness for skin, skies and anything organic, and 85 percent or above for cars, buildings and straight product edges. For a very long edge such as a horizon, use a soft brush and let it run past the join rather than trying to be precise in one pass.
Step 6: Match Color, Light, and Sharpness
A blend stops looking real when the two photos disagree about color, exposure or focus. Fix all three with adjustment layers rather than painting on pixels.
Click the Create new fill or adjustment layer icon (the half-filled circle) and choose Curves. Clip it to the layer you are adjusting with Alt+click (Windows) or Option+click (Mac) in the Layers panel, then match the black point and white point of the two images so their shadows and highlights land in the same range.
Do the same with Hue and Saturation or a Photo Filter adjustment layer for white balance, and use the histogram in Window > Properties to confirm the two sources peak in similar places. If the light direction is still wrong after matching exposure, flip the mismatched frame rather than fighting it with color.
Sharpness is the quieter giveaway. When one photo was shot wide open and the other stopped down, the background of one stays creamy while the other is crisp. Duplicate the sharper layer, apply Filter > Blur > Gaussian Blur with a radius between 0.5 and 1.5 pixels, and mask it so only the over-sharp area is softened.
To make two separate exposures share one skin texture, add a 50 percent grey layer (RGB 128, 128, 128), apply Filter > Noise > Add Noise at about 3 percent, set that layer to Overlay, and lower its opacity to roughly 40 percent. Grain applied across the whole frame is what makes a composite stop looking assembled.
Step 7: Add Creative Blending and Finish the Composite
Blending modes are a creative pass, not a substitute for masking. They control how the top layer’s tones combine with the one below, and they only help if the two frames already line up.
- Multiply darkens. Use it for light beams, shadows, dirt and texture over a surface.
- Screen lightens. Use it for fog, glow, fire and lens flare.
- Overlay increases contrast while keeping the darks dark. Good for adding grain or a second texture pass.
- Soft Light is a gentler Overlay. Good for skin tones and subtle colour shifts.
- Color takes hue and saturation from the top layer and luminosity from the bottom. Useful when one photo has the right light but the wrong colour.
- Lighten and Darken keep only the brighter or darker pixels, which is how HDR and exposure blends are built.
To ground a floating subject, add a soft dark shape on a new layer under it, set that layer to Multiply, and paint contact shadows where the subject meets the ground. Ambient occlusion, the slight darkening right at the join, is the cue that tells the eye the object is really there.
Finish with Ctrl+Shift+Alt+E on Windows or Cmd+Shift+Alt+E on Mac to merge all visible adjustment layers into one, then flatten with Ctrl+Shift+E or Cmd+Shift+E only when you are certain you are done. Before flattening, save a layered PSD. Flattening is the one irreversible step in this whole workflow.
Export with File > Export > Export As. For print, embed the sRGB profile and check the size at the intended resolution. For the web, a quality setting around 80 percent in a JPEG or WebP is plenty.
Common Mistakes and How to Fix Them
Almost every blend that fails is failing for one of seven reasons, and all seven are quick to diagnose once you know what to look for.
A hard, obvious seam. Usually a mask that is pure black against pure white with no gradient in between. Fix it by holding Alt or Option and clicking the mask thumbnail to load it as a selection, then feather it by 20 to 40 pixels, or repaint the transition with a soft brush.
Painting on the layer instead of the mask. Nothing happens and the photo stays visible. Click the mask thumbnail until you see a white border around it, then paint. If you already painted on the layer, undo and switch.
Horizon lines that will not line up. The two frames were shot at different heights. Use View > Guides > New Guide to lay down a reference line on each, then nudge and scale until the lines coincide.
Lighting that does not agree. One half is warmer and brighter. Clip a Curves or Photo Filter adjustment layer to the darker photo and bring it into range, or flip it horizontally if the sun is coming from the wrong side.
Color fringing and halos around a cut-out. You masked the hard edge of the subject and kept its original background pixels. Run Select and Mask, contract the edge by 1 to 2 pixels, add a small feather, and check the output against a light and a dark background.
Overusing blending modes. Overlay and Difference are the usual culprits; they flatten tonal contrast and make the result look printed on top rather than merged. Drop back to Normal and fix the underlying light instead.
A subject that looks pasted on. Missing contact shadows and mismatched sharpness do most of this. Add the multiply shadow pass, then match blur with a small Gaussian Blur on the sharper area.
One habit covers most of these. Zoom to 100 percent and flip between the mask view and the composite view constantly, because a seam that is obvious at full size is invisible at fit-to-screen.
Frequently Asked Questions
What is the easiest way to blend two photos together in Photoshop?
Stack both images as layers, add a layer mask to the top one, and drag a Linear gradient from the Gradient tool across the join. White on the mask reveals the top photo, black conceals it, so the gradient creates the fade. Add the mask by clicking the rectangle-with-a-circle icon at the bottom of the Layers panel, then press G and drag a line while holding Shift.
Should I use a layer mask or a blending mode for photo blending?
Use a layer mask when you want control over which parts of the top photo show, since it hides and reveals without changing any pixels. Use a blending mode when you want the tones of one photo to interact with the tones of another, such as Screen for glow or Multiply for shadow. Most composites need both, in that order.
How do I match the lighting and color of two photos in Photoshop?
Compare the two histograms under Window, Properties, then clip a Curves adjustment layer to one photo and move its black and white points until the ranges overlap. Add a Hue and Saturation or Photo Filter adjustment layer for white balance. If the light still points the wrong way, flip the frame horizontally before adjusting anything.
How do I hide a visible horizon or hard edge after blending photos?
Repaint the transition with a soft brush at 0 to 15 percent hardness instead of a hard edge, or press G and redraw the gradient. If the line runs across open water or open sky, hold Alt or Option and click the mask to load it as a selection, then feather it 20 to 40 pixels in Select, Feather. Keep the line on its own layer so you can nudge it later.
Can I make a blended photo look realistic instead of surreal?
Realism comes from matching, not from the blend itself. Match the light direction, the white balance, the sharpness and the grain, then add contact shadows where the subject meets the ground. A single 50 percent grey noise layer on Overlay blends the texture of the two sources and removes the telltale smoothness of a clean cut-out.
How should I save a Photoshop photo composite for printing and web use?
Save a layered PSD as your working file so every mask and adjustment layer stays editable. Export copies with File, Export, Export As: an sRGB TIFF or high quality file with the intended print size and resolution for paper, and a JPEG or WebP around 80 percent quality for screens. Never overwrite the PSD with the flattened export.
Conclusion: What to Do First
If you do one thing from this guide, make it the first step: open both images, stack them, and check the light direction and eye lines before you touch a mask. Every minute spent matching the sources saves twenty spent fixing the join.
Then build the blend the reversible way. Layer mask, gradient, soft brush, adjustment layers, and a layered PSD saved before you flatten. Photos you blend in Photoshop in 2026 will look exactly as convincing as the matching you did before the mask was ever added.