
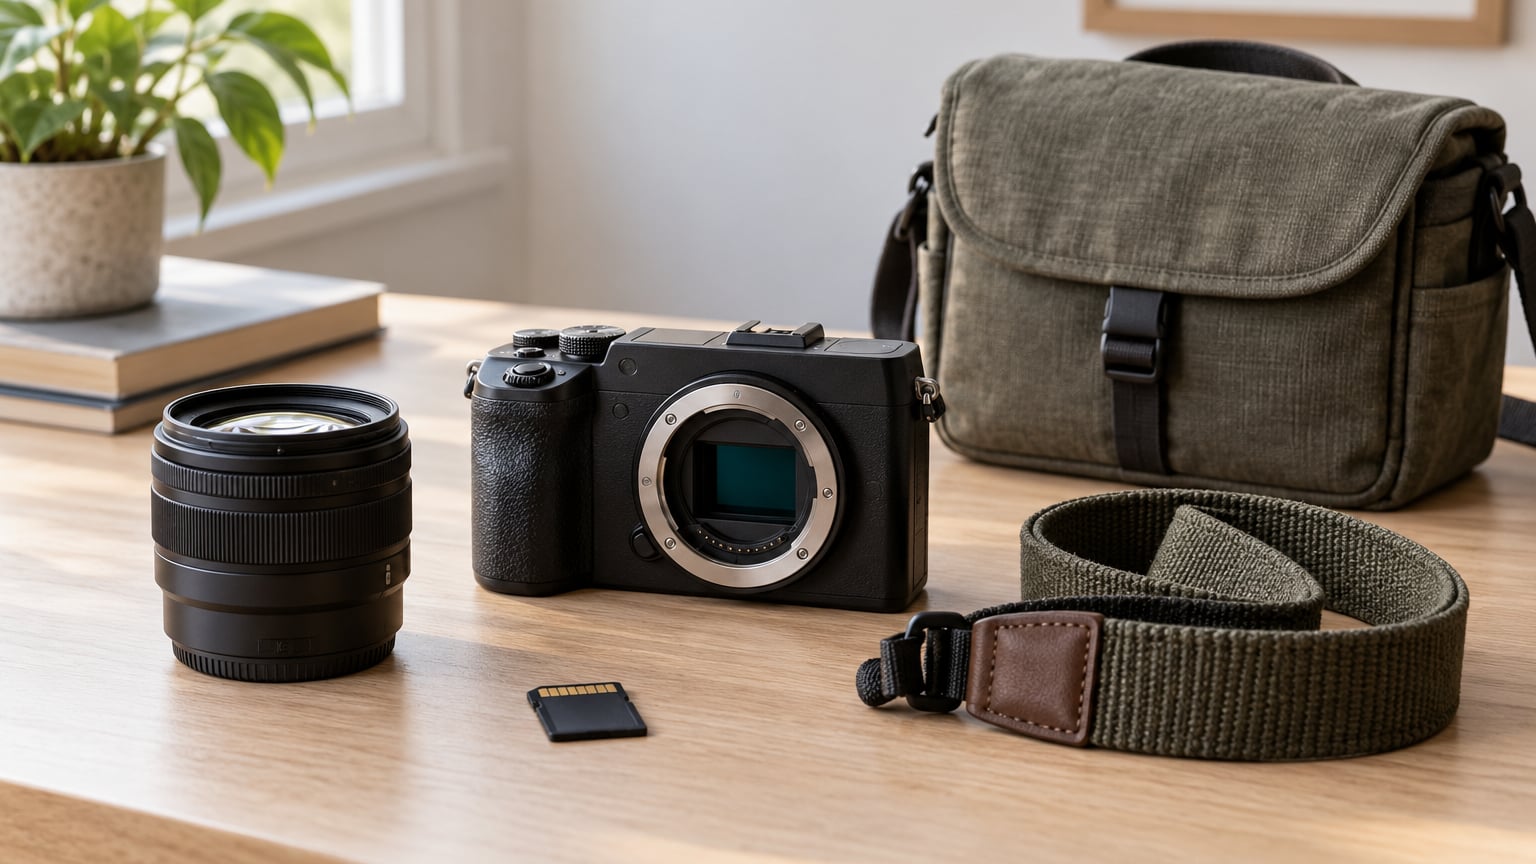
Choosing your first camera comes down to three decisions: pick the format you will actually use, choose a sensor size that suits the subjects you want to photograph, and buy a body that feels right in your hands. Most people start with an interchangeable-lens camera, either mirrorless or a used DSLR, paired with one versatile zoom lens.
That is the honest answer, and it also explains why camera shopping feels harder than it should. There are hundreds of models, and almost every spec on the box is designed to make you want a bigger budget. Working backwards from your subjects cuts the list down to three or four real options in an afternoon.
I have watched beginners stall for months over this choice, and the cause is almost never the wrong camera. It is the fear of buying the wrong one. Read the five sections below in order and you will finish with a shortlist instead of a headache.
One useful framing before we start: a camera is a system, not a gadget. The body, the lens mount and the upgrade path are what lock in your cost over three years, so the mount matters more than any single feature on the spec sheet.
What You Need
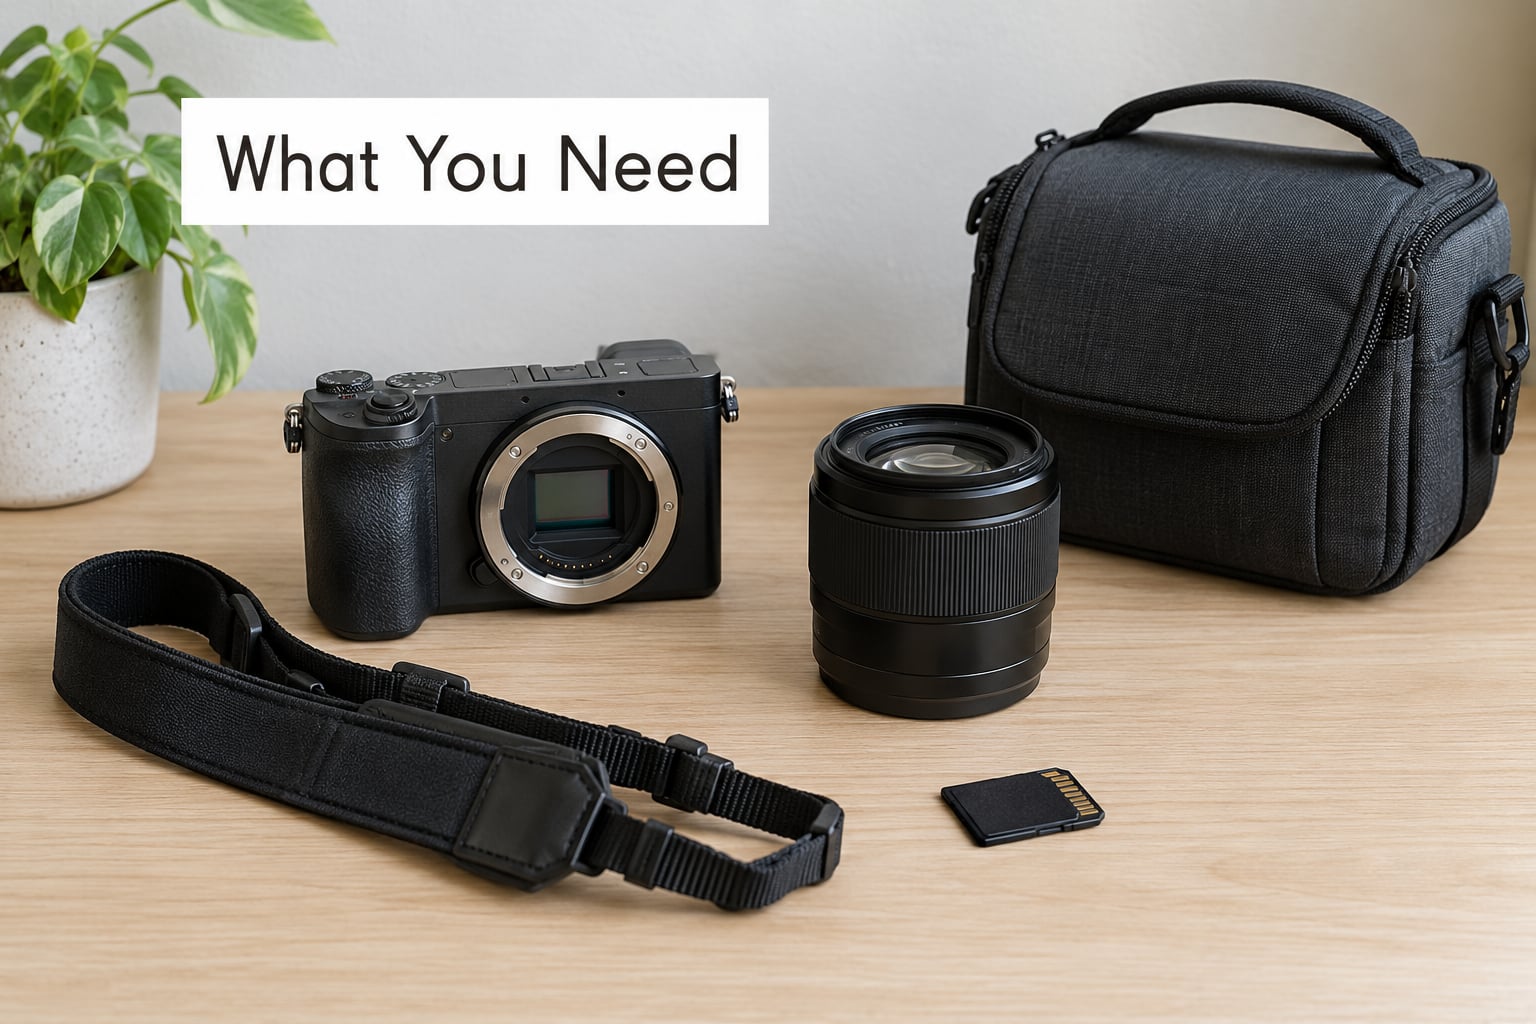
Most of the thinking people do about a first camera happens before they open a single product page. Four questions do most of the narrowing.
What do you want to photograph?
Subjects decide focal length, and focal length decides what kind of lens and camera you need. Indoor family photos and pets need a lens that can get close and hold focus in dim light. Landscapes and travel want a wide view and a body you will actually carry. Wildlife and sports need reach and fast autofocus, which pushes you toward longer, pricier glass.
If you cannot answer this, spend a week photographing with your phone and write down what frustrated you. That short note will tell you whether you need better low-light performance, more zoom, or simply a camera with physical dials.
How much can you spend, and on what?
Split your budget before you look at bodies. A sensible split for a first system puts roughly half on the body, a third on lenses, and the rest on a memory card, a spare battery, a bag and some instruction. Treating the body as the whole cost is the most common budgeting error, and it is how people end up unable to afford a second lens a year later.
New or used?
A used body is a genuinely good option for a first camera, and experienced photographers recommend it often. You get more sensor for less money, and the cameras you would be eyeing new get replaced every few years anyway. The trade is that you inherit someone else’s shutter count, a few scuffs, and no warranty cushion when something goes wrong.
Buy from a reputable dealer with a return policy rather than a stranger with no history. The condition grades are published, you get a short return window, and if the item is not as described you send it back instead of arguing.
Will the system still grow?
Future-proofing matters more than any spec. A slightly newer body with a kit lens beats a cheap body with no way to grow, because a camera you cannot afford lenses for gets sold within a year. Check that the mount you are buying into still receives new lenses and firmware before you commit.
What can wait?
Megapixels above roughly 24 megapixels, 8K video, scene modes, and anything described as a pro feature you have not heard of. Also fine to skip: weather sealing until you shoot in real rain, dual card slots, and high-speed burst rates for subjects that never move that fast.
Do not delay, though. The features worth deciding on now are autofocus behaviour, a viewfinder you can see through, and battery life for the kind of outings you take.
Step-by-Step
Here is the sequence that gets you from a blank search to a decision. It works whether you end up on a mirrorless body, a used DSLR, or a fixed-lens compact.
Choose Your Camera Format
Camera format decides what lenses you can use and how much you will carry, and it is the one choice you cannot easily undo. Five formats cover almost all beginners.
- Compact and fixed-lens: a small sensor, usually 1-inch, with one fixed lens. Point-and-shoot simplicity and pocketable size, with no options to grow into.
- Bridge camera: a 1-inch sensor with a long fixed zoom. Good reach for travel and wildlife, but no second lens and no video-first design.
- DSLR: APS-C or full frame with interchangeable lenses. Cheap used systems and a genuine optical viewfinder, but new bodies are thin on the ground now.
- Mirrorless: everything from Micro Four Thirds to full frame with interchangeable lenses. The widest selection of new bodies and lenses, and the best video.
- Phone: fixed small sensor, no lens choice. Genuinely capable, and a fine backup, but it teaches you very little about exposure.
Mirrorless is the safe default in 2026. Every major brand sells new bodies and lenses in these mounts, autofocus has caught up with DSLRs for stills and video, and the bodies are smaller. That is the verdict most beginners should accept.
- Starting from scratch: mirrorless, because the newest bodies, lenses and firmware all live in those mounts.
- Stills only on a tight budget: a used DSLR, since older bodies and their lenses cost noticeably less for the same image quality.
- Already own DSLR lenses: a mirrorless body with an adapter, so your glass keeps working and the body is current.
- Hate menus and dials: a compact or bridge camera, where one fixed lens is the entire decision.
- Want the smallest kit: a Micro Four Thirds mirrorless, pairing tiny bodies with the lightest lenses sold.
Two exceptions to the mirrorless default. If your budget is tight and you have no video interest, a used DSLR plus a kit zoom costs noticeably less for the same image quality. And if you want the optical viewfinder, an optical viewfinder has no lag and no black screen in bright sun, which some beginners prefer while learning exposure.
Sensor size is the next filter. A larger sensor gathers more light, handles dim scenes better, and blurs backgrounds more at the same framing. But a larger sensor also means a bigger, heavier, costlier system. Most beginners are well served by APS-C, which is roughly half the size of full frame with very similar results at normal focal lengths. Micro Four Thirds is smaller still, and its lenses are the lightest you can buy.
Set a Realistic Budget
Divide the money, then defend the split. Roughly half goes to the body, a third to lenses you will genuinely use, and the rest to the small items that people forget and then scramble for at the weekend.
- Body: one interchangeable-lens camera, no need for two.
- Lens: one standard zoom covering typical wide to short telephoto framing. This is the lens you will keep on the camera 90 percent of the time.
- Memory card: a fast card from a reputable seller, and a second one as a backup. Cards fail, and cameras do not warn you first.
- Battery: one spare, ideally a third-party cell from the same cell type rather than an older proprietary battery.
- Bag: something that fits the body and lens with room for one more thing, not a padded sleeve that forces you to swap gear at every stop.
- Instruction: a class, a workshop or a booked practice session. Spending here beats buying a second body.
There are times when spending more on the lens beats spending more on the body. A fast lens on a modest camera produces better images than a slow lens on an expensive one, because it lets more light reach the sensor. If your subjects are indoors or in the evening, that is the single best place to move money.
The opposite is also true. Paying extra for a flagship body you will not understand does not make your photographs better. Spend the surplus on the lens that matches your subjects and on time behind the camera.
If you want the fundamentals sorted before you shoot, our guides on shutter speed explained for beginners and ISO explained for beginners cover the two settings that change your results most.
Prioritize the Features You Will Actually Use
Here is the honest ranking for a first camera, from most to least worth caring about.
- Autofocus and subject tracking. Reliable focus means you come home with pictures instead of a folder of soft frames. Test tracking on a walking subject, not a stationary one.
- A viewfinder you can actually use. An electronic viewfinder shows exposure changes as you set them, which is how you learn. Bright sunlight makes a tilting screen much harder to see. Optical viewfinders are good too but show nothing.
- Sensor size. Set this in the format step and stick with it. It drives body size, lens cost and image quality together.
- Battery life for your outings. Small bodies with big screens chew through batteries. A full day of shooting needs a genuine second charge in the bag.
- Stabilization. In-body or lens stabilization helps when shooting still and helps a lot for video. It does nothing for a moving subject.
- Video needs. If video matters, check for a microphone input, continuous autofocus while recording, and no recording time limit that will surprise you. 4K is worth having at this level for cropping and for large screens, but it eats battery and card space, and 1080p is still fine for most beginner work.
- Control layout. Two dials, a mode dial and one custom button is plenty. Deep menus you cannot find later are worse than fewer features.
- Burst rate and buffer. Only relevant if you shoot movement. Casual bursts of three or four frames are plenty for everything else.
Now the ignore list, and it is longer than the priority list. Megapixels beyond about 24: you can crop and resize those files for years. 8K video on a camera you will shoot at 1080p. Sensor cleaning systems, exotic scene modes, and 3D tracking you will never activate. Skim ranking sites and ignore brand loyalty threads entirely.
One feature gets oversold more than any other: megapixels. More is not better. A 24-megapixel sensor and a 45-megapixel sensor produce indistinguishable pictures at the same framing for almost all printing, and the higher one fills files faster with data you never use.
Check the Lens and Compatibility
The lens is what makes the picture. The body is the part you operate, and both entries in the mount matter more than any headline spec.
Start with the kit zoom that ships with the camera. It is usually a slow standard zoom, and it is the right first lens because it covers most situations without a bag full of glass. Photographers repeatedly advise beginners to skip fast constant-aperture zooms at the start: they are heavy, expensive, and awkward to carry before you know which focal lengths you actually use.
Mount choice is where people get stuck. Each brand has its own mount, and lenses do not cross between brands without an adapter. Canon RF, Nikon Z, Sony E, Fujifilm X, Micro Four Thirds and L-Mount each have their own range of lenses, and some cheaper lenses come from third-party makers. Check what lenses exist for the mount before you buy the body, not after.
Lens specifications worth a glance: a focal length range (wide to short telephoto for general use), an aperture range where the wide end is smaller for more light, whether the lens stabilizes, and how heavy it will be at the end of a long day. Our guide to what to pack in a camera bag covers the weight question in more detail.
Adapters exist for older lenses, including lenses from a brand you are leaving behind. They are a useful bridge and sometimes cheap, but they usually cost money, add bulk and remove features like autofocus. Treat an adapter as a plan B, not a system.
Try It in Person or Read the Return Policy
Ergonomics beat specifications, and it is the most repeated piece of advice in photography forums. A camera with slightly worse specs that you can hold comfortably will get used. One with better specs that hurts your hand will sit in a cupboard.
If you can get to a shop, spend twenty minutes with each finalist rather than five. There is no substitute for holding the thing.
- Hold it one-handed. Your index finger should reach the shutter without your hand sliding off. Check it with a lens attached, not the bare body.
- Look through the viewfinder. The eyepiece should sit far enough from your eye that you see the whole frame. This is eye relief, and it varies a lot between models.
- Move the dials and press the buttons. You should find the shutter, the mode dial and the exposure compensation without looking down.
- Toggle the viewfinder and screen. Move between them. Glasses wearers especially should check whether the screen sits at a usable angle.
- Open the menu and change a setting. If finding basic controls feels like a chore in the shop, it will feel worse at home.
- Check what is in the box. Battery, charger or cable, strap, and whether the lens is actually included.
Buying online means testing is impossible, so read the return terms instead. Look for a return window long enough to shoot a full trip in, a warranty from an authorised seller, and reviews that include photos taken by actual buyers rather than the marketing shots.
If you cannot decide between two, buy the one with the better lens ecosystem for your subjects. Bodies from the same generation perform similarly; lens availability does not improve with time.
Make the Final Shortlist
You should now have two or three cameras. Compare them on five things, in this order.
- Fit for your subjects. Can you get close enough, wide enough, and fast enough for what you shoot?
- Total system cost. Body plus the lenses you need, plus card, battery and bag. Not the body alone.
- Comfort. The one you can hold for an hour wins over the one with a longer spec list.
- Learning headroom. Is there room to grow in the menus, or does it do everything for you with no way to intervene?
- Future lenses. Which mount gives you the lenses you will want in two years, and are they being released?
My own shortlist for 2026, given to almost anyone, runs along these lines rather than naming one model. A lightweight APS-C mirrorless body with a compact standard zoom, for people who want to carry a camera everywhere. A used DSLR body with a kit zoom, for people on the tightest budget who shoot stills and want no menu diving. A Micro Four Thirds mirrorless body, for people who care more about small and light than large and expensive.
Put those three in the shop. Hold them. Check the lens line-up for each mount. One of them will fit your budget and your hands, and that is the one.
Common Mistakes
Almost every first-camera regret I have heard traces back to one of these seven.
Buying a body that is too advanced
A camera with more menus than you need is not a better learning tool, it is a slower one. Entry-level bodies expose aperture, shutter speed and ISO directly and skip the rest. You can move up when a specific limit stops you, and you will know exactly what the limit is.
Chasing megapixels
Resolution is the least useful number on the list. Twenty-four megapixels is plenty for very large prints, and the difference is invisible in every practical way. Lens quality and light decide whether a photo looks good.
Ignoring the lens ecosystem
The mount is the decision you cannot undo. Check which lenses exist for it before buying a body, and remember lenses do not fit across brands without an adapter. This is the mistake that costs real money a year later.
Spending everything on the body
The body is one purchase in a system. Budget the lens, a fast memory card, a spare battery and a bag up front, or you will spend the difference later anyway, at a worse moment.
Buying fast heavy glass too early
Fast constant-aperture zooms are large, expensive and tiring to carry. Until you know which focal lengths you use, one standard zoom is more useful and leaves budget for shooting practice.
Choosing a camera that is uncomfortable
A heavy body with small grips causes wrist and neck pain on long days. Comfort keeps you shooting, and shooting is the only part that improves your pictures. Test it with a lens on before you buy.
Buying without testing or a return policy
Never buy a camera you have not held, and never from a seller who will not accept returns. Most first-camera problems show up within a week of shooting, and a return window solves them for free.
One more, less obvious: buying a camera with no plan to use it. The camera is rarely what stops new photographers. A bad week of practice does. Take the camera out twice a week for an hour before you consider anything else.
Frequently Asked Questions
What is the best first camera for a beginner?
The best first camera is an entry-level interchangeable-lens body with a viewfinder and reliable autofocus, paired with one standard zoom. Mirrorless is the default choice now because new lenses keep arriving and video autofocus is dependable. Match the sensor size to your subjects, set the total system budget first, then buy whichever of two or three finalists feels best in your hands.
Should I get a DSLR or mirrorless as a beginner?
Mirrorless, unless your budget is tight or you already own DSLR lenses. New DSLR bodies are disappearing, and used ones are the cheapest route to a good system. A mirrorless body gives you a longer lens future and better video. The one real advantage of an DSLR is its optical viewfinder, which never lags and stays visible in bright sun.
Is a kit lens enough for a beginner?
Yes, and it is the right first lens. A kit zoom covers typical wide to short telephoto framing, so you can shoot scenery, family photos and events without swapping glass. It is usually slow, so expect noise in dim light, and it will not blur backgrounds as much as a fast lens. Add a second lens later once you know which focal lengths you use.
Is buying a used camera a good idea for a beginner?
Often yes, and experienced photographers recommend it regularly. You get more camera for the money and the format is already proven. Buy from a reputable dealer with published condition grades and a return window rather than a private seller. Check the shutter count, sensor cleanliness, dials and battery contacts as soon as it arrives.
Do I need full frame for my first camera?
No. APS-C gives you most of the image quality at half the size and cost, and Micro Four Thirds is lighter still with the smallest lenses available. Full frame earns its place for low-light work, shallow depth of field and large prints, none of which a beginner usually needs on day one. Moving up later is easier than affording it at the start.
How many lenses should a beginner buy?
One. A standard zoom that stays on the camera will carry you through most of your first year, and switching lenses slows you down while you are still learning. Add a second only when you notice a specific gap, like needing more light indoors or more reach outdoors. Buy based on the photographs you actually want to make, not on kit lists.
Conclusion
The right first camera is the one you can afford in full, understand well enough to learn on, and enjoy pointing at the subjects you care about. Everything else on the spec sheet is negotiation.
Start today with one page of paper. Write down the subjects, set the budget including the lens and the card, and check which lens mounts carry the glass you will want. Shortlist two or three bodies from a single brand, put them in your hands at a shop, and buy the one you would rather carry all day.
Then take it out twice a week for an hour. That habit, not the camera, is what turns the purchase into photography.