
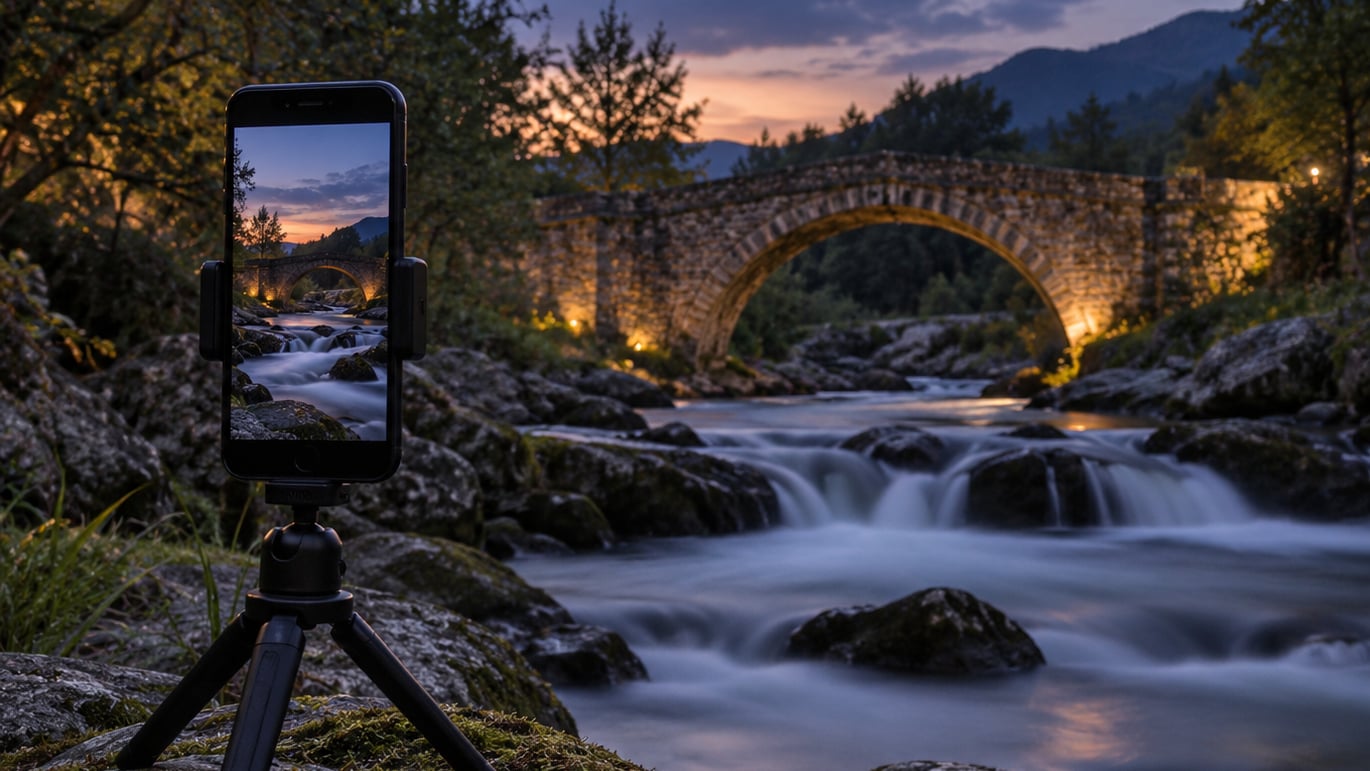
To take long exposure photos on iPhone, shoot a Live Photo while holding the phone steady, then apply the built-in Long Exposure effect in the Photos app. It works on any iPhone from the 6 onward, needs no purchase, and takes about a minute from setup to result.
Live Photo records roughly three seconds of video around the moment you press the shutter. iOS then lines the frames up, keeps the still parts sharp, and blends the moving parts, so water goes silky and car lights stretch into trails. You get the look of a slow shutter without a DSLR.
What long exposure photography is: a technique that uses a slow shutter speed to blur anything that moves while stationary objects stay sharp. That is how waterfalls turn to milky smooth water, taillights become ribbons, and busy tourist spots empty out of people. On iPhone, the stock Camera app has no manual shutter speed dial, so the Long Exposure effect on a Live Photo is the built-in route to the same look.
Table of Contents
What You Need
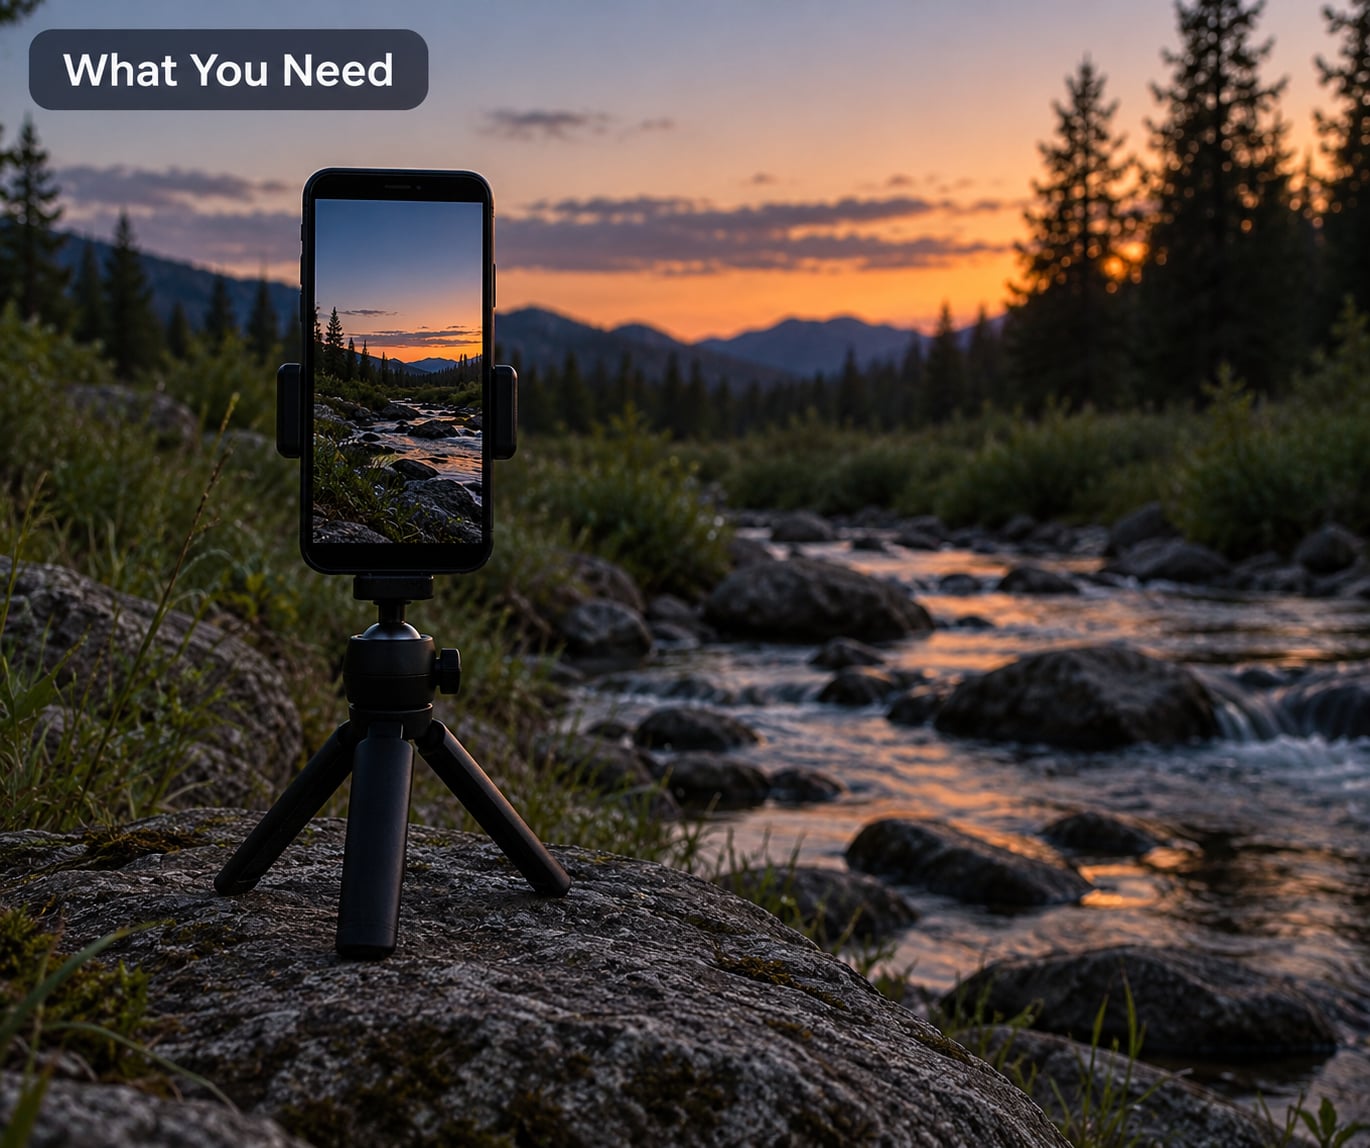
Surprisingly little. An iPhone 6 or newer running iOS 15 or later does the whole job, since Apple put the Long Exposure effect into the Photos app years ago and it has not moved behind a paywall. Any model from the iPhone 11 up handles low light noticeably better.
Next, something to hold the phone still. A tabletop tripod with a phone clamp is the cheapest option and the one I lean on most, because anything longer than about a second turns the smallest wrist movement into visible smearing. If you have no tripod, a flat wall, a railing, a rock or a stack of books all work, though the phone will need leaning at an angle.
You also need a subject that keeps moving for a second or more. Water, traffic, crowds, fireworks and drifting clouds all qualify. A static landscape will just give you a slightly odd still photo.
Optional extras: a remote release or the 3 or 10 second timer so you never touch the phone mid-capture, and a neutral density filter if you plan to work in daylight and want the flow of water to stay milky instead of blowing out. My fuller notes on filters are in how to use a neutral density filter for stunning photos.
Step-by-Step: How to Take Long Exposure Photos on iPhone
1. Choose a scene with visible movement
Look for continuous motion in the frame before you worry about settings. A creek, a river bend, breaking surf, a road with cars passing through, or a plaza where people walk through constantly. Take a normal photo first and check it, because if nothing moves during those three seconds there is nothing for the effect to blend.
Frame a little wider than you think you need. The Long Exposure effect trims the edges slightly to line up frames, and that cropping catches people every time. Leaving breathing room around the edges means you lose a small border instead of the corner of a building.
2. Stabilize the iPhone
Mount the phone and turn off the flash, which is on by default in low light and would freeze the scene into a bright flash frame. Lock the focus and exposure by touching and holding on screen until AE/AF Lock appears at the top, then step away.
Tripod setup details matter more than people expect. If your tripod is tall, bring it down until the lens centre is close to the height of your subject, otherwise you are aiming up at a steep angle and the alignment has more work to do. Wind is often worse than your hands, so a heavy tripod helps in open spots near water.
Holding it by hand can work in daylight, but the results are hit or miss. Tuck your elbows against your ribs, press the phone against something solid like a tree or a wall, and exhale slowly before pressing the shutter. For night work I would still reach for the tripod.
3. Switch to a manual or long-exposure mode
The stock Camera app gives you no shutter speed, ISO or aperture dial, so “manual mode” means the Pro or Camera controls that ship with the Pro models, or a third-party app. On iPhone 16 series handsets, the Camera Control button under the right side of the frame opens those controls directly, which is a faster route than digging through menus.
Two built-in paths exist. Live Photo plus the Long Exposure effect is the one that needs no app and always works. The second is the stock camera’s Night mode, which is for dim scenes and stacks several short frames; it smooths water somewhat but it is not a long exposure and it will not produce light trails.
On iOS 15 and newer the conversion lives under the Live Photo options menu. On iOS 14 and older you swipe up over the photo and pick Long Exposure from the Effects panel. That difference is the single most common reason people say the option is missing.
4. Set the exposure time and ISO
If you are using manual controls or an app, you are choosing shutter speed and ISO yourself. In daylight, start around 1/4 to 1/15 of a second for light trails and 1 to 2 seconds for silky water, with ISO held as low as the light allows. Lower ISO means a cleaner file.
At night, push to 4, 8 or 15 seconds for water and up to 30 seconds for genuine light ribbons and star trails, and accept that noise climbs with every step. Shutter speed controls how much movement smears, ISO controls how bright and grainy the frame is, and the two trade against each other. More exposure time on a dim scene means a brighter frame but also more noise to clean up later.
5. Focus and lock the composition
Tap your subject and drag the exposure slider to taste, then hold to lock. On the manual controls, set focus to AF or MF depending on the app, and use a lower ISO. Once the exposure starts you cannot touch the phone, so everything about the composition has to be right before you commit.
If water is your subject, focus on a rock or a fixed edge in the foreground so the sharp anchor point gives the eye somewhere to land. If lights are the subject, focus slightly under them, which keeps the trails vivid rather than soft.
6. Start the capture and keep the iPhone still
Open the Camera app, confirm Live Photo is switched on by checking that the icon at the top of the frame is not struck through, and press the shutter. With a tripod, use the 3 or 10 second timer from the timer icon so the phone is untouched during the exposure.
With Live Photos, hold your position after the shutter rather than lowering the phone, since the capture continues for a moment after the button press. Once you have the Live Photo, open it in Photos, tap the Live button at the top left, and choose Long Exposure from the menu that appears. Processing takes a few seconds while iOS aligns the frames, then you have a new still image. The original Live Photo stays in your library.
If you are working inside a manual app, the capture runs until the timer expires and the app renders the frame on screen. Nothing saves automatically unless the app is set to, so check the output before you move the tripod.
7. Review and adjust the result
Check three things. Is the static part of the scene sharp, or does it wobble at the edges? Did the moving subject actually smooth out or did it just get brighter? Are highlights clipped, particularly car lights and reflections?
Small corrections are usually better than retries. Reduce exposure time a step if lights are blown out, raise ISO or use Night mode if the frame is dark, and shoot again if the edges are mushy. Editing apps such as Lightroom Mobile or the stock editor can pull back highlights and lift shadows afterwards, but no edit rescues a frame the phone shook during capture.
For scenes that go beyond what the Live Photo can do, how to shoot long exposure photos covers the tripod and filter approach in more depth.
Common Mistakes
The result looks blurry or ghosted. The phone moved while the frames were being captured. Rest it against something solid or on a tripod, and hold your breath instead of breathing normally during the shot.
Static subjects look doubled or smeared at the edges. Auto-alignment needs something to anchor to. Include a fixed object near the frame edges and shoot in brighter conditions, since alignment gets unreliable in the dark.
Your composition is cropped. The effect trims edges to align frames. Frame wider than feels natural and crop back afterwards.
Long Exposure is nowhere in the menu. Either the photo is not a Live Photo, or you are on iOS 14 or older where the option sits in the Effects panel after swiping up. On iOS 15 and newer, tap the Live button in the top left corner of the photo.
The water is bright and milky in the wrong way. You have too much exposure for the light. Shorten shutter speed, lower ISO, or add a neutral density filter during the day.
Dark shots are full of grain. That is ISO working hard. Shoot near a light source, use Night mode for the base frame, or accept some noise and clean it in editing.
Night mode did not give you trails. Night mode is a stacking mode for dim scenes, not a shutter control. It will not produce light ribbons, and for dark scenes without movement you may get better results with the night photography tips in how to take photos at night.
You touched the screen or the phone while capturing. Any contact ruins alignment. Use the timer, a Bluetooth remote or a headphone volume button, then stop touching the device.
Frequently Asked Questions
Can I do long exposure on iPhone without an app?
Yes. Shoot a Live Photo with the stock Camera app, keep the phone steady, then open the photo in Photos, tap the Live button at the top left and choose Long Exposure. It works on iPhone 6 and later, needs no purchase, and your original Live Photo is kept. The catch is exposure length: the effect blends roughly three seconds of video, so it smooths water and crowds but will not give you 30-second light ribbons.
Why is my iPhone long exposure blurry or ghosted?
Almost always movement during capture. iOS lines up individual video frames to build the effect, and if the phone shifted even slightly, still objects end up doubled or smeared. Use a tripod or lean the phone against a wall, lock focus and exposure before starting, and fire the shutter with the 3 or 10 second timer so your hand never touches the device.
Do I need a tripod for iPhone long exposure?
For a couple of seconds in daylight, you can get away with bracing the phone against something solid and holding your breath. For anything longer, at night, or near water where wind picks up, a tripod is the difference between a usable frame and a blurred one. A cheap tabletop tripod with a clamp costs very little and is the tool I use most often.
Can I convert an old Live Photo into a long exposure?
Yes, and this is the part most people never find. Any Live Photo already in your library can be converted later. Open it in Photos, tap the Live button at the top left, and choose Long Exposure from the menu. On iOS 14 and older, swipe up over the photo and pick Long Exposure from the Effects panel instead. The new still image saves alongside the original.
What is the best app for long exposure photos on iPhone?
For real multi-second control with manual shutter speed and ISO, a dedicated app such as ReeHeld, Slow Shutter Cam, Obscura or Snap Pro Camera is the practical choice. They give you a shutter dial the stock app lacks, and most hold ISO low enough to avoid heavy noise. The trade-off is that some are ad-heavy or push a subscription, so try one on a short exposure before you commit.
Start with a tripod and a scene where water or lights are already moving, then shoot a Live Photo. That one habit covers most of what people want from how to take long exposure photos on an iPhone, and you can move to manual apps later when three seconds is no longer enough.