
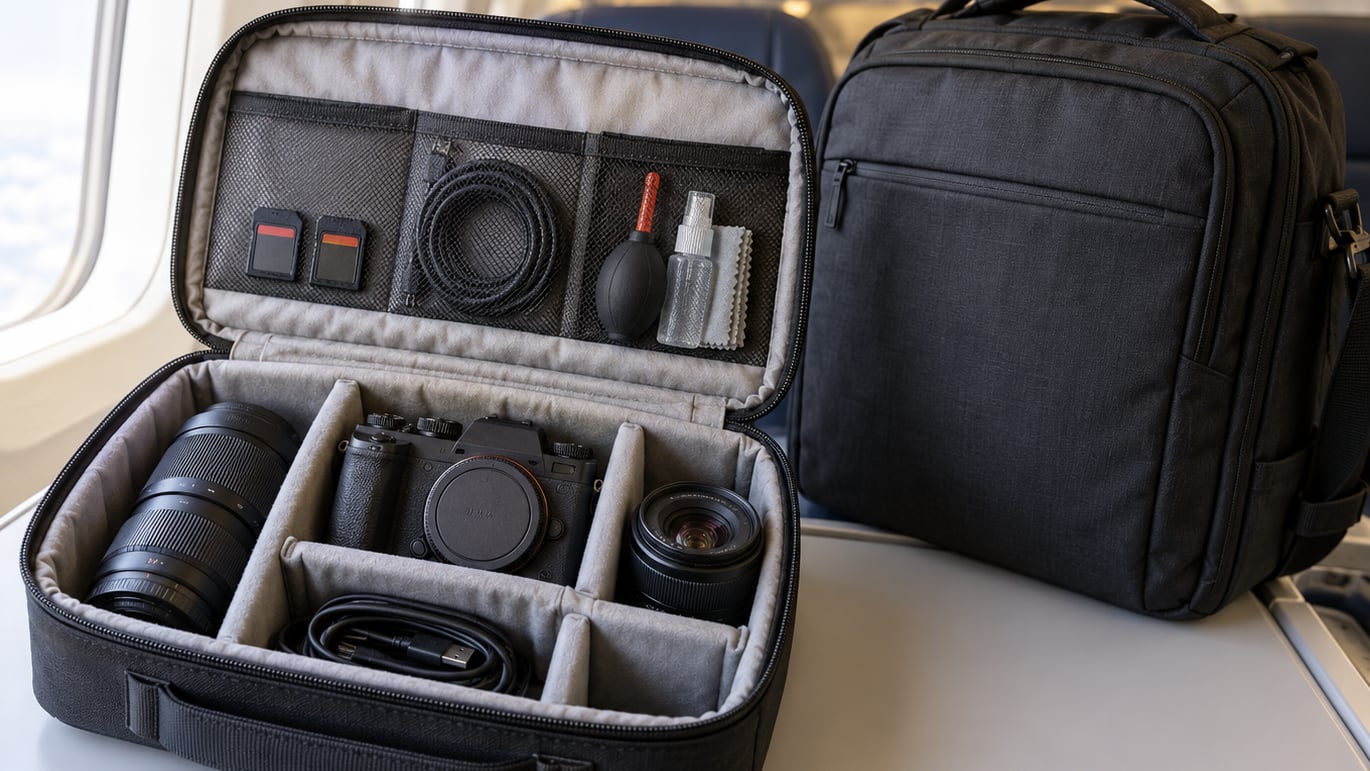
You can fly with camera gear in both carry-on and checked luggage, but the camera bodies, lenses and every lithium battery belong in the cabin. Checking expensive glass means trusting baggage handlers, overflow bins and lost-luggage desks, and that is where most travel damage happens. Here is how to fly with camera gear without losing a body to a gate agent or a lens to a carousel.
It takes about half an hour to prepare properly, and almost nobody needs specialist gear. A padded insert, a couple of spare batteries with the terminals covered, and a photo of your serial numbers will carry you a very long way.
Table of Contents
What You Need
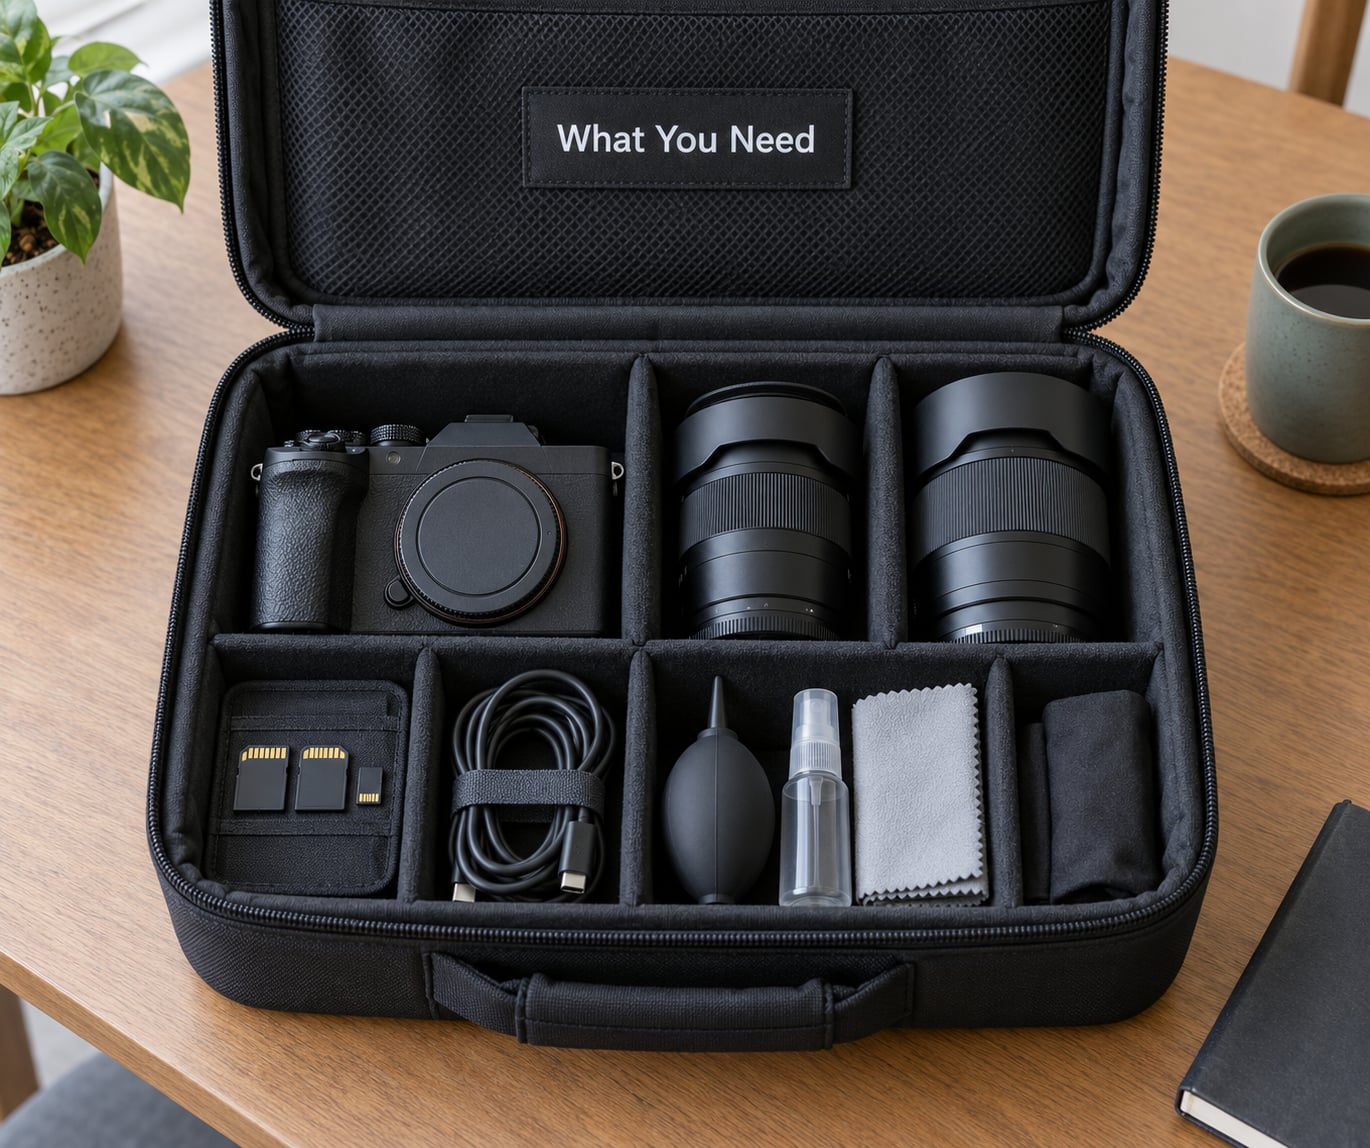
Start with the container, not the gear. You need a bag that meets your airline’s carry-on dimensions, which in the US are usually 22 x 14 x 9 inches, or a personal item under 17 x 10 x 9 inches. Most photographers also keep a small roller or backpack as a personal item so the main bag can go in the hold if a gate agent insists.
Inside that bag, you want a padded camera insert with adjustable dividers, or a hard-sided case if gear has to be checked. A generic insert matters less than the padding: bodies need a cavity they cannot shift inside, and lenses need their own tubes.
The rest is smaller and easier to forget:
- Documentation. A phone photo of every serial number, plus a note of the model and value of each body and lens. Take the shot before you leave the house, not at the airport.
- Spare batteries with terminals protected. The factory caps are often lost. Electrical tape or a dedicated battery case works.
- Memory cards and a card reader, kept in your personal item rather than the main bag.
- A cleaning cloth and blower, in case you shoot in dust or rain on the other side.
- Insurance details. Your policy number and the insurer’s claims phone number, stored offline on your phone.
- A way to back up. A second memory card, or a portable SSD that also travels in the cabin.
If you are still deciding what the kit should contain before departure, my what to pack in a camera bag checklist covers the field kit itself. Keep the flight bag smaller than the working bag. Every extra lens is another object to protect, and the airline does not care how much of it you love.
Step-by-Step: How to Fly With Camera Gear
How to Choose Carry-On or Checked Luggage
Carry-on is the default for anything you cannot replace this week. Camera bodies, lenses, spare batteries, memory cards, filters, a portable SSD and anything you paid more than a few hundred for stay in the cabin. Checked bags get thrown, stacked, and occasionally opened without you.
Two things push gear into the hold anyway. The first is airline policy: most US carriers are dimension-based, while many European and Asian carriers add a weight cap in the 7 to 10 kg range for hand luggage. A 10 kg limit is roughly the weight of a body, three lenses and a bag. The second is size: a long telephoto and a full tripod can physically exceed carry-on dimensions.
One more practical note. Even with a compliant carry-on, the cabin space is not guaranteed. Industry mishandling figures sit at roughly 6.9 bags per 1,000 passengers, and that risk mostly lives in the hold. Overhead bins also fill fast on full flights, which is the single biggest reason photographers get gate-checked despite paying for a carry-on.
How to Protect Cameras and Lenses
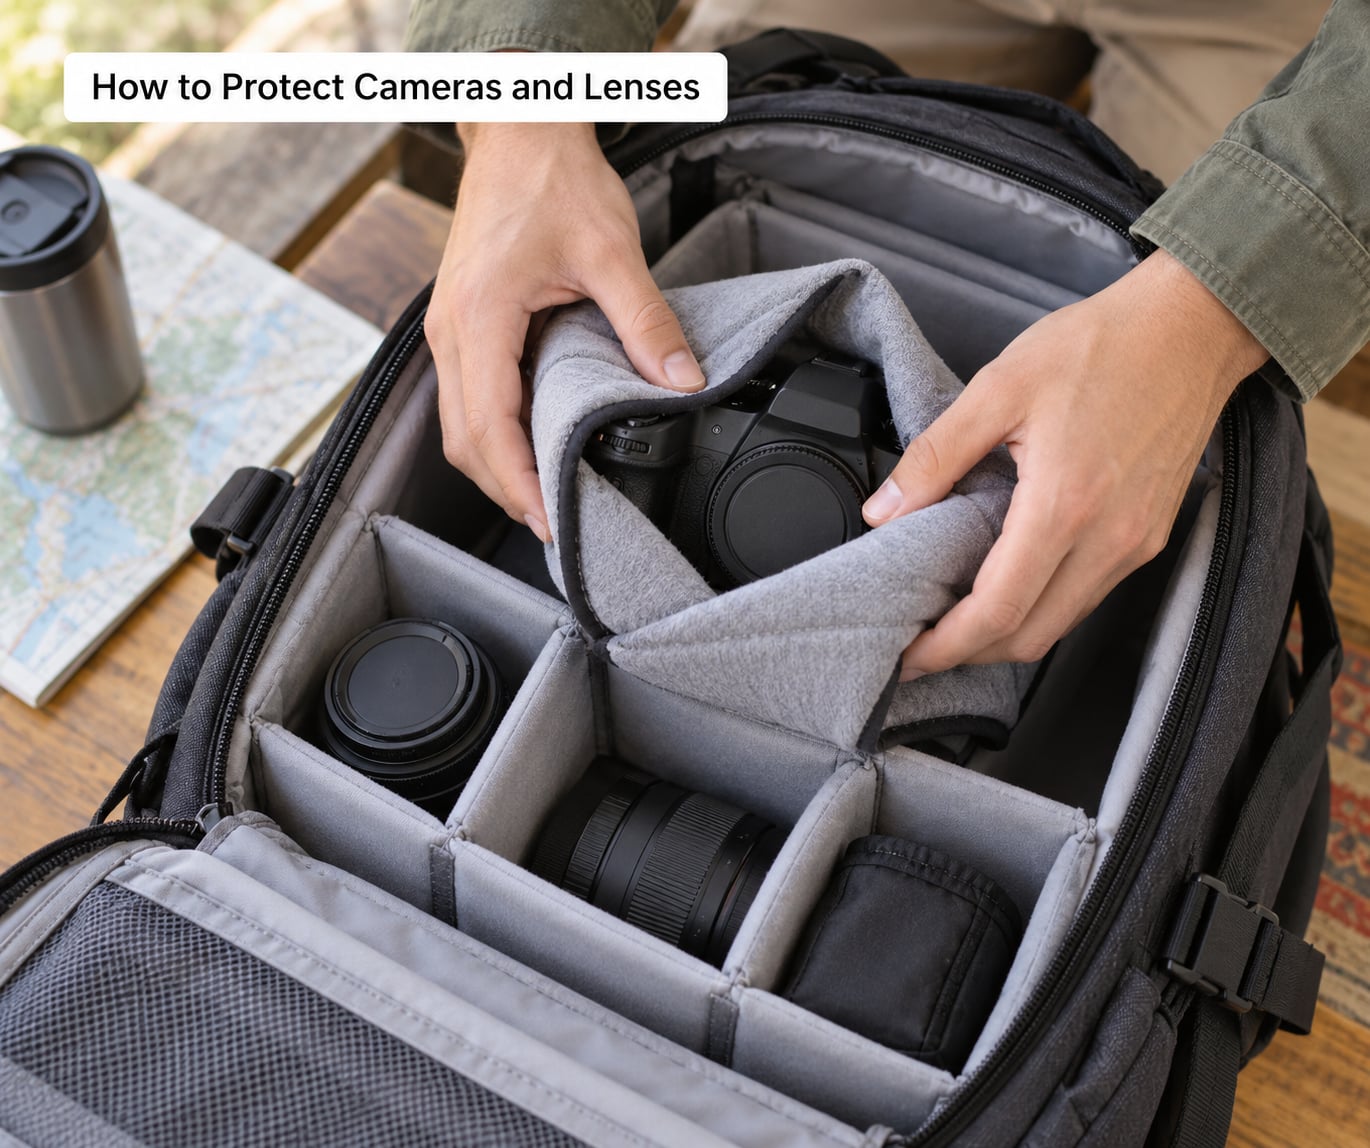
Detach every lens before you pack, and cap both ends. A lens mounted to a body is a single rigid object roughly twice the size of either part, so any impact hits the glass and the mount at once.
Work from the bottom of the bag upward. Put the bulkiest items in the middle or along the back panel, close the dividers until nothing shifts when you tip the bag, then fill every remaining gap with clothing. Empty space is what lets gear move; a rolled sweater around a lens barrel does more than any foam accessory.
Wrap bodies and long lenses in a padded wrap or a rolled sweatshirt before they go near a divider. Long telephotos with image stabilisation deserve extra care because their internal elements float, and a hard knock can knock those elements out of alignment in a way that is invisible until focus shifts. If you shoot in the cold, remember that condensation and temperature swings are their own problem, covered in how to protect gear in cold weather.
Remove the lens hood for travel. It protects nothing in a bag and takes up the width of another lens.
How to Pack Batteries and Power Accessories
Spare lithium-ion batteries and power banks travel in the cabin, never in checked baggage. The reason is fire risk, and it is the one rule that gets enforced hardest at security.
Watt-hours decide what you may carry:
- Up to 100 Wh: allowed in carry-on without approval. Most camera batteries fall well under this, and readers on photography forums consistently point out that the battery cap is rarely the actual problem for a camera kit.
- 100 to 160 Wh: permitted with airline approval, and only in carry-on baggage.
- Above 160 Wh: not permitted in passenger baggage at all.
For context, an LP-E6NH is about 15.4 Wh, an NP-FZ100 about 16.4 Wh, and an NP-W235 about 16 Wh. Any camera battery you are likely to own clears 100 Wh by a wide margin.
A battery installed inside a camera is treated differently from a loose spare, which is why security officers sometimes ask you to demonstrate that a body switches on. For every spare, cover the terminals with the factory cap, a strip of tape, or place it in its own clear pouch. Screws and coins in the same pocket are the classic way people create a short circuit.
Chargers, adapters and camera batteries are fine. External lenses for a smartphone, action cameras and their mounts pass security normally. Read the FAA PackSafe guidance and your airline’s own dangerous-goods page before you travel, because individual carriers can be stricter than the regulation, and rules outside the US are not identical.
How to Pass Airport Security With Camera Equipment
Security is a conversation, not an interrogation, and the fast lanes through it are calm, specific answers.
Put the camera bag on the belt, open it, and take out the gear the officer asks for rather than waiting to be told. Keep spare batteries visible in a clear pouch at the top of the bag instead of buried under a divider, since officers consistently ask about loose lithium-ion cells and containers make the answer obvious.
Expect three questions. Are the batteries for this camera? Is the bag your carry-on? Can you switch the camera on? If a bag needs to be rescreened, keep your eyes on it and keep your passport and boarding pass in hand.
Tripods, monopods and selfie sticks are permitted in carry-on, though long tripods are awkward to stow and can look unwieldy in the bin. Cleaning fluid counts as a liquid and needs to be within the 100 ml rule in a clear bag. Film under ISO 800 is normally fine through the X-ray machine, but anything faster can be fogged, so ask for a hand inspection and get the request logged. If you fly often, TSA PreCheck or Global Entry shortens this queue rather than skipping the inspection.
How to Check Camera Gear or Carry It On the Plane
If the gear stays with you, put the camera bag under the seat in front of you. That space is the most protected on the aircraft and the most difficult for anyone to take. Overhead bins are fine for less critical bags and disastrous for the one holding your glass, since a heavy roller case can crush a camera bag pushed underneath it.
Have a gate-check plan ready. Board early when the airline allows it. Move the two heaviest items, meaning the long lens and any stand, into your personal item before you reach the gate, since you can move the contents of a bag you own but never pull gear out of someone else’s. If your bag has a removable padded insert, you can lift the whole camera block out and keep it in your arms while the empty shell goes into the hold. That is the single most useful bag feature for flying, and it is the argument for buying an insert-based case rather than a fixed hard shell.
Hard cases are the right answer for checked glass, but they are heavy, they cost more to check, and a hard shell advertises its contents to anyone watching. A dense foam case with a removable insert gives most of the protection in a package that can still come into the cabin.
What goes in the hold then? Tripods and light stands, a clean clothing kit, non-fragile accessories, and nothing you would be sad to lose. If you must check glass, wrap it, fill the case completely, and lock it so it cannot be opened in transit.
How to Retrieve and Inspect Your Gear After the Flight
Stay at the carousel until your bag appears, and open it there rather than at the hotel. Damage found at the carousel is far easier to document and report than damage discovered after you have left the airport and unpacked.
Take photos before anything is reassembled: the bag exterior, any dent or tear, each serial number, and any cracked element. File the report at the airline’s baggage desk in the terminal before you leave, since damage claims depend on a property irregularity report filed at the airport, and airlines draw a distinction between damage recorded on the spot and damage claimed weeks later by email.
If a bag is delayed rather than damaged, check your tracker before you panic, then file a report and get a case number with a delivery commitment. Photograph everything again on arrival at home, and keep the receipts for any rental kit you buy to cover the gap. Once the photos are backed up, you can batch edit the trip properly instead of culling it on one machine.
Common Mistakes
Leaving lenses mounted on bodies. One impact, two casualties. Detach everything and cap both ends.
Checking the camera bag because the overhead bin was full. It is the most common way expensive gear leaves your hands. Move the heaviest items into your personal item before boarding, and board early.
Packing batteries loose in a compartment. Uncovered terminals against screws or keys can short a cell, which is exactly why batteries belong in carry-on in a protective case or a clear pouch.
Treating the watt-hour limit as a quantity limit. Batteries under 100 Wh have no cap on the number you carry for personal use, so nobody is going to take your third cell. Approval requests only come into play above 100 Wh.
Filling the bag to the brim but leaving voids around the gear. Padding only works if everything is tight. Close the dividers and stuff the gaps with clothing.
Assuming a hard case can be carried on. Plenty of cases fit the dimensions and still get gate-checked. Know the depth and weight of the case plus its contents before you buy.
Skipping the customs question for high-value kits. Working equipment crossing a border can need a declaration or an ATA Carnet. Check the destination country’s rules, and note the serial numbers you photographed at home.
Assuming the airport X-ray machine will fog your film. Only fast film is at real risk. Ask for a hand inspection and get it recorded.
One pre-flight habit covers most of these: run a 30-minute check the night before. Batteries charged and capped, serial numbers photographed, cards formatted and backed up, bag weighed on a luggage scale, airline policy and destination rules open in a tab. Ten minutes now replaces an hour of stress at the gate.
Frequently Asked Questions
Can I bring a camera and lenses in my carry-on bag?
Yes. Most airlines allow cameras and lenses in carry-on luggage as long as the bag meets size and weight limits and the departure airport’s security rules are followed. Keep the camera accessible rather than buried, remove the lens from the body, and take spare lithium batteries out of their compartment so they can be seen and inspected quickly.
How should I fly with lithium camera batteries?
Carry spare lithium-ion batteries and power banks in your hand luggage, never in checked baggage, and protect the terminals so they cannot touch metal. Batteries under 100 Wh need no approval, including nearly every camera battery. Between 100 and 160 Wh you need airline approval, and above 160 Wh passenger baggage is not allowed. Verify your carrier’s rules before departure.
Is it safer to check camera gear or carry it on?
Carry-on is safer for valuable bodies and lenses because it avoids baggage handling, stacking and loss. If gear must be checked, use a durable case with dense padding, fill every gap, lock the case and photograph the contents beforehand. Keep a body, one lens, spare batteries and memory cards with you regardless of what happens to the checked bag.
Is a tripod allowed in carry-on luggage?
Tripods, monopods and selfie sticks are generally permitted in carry-on baggage by airport security, though they must still fit within your airline’s size allowance. Long tripods are often too awkward for an overhead bin and are easier to check, where you should pad them and confirm your carrier’s sporting-equipment policy.
Do I need insurance when flying with camera equipment?
It depends on your existing cover. Travel insurance, a home policy and camera-specific policies all vary by destination, activity, equipment value and exclusions, and many standard travel policies treat professional camera gear as a separate category. Check whether gear in checked baggage, theft and loss are covered, and note per-item limits before you buy more coverage.
What should I do if my camera bag is lost or damaged?
Report it at the airline baggage desk in the terminal before you leave, since damage claims usually require a property irregularity report filed at the airport. Photograph the bag and its contents immediately, keep receipts for any replacement or rental gear, and note the case number and delivery commitment for a delayed bag.
Conclusion
Check your airline’s baggage allowance and dangerous-goods rules first, because those two documents decide everything else. Photograph your serial numbers, pack bodies and lenses into a padded insert with no empty space, and keep every lithium battery in the cabin with its terminals covered.
Travel with less gear than you think you need. One body, one or two lenses, a card in each slot, and the knowledge that your bag is in the cabin with you will do more for your work than a fourth lens in the hold.