
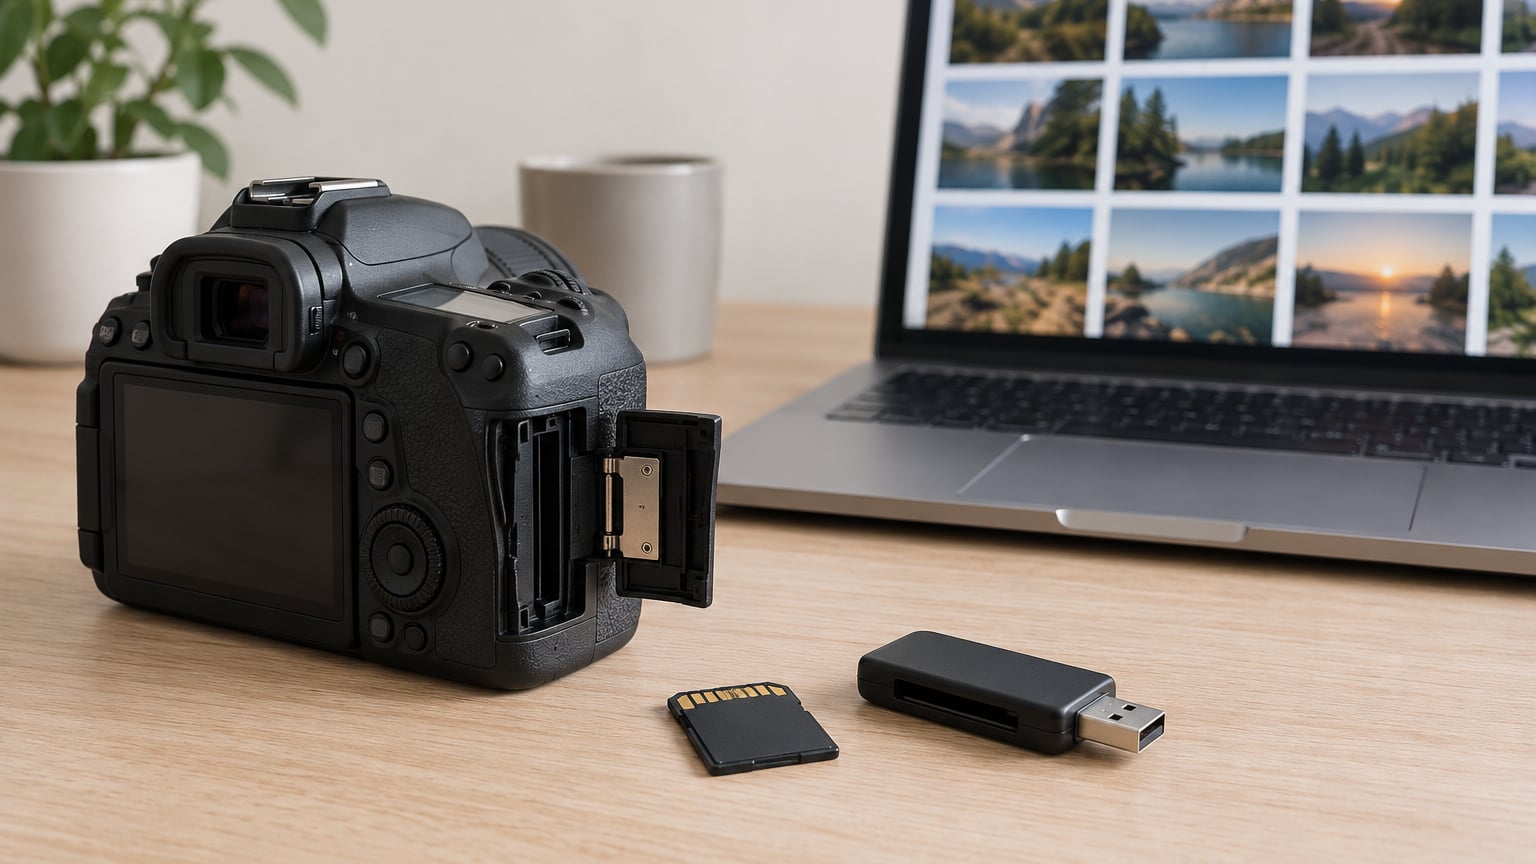
Deleted photos usually stay on the SD card until something writes over them, so how to recover deleted photos from an SD card comes down to two things: speed and care. Stop using the card, check your backups, scan the card with a recovery program, and copy what you find to a different drive. Most accidents — a wrong button, a card formatted by mistake, a transfer that died halfway — leave the image data readable. The whole job takes about half an hour on a laptop with a USB card reader.
If you have a card in front of you right now, do this in order and skip the rest of the article until you have:
- Take the card out of the camera and do not put it back in.
- Check your computer’s Trash, your cloud library’s trash folder, and the camera’s own recently-deleted folder.
- Plug the card into a computer with a USB card reader, not the camera.
- Run a recovery scan and filter the results for image files.
- Save the recovered photos to your hard drive or an external drive, never back onto the card.
- Make a second copy before you format or reuse anything.
Table of Contents
- What You Need
- Step-by-Step: How to Recover Deleted Photos from an SD Card
- Common Mistakes
- Frequently Asked Questions
- Can deleted photos be recovered from an SD card?
- Is it possible to recover photos after formatting an SD card?
- Can I recover deleted photos from an SD card with a phone?
- Why does recovery software find only some of my deleted photos?
- Can I use the SD card again after recovering deleted photos?
- Does removing the card from the camera stop photos from being overwritten?
- Conclusion
What You Need
You need four things, and one thing you must not do.
- A computer with enough free space to hold the recovered files. Recovering a card’s worth of photos means gigabytes of room, not megabytes.
- A USB SD card reader. A cheap full-size reader for a full-size card, or a microSD adapter for a small card. A built-in slot works too, as long as the computer reads the card directly as a drive.
- A recovery program matched to your operating system. Windows File Recovery and Disk Drill cover most people, and the free, open-source PhotoRec handles the awkward cases.
- Your original card, unmodified, plus a backup location for anything you care about that already exists somewhere else.
What you must not do is use the card. Not formatting it, not shooting onto it, not copying files onto it, not running a cleanup tool on it. Every byte written to the card lands somewhere, and it will land right on top of the photos you want back.
Camera bodies also have their own recently-deleted folder that often empties on a timer or the next time the card is formatted. Check it while you are still holding the camera, not after.
Step-by-Step: How to Recover Deleted Photos from an SD Card
1. Stop Using the SD Card Immediately
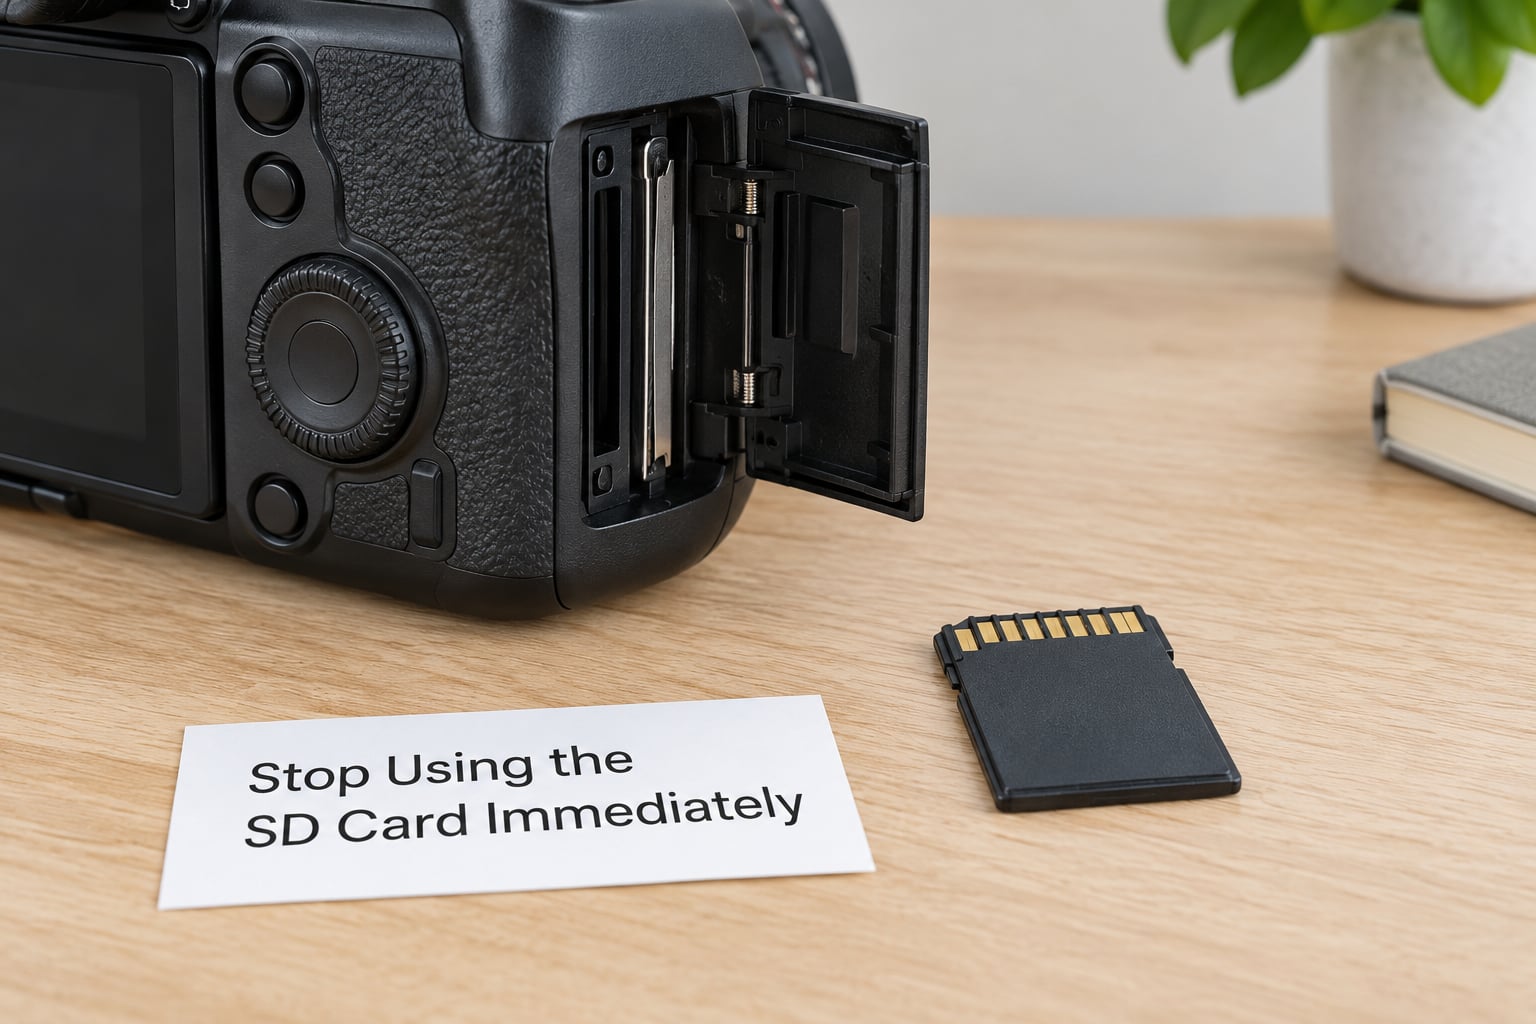
Deleting a photo on a card usually does not erase the image. It clears the entry in the card’s file table — the little index that says which photos exist and where — and marks that space as free. The actual picture bytes stay put until a new file claims the space.
That is your deadline. Shoot ten more frames after a mistaken delete and those frames are very likely sitting on top of the images you wanted. Same story if the card went back into the camera, or got copied to and from a phone.
Eject or remove the card, put it in an anti-static bag or a small envelope if you have one, and leave it alone until step three.
2. Check the Camera, Computer, and Cloud Backups
Plenty of “deleted” photos were never deleted. They were moved, hidden, or still sitting in a trash folder somewhere.
- The camera. Most bodies keep a recently-deleted or trash folder separate from the card. On a Canon it is under Menu then Recover image, on Nikon under Playback then Recent files, on Sony under Playback then Trash. The exact label varies by model, but “Recently Deleted” is the phrase to look for.
- The computer. Check the Trash, and check the folder you copied the photos into. Transfers that fail midway sometimes leave a partial copy with hidden files, which Windows hides by default — in File Explorer choose View, then Show, then Hidden items.
- Cloud libraries. Google Photos keeps deleted items for about 30 days, Apple Photos keeps recently deleted items for about 30 days, and Samsung’s Gallery recycle bin usually holds items for about 60 days. If your camera synced to any of them, the photos may already be safe.
- Email, messaging, and drives. Photos you sent to yourself by email, shared in a chat, or moved to an old external drive are still copies.
There is no recycle bin on the SD card itself. That is worth saying plainly, because it is the detail that makes people assume the photos are gone.
3. Choose a Card Reader and Recovery Software
SD, SDHC, and SDXC cards all look the same in a reader and all work the same way once mounted. SDHC cards hold up to 32 GB, SDXC cards go to 64 GB and beyond, and a few older readers cannot see the larger ones — if the card does not appear in your drive list, try a different reader before you assume the card is dead.
Connect the card through the reader so the computer shows it as a drive with a letter on Windows or a volume name in Finder. Do not go through the camera or a phone. A camera USB connection often exposes only the card’s file system, and a phone MTP connection hides it almost completely, which is why phone recovery apps so often hand back small cached previews instead of full-size originals.
Match the tool to your system. On Windows, Windows File Recovery is free from the Microsoft Store and works from the command line; Disk Drill and Recuva have guided windows. On Mac, Disk Drill and PhotoRec both work well. PhotoRec is free, open source, and reads the card by file signature rather than filename, which makes it the better bet on a damaged card — the trade-off is that recovered files come back with generated names and no folder structure.
One rule: never install anything to the card, and never set the recovery destination to the card. Put the program on your hard drive.
4. Scan the SD Card for Deleted Photos
On Windows with a guided tool the path is the same in most programs. Insert the card, open the program, and choose the drive letter that belongs to the card — check the card’s size and label so you do not pick your internal drive by mistake. Pick the card, start a deep or full scan rather than the quick one, and let it run. A 64 GB card usually takes 20 to 60 minutes depending on connection speed.
Windows File Recovery uses commands instead of buttons. Open Terminal or Command Prompt as administrator, then run something like winfr D: E:Recovered /extensive /n *.jpg /n *.cr2 /n *.nef /n *.arw, where D: is the card and E:Recovered is a folder on a different drive. Extensive mode is the one you want for FAT32 and exFAT cards, which is nearly every camera card; regular mode is for NTFS drives. The /n filters keep the scan focused on image files and make the job much faster.
On Mac, grant the program Full Disk Access under System Settings, then Privacy and Security, or the scan will return nothing. PhotoRec runs from Terminal on older Macs and as a bundled app on newer ones; Disk Utility is useful for checking whether the card mounts at all and for running First Aid.
If the scan finds nothing and the card throws read errors, make a byte-for-byte image first with dd on Mac or Linux, or a USB imaging tool on Windows, then run the scan against the image. That way a failed scan cannot damage the original.
5. Preview and Select the Recoverable Photos
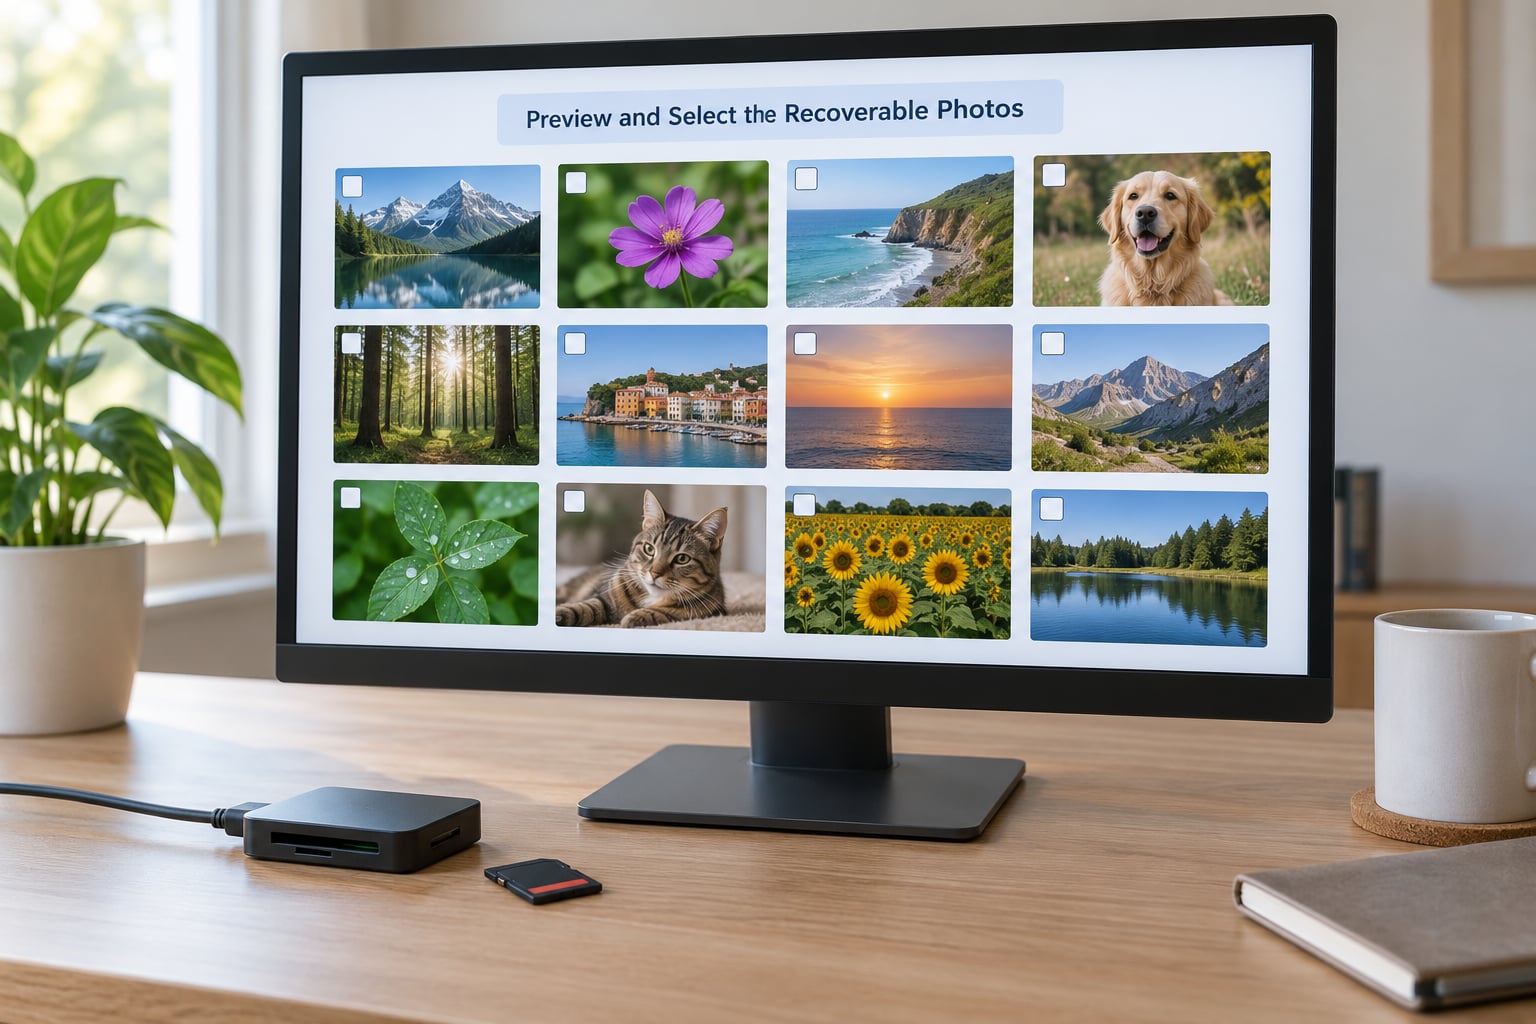
Look at the results before you recover anything. Most tools show thumbnails, and intact JPEGs render instantly. A grey square, a broken icon, or a file that will not preview usually means the data is damaged or only partly present.
Watch the file sizes. A real JPEG from a modern camera is typically 3 to 10 MB; a RAW file from a DSLR is often 20 to 40 MB. If the scan hands you a “photo” at 120 KB, that is usually an embedded thumbnail or a broken file header, not the original. Programs often list those with a generic name, so sorting by file type and by size is the fastest way to separate the real frames from the noise.
Filter by extension too. JPEGs end in .jpg or .jpeg, Canon RAW in .cr2, Nikon in .nef, Sony in .arw, and iPhone shots may be .heic. If you shoot RAW alongside JPEG, recover both, and check that the recovered RAW opens in your editing software before you assume it is fine.
Recover the irreplaceable shots first. A family birthday or a paid client shoot matters more than the 4,000 frames of a park walk, and a smaller batch restores faster and survives a card that is failing mid-scan.
6. Restore Files to a Different Drive
Pick a destination that is not the card — an internal drive folder, an external drive, or a network location. The program will ask you to confirm, then it writes the recovered files out one by one.
Do not close the program or yank the reader while it runs. If the card is failing, the read errors are the card telling you the hardware is going; a partial recovery is better than none, so keep going and salvage what you can.
When it finishes, open a few recovered files at full size. Zoom in on them. A thumbnail that looks fine can still hide a corrupt middle, and a truncated file usually fails to open at all.
7. Safely Check and Reuse the SD Card
Copy everything you recovered to a second location before touching the card again. A second copy on a different drive costs nothing and ends the whole overwriting worry for good.
Then decide what the card is worth. If the computer or camera threw read errors, asked you to format the card on insert, or only produced part of your photos, treat the hardware as dying. Recover what you can and retire it.
Formatting the card is what makes it clean and reusable, and it also destroys anything still recoverable from it. Only format once you have your photos in two places and you accept losing the rest. A full low-level test before reusing it is worth the few minutes.
For the recovered set, how to organize photos in Lightroom will get filenames, dates, and folders back into a workable shape once you have the files at all.
Common Mistakes
These are the errors that turn a recoverable loss into a permanent one, and they are all avoidable.
- Formatting the card first. Format is the one action that reliably erases the file table. Recover first, format last.
- Going back to the camera. Even a dozen new frames can wipe the space holding your deleted photos. Reading the card in the camera is also risky on a failing card.
- Recovering onto the same card. The program writes files across the very sectors it is reading. If you have no external drive, use a large folder on your internal drive instead.
- Skipping the trash and hidden files. A transfer that failed halfway usually left a full or partial copy on the computer, sometimes with the hidden attribute set.
- Scanning the wrong drive. A deep scan that starts on your internal drive is harmless but pointless, and a mis-picked destination in step six is genuinely destructive. Check the drive size and label before you start.
A few habits prevent the whole problem. Keep two copies of anything you care about: one on the card, one somewhere else. Turn on auto-upload to a cloud library when you shoot. Lock the card against accidental writes before you scan it, using the physical switch on a full-size SD card or the read-only option in your recovery tool. And eject it properly every time instead of yanking it out, which is a cheap way to corrupt a file table.
Once the originals are safe, it is worth thinking about what happens to copies that leave your drive. How to protect photos from being stolen online covers that side, and how to license your photos is worth reading if you publish work you want credit for.
Frequently Asked Questions
Can deleted photos be recovered from an SD card?
Usually yes, as long as the space has not been overwritten. Deleting a photo on a card normally clears the entry in the file table and leaves the image data in place. Recovery tools scan for those orphaned blocks and rebuild the files. The odds fall sharply once you keep shooting, copying, or formatting on the same card.
Is it possible to recover photos after formatting an SD card?
Sometimes, and it depends on what came next. A quick format in a camera usually rewrites the file table but leaves photo data behind, so a signature-scan tool such as PhotoRec can pull many images back. A full format and heavy reuse of the card destroy far more. The longer the card has been used since the format, the smaller your chance.
Can I recover deleted photos from an SD card with a phone?
Not reliably. A phone connection uses the MTP protocol, which hides the card’s file system from recovery apps, and phone gallery tools often return small cached previews instead of full-size originals. A microSD card used inside a phone can also be encrypted, which blocks standard recovery entirely. Use a USB card reader and a computer whenever you can.
Why does recovery software find only some of my deleted photos?
Because the rest has been overwritten. New photos taken after the delete claim the same blocks, and the older data is gone. Other reasons: the files were on a card you formatted twice, the scan was filtered to one file type, the photos lived on a phone-encrypted card, or the files listed are tiny embedded thumbnails rather than the originals. Check the file sizes before assuming success.
Can I use the SD card again after recovering deleted photos?
Yes, once you have two copies of everything you want. Formatting makes the card clean and reliable again, and it permanently erases whatever was still recoverable, so do it last. If the card produced read errors or asked to be formatted on insert before recovery, treat it as failing hardware and retire it rather than trusting it with another shoot.
Does removing the card from the camera stop photos from being overwritten?
It stops the most common source of overwriting, which is the camera itself. The deleted images are already marked as free space, so anything written to the card can land on top of them. Removing the card also protects it from further damage if it is failing. Keep it out of cameras, phones, and card readers until the recovery scan is finished.
Conclusion
Start by taking the card out of the camera and leaving it alone. Check the camera’s recently-deleted folder, your computer’s Trash, and your cloud library’s trash before installing anything, because a fair share of “lost” photos are sitting in one of them.
Then connect the card with a USB reader, run a scan, preview the results, and pull the irreplaceable frames to a different drive first. Check file sizes as you go, since a 120 KB “photo” is a thumbnail, not your image. Copy everything to a second place before you format, and keep two copies of any shoot you care about from now on. That is the whole routine, and it takes less time than the afternoon you will lose if you keep shooting onto the card.