
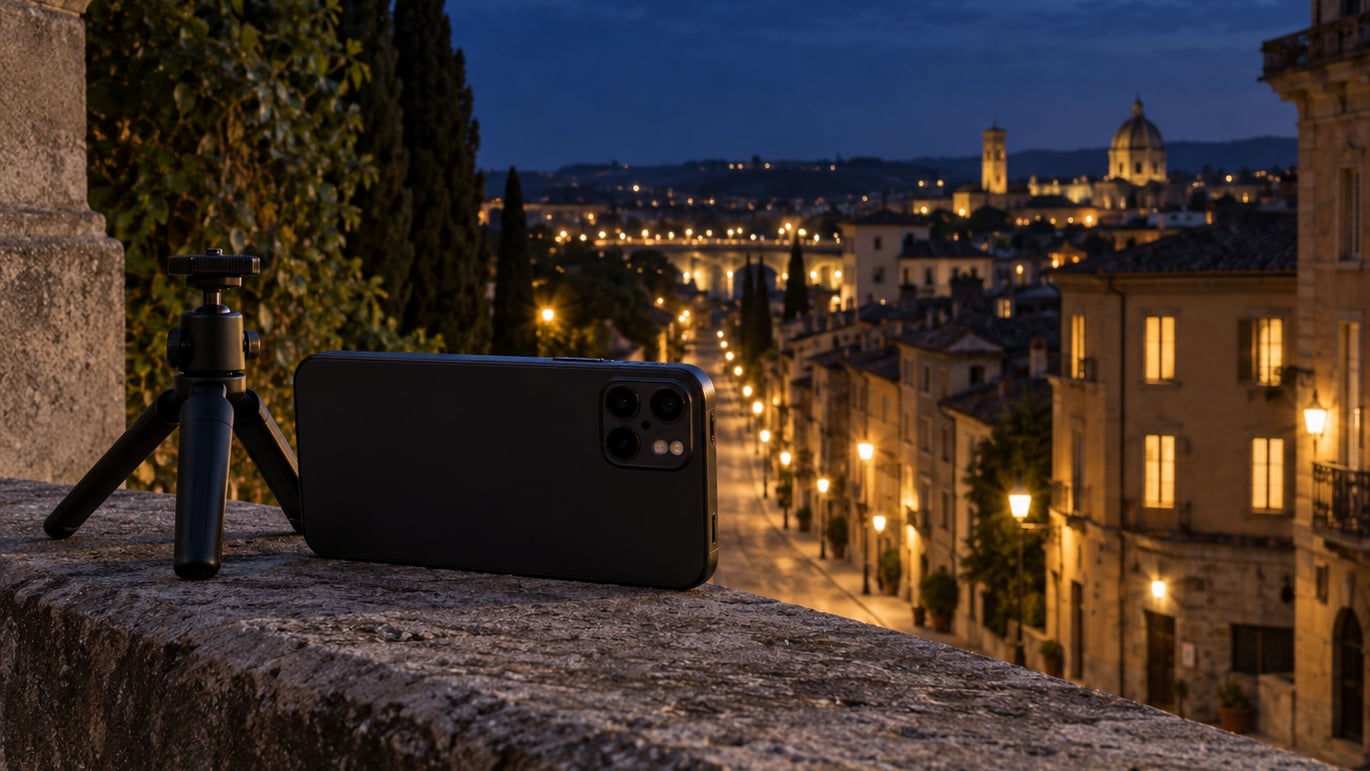
If you are not sure how to take night mode photos on iPhone without guessing, the routine is short: Night mode switches on by itself in dim light, and sharp results come down to three things. Confirm the moon icon is yellow, set the exposure time you actually want, then hold the phone dead still until the capture finishes. Wipe the lens before you do anything else, because ten seconds of cleaning changes more shots than any setting.
Be honest about the limit up front. Night mode trades shutter speed for brightness, so anything that moves during a multi-second exposure comes out soft. That is a physical trade, not a bug, and no setting removes it. It is why the same street corner looks crisp in one frame and smeared in the next.
On current models, from the iPhone 11 through the latest Pro generation, the controls are the same: the moon icon in the upper area of the viewfinder, the exposure slider underneath it, and the timer in Settings. What changes between phones is how long you can hold the shutter open and how well the lens copes with the dark.
Table of Contents
- What You Need
- Step-by-Step: How to Take Night Mode Photos on iPhone
- Open the iPhone Camera and Select Night Mode
- Clean the Lens and Remove Obstructions
- Frame the Scene and Tap to Focus
- Set the Exposure and Protect Highlight Detail
- Keep the iPhone Still Until Processing Finishes
- How to Take Night Mode Photos on iPhone Without a Tripod
- Take Several Variations and Review the Result
- Edit for Sharper, More Balanced Night Photos
- Common Night Mode Mistakes and Quick Fixes
- Advanced Tips for Better Low-Light Images
- Frequently Asked Questions
- Conclusion
What You Need
An iPhone 11 or later using the built-in Camera app. The 0.5x ultra wide lens is the exception, and Night mode will not engage there, so frame at 1x and you are fine. If you are used to shooting wide scenes, read the stability notes further down before you pick a scene.
A stable grip matters more than an expensive one. Two hands wrapped around the phone, elbows tucked into your ribs, weight shifted slightly forward. That is enough for anything up to about five seconds. Past that, you need the phone to be standing still on its own.
A clean lens. Skin oils, dust and a smudged case lip all scatter the little light you have, and Night mode responds by gathering for longer and applying more aggressive sharpening. The result is soft detail and ringing around bright edges.
A subject that will hold still. Buildings, water, empty streets, distant hills. People walking past, water with a current, leaves in a breeze and anything with headlights are all going to struggle, and no amount of editing will return detail the sensor never recorded.
One more thing worth separating early: Night mode is the camera feature that gathers light in a dark scene. Night Shift is the warm colour filter on your display, controlled from Settings and scheduled for bedtime. A lot of searches confuse the two, and Night Shift has nothing to do with your photographs.
Step-by-Step: How to Take Night Mode Photos on iPhone
The whole process takes about a minute once you have done it a few times. Work through it in this order and the results get consistent very quickly.
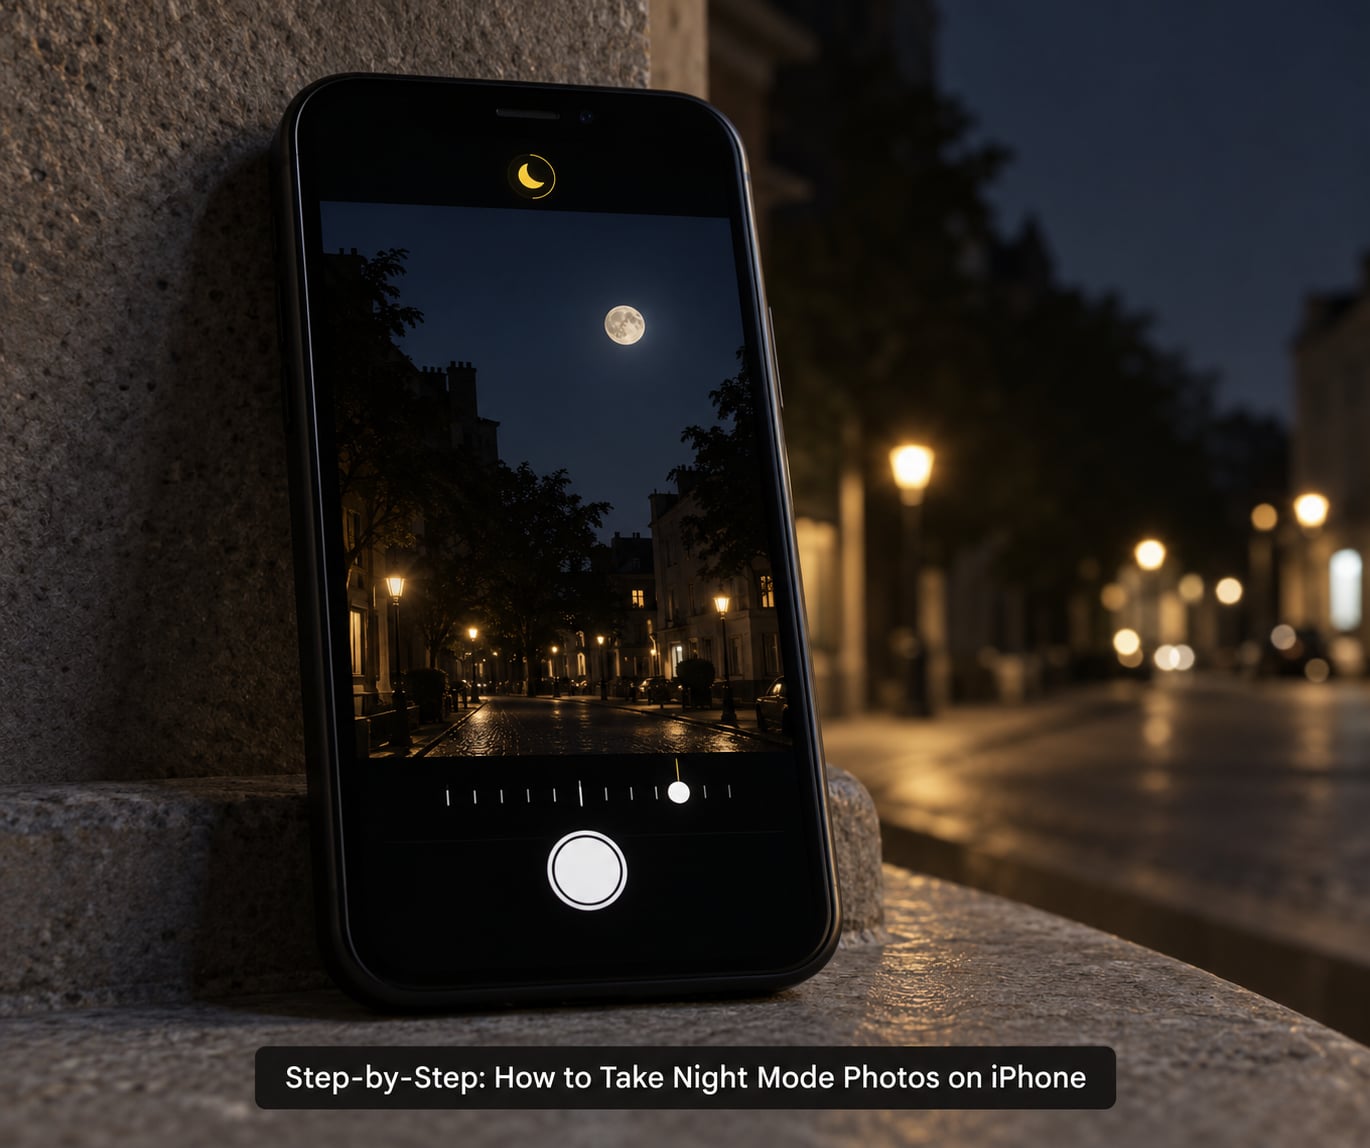
The moon icon is the fastest way to know what the camera is doing. It has three states.
| Moon icon | What it means | What to do |
|---|---|---|
| White crescent | Night mode is available for this scene | Tap it to switch it on |
| Yellow crescent | Night mode is active | Nothing, it is already running |
| Greyed out or absent | Too bright, flash is on, or the lens does not support it | Switch to 1x, turn the flash off, or change lens |
Open the iPhone Camera and Select Night Mode
Open Camera and stay in Photo mode, or Portrait mode if you want the background blur. In dim conditions the moon icon appears by itself after a second or two. Tap it once and the icon turns yellow, which means Night mode is now running and the exposure slider has appeared along the bottom of the viewfinder.
If the icon never appears, the scene is bright enough that the camera thinks it does not need it, or you are on a lens that does not support it. Photo and Portrait modes on the 1x and telephoto cameras are the usual places it appears. Night mode does not run in Video, Time-lapse or the ultra wide lens.
Clean the Lens and Remove Obstructions
Wipe the rear camera glass with a soft, dry cloth. Check the lens ring itself, not just the flat plate, and look at the front of the camera while you are at it.
Then take the case off if you can. A raised case lip sitting over the camera can creep into the corner of the frame as a dark crescent, and it also fools the autofocus into hunting.
Frame the Scene and Tap to Focus
Point at the subject and tap it once to set focus and exposure. The yellow focus square means focus is locked, and on newer Pro models you can press and hold the same thing for AE/AF Lock when the light keeps shifting.
Keep bright sources out of the top of the frame when you can. A streetlight or shop window above your subject drags the whole exposure down to protect it, and the subject ends up black. Move a step and try again.
Set the Exposure and Protect Highlight Detail
Tap the moon icon again to bring up the slider and choose your exposure time. Longer is brighter and lets the camera use a lower sensitivity, which means less noise, but it also means more chances for you or your subject to move.
| Exposure time | Best for | Stability needed |
|---|---|---|
| Off | Bright scenes, flash-lit shots, deliberate motion blur | Handheld |
| About 1 to 3 seconds | People at rest, food, shopfronts, a friend leaning on a wall | Two hands, elbows tucked |
| About 5 to 10 seconds | Buildings, empty streets, a lit bridge | Support strongly preferred |
| About 15 to 20 seconds | Waterfalls, river surfaces, slow traffic light trails | Phone must not move |
| 30 seconds (Max) | Star fields, the Milky Way, faint aurora | Stable surface or tripod |
Watch the screen as you drag the slider rather than judging afterwards. If streetlights turn into solid white blobs with no shape, the highlights are clipping and detail there is already gone. Pull the exposure back a stop or move so the light is out of frame.
Keep the iPhone Still Until Processing Finishes
Press the shutter and do not breathe on it. The capture takes several seconds, the screen shows the progress, and the photo only appears when processing finishes. Release early and you get a frame built from less data, which is exactly why a hurried shot looks noisy and soft next to a patient one of the same scene.
If you nudge the phone, the frames get misaligned. That shows up as doubled edges around lamps, water and foliage. There is no edit for that, so it is cheaper to stay still.
How to Take Night Mode Photos on iPhone Without a Tripod
You do not need one for most shots. Brace the phone in two hands with your forearms against your body, tuck your elbows, and exhale slowly during the capture. That covers everything up to roughly five seconds in good conditions.
For longer exposures, find something rigid. A flat wall ledge, a fence rail, a step, or the ground with the phone resting on something so it cannot slide. Any support works as long as it does not vibrate under your hand.
Pressing the volume buttons takes the photo instead of the on-screen shutter, so you can set the phone down, step back, then trigger it without touching the device. That single habit is the difference between a soft trail and a sharp one. If you want more control over the whole sequence, our guide to how to take photos at night goes deeper on stability and settings.
Take Several Variations and Review the Result
Shoot three or four frames rather than one. Move a little, change the exposure by a few seconds, try a different lens. Night mode picks its own exposure length automatically, so two frames of the same scene can differ in brightness, and the choice is yours to make.
Zoom in on the result at 100 percent and check the subject, not the edges. Look for smearing on faces, halo rings around lights, and a sky that has gone grey instead of black. Keep the sharpest, clearest frame and clear out the rest.
Edit for Sharper, More Balanced Night Photos
Open the photo in the Photos app and work in this order: crop and straighten first, then exposure, then shadows and highlights, then colour, then sharpening last.
Lift shadows only as far as the noise allows, and pull highlights down to recover any lamps that clipped. Black Point moves the whole image darker and is the quickest way to get a grey sky back to black without crushing the subject. For colour, correct the yellow cast with the Warmth slider before you add any saturation.
Sharpness and Clarity should be applied lightly. The camera has already sharpened heavily, and pushing it further produces the concentric rings users keep noticing around points of light. If you use a third-party editor, mask the adjustment to the subject instead of applying it across the sky.
Common Night Mode Mistakes and Quick Fixes
Blurry subjects. Something moved. Shorten the exposure time, or wait for a still moment.
No moon icon. Flash is on, the scene is bright, you are on the 0.5x lens, or you are in a mode that does not support Night mode. Switch to 1x Photo mode with the flash off.
Very dark shot. The exposure time was too short for the scene, or a bright light above the subject pulled it down. Add seconds, then reframe.
Overlapping halos around lights. You moved between frames. Rest the phone on something.
Grey or washed-out sky. Noise reduction lifted the blacks. Use Black Point or a sky mask in the edit.
Yellow or green colour. The auto white balance was fooled by the scene. Adjust Warmth manually, slightly under-correcting at first.
Grainy files. Too much shadow lifting in editing, or the exposure time was too short for the light available.
Advanced Tips for Better Low-Light Images
Set the Night mode timer to about 10 seconds in Settings and Camera so the countdown matches what the phone will actually do. If you already have the phone supported, the timer is redundant, but it saves guessing.
Shoot RAW or ProRAW if your model supports it and you edit in something like Lightroom Mobile. The extra headroom means you can pull shadows and rebalance colour later without the banding a compressed file shows in dark areas. The built-in Camera app does not save night captures as Live Photos, which is a common source of confusion on forums where people expect every shot to be one.
Use volume buttons as the shutter, use AE/AF Lock for consistent focus on tricky scenes, and lean on Camera Control on newer Pro models to change exposure without a second hand on the screen. Our guide to photographing the city at night covers framing and timing for those scenes in more depth.
If you need an exposure longer than 30 seconds, or you want to set ISO and shutter speed yourself, a manual camera app gives you both. That suits the reader who is chasing star trails rather than a quick street shot. It also means giving up the automatic stacking, so neutral density filters are worth a look for daytime long exposures instead.
For the moon, work differently. Switch off Night mode, zoom to 2x or 3x, tap the moon to focus, then hold AE/AF Lock and drag exposure down until the disc shows shape. Night mode will overexpose the moon into a white blob every time.
Frequently Asked Questions
Why won’t my iPhone go into night mode?
It usually comes down to four things: the flash is on, the scene is bright enough that the camera does not need it, you are on the 0.5x ultra wide lens, or you are in Video, Time-lapse or another mode that does not support it. Switch to 1x in Photo mode, turn the flash off, and move into darker conditions. If the icon stays greyed out in a genuinely dark scene, check Settings and Camera for a restriction or check that Low Power Mode is not limiting processing.
How long does iPhone night mode take?
It depends on the exposure setting and the light available. Short settings finish in one to three seconds. Longer ones run 10, 15, 20 or 30 seconds, and the phone may pause for a moment afterwards to process and stack the frames before the photo appears. A 30 second capture in cold weather can also push the battery hard, so keep the phone charged and warm.
Do I need a tripod for iPhone night mode?
Not for most shots. Two hands, elbows tucked against your body and a slow exhale hold things steady up to about five seconds, which covers shopfronts, people at rest and static architecture. Beyond that, rest the phone on something rigid, like a wall ledge, a step or the ground, and trigger it with a volume button. A tripod only becomes necessary for 15 seconds and longer.
How do I get the maximum 30-second exposure in night mode?
Tap the yellow moon icon to open the exposure slider and drag it all the way to the top setting, which reads about 30 seconds. It only appears when the scene is dark enough for the camera to offer long exposures. Set the phone on a stable surface, frame the scene first, then take the picture with a volume button so you are not touching the device while it gathers light.
Why are my iPhone night mode photos blurry?
Something moved during the capture. Night mode takes several seconds and combines multiple frames, so a walking person, moving water, leaves in a breeze or a nudged phone produce doubled edges and smeared detail that no edit can repair. Shorten the exposure time, wait for a still moment, and support the phone on something rigid before shooting again.
Is iPhone Night Shift good for your eyes?
Night Shift shifts the display toward warmer colours, mainly to reduce short-wavelength blue light in the evening, and many people find it more comfortable at night. It has no connection to the camera. Night mode is the feature that gathers light in a dark scene, and it does what it does regardless of any screen filter, so the two settings can be on or off independently.
Conclusion
Start with these five actions: wipe the lens, open Camera and check the moon icon is yellow, tap your subject to focus, set the exposure time to match how still the scene is, and hold the phone still until the photo appears on screen. That sequence alone fixes most disappointing night shots.
If something still goes wrong, work through it in this order. No moon icon means lens, flash or mode. Blurry means movement, so shorten the exposure or support the phone. A grey sky is an editing problem, fixed with Black Point. Dull or yellow colour is a white balance problem, fixed with the Warmth slider.
The steps above hold on the current iPhone generation in 2026, where Night mode works the same way on the 1x and telephoto cameras. If you want to push further, start with how to take photos at night for stability and framing, then move to shooting the city after dark when you are ready for scenes that need a tripod.