
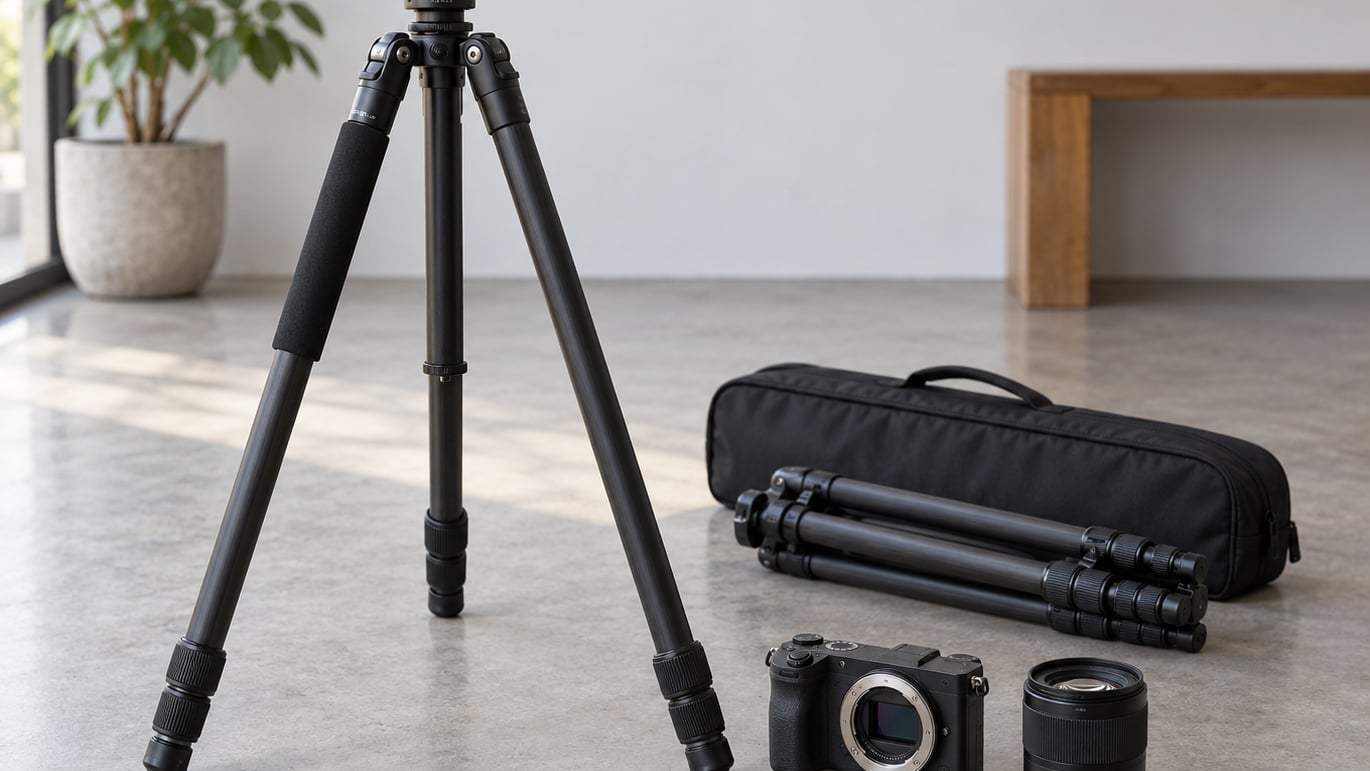
Learning how to choose a tripod comes down to three numbers: your heaviest camera and lens combination, the height you actually shoot at, and how much weight you are willing to carry. Buy a tripod rated well above your gear, tall enough to reach eye level without leaning on the center column, and rigid enough for your subject. Everything after that is preference.
Most bad tripod purchases are not technical failures. Someone bought a beautiful light model that could not handle a long lens, or a heavy studio tripod that never left the closet because it was miserable to carry. The specs on the label are not the problem. The mismatch between the tripod and your actual work is.
This guide walks through a seven-step process that starts with your gear and ends with a hands-on test in a shop or on a return window at home. It works whether you shoot a mirrorless body with a kit lens or a long telephoto on a full-frame body.
- Load capacity: look for a rating at least 1.5 to 3 times your heaviest camera, lens, battery and accessories combined.
- Height: check the maximum working height without extending the center column, not the number printed on the side.
- Material: carbon fiber for travel and hiking, aluminum for studio work and tight budgets.
- Head: a ball head covers most styles; fluid, geared and gimbal heads exist for specific jobs.
- Locks and feet: twist locks hold better in grit, flip locks open faster one-handed.
- Portability: the folded length that matters includes the head, and it is usually longer than the spec sheet admits.
Table of Contents
What You Need
Gather these before you compare a single model. Without them, every tripod looks like a reasonable choice.
Your heaviest camera and lens weight. Find the body weight on the camera’s specification page, then the lens weight on its own page. Add a battery, a battery grip if you use one, and anything you mount permanently such as a filter holder or L-bracket. Write the total on paper. That number is the payload your tripod has to carry.
Your shooting style. Note what you actually photograph: people, buildings, wildlife at distance, close-up work, sweeping scenery, night skies, or video. Also note how long your exposures run. Long exposures and video punish a wobbly tripod much harder than a fast daylight shutter does.
The height you need. Stand up straight and measure from the floor to your eyes, or have someone measure for you. That is your working height. Most photographers also want to drop low for macro and low-angle work, so check minimum height too.
Portability and terrain. Are you shooting from a car or carrying the tripod up a mountain? Smooth pavement and studio floors behave very differently from loose rock, grass, sand or ice. Cold weather matters if you shoot through winter.
Budget and support terms. Know what you are comfortable spending and check what the manufacturer offers for return windows, warranty service and replacement parts. A tripod with a limited parts supply is harder to keep running than its price suggests.
Step-by-Step: How to Choose a Tripod
1. Determine Your Camera and Lens Weight
Add up your heaviest realistic combination rather than your lightest one. A photographer who switches between a wide zoom and a 70-300mm lens should calculate for the long lens every time, not the prime.
Mirrorless bodies with kit lenses often land around 1.5 to 2 kg all in. A body with a fast telephoto can pass 3 kg before you add a grip. Compare that total with the tripod’s stated load rating and look for headroom of at least 1.5 times, with 2 to 3 times for long exposures, wind or heavy video rigs.
Two details catch beginners here. The rating usually describes the whole system, head included, so a head rated below your payload can still be the weak link. And a tripod sitting permanently at its maximum is working where it is least stiff, so treat the limit as a ceiling rather than a target.
2. Choose the Right Tripod Height
Measure your eye level, then find a tripod that reaches it without extending the center column. Raising the column adds height on paper but adds flex and vibration in practice, and that is the difference between a sharp long exposure and a soft one.
Most full-size tripods list a maximum height with the column extended. Look for the working height, the height at the ball head with the legs fully spread and the column down. For a 1.8 m photographer that number should land close to your own eye level, which is usually around 1.6 m for the top of the head.
Being short is not a dealbreaker. A geared or lever-operated center column, a reversible column that mounts upside down, or a separate leveling base all add height back without the wobble. If you work on the ground a lot, check the minimum height as well; a compact travel tripod that folds down to 30 cm or less can shoot from very low angles.
3. Decide Between Aluminum and Carbon Fiber
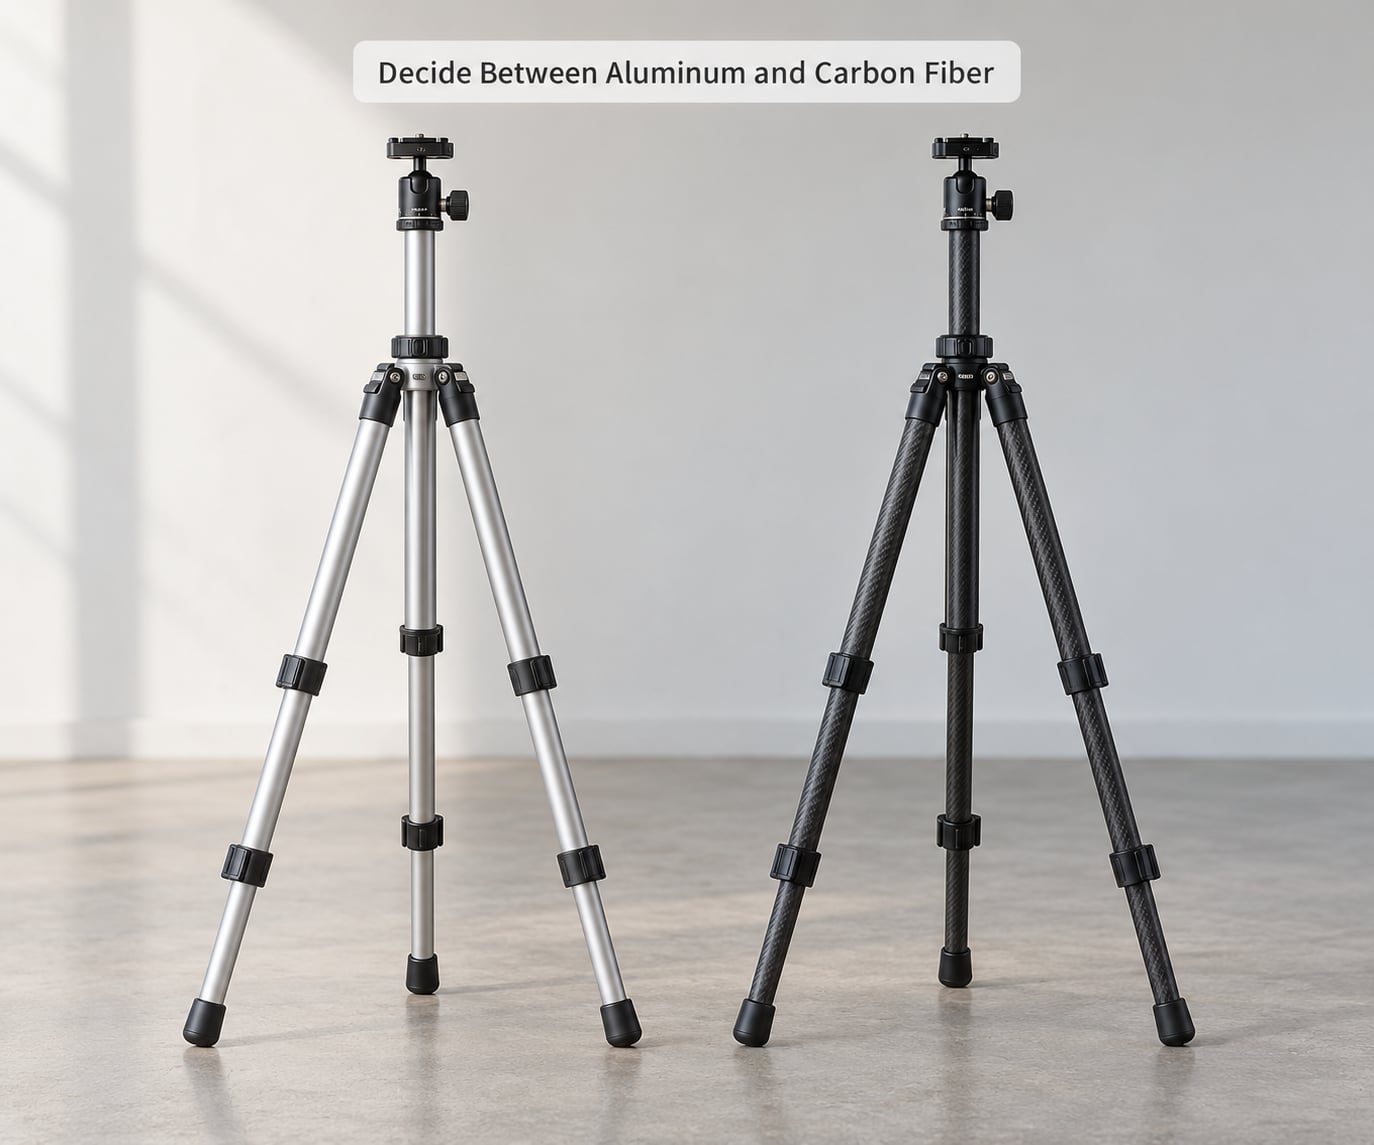
Aluminum is heavier, tougher and cheaper. It takes abuse, dents instead of snapping and stays stiff across a wide temperature range, which matters if you shoot outdoors in winter. Cold metal gets uncomfortable to handle, and aluminum does not damp vibration as well as lighter materials.
Carbon fiber is roughly half the weight of comparable aluminum for the same stiffness, and it settles down faster after you touch it, which is why many landscape and night photographers prefer it. The tradeoffs are cost, lower impact resistance and more sensitivity to temperature changes in cheaper layups. Wood remains a studio tradition with excellent damping and a very short working life outdoors.
A practical rule: carbon fiber if the tripod will live in a backpack, aluminum if it will live in a car or a studio.
4. Check Stability and Rigidity
Stability is about how the legs and head behave under load, not the weight printed on the box. Look at the number of leg sections: three sections are noticeably stiffer, while four sections pack smaller. If you do end up with a four-section model, keeping the lowest section slightly retracted rather than fully extended often improves rigidity.
Look closely at the leg locks. Twist locks have more contact area and hold better in sand, mud and freezing cold, but take two hands and more time. Flip locks open one-handed and are fine for most working conditions, though grit in the mechanism is a real complaint over time. Lever locks sit in between.
Check the feet next. Rubber feet suit floors, pavement and indoor work. Spikes dig into soft ground. Clawed or angled feet grip bark and rock. Many tripods ship with interchangeable tips for this reason.
Finally, check torsional rigidity by gripping a leg above the lock and twisting it. Side-to-side twist under load shows up as blur that no amount of steady hands will fix. A gear hook under the center column lets you hang your camera bag for extra mass in wind, which costs nothing.
5. Match the Head to Your Photography
A ball head is the general-purpose choice. Lock one control to pan and the other to tilt, and the camera moves freely until you tighten up. It suits portraits, events, travel, scenery and most studio work, and it is fast with one hand.
Pan-tilt, or three-way, heads give one lever per axis plus a separate pan lock. The extra control is useful for architecture and precision work where you want to set an angle and hold it exactly. Geared heads add fine toothed controls for the same job, at the cost of bulk and cost.
Fluid heads are built for video. Their resistance is calibrated so a pan starts and stops smoothly instead of jerking. Video users on forums consistently treat a fluid head as close to mandatory, and the same tripod legs often work fine once the head is swapped.
Gimbal heads hang the lens under the camera to keep heavy glass balanced, which pays off with lenses in the several hundred millimetre range. Pistol grip heads let you frame low to the ground through a trigger, and users regularly question whether the tension holds after a season of heavy use. Test the head in the shop rather than trusting the description.
6. Consider Portability and Setup
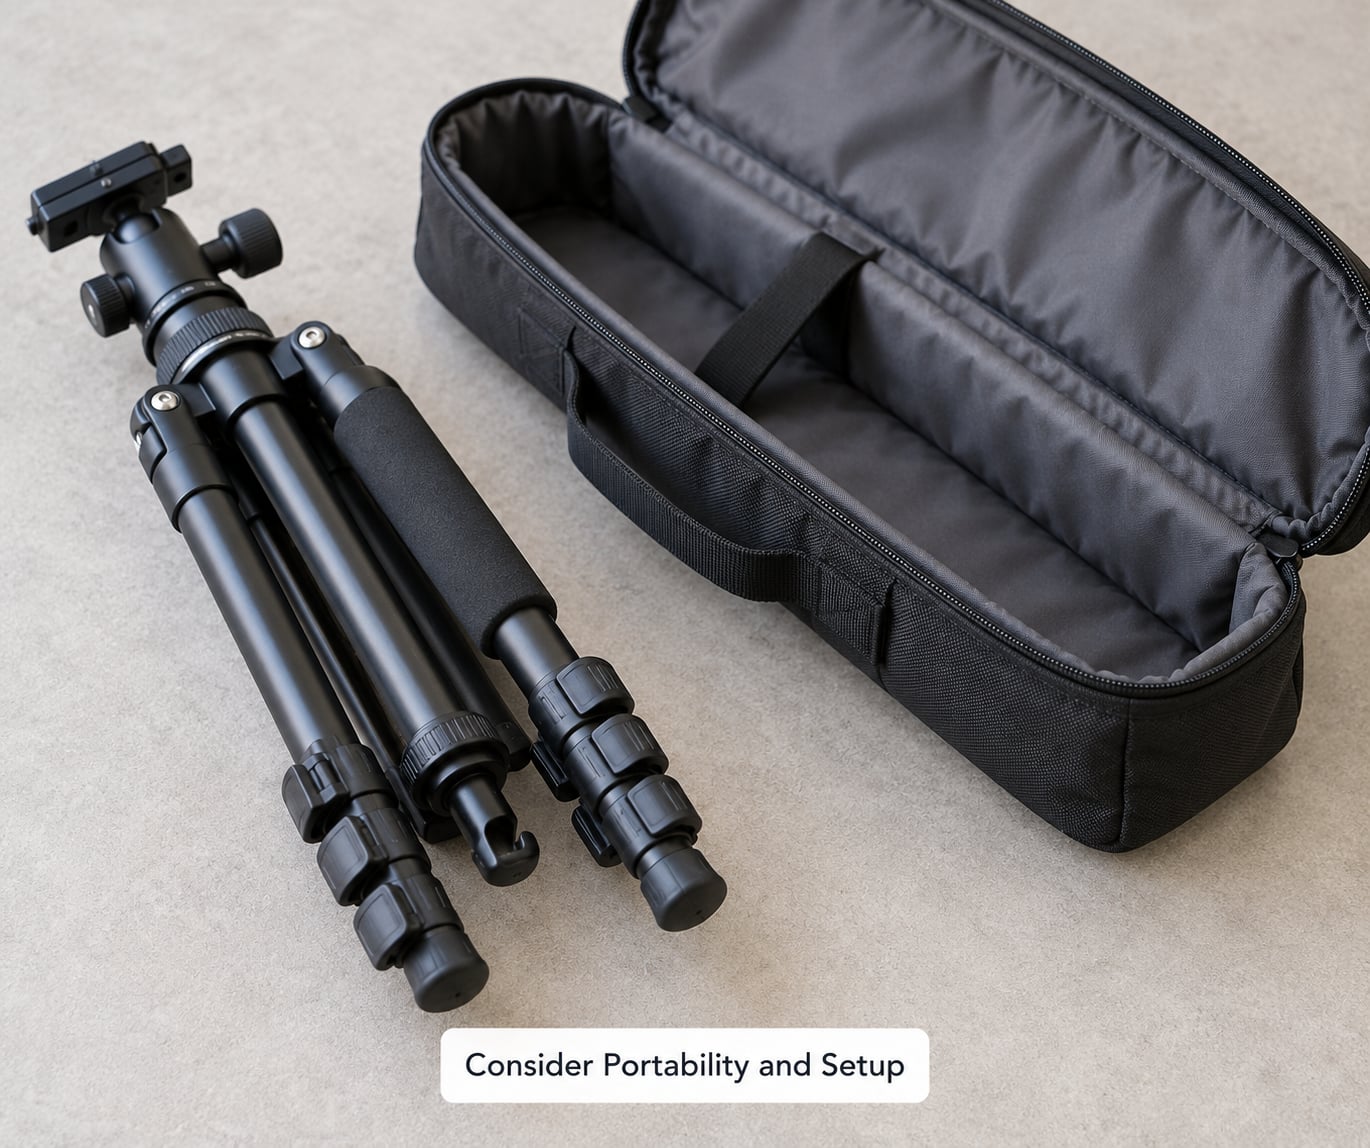
The number that matters for travel is folded length, and the figure on the spec sheet usually leaves out the head. A 1.2 kg tripod listed at 45 cm can be closer to 55 cm once the head is on. Measure both if you plan to check a bag or strap it to a hiking pack.
Fewer leg sections mean a faster setup and better stiffness, while more sections shrink the packed size. Twist locks also save time when your hands are cold or you are working in the dark, because they need less fine control than a flip lever.
Look at the center column design. A fixed column is the simplest and stiffest. A reversible column adds low-angle and overhead framing. A geared or lever column adds weight and a bit of play but lets tall photographers work at full height.
Finally, include the case in your thinking. A tripod that lives in a padded bag with a proper strap gets carried. One that lives in a car boot does not. Weight you will actually carry beats a lighter number on a spec sheet.
7. Test the Tripod Before You Buy
If you can, take the candidate tripod home or try it in a shop with your own camera. Mount the body, tighten the plate, extend the column and open the legs to your normal working angle. Push down gently on the lens and watch whether the head drifts or the legs flex sideways.
Now try the height you will really use. If you need the column to reach eye level, note how much the frame moves when you nudge the leg. Check that every lock engages with a positive click and that none pinch your fingers.
Finally, read the return and warranty terms before you leave. Confirm that replacement legs, locks and feet are sold separately. A tripod that needs a whole new head to fix a small problem will not stay in service as long. If the legs themselves are solid, you will get more mileage out of them once you know how to use a tripod correctly day to day.
Common Mistakes
- Choosing by weight instead of load capacity. A light tripod rated for 5 kg is a poor match for a 4 kg rig, because it works near its limit all the time. Compare ratings, not weights.
- Ignoring maximum height. Many people discover at the first landscape shoot that they cannot reach eye level without the column up, then spend the rest of the day crouching.
- Overlooking cold-weather behaviour. Aluminum and plastic twist locks get stiff and can crack or slip in freezing conditions. Store the tripod indoors between shoots and keep it out of a hot car.
- Buying too many leg sections. Five-section legs save a few centimetres and cost you stiffness and setup speed. Three sections are the sensible default for most working tripods.
- Not testing the head. Ball heads drift or creep under heavy loads if the friction is set loosely or the socket is worn. Check the head with your heaviest combination, not your lightest.
- Leaving the center column extended. It adds height and removes rigidity at the same time. Use it for low angles, not for eye level.
- Buying a tripod you will not carry. Owners on r/AskPhotography repeatedly describe heavy tripods gathering dust at home. Real carrying weight wins over headline specs.
- Ignoring the quick release standard. A proprietary plate locks you into one system. Arca-Swiss compatible plates work with a very wide range of heads and let you swap lenses in seconds.
Tips for Using Your Tripod Well
Set up in the same order every time: spread the legs and lock them, extend the column, mount the camera, then attach the lens. Reversing that sequence is how lenses get dropped.
At long exposures, use live view magnification to focus instead of the viewfinder, since your eye pressing against the eyepiece is a real source of shake. Set a two-second timer, use the interval timer, or trigger the shutter with a remote release and leave your hands off the camera entirely.
Look through the viewfinder before the exposure rather than during it. A tripod removes movement from the camera, not from your head, and framing is the part people forget.
Hang only what the hook is rated for on the gear hook. A full bag helps in wind, but overloading it makes the whole rig less stable rather than more.
Look after the feet. Carry spikes and rubber tips in the case rather than dragging them across rock, and wipe grit off the locks after a beach or dusty shoot. Dry the tripod before storing it, and check the locks every few months for play or stiffness.
Frequently Asked Questions
Do I need a tripod for every type of photography?
No, but most work benefits from one. Daylight street shooting and fast handheld portraits are the usual exceptions. Tripods matter most for long exposures, low light, night skies, macro, architecture, panoramas, group shots and video, where camera movement ruins the frame. Even for handheld work, a tripod lets you frame carefully, compose with precision and shoot at shutter speeds you would normally avoid.
How much weight should a tripod safely support?
Choose one rated at least 1.5 to 3 times your heaviest camera, lens, battery and accessories combined. A mirrorless body with a kit lens is often around 1.5 to 2 kg, while a body with a fast telephoto can pass 3 kg before a grip is added. That headroom keeps the legs stiff and absorbs the moment you push on the framing. Never run a setup near its stated maximum.
Is a taller tripod always better for photography?
No. Height only helps if it is usable height, meaning the camera reaches your eye level with the center column down. A tripod listed at 180 cm may only manage 150 cm before you raise the column, which adds wobble to long exposures. If you are shorter, a geared or lever column or a separate leveling base adds height without the same softness.
Are carbon fiber tripods worth the higher price?
Often, if the tripod will live in a backpack. Carbon fiber is roughly half the weight of comparable aluminum at the same stiffness and settles after a touch, which helps long exposures. It costs more, dents more easily if you drop it, and cheaper layups can be temperature sensitive. For studio work on smooth floors, aluminum gives similar results for less money.
Should I buy a travel tripod or a full-size tripod?
Buy a travel tripod if you hike, fly or shoot in crowded places, and prioritise folded length and low weight. Buy a full-size model if you shoot from a vehicle, need maximum height or work with heavy glass. Measure folded length with the head attached, since published figures often exclude it. Many photographers own one of each once they outgrow a single tripod.
What tripod accessories are actually useful?
A padded case with a strap is the first one, because it is what makes the tripod portable. An Arca-Swiss compatible quick release plate speeds up lens changes. Beyond that, a second plate, spare rubber feet or spikes, a lens or body-specific L-bracket, a small bubble level and, for long exposures, a lens cloth and a remote release cover most real needs.
Conclusion
Start where this guide starts: with your heaviest camera and lens combination, the height of your own eyes, and the conditions you shoot in. From there, the decision narrows quickly. A tripod with roughly twice your payload, enough working height without raising the center column, and a head suited to your subject will serve you for years.
The last step is the one most people skip. Set it up, load it, check for drift and flex, and make sure you will carry it. Everything else is a specification, and specifications are easy to compare. Once the prints come back from the lab, the framing and cropping work is a separate job, and picking the right frame for black and white photos changes how the tripod work is judged.