
If you want to know how to transfer photos from iPhone to computer and keep every original, the answer comes down to two choices: plug in a USB cable and copy the DCIM folder, or let iCloud hold your library and download from there. Both work in 2026, both keep full resolution if you set them up right, and the cable route is faster once you know the folder names. Whichever you pick, check the files on your computer before you delete anything from the phone.
I have moved several libraries this way, from a 400-shot weekend to a phone with five years of family photos, and the same three details decide whether it goes smoothly: the phone stays awake and trusted, the transfer setting is set to Keep Originals, and you copy instead of drag. Ten minutes of setup saves an afternoon of recropping compressed files later.
This guide covers Windows 11 and 10, macOS, iCloud on both platforms, and the wireless routes. It also covers the failures people hit most, which are almost always one of five things rather than anything seriously broken.
Table of Contents
- What You Need
- Step-by-Step: How to Transfer Photos from iPhone to Computer
- Common Mistakes and Why Transfers Fail
- The iPhone never appears on the computer
- The Photos app import screen is empty or the button is greyed out
- Everything came across but the files are small
- Photos arrive out of order, renamed or duplicated
- A large transfer stops partway through
- Windows says it cannot open the file
- Someone wants the library protected before a trade-in
- Frequently Asked Questions
- Do I need iTunes to transfer photos from my iPhone to a PC?
- Does transferring photos delete them from my iPhone?
- Why can’t I transfer photos from my iPhone to my computer?
- Can I transfer only selected photos from my iPhone?
- Can Windows open HEIC photos taken on an iPhone?
- How long does it take to transfer 10,000 photos from an iPhone?
- Conclusion
What You Need
The method you pick decides the gear. Here is the short list.
- For the cable method: a USB-C to USB-C cable for iPhone 15 and newer, or a Lightning to USB cable for older models. Some cheap charging cables carry power only and will not move files, so test yours with a laptop before you rely on it.
- For iCloud: an Apple Account with enough iCloud+ storage for your library, and iCloud Photos turned on in Settings, Photos, iCloud, Photos. Your camera roll counts against that space.
- For AirDrop: two Apple devices, Bluetooth and Wi-Fi switched on, and about ten minutes of proximity time to begin with.
- For Google Photos: a Google Account with photo backup enabled on the iPhone, then a signed-in browser or the desktop app on your computer.
- On Windows: the Microsoft Photos app that ships with Windows 10 and 11 handles HEIC display. Third-party editors such as Adobe Elements may need the files converted to JPEG first.
- On a Mac: nothing extra. Finder, Photos and Image Capture are built in.
- Storage headroom: a full-resolution library is large. Check free space on the destination before you start, or the copy stalls halfway.
One setting matters more than the others and it lives on the iPhone: Settings, Photos, Transfer to Mac or PC. Automatic hands you HEIF stills and HEVC video, which Windows may refuse to open. Keep Originals gives you JPEGs and H.264 video that anything can read, with no quality loss.
Step-by-Step: How to Transfer Photos from iPhone to Computer
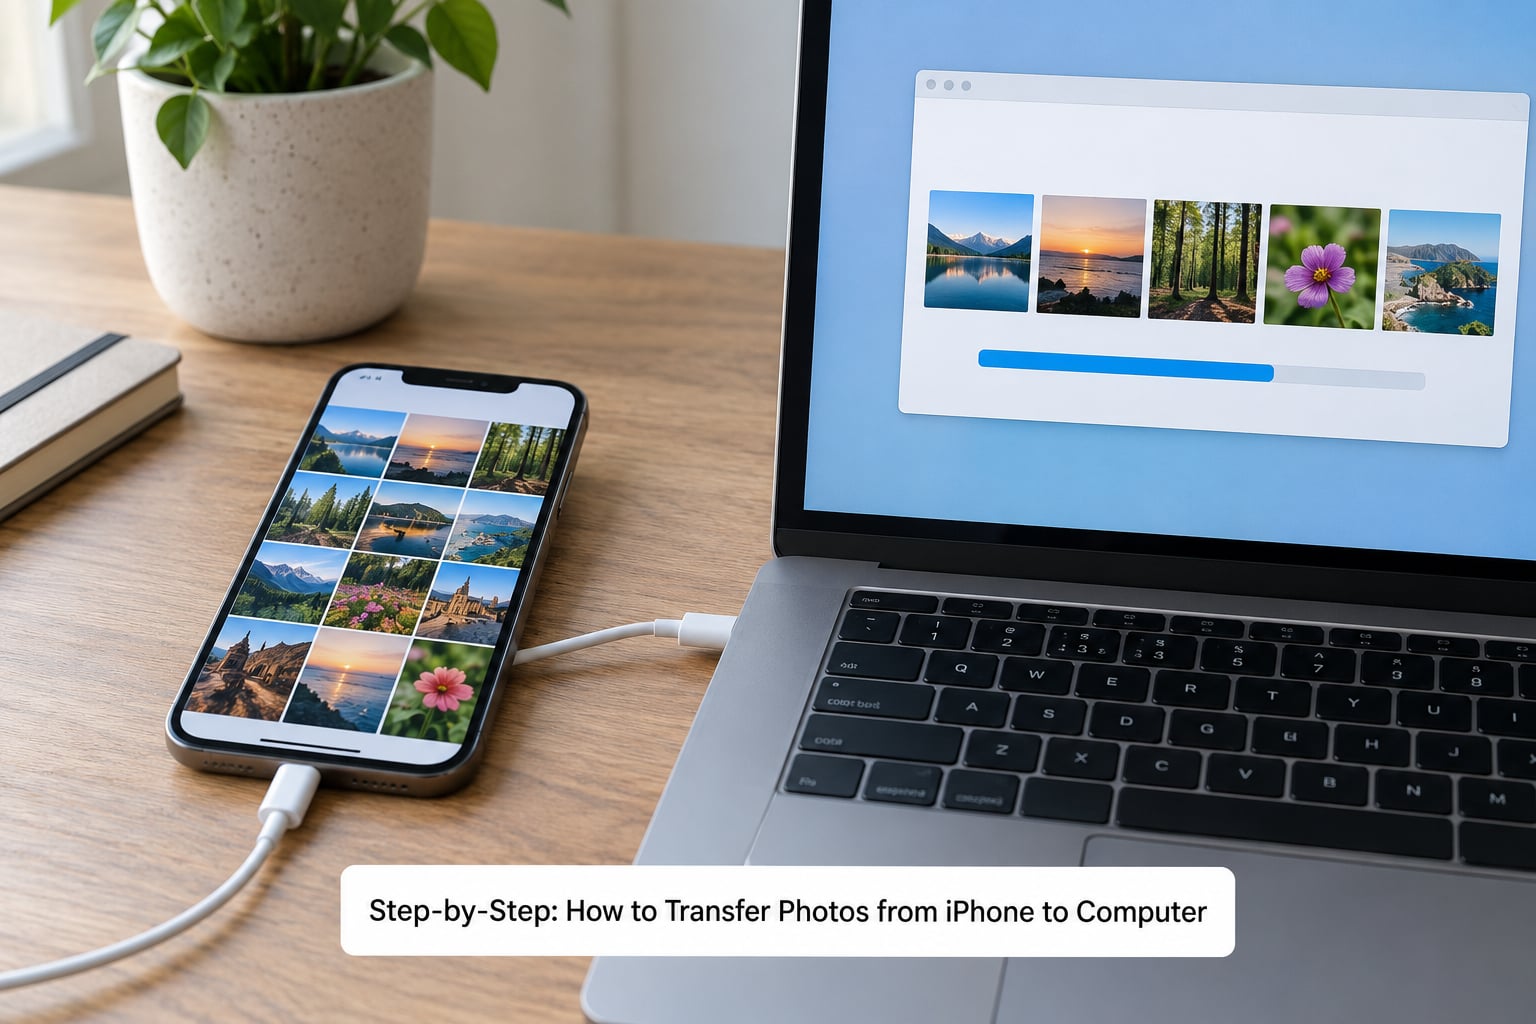
Six routes cover almost everyone. Work down the list and stop at the first one that fits your setup.
| Method | Cable | Keeps full resolution | Best for |
|---|---|---|---|
| File copy from DCIM | Yes | Yes, if set to Keep Originals | Big libraries, offline work |
| Photos app import | Yes | Yes | Beginners, sorted imports |
| iCloud Photos | No | Yes, with Download Originals | Sync across every device |
| iCloud Drive | No | Yes | Moving files without the library |
| AirDrop | No | Yes | Mac to Mac, short bursts |
| Google Photos | No | Yes, if original quality is set | Android or mixed-device households |
Method 1: Copy the DCIM folder over USB (Windows and Mac)
This is the fastest route for thousands of files and the one I use most. Your phone appears as a small camera-style drive, and the photos sit in numbered subfolders such as 100APPLE.
- Connect the phone with a data cable.
- Enter your passcode so the screen stays on, then tap Trust This Computer on the iPhone prompt.
- On Windows, open File Explorer and choose This PC, then the Apple iPhone under Devices and drives, then Internal Storage. On Mac, open Finder, choose Go, then Go to Folder, and type /DCIM.
- Open DCIM and find the 100APPLE folder, which holds recent shots. Older batches sit in folders like 101APPLE.
- Copy the folder contents to a folder you made on the computer. Copy and paste, never drag the originals across.
- Watch the progress bar in the lower-right corner of the File Explorer window.
- When the copy finishes, open a photo and check the dimensions and date taken before you unplug.
How do I get all my photos off my iPhone? This is the method that does it in one pass, because it copies the entire DCIM library rather than a filtered view. It also preserves capture dates, location and camera data because those live inside the files themselves. If you plan to sort or cull the library afterwards, our guide to culling photos fast keeps the job short.
Two warnings. This transfer runs one way, so anything you move rather than copy disappears from the iPhone. And Live Photos arrive as a still plus a separate short video, not as a live pair.
Method 2: Import through the Photos app (Windows or Mac)
The Photos app does the sorting for you, including subfolders by date and event, and it lets you tick “Delete original items after import” if you want storage back immediately.
- Connect the phone and tap Trust This Computer when asked.
- On Windows 11, open the Microsoft Photos app and click Import, then From a connected device. Choose your iPhone from the list.
- Pick the photos you want or use the Add all button to take everything.
- Use Change destination folder if you want them somewhere other than Pictures, then start the import.
- On Mac, open the Photos app. The import screen appears automatically, or click the iPhone name in the sidebar under Import.
- Choose Import All New Items to skip anything already in the library, or Import Selected to pick by hand.
- Leave Always keep on this device ticked unless you deliberately want the originals removed.
If the Photos app does not list your phone, skip to the failures section below, because it is nearly always a trust or driver problem rather than a broken cable.
Method 3: Download from iCloud Photos
iCloud holds a full copy of your library, so this method needs no cable at all and works identically on Windows and Mac.
- On the iPhone, open Settings, Photos, iCloud, Photos and switch on Sync this iPhone.
- Install iCloud for Windows from Microsoft Store, or sign in to iCloud Photos on a Mac. On Windows, enable iCloud Drive inside the app settings.
- On a Mac, open Photos, select the images, then File, Export, Export Unmodified Original.
- On Windows, open the iCloud app and choose Photos. Tick the images, click the download arrow, then choose Download Original Files.
- Alternatively, open a browser at icloud.com, enter Photos, select a batch and use the download button.
That last Download Original Files button is the one people miss. Choose the plain download option and iCloud hands you compressed previews instead of the files your camera captured. The iCloud website also limits you to 1,000 items per batch, so a large library takes several passes.
Method 4: Move specific files through iCloud Drive
For a handful of photos rather than a whole library, save them to iCloud Drive first and pull them down like any other file.
- Open Photos on the iPhone, tap Select and choose your photos.
- Tap the share button and choose Save to Files.
- Pick iCloud Drive and a folder, then tap Save.
- Open the iCloud app or iCloud Drive on the computer, navigate to that folder and copy the files out.
Unlike iCloud Photos, files in iCloud Drive sit in one place, which makes this the tidier option when you only want specific shots.
Method 5: AirDrop between Apple devices
AirDrop is the quickest option when both ends are Apple gear and you are nearby.
- Open AirDrop on the receiving Mac or iPad and set it to Contacts Only or Everyone for 10 minutes.
- On the iPhone, open Photos, tap Select and choose your photos.
- Tap the share button and choose AirDrop, then tap the receiving device.
- Accept the transfer on the other device and wait for the progress ring to finish.
AirDrop sends the full-quality files, so quality is not a concern. It does become slow with large batches, and there is no Windows equivalent built into iOS.
Method 6: Google Photos
If your household mixes iPhones and Android phones, or you already pay for Google storage, this keeps one synced library on every screen.
- Install Google Photos on the iPhone and sign in.
- Tap your profile picture, then Photos settings, Backup, and switch backup on.
- Open the backup quality setting and choose Original quality, not Storage saver, which shrinks images.
- Let the first backup finish on Wi-Fi, which can take a while for tens of thousands of items.
- On the computer, go to photos.google.com, or install the desktop app, and download your files.
Common Mistakes and Why Transfers Fail
Almost every complaint I can point to falls into one of these buckets, and each has a quick fix.
The iPhone never appears on the computer
A locked screen is the first thing to check, because a phone that goes to sleep drops the connection. Enter your passcode and tap Trust This Computer. If the prompt never appeared because you trusted this laptop before, you may still need to answer it once more: unplug the cable, restart the phone and reconnect.
On Windows, an out-of-date driver is the usual cause. Install or update the Apple Devices app from Microsoft Store, then reconnect. That alone fixes a large share of “My iPhone is not showing up” cases.
The Photos app import screen is empty or the button is greyed out
Third-party editors such as Adobe Elements often show the phone but will not start an import until the device is trusted and unlocked. Close the app, reconnect the cable, tap Trust This Computer, and reopen it. If it still refuses, switch the phone to Keep Originals in Settings, Photos, Transfer to Mac or PC, because some editors skip HEIF files.
Everything came across but the files are small
That is Optimize iPhone Storage doing its job. With that setting on, the iPhone keeps only recent full-size files and streams smaller versions on request, so a cable copy returns thumbnails for older shots. Fix it in Settings, Photos, iCloud, Photos by choosing Download and Keep Originals, wait for originals to come down, then copy again.
The same symptom shows up with iCloud when you use the standard download button rather than Download Original Files.
Photos arrive out of order, renamed or duplicated
Some tools strip the capture data and rename files by copy time, which scrambles your timeline. Copying the DCIM folder directly avoids that because date and time live inside each file. If you have already imported twice, the Photos app prevents most duplication: choose Import All New Items instead of re-importing everything.
For sorting later, our walkthrough for organising photos in Lightroom covers building folder structures that survive a big import.
A large transfer stops partway through
Libraries of 10,000 items or more take time over USB. Roughly 1,000 photos an hour is a fair expectation for a mixed library of stills and video, and video files slow it further. Keep the phone awake, close other heavy apps, copy to the internal drive first rather than an external one, and resume by copying the folder again if something breaks. Skipped files simply copy a second time without duplicating anything, since the names are identical.
Windows says it cannot open the file
HEIC and HEVC are Apple defaults. Switch the phone to Keep Originals for future transfers, and use the Microsoft Photos app to view existing HEIC files. For editing software that will not read them, convert a copy to JPEG rather than your only archive.
Someone wants the library protected before a trade-in
Before you sell or wipe a phone, confirm your copy is complete on the computer, open a handful of files, and only then erase the device. It also pays to have two copies, and our notes on protecting photos online covers keeping a second set somewhere separate.
Frequently Asked Questions
Do I need iTunes to transfer photos from my iPhone to a PC?
No. iTunes is no longer required on Windows. Windows 10 and 11 read an iPhone as a camera-style device, so you can copy the DCIM folder straight from File Explorer, or import through the Microsoft Photos app. Apple now ships the Apple Devices app in Microsoft Store for pairing and driver updates, which replaces the old iTunes role.
Does transferring photos delete them from my iPhone?
Not by default. Copying from the DCIM folder or importing into the Photos app leaves the originals on the phone. You only lose them if you drag instead of copy, or if you tick Delete original items after import in the Photos app. Check the destination folder first, then decide whether you want the space back.
Why can’t I transfer photos from my iPhone to my computer?
Most failed transfers come from three causes: the iPhone is locked and drops the connection, the device has not been trusted, or the Apple driver on Windows is out of date. Enter your passcode, tap Trust This Computer, and update the Apple Devices app from Microsoft Store. Small files usually mean Optimize iPhone Storage is on.
Can I transfer only selected photos from my iPhone?
Yes, and it is quicker than copying everything. In the Photos app import window on Mac, or the connected device view in Microsoft Photos on Windows, tick just the images you want before importing. You can also use AirDrop for selected photos on Apple gear, or Save to Files on the iPhone to move a handful through iCloud Drive.
Can Windows open HEIC photos taken on an iPhone?
Windows 10 and 11 can display HEIC in the Microsoft Photos app, though older software may fail. For transfers to any machine, set Settings, Photos, Transfer to Mac or PC to Keep Originals, which delivers JPEGs and H.264 video instead of HEIC and HEVC. There is no quality loss in that conversion for still images.
How long does it take to transfer 10,000 photos from an iPhone?
Over USB, expect roughly an hour per 1,000 items for a mixed library of stills and video, and considerably longer if the library is video-heavy. Over iCloud, the first sync is limited by your upload speed and may run for hours. Keep the phone awake, close other apps, and copy to the internal drive rather than an external one.
Conclusion
For most people, the cable wins. Copy the DCIM folder from File Explorer or Finder when you want speed, offline work and untouched capture dates; use the Photos app when you would rather the import be sorted for you; use AirDrop for a handful of shots between Apple devices; and use iCloud Photos when your library should follow you to every device anyway.
Whichever route you take, set Transfer to Mac or PC to Keep Originals before you start, keep the iPhone awake and trusted, and open a few of the transferred files on your computer. Only then delete anything from the phone.