
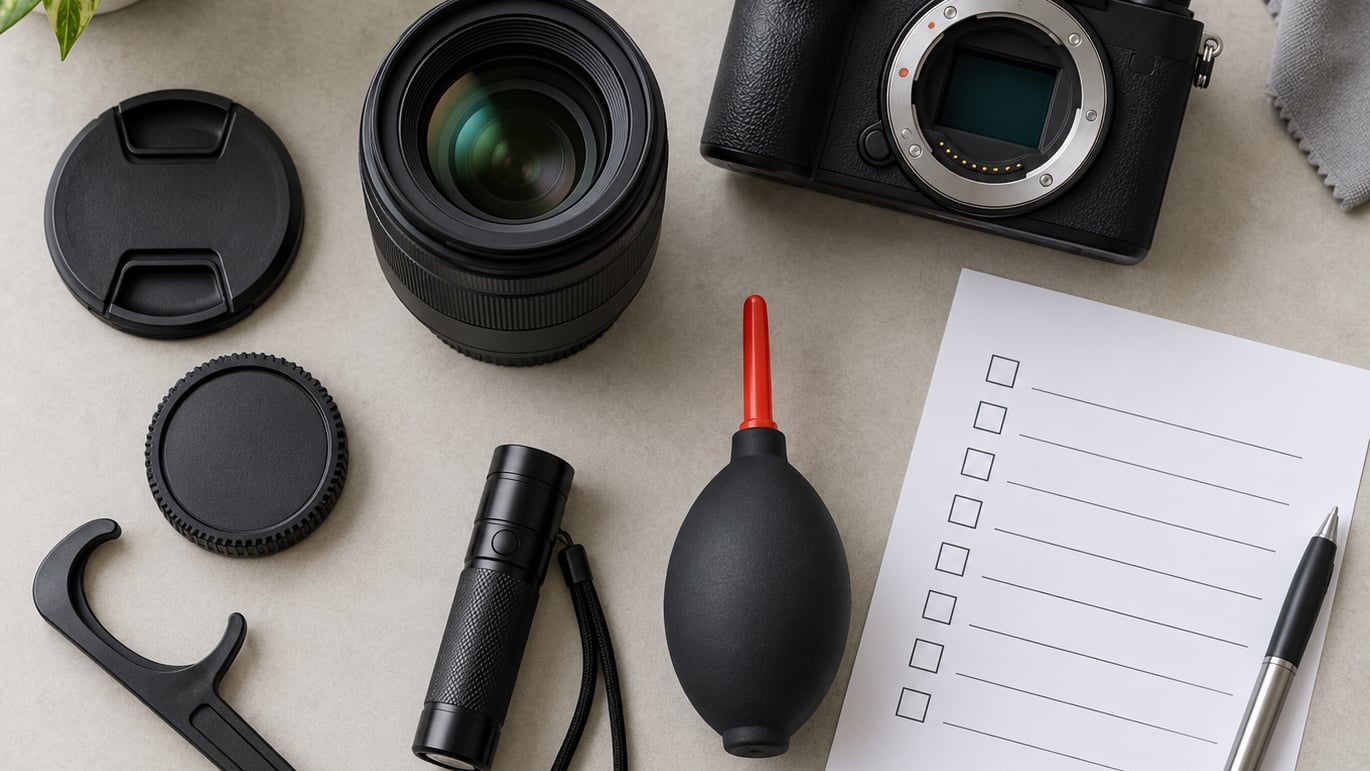
Knowing how to buy a used lens comes down to one habit: inspect before you pay, not after. A lens has no expiry date: the glass, the mount and the helicoid are simple parts that keep working for decades as long as fungus and element separation stay away. Your whole job is to run three passes — look at the glass, feel the mechanics, test it on your own body — before any money moves. Allow 30 to 45 minutes for a proper inspection and bring the camera you intend to shoot it on.
Table of Contents
- What You Need
- Step-by-Step: How to Buy a Used Lens
- Confirm the Lens and Camera Compatibility
- Research the Seller and Ask for Evidence
- Inspect the Mount, Barrel, and Exterior
- Check the Front and Rear Glass
- Test the Focus, Aperture, and Zoom Mechanics
- Make Test Shots and Review Image Quality
- Negotiate the Price and Complete the Purchase
- Where to Buy a Used Lens: Dealer, Marketplace or Private Seller
- Common Mistakes
- Frequently Asked Questions
- Conclusion
What You Need
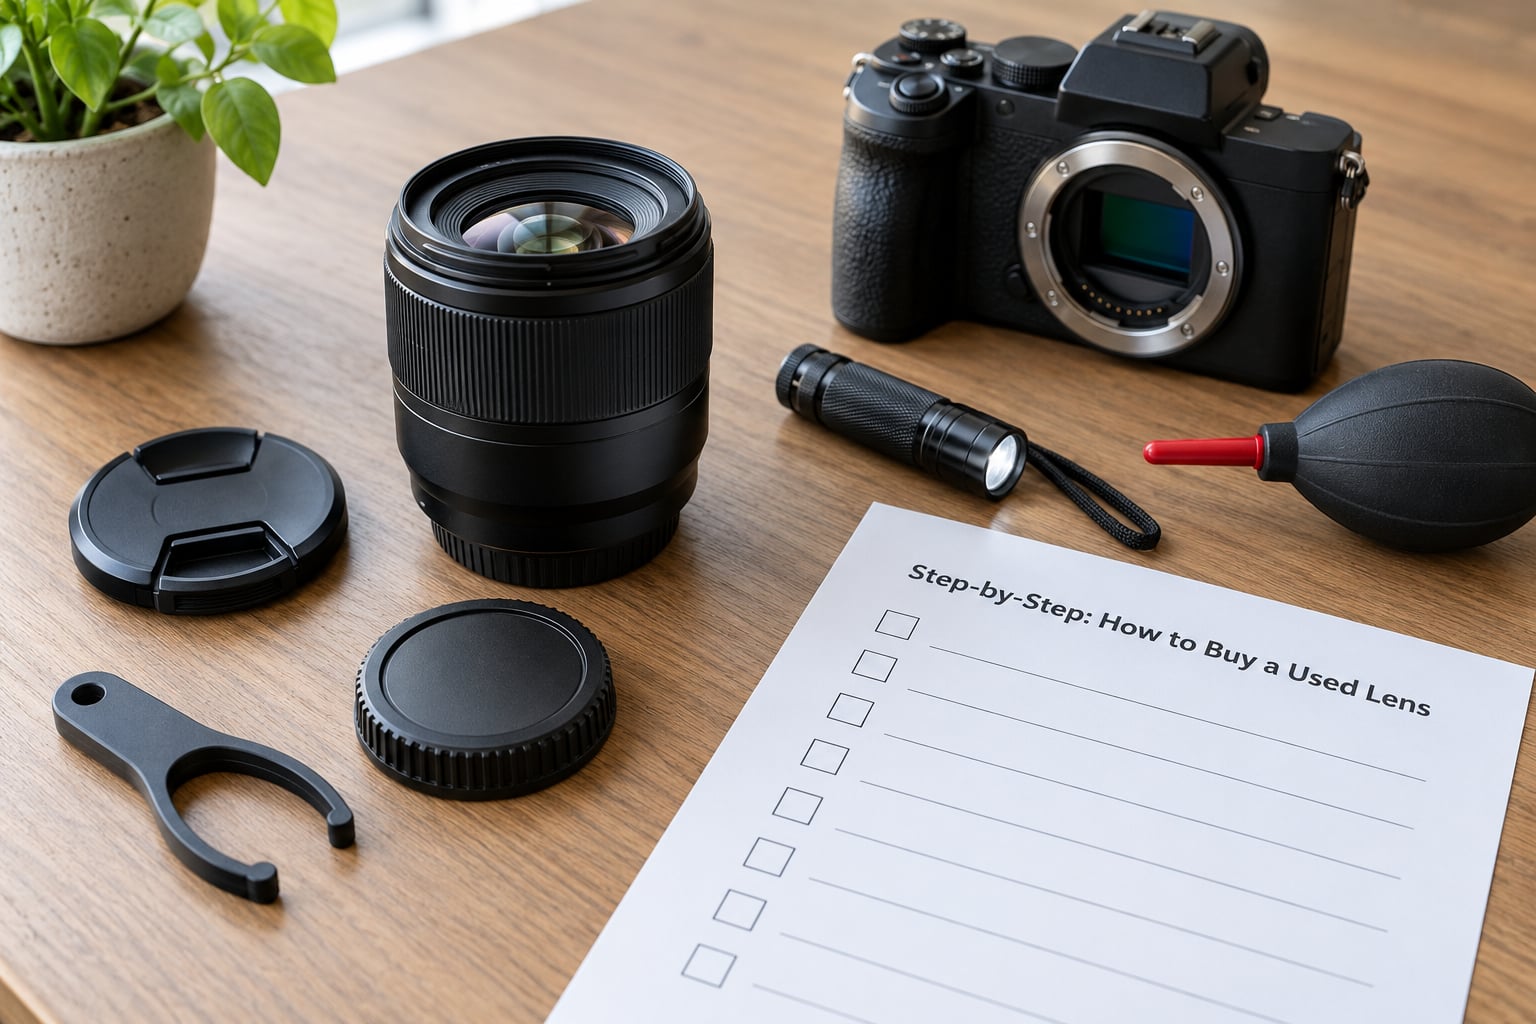
Most of what follows requires nothing more exotic than a bag you already own. Pack this before you travel to a meetup or a shop:
- The camera body you will actually use with this lens, with a charged battery and a card with free space on it.
- The mount adapter or ring if the lens is from another system, plus any software the adapter needs.
- A small flashlight with a narrow beam, or your phone’s LED for backlighting the glass.
- A blower, a microfibre cloth, cotton swabs and a small amount of isopropyl alcohol or hydrogen peroxide for testing a suspect spot.
- A proper lens cap remover, since a coin or a knife edge will scar the cap bayonet.
- The seller’s listing, photos, receipts and service records saved on your phone.
- A printed or screenshotted copy of the checklist below, so you are not relying on memory.
If you cannot be there in person, ask for a video before you buy: caps off, glass held up to a window, aperture blades moving, focus ring turning, and a short clip of the lens reporting its name in the camera’s EXIF data. A seller who will not send that footage is telling you something.
Step-by-Step: How to Buy a Used Lens
Confirm the Lens and Camera Compatibility
Compatibility is decided by mount, sensor size and electronics — in that order, and all three before you pay. The mount name alone tells you nothing about whether the lens will actually mount and autofocus. Read the exact model number off the barrel and the variant off the listing, because the same lens family is often sold in full frame and APS-C versions with completely different optics.
Sensor coverage is the second check. A full frame lens on an APS-C body usually just gives you a tighter field of view; a crop lens on a full frame body usually gives you soft corners, which looks like decentering when you find it later. Third party lenses often have their own crop factor, sometimes tighter than the camera’s, and that is the reason a 35mm focal length behaves like a 45mm.
Adapted and vintage glass is a separate decision. Without an adapter that carries the contacts, you lose autofocus, image stabilisation and EXIF, and on many adapters the lens can only stop down to the aperture set on its own ring. Ask yourself whether you are happy shooting fully manual before you travel across town for one.
Research the Seller and Ask for Evidence
A seller who has answered optical questions before the sale is telling you more than a seller with a perfect rating. On photography forums, the sellers that get recommended again and again are the ones who photograph every element and say plainly whether it is free of fungus and haze. Listing photos are usually taken on a bright windowsill in a hurry, so ask for new ones: front element, rear element, aperture blades, mount and serial number, all against a plain background.
Ask these questions before you set out, not in the doorway:
- Is there fungus, haze or separation in any element, now or in the past?
- Has the lens ever been dropped, flooded, or stored in a damp cupboard?
- Has it ever been opened, repaired, or had its helicoid or a flex cable replaced?
- Does the serial number on the barrel match the one in the listing, and is there any service paperwork?
- Has a UV filter been attached permanently, and is it included?
- What is the return window if it arrives with a fault that was not described?
- Why are you selling it?
- Can I mount it on my own body and shoot before I pay?
That last question about motivation sounds idle but rarely is. An upgrade to a wider zoom, a switch to a lighter kit, a camera that died and left the glass behind — those are all normal. “It was in a damp garage for two years” is not, and you want that answer over the phone rather than face to face.
Inspect the Mount, Barrel, and Exterior
Start at the metal. Run a fingernail carefully along the mount flange and the bayonet tabs; bright bare metal with rounded edges means many mountings, which is normal wear, while a tab that sits lower than its neighbours or a flange that is visibly out of round means a hard drop. Check that the lens locks positively and that there is no side-to-side wobble when it is mounted, since play in the mount turns into play in your images at long focal lengths.
Work around the barrel next. Look for dents near the front and rear, crushed or peeling rubber on the focus and zoom rings, a filter thread that catches a fingernail or runs crooked, and any sign of the barrel being pushed out of alignment. Ask the seller to take off the UV filter before you judge the front glass: a cheap filter hides scratches, adds flare, and has become the subject of more arguments than any other part of a lens sale.
Check the Front and Rear Glass
Remove both caps, hold the lens toward a window or lamp, and look straight through it while turning it slowly in your hand. Anything that moves with the lens is dust or a scratch; anything fixed to the glass is a problem. Then put your light source behind the lens and view at a shallow angle, which makes haze and separation show up as milky veils, ripples or blotchy patches. Shining a phone LED from behind works well too, but never press your eye to a magnified LED at close range.
To tell fungus from dust and from haze: fungus appears as dark, branching filaments, often starting at the edge of an element and spreading in a web or tree pattern that stays put when you move the lens. Dust looks like separate specks that shift position as you turn the lens. Haze is a uniform milky film across the whole surface that does not move at all. A swab with a little hydrogen peroxide on a suspect filament is the classic field test people use to confirm fungus, because the growth pales immediately and comes back if you skip it.
| What you see | What it is | Severity | What to do |
|---|---|---|---|
| Dark branching threads, often from the edge of the element | Fungus | High | Ask for a straight-on photo, then negotiate hard or walk away |
| Uniform milky film; contrast stays flat when stopped down | Haze | High | Treat like fungus; repairs rarely make economic sense |
| Wavy interference pattern near the edge of the glass | Balsam separation | High | Only that element group is affected; often priced as a defect |
| A visible gap or blister between element and mount ring | Element separation | Very high | Walk away — the glass is no longer supported |
| Specks that move when you tilt the lens | Dust | Low | A blower and a swab usually finish it |
| Greasy film that smears into an uneven shape | Oil on aperture blades | Medium | Often cleanable; check the blade spring is not gummed |
| One corner soft at both ends of a zoom range | Decentering | High | Rarely repairable and it hurts resale; ask for a price cut |
| Bent tabs, or a mount that will not lock firmly | Bent mount | High | Walk away unless the seller already knows and discounts it |
| Dull or greenish contacts, no lens name in the EXIF | Corroded contacts | Medium | Sometimes a contact pen fixes it; always test AF and aperture |
| Fine smears or streak marks on the surface | Old cleaning residue | Low | Usually accepted by the community; affects contrast in backlight only |
Where a scratch sits matters more than how long it is. A small mark on the rear element is the serious one, because it sits right in front of the sensor, interacts with autofocus and is magnified most at wide apertures. A light front-element scratch or a leftover cleaning smear is common on working lenses and mostly shows when you shoot straight into a bright light. Both are negotiable; neither is automatically a dealbreaker.
Test the Focus, Aperture, and Zoom Mechanics
Turn the focus ring through its full travel and back. On a mechanically coupled lens the ring turns with the lens itself and you can feel the helicoid driving; on a focus-by-wire lens the ring turns almost idly while a motor inside moves the group, which is normal and not a fault. Listen for grinding, catching or a sudden step in the rotation, and note whether the ring is sticky at one end of the range — oily helicoids are common on older glass.
Test the aperture in manual mode with a slow shutter speed, around a fifth of a second, so the blades are visible on the back of the camera as you fire. Step through every detent and check the blades move cleanly, symmetrically, and return crisply to closed. Grease or oil on the blades makes them move slowly and bow into a lopsided shape, and a blade that never quite closes is a real defect.
Work the zoom ring slowly through its range if you bought a zoom. It should move evenly with no grind, no sudden jump, and no sag holding the lens at an unintended position. A zoom that slowly drifts under its own weight is a known quirk of many older designs and is annoying but rarely fatal. A zoom that binds halfway is not.
Make Test Shots and Review Image Quality
Buying in person means you can skip the guesswork. Set the camera to single autofocus point, use a high-contrast target, and shoot in daylight at the equivalent of 100% view. Check that focus lands quickly and on the mark at the centre, at a corner, and near the edge, at both ends of the zoom range.
The decentering test is simple: put a flat, parallel subject at a wall or window — a brick wall, a printed page, a taped grid — fill the frame, and shoot wide open at the short end and again at the long end. If one corner stays soft in both shots while the rest is sharp, the lens is decentred or its elements are misaligned. If the softness comes back to normal when you stop down, it is likely just corner performance rather than a fault.
Check haze against a distant scene with detail, wide open, and then again at f/5.6 or f/8. Haze and fungus show as milky low contrast that does not improve when you stop down, whereas a diffraction-limited aperture will look clean. Look for vignetting, distortion at the frame edges, flare from the coating when a light source is near the front element, and any uneven brightness or smear on the coating itself.
On an electronic lens, confirm the camera reports the lens name, focal length and aperture in the file. Missing data usually points to dirty or corroded contacts, and it is worth cleaning before you panic. If the lens has image stabilisation, check that the camera reports it active and that framing behaves normally at a slow shutter speed. For a manual lens, run a front-focus and back-focus test at a fixed distance before you accept it.
Negotiate the Price and Complete the Purchase
Compare the asking price against what the same model actually sells for in the same condition, using completed or sold listings rather than live ones. A mid-grade lens with light wear should not carry the same number as a mint example with boxes. Then price in what you found: fungus, haze or separation is worth a substantial discount, a bent mount or decentering usually justifies walking away, and light dust or cosmetic wear barely moves the number at all.
Be straight about it. “There is fungus in the rear group, I can see it clearly against the window” gives a seller nothing to argue with; a vague “there is some haze I think” invites a correction. Do the negotiating after you have finished testing, not before, so you are negotiating from facts.
Pay through a method that keeps a record: a marketplace payment service, a card payment, or a dealer with a written return window. Keep the money moving last, after you are satisfied. Send a written confirmation of what you bought — model, serial number, condition, box and accessories, return terms — and screenshot the listing and the seller’s messages before they get deleted.
Then use the return window properly. Test everything on the same day the lens arrives, in daylight, at every focal length, before a single mount cycle goes through a full battery. Most buyers never test the far end of a zoom range, and that is exactly where decentering hides.
Where to Buy a Used Lens: Dealer, Marketplace or Private Seller
The channel changes how much protection you get and how much checking you have to do yourself. A used dealer will have graded the lens and will usually give you a return window, at the cost of a higher asking figure. A marketplace listing gives you payment protection and buyer feedback, but the description is written by the seller and photographs are still just photographs. A private sale or a local meetup is often the cheapest route and the least protected, which makes the in-person checks in this guide non-negotiable.
Ask yourself one question about the channel: can you get your money back if the description turns out to be wrong? If the answer is no, do the inspection before the deal, not after.
Common Mistakes
These are the mistakes that cost people the most money, roughly in order of how often they hurt:
- Buying on mount name alone. The mount fits and then you discover the lens is crop-only, or needs an adapter that strips autofocus. Check the exact model and sensor coverage first.
- Skipping the backlit glass check. Listing photos hide fungus better than anything. Ask for your own, or test against a window.
- Testing at one aperture only. Wide open hides separation and haze. Shoot wide and at f/8 before you accept.
- Paying outside a protected transaction. Cash, wire transfer, gift cards and “meet me at the machine” leave you with nothing when the lens turns out to be wrong.
- Trusting vague condition words. Mint, excellent and clean glass mean nothing on their own. Ask for a photo of each element against a bright background.
- Confusing dust with fungus. Dust moves when you tilt the lens. Filaments do not.
- Forgetting the body, the battery or the adapter. Half of the checklist is impossible without them, and it is the most common reason a meetup ends with no test at all.
- Treating a small front scratch as a dealbreaker. It usually is not. Treating a rear-element scratch as harmless is a bigger mistake.
- Accepting as-is without asking about the return window. A dealer who has a policy will tell you. Someone who says as-is is telling you they have none.
- Buying without knowing the serial number. You want it recorded before payment, both for service history later and for proof of what you bought.
One more habit pays off: when the lens arrives, test it before you mount anything else and before you glue a filter on. Once the lens has been on your kit with a filter attached for a week, proving a pre-existing defect becomes a conversation about blame instead of a return.
Frequently Asked Questions
Is it okay to buy a second hand lens?
Yes, for almost any lens that has been stored dry and cared for. A lens has no expiry date, and glass, mounts and helicoids routinely work for decades. The real risks are fungus, haze, balsam or element separation, oil on the aperture blades, a bent mount and decentering, and all of them are visible when you know what to look for. Buy from a channel that lets you return a lens that was misdescribed.
How do I tell if a used lens has fungus?
Remove both caps, hold the lens against a bright window and turn it slowly. Fungus shows as dark branching threads or a web pattern that stays fixed to the glass while dust specks shift position as you move the lens. To confirm a suspect spot, dab it with a cotton swab and a little hydrogen peroxide: fungus pales immediately and returns if you skip the peroxide.
How much does it cost to remove fungus from a lens?
It depends on the lens and how long the growth has been there. Quotes run from a few hundred for an entry-level zoom cleaned professionally to well over a thousand on high-end glass with several affected elements, and the price climbs further when a neglected group has to be replaced rather than cleaned. For most used buyers the arithmetic says return it or walk away.
What is the best website to buy used lenses?
It depends on which protection matters more to you. A reputable used dealer gives you a condition grade, inspected optics and a written return window. A large marketplace gives you payment protection and public seller feedback, but the description is still the seller’s own. A local meetup or classified site is often cheapest and least protected, so the in-person inspection steps in this guide become mandatory.
How do I check if a used lens is decentered?
Shoot a flat, parallel subject at a wall or window, fill the frame, and capture it wide open at the short end of the zoom and again at the long end. If the same corner stays soft in both frames while the centre stays sharp, the lens is decentred or internally misaligned. Stopping down often hides it slightly but does not repair it, and decentering rarely holds resale value.
What should I do if the used lens is faulty after delivery?
Test it the day it arrives, in daylight, at every focal length, before it goes into your kit for a week. Photograph the fault against a plain background and keep the seller’s original listing and messages. If the description mentioned no fungus, separation, damage or mount problems, contact the seller within the return window and ask for a return or a partial refund rather than a repair.
Conclusion
Start with compatibility, because it costs nothing to check and everything to get wrong. Then get evidence from the seller before you travel, run the three passes in person — look at the glass against a light, feel the rings and aperture, shoot test frames on your own body — and negotiate from what you actually found. Pay through a method that leaves a record, and test the lens again on day one of the return window before it becomes part of your kit.