
Updating camera firmware is simpler than most people expect: download the file built for your exact model from the manufacturer’s support page, put it in the root folder of a freshly formatted memory card (or send it over Wi-Fi through the brand’s app), then start the update from the setup menu and leave the camera alone until it restarts. The whole job takes about ten minutes on most bodies. The risk people worry about is real but small, and it comes down to three things: the right file, full battery, and no interruptions.
What follows is how to update camera firmware the same way for any brand, plus what to do when something goes wrong. Menu names differ between manufacturers, so I’ll flag those where they matter and keep the underlying method identical.
Table of Contents
What You Need
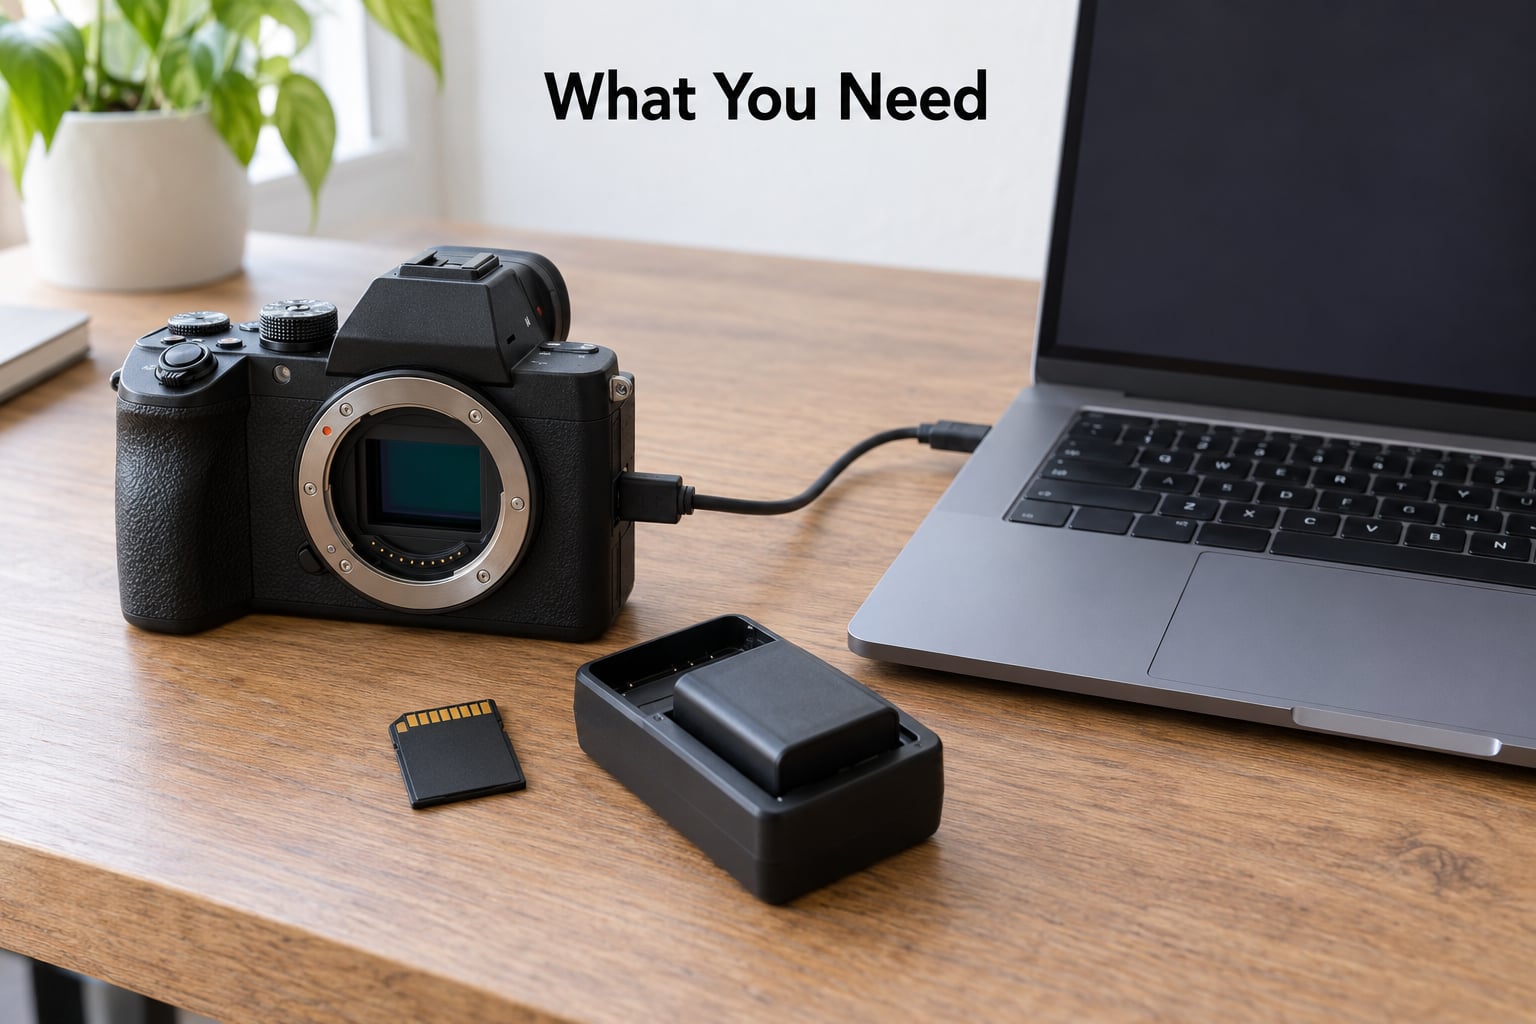
Gather everything before you download anything. Half of the failed updates I hear about were started with a flat battery or the wrong file already on the card.
- Your camera, with the model name and current firmware version written down. Both go on a piece of paper or a note in your phone.
- The manufacturer’s official firmware package for that exact model, downloaded from the brand’s own support site, never a third-party mirror or a forum attachment.
- A fully charged battery, or the AC adapter and a fresh battery if your model supports power delivery during an update.
- A memory card, formatted in the camera itself and not in your computer.
- A card reader if you’re using the card method, and a stable USB cable if you’re using a desktop updater.
- A backup of your images if any are still on the card you’re about to format.
Recording the current firmware version matters more than people expect. Without it you cannot tell whether the update worked, and you won’t know if you ever need to reinstall an earlier release. Write it down before you touch the card.
Formatting the card erases everything on it. That warning is standard on the camera screen and it is still the single most common surprise for first-timers, so move your images off first.
It also helps to note the settings you care about before you start. A firmware update can reset some menu options back to their factory state, including exposure and image settings such as ISO behaviour and noise reduction or picture styles, depending on the model.
How to Update Camera Firmware: Step-by-Step
Check the version, charge the battery, format the card in the camera, download the official file, copy it to the root of the card, run the update from the setup menu, and wait. That is the whole sequence, and it works whether your camera takes the file from a memory card or receives it over Wi-Fi through the manufacturer’s app.
How to Update Camera Firmware on Your Camera
Here is the six-step version in the order you actually perform it.
- Confirm the exact model. Read the model name on the bottom plate or in the setup menu. Many bodies share a name across regions but differ internally, so the manufacturer’s model list on the support page is the authority, not the badge on the front.
- Check your current firmware version. It is almost always in the setup menu, in an item labelled Firmware Version, Firmware, or Version. Note the number exactly.
- Read the release notes for the version you plan to install. Brands sometimes require an intermediate version before the latest one, and the notes are where that is stated.
- Install using the method that manufacturer specifies for your body — memory card, USB flash drive, desktop updater, or app over Wi-Fi. Not every method is offered on every model.
- Keep the camera powered for the entire installation. Don’t touch buttons, don’t open the battery door, don’t remove the card. Some updates take a minute to appear to do anything, which is normal.
- Restart and verify. After the camera reboots, reopen the version menu and confirm the number changed to the new one.
The card method is the most universal. Format the card in the camera, copy the single firmware file to the card’s root directory, reinsert it, and choose the firmware option from the setup menu. Root directory means the top level of the card, not DCIM and not a folder you created. Dragging the file into a folder is the single most common cause of an update that refuses to start, and it’s what forum threads about bricked bodies almost always turn up.
The app method uses the camera’s Wi-Fi and the manufacturer’s mobile app. It’s clean and needs no computer, which is why so many people ask about it, but it only exists on recent models. Older bodies and some budget cameras have no wireless update at all, and a few require the desktop application on a computer instead.
| Update method | Computer needed | Best for | Watch out for |
|---|---|---|---|
| Memory card | Only to download and copy the file | Most cameras, especially older bodies | File must sit in the card root; card must be formatted in the camera |
| Wi-Fi and app | No | Newer models with wireless built in | Weak signal mid-transfer; some updates force an app migration afterwards |
| Desktop updater | Yes | Sony and some Canon and Nikon bodies | Licence prompts and OS compatibility block downloads |
| USB flash drive | Yes, to prepare the drive | Some bodies accept a drive instead of a card | Drive has to be formatted to a supported type, usually FAT32 |
Menu Paths and File Types Differ by Brand
Nobody makes firmware update the same way twice, so treat any guide that gives you one universal path with suspicion. The locations below are typical for current models; your user manual is the final word for the body in your hands.
| Brand | Where to find it | Method | File | Version menu |
|---|---|---|---|---|
| Canon | EOS Utility or the camera’s web support page | USB via EOS Utility, or SD card on EOS R and later bodies | .FIR or .bin | Setup menu, wrench icon, Firmware |
| Nikon | Brand support page, then Nikon Imaging Cloud or SnapBridge | Camera updater file over USB, or the app | .bin | Setup menu, Firmware version |
| Sony | Sony support site, Imaging Edge Desktop, or Creators’ App | USB updater, or app over Wi-Fi on newer Alpha bodies | .bin or .exe updater | Setup menu, System, System Software |
| Fujifilm | Brand support page | SD card | .dat | System menu, Firmware Update |
| Panasonic Lumix | Brand support page | SD card | .bin | Setup menu, Firmware |
| OM System | Brand support page | SD card, or app on some bodies | .bin | Setup menu, System, Firmware |
Two traps sit behind that table. First, some releases are cumulative, meaning the camera will refuse a newer version until an intermediate one is installed first; the release notes tell you when. Second, on Sony, updating to certain versions moves the camera to the Creators’ App and away from Imaging Edge Mobile, which catches people out mid-session. If you rely on the old app for image transfer, check that before you start.
Third-party lenses are a separate job. Sigma and Tamron update their own glass through a dock or an app, and the body firmware sometimes needs to be current first so the lens is recognised properly. Update the body, then the lens.
Common Mistakes and How to Fix Them
Downloading the file for the wrong model. This is the fastest route to a camera that will not start. The fix, if you have not run it yet, is to delete the file and re-download using the model number printed on the camera body. If you already ran it, do not keep retrying with the same file.
Leaving the file in a subfolder. If the setup menu does not show a firmware option, open the card on your computer and check where the file landed. Move it up to the top level, next to the DCIM folder rather than inside it.
Skipping the release notes. They explain intermediate version requirements, known problems in earlier releases, and whether the update fixes a bug that is also present in the new one. Skipping them is how people end up updating twice.
Using the wrong cable or an unformatted card. Charge-only USB cables will not carry data, and a card formatted on a computer rather than in the camera can be rejected. Use the cable that came with the camera, and format the card in the camera.
Power loss mid-update. If the battery dips or the card is pulled while software is writing, the camera may show no image or not power on at all. Nearly every case is recoverable. Put a formatted card containing only the firmware file into the camera, hold the relevant buttons as described in the brand’s support documentation, and power on. Forum communities have revived plenty of bodies this way, including Ricoh and Sony models, using a button combination found on Reddit.
Mistaking a restart for a finished update. The camera reboots twice on some models, and the progress bar can sit at 0% for a minute or two before moving. Leave it alone until it settles, then reopen the version menu and compare the number to the one you wrote down.
Assuming the update changed nothing and repeating it. If a setting looks wrong afterwards — a monochrome picture style, a custom function, an image counter that restarted at 1 — check the menu before installing again. Reinstalling the same version will not change the setting.
If an update fails more than twice with a clean card and a correct file, stop. Do not attempt repeated flashing hoping for a different result. Contact the manufacturer’s support with the camera model, the current version, and the exact error text, and be ready for them to arrange service. Repair costs for a genuinely bricked board are not something any guide can talk you out of.
Update firmware when you have time, not the night before a paid shoot. Leave the camera settled afterwards and take a few frames, because some changes only reveal themselves once you are out shooting.
Frequently Asked Questions
How do I know which camera firmware version I need?
Check the version currently installed in your camera’s setup menu, then open the manufacturer’s support page and select your exact model. If the installed number is lower than the newest release listed, that newest release is the one you want. Read the release notes too: some bodies require an intermediate version to be installed first.
Will updating camera firmware delete my photos and settings?
Your photos are only at risk if you format the card in the camera, which most update methods require. Back them up first. Custom settings and menu options can return to factory defaults after an update on some models, so note anything unusual you rely on before you start and check it afterwards.
What should I do if a camera firmware update fails or freezes?
Do not interrupt a frozen update. Wait several minutes, since progress often stalls at 0% early on. If the camera will not power on afterwards, insert a card formatted in the camera containing only the firmware file, hold the buttons listed in the manufacturer’s recovery instructions, and power on. If two clean attempts fail, contact the manufacturer rather than flashing repeatedly.
Can I install an older firmware version on my camera?
Most manufacturers do not offer a downgrade path, and only a few cameras accept a previous version deliberately for testing. You cannot simply copy an older file to the card and expect it to install, since the camera checks that the version is newer than the one it has. If a new release causes problems for you, contact support rather than attempting to roll back.
Do I need to update the firmware on third-party lenses or adapters?
Sometimes, and the process is run by the lens maker, not the camera brand. Sigma and Tamron update many lenses through their own dock or app. Keep the camera body firmware current first, since newer body firmware often improves lens detection, autofocus behaviour and stabilisation compatibility. Adapters generally have no firmware of their own to update.
If a monochrome setting or image style has shifted after your update and you want it back, how to shoot black and white photos with a digital camera covers getting the look back after a menu reset.
Conclusion
Start by writing down your camera’s exact model and its current firmware version. Then follow only that manufacturer’s official instructions — their release notes, their menu path, their file placement rule — until the version screen shows the new number. Ten careful minutes is the whole job, and the risk drops to almost nothing once you stop improvising.