
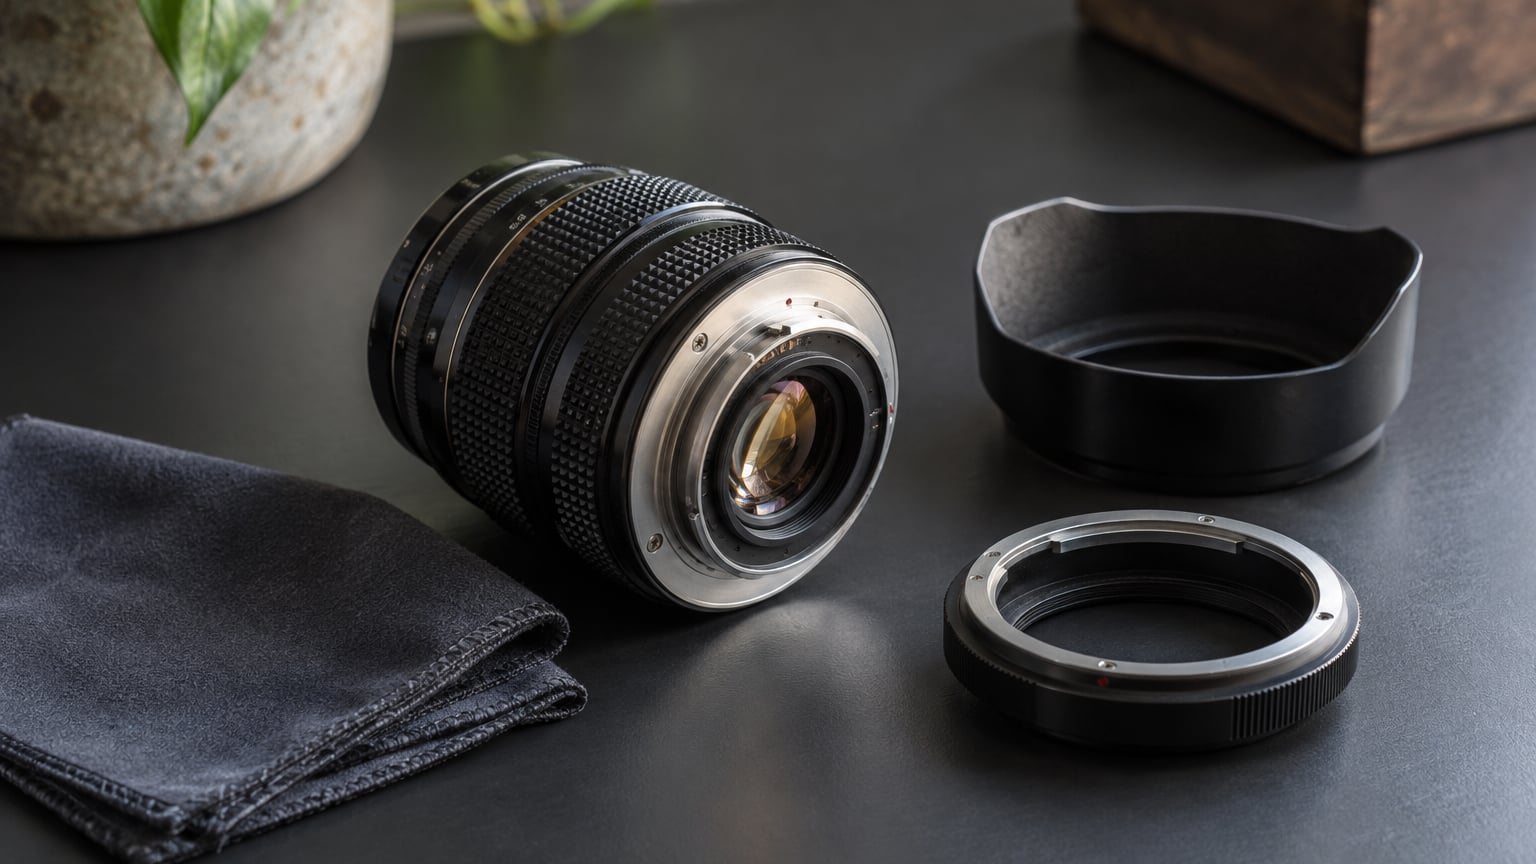
You can put almost any film-era lens on a modern mirrorless body with a metal adapter ring, because mirrorless bodies have far less room behind the mount than an SLR did. The adapter fills that gap, the lens sits at exactly the distance its rear element expects, and you get a manual-focus image with none of the electronics.
It takes about fifteen minutes for the first lens and five for the next one. The only real risk is buying the wrong ring, which is why the mount identification step comes first every time. Updated for 2026.
Table of Contents
- What You Need
- Step-by-Step: How to Adapt Vintage Lenses to Mirrorless Cameras
- 1. Identify the camera system and lens mount
- 2. Choose a correct adapter with the required tolerances
- 3. Mount the lens without forcing either component
- 4. Confirm mechanical and electronic operation
- 5. Test focus, exposure and image quality at full aperture
- 6. Set a dependable manual-focus shooting routine
- Common Mistakes
- Frequently Asked Questions
- Do I need an adapter to use a vintage lens on a mirrorless camera?
- Will a vintage lens autofocus after being adapted to a mirrorless camera?
- Why does an adapted vintage lens fail to focus at infinity?
- Can I use aperture control and exposure metering with an adapted vintage lens?
- How do I know if my lens mount and adapter are compatible?
- Conclusion
What You Need
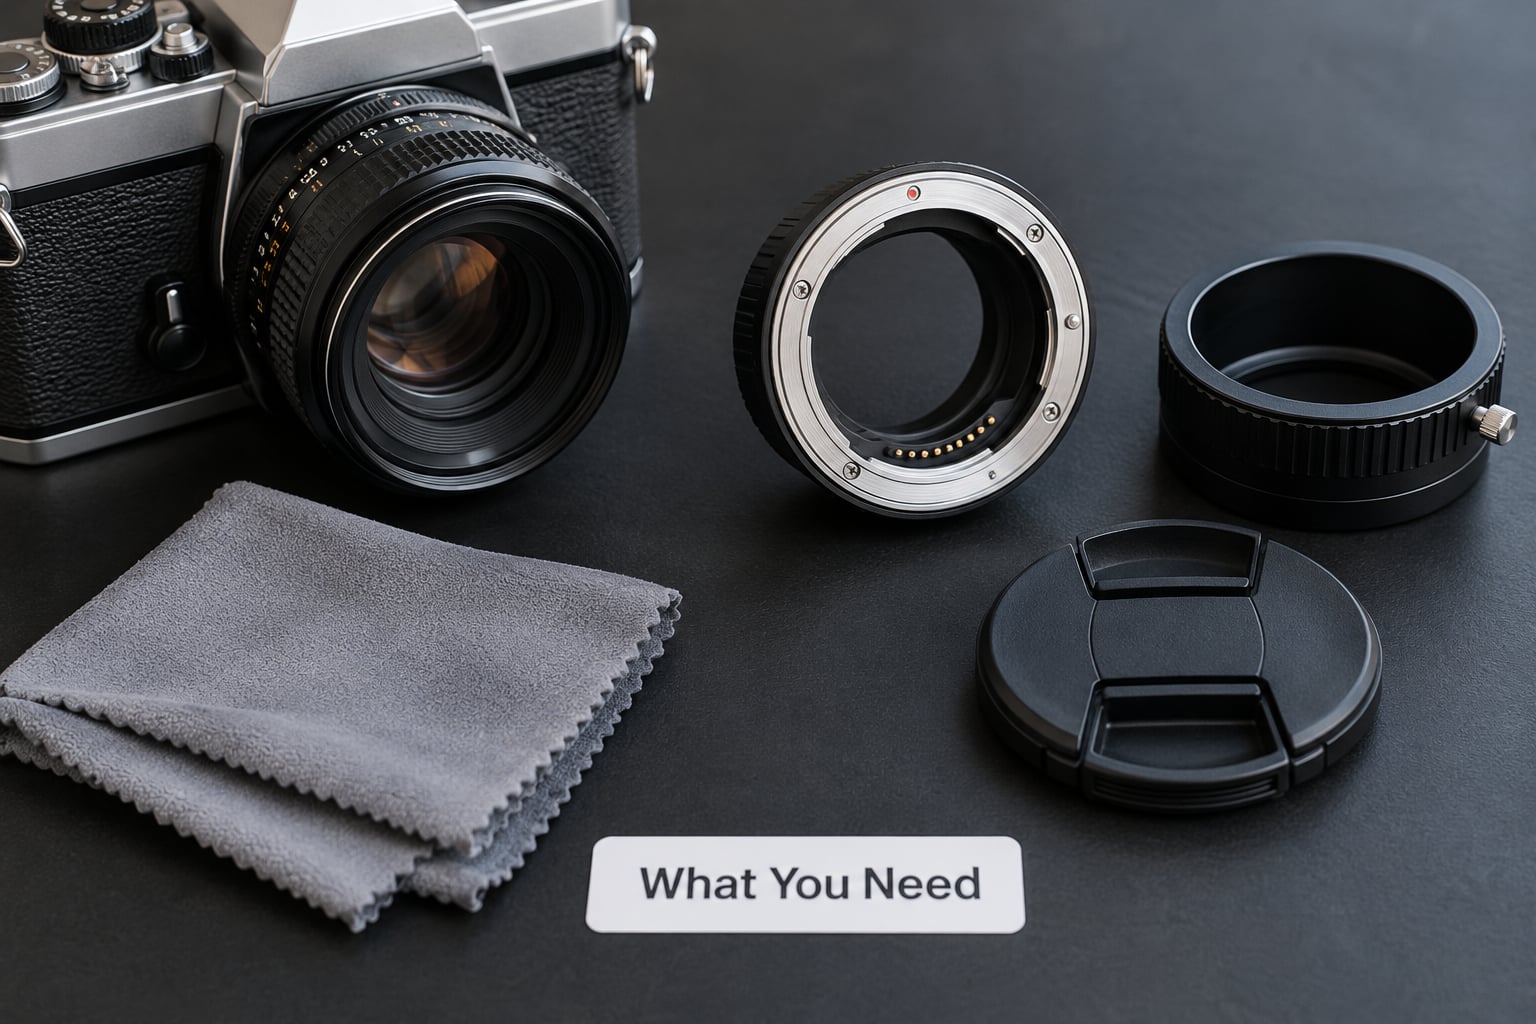
The short version: you need the lens, a body, and an adapter cut for those two exact mounts. Everything else is a comfort, not a requirement.
- The lens mount. Read the engraving on the lens barrel or the name stamped on the front ring. M42, M39, Canon FD, Nikon F, Olympus OM, Pentax K, Minolta SR, Leica M and Praktica B are the ones you will meet most.
- The camera mount. Sony E, Canon RF, Nikon Z, Fujifilm X and Micro Four Thirds are the current mirrorless mounts. The last three matter because they are narrower than a 35mm film frame, which changes what an adapter can reach.
- The matching adapter. Buy by the two mount names, not by camera brand.
- A lens hood or a step-up ring if you plan to shoot into backlight, plus a blower, a soft brush and a microfibre cloth.
- Your camera manual, open to the custom function or menu page that controls lens detection.
Three situations behave differently, so know which one you are in before you order anything. Screw-mount lenses such as M39 and much of M42 tighten with a plain thread and have no bayonet claws, so alignment depends on the index dot. Bayonet lenses such as Nikon F, Canon FD, Minolta SR and Olympus OM twist to lock and use three or four tabs, so a ring with the wrong tab count will not seat at all. A fixed-lens camera such as a folder or a rangefinder body has no lens mount to identify at all, and those lenses need a removable-element adapter or a bellows rail.
Step-by-Step: How to Adapt Vintage Lenses to Mirrorless Cameras
Six steps, in this order, and you can do them all with the lens on a table in front of you.
1. Identify the camera system and lens mount
Find the mount name before you look at a single adapter listing. On the lens, check the front ring and the side of the barrel; on the body, look on the original box or in the manual, because mirrorless bodies rarely print the mount name on the front.
Two mounts can look almost identical and still be incompatible. Nikon F and Nikon Z share a bayonet diameter, and Canon FD and Canon RF both look like ordinary bayonets, but the tab counts, throat diameters and rear element positions differ. Similar-looking registrations are not interchangeable, so treat any listing that says “fits Nikon” as incomplete until it names the exact mount.
2. Choose a correct adapter with the required tolerances
The whole idea rests on flange focal distance: the gap between the mount and the sensor. A 35mm SLR sits around 44-46mm, and a full-frame mirrorless body around 18-20mm. That spare 25mm or so is the room the adapter occupies, and the physical length of the adapter is what sets the focus position.
That leaves two adapter families to know about. A dumb or mechanical adapter is a bare ring with no contacts, correct for anything manual from before the mid-1980s, and it costs the least. A smart adapter carries electronics to translate autofocus, aperture control and EXIF, which a pre-1985 lens has no use for, so paying for one on manual glass buys you nothing but a thicker, heavier ring. A focal reducer or speed booster is a third thing entirely: it adds an optical element that shortens the effective flange distance and widens the field of view, and it generally needs a body in crop mode to focus properly.
Check throat clearance and screw length against your specific model. Some older lenses have a deep barrel that fouls the mount on a thicker adapter, and a few lenses use more than one screw thread length. Verify the adapter against the lens model and the camera model before you buy, because sellers list mount compatibility and rarely list clearance problems.
3. Mount the lens without forcing either component
Look into both mounts first, in good light. Check the rear element for haze, white spots, separation at the edges, and oil on the aperture blades. Check that the bayonet claws and the screws on the adapter are straight, and that no grit is sitting on the contact strip.
Attach the adapter to the body and rotate until it locks, then attach the lens to the adapter. If the lens has to be pushed hard, or if the body rotates before the lens seats, something is in the way, most often a screw thread that is a half-turn off or an adapter for a neighbouring mount. A correct fit engages with a light click and no play beyond the normal give of a mechanical ring.
Never turn the lens barrel while it is attached to the body. Rotate the lens in its collar if it is an OM Zuiko, or loosen the collar if the whole assembly is being angled, otherwise you are twisting the bayonet against the mount contacts.
4. Confirm mechanical and electronic operation
Manual glass gives you optics and nothing else, so here is the honest list. There is no autofocus. There is no electronic aperture control, which means the aperture ring is mechanical and stops where you put it. There is usually no EXIF lens data, so your files will not record the focal length. There is no auto stop-down, so a lens with an auto-manual aperture switch loses its preset behaviour.
What you do get is a fully working camera. Exposure metering works because it measures light off the sensor, not off the lens. Aperture priority works fine with a set aperture. Stabilization works on bodies that have it, but you have to tell the system the focal length by hand, because the body cannot read it off the adapter. Set it to the lens’s actual focal length, not the 35mm-equivalent figure, or the correction system will under- or over-stabilise.
Before anything else, switch off lens detection in the camera menu or the body will refuse to fire the shutter with an unrecognised lens. The setting sits under a lens or AF menu item on most bodies; look for release shutter without lens or a similar wording and allow it.
5. Test focus, exposure and image quality at full aperture
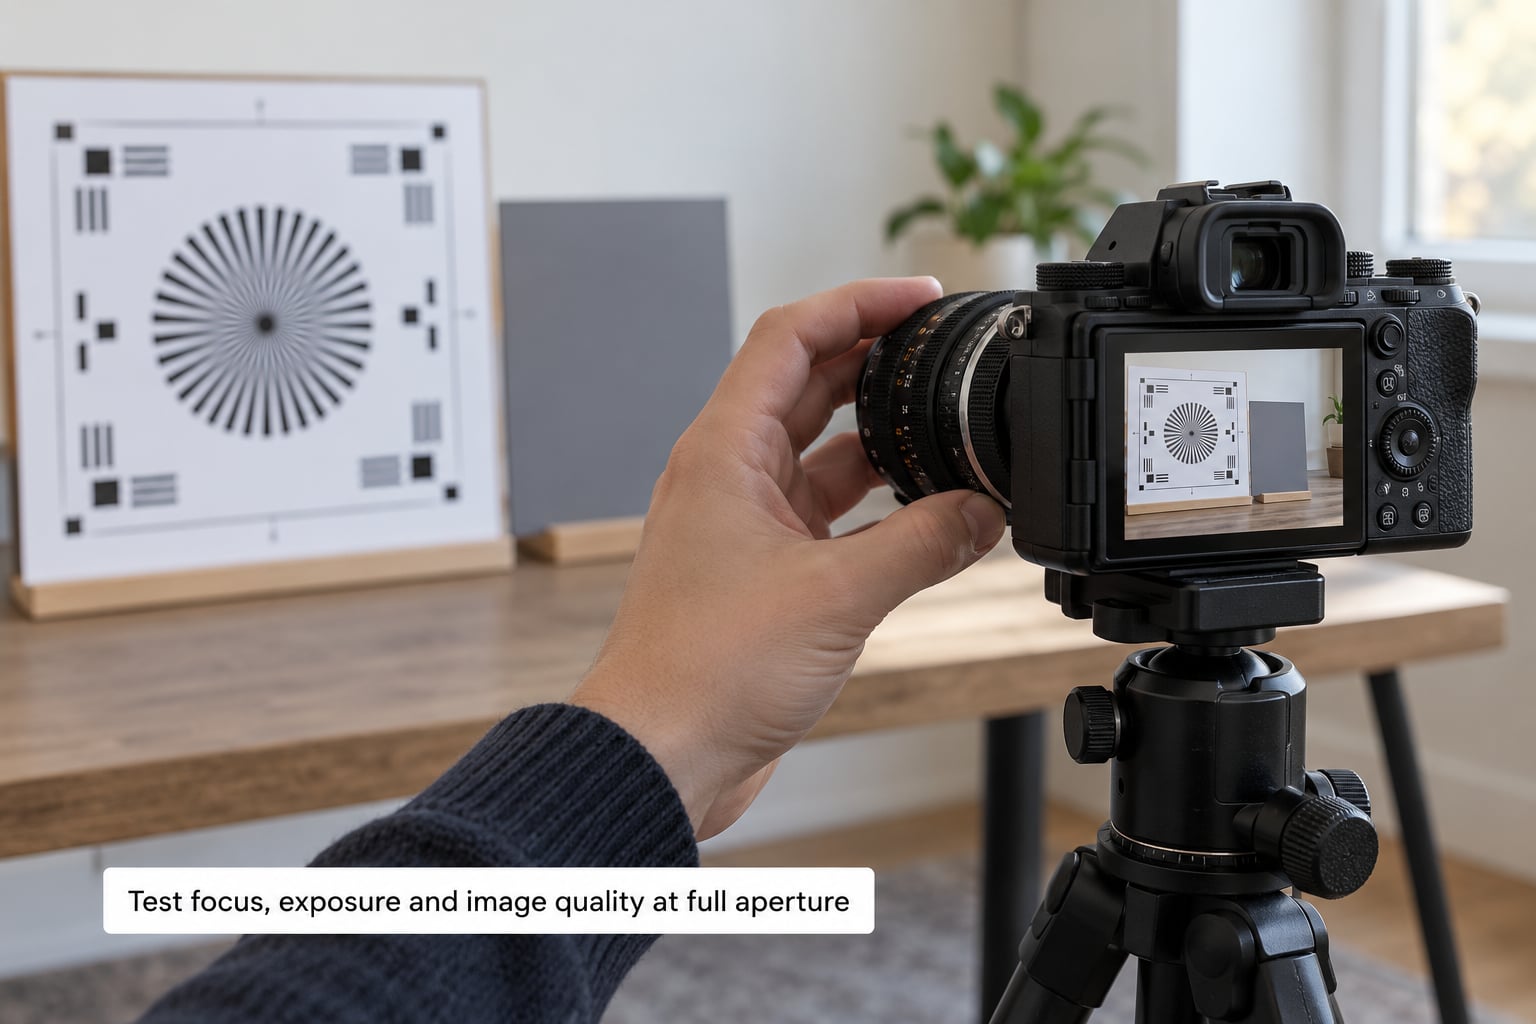
Run the same short routine every time. Turn the aperture to its widest setting, point at a high-contrast target under even light, magnify the live view, and turn the focusing ring all the way to the far end of its travel. If the target goes sharp before the ring runs out, you reach infinity. If the ring stops short with the target still soft, the adapter is too thick for that pairing.
Haze and fungus show up as a milky glow that brightens when you stop down past about f/4, and they are not a focus problem. Oily aperture blades show as dark, oily patches in the shape of the blades against a bright background. If the lens was never taken off a film body before it stopped working, check that its aperture lever still moves the blades before you blame anything else.
Uneven focus across the frame or softness in the corners on a modern sensor is often just the wide-open behaviour of a lens designed for film, not a fault. Corner vignetting on a fast lens is expected. If you see all of the above at once, take the lens off and compare the rear element against a clean white surface. A hazy lens and a mismatched adapter are two different problems with two different fixes.
6. Set a dependable manual-focus shooting routine
Turn on focus peaking and choose a highlight colour you can see against your subject, then magnify live view to confirm. Peaking highlights the depth-of-field zone rather than the exact plane of sharpest focus, so treat the peak as a guide and confirm at high magnification rather than trusting the colour alone.
Focus at the aperture you intend to shoot at. Old lenses have real focus shift, where the plane of focus moves when you stop down, and focus breathing, where it moves while you turn the ring. Focusing wide open and then stopping down without rechecking is the single most common way people end up with a soft frame. Some lenses shift the opposite way, which is another reason to check by eye.
Because there is no auto stop-down to steady the exposure, run a fast shutter speed and a low ISO in daylight, or use auto ISO in low light, and keep the aperture ring steady once set. Support the lens with one hand while you focus with the other if the weight is obvious. Check whether your adapter has an infinity lock or a close-focus collar, because cheap rings sometimes lack the internal recess that lets a lens focus properly at either end.
Common Mistakes
Almost every problem with adapted glass traces back to one of these.
- Buying by camera brand instead of mount. A lens made for the same company’s older SLR mount is still the wrong part. Fix: order using the two mount names printed on the lens and the body.
- Confusing a bayonet version. Close siblings from the same manufacturer will not seat or will not reach infinity. Fix: read the mount name, not the logo.
- Expecting autofocus or an electronic aperture. Neither exists on pre-1985 glass. Fix: manual focus and manual aperture, and set the body accordingly.
- Over-tightening screws. You can strip the thread on an adapter and on the lens mount. Fix: snug is enough; a dab of removable threadlocker helps if it keeps loosening.
- Turning the lens while it is mounted. This twists the mount and can damage the contacts. Fix: unclip first, then reposition.
- Cleaning the wrong surface. The front element is easy to see and easy to damage; the rear element is where the haze actually lives. Fix: inspect the rear element first and work from the side with a blower before anything else.
- Treating internal haze as a focus fault. Fix: test at full aperture in even light, then compare against a white card held behind the rear element.
- Stacking adapters. Two rings add their own thickness and can break infinity focus entirely. Fix: buy a single direct ring for your pairing, or use a thinner rear element.
Two habits keep things smooth. Carry the lens in its collar rather than by the barrel, and re-check the infinity focus after you change lenses rather than assuming it carried over. Set your stabilisation focal length every time you swap glass, and it will stop you chasing a soft-frame problem that is really a setting.
Frequently Asked Questions
Do I need an adapter to use a vintage lens on a mirrorless camera?
Yes. Film-era lenses were made to sit far behind the mount, at a flange distance of roughly 44 to 46mm, while a mirrorless body has about 18 to 20mm. A metal adapter ring fills that gap and holds the lens at the position its rear element expects. Buy the ring by the two mount names and check the throat clearance for your specific lens model.
Will a vintage lens autofocus after being adapted to a mirrorless camera?
No. Autofocus needs both a motor in the lens and electronics in the adapter that translate the camera’s commands. Manual glass from before the mid-1980s has neither, so a smart adapter does not add autofocus to it. Focus peaking and magnified live view are the practical replacements, and a smart adapter is only worth buying for autofocus-era glass.
Why does an adapted vintage lens fail to focus at infinity?
The adapter is too thick, so the lens cannot travel far enough back to reach the sensor plane. A two-step stack of adapters is the usual cause, since each ring adds its own thickness. Try a thinner single ring cut for your exact pairing, or fit a removable rear element that allows more travel. Stopping down to f/11 or f/16 hides the error but does not fix it.
Can I use aperture control and exposure metering with an adapted vintage lens?
Aperture control is mechanical, so the ring stops where you put it, and metering works normally because the camera measures light off the sensor. The limits are that there is no electronic aperture control, no auto stop-down, and usually no lens data in your files. Aperture priority works if you leave the ring where you set it.
How do I know if my lens mount and adapter are compatible?
Read the mount name off the lens barrel and the body, then confirm the adapter listing names both. Then check the throat clearance against your specific lens model, since a deep rear barrel can foul a thicker adapter. Mount it loosely and confirm the bayonet locks and the focusing ring can run to infinity before you treat the pairing as working.
Conclusion
Do these three things first: identify both exact mount names, check the adapter’s thickness and throat clearance against that specific lens model, then test it mechanically and optically before buying anything else for the system. That sequence is all that separates a working pairing from a return.
What matters is the exact lens-to-camera combination, not whether the brand names match. Once that pairing is right, the rest of how to adapt vintage lenses to mirrorless cameras is habit: set the stabilisation focal length each time, focus at the aperture you will shoot at, and confirm at high magnification instead of trusting focus peaking alone.