
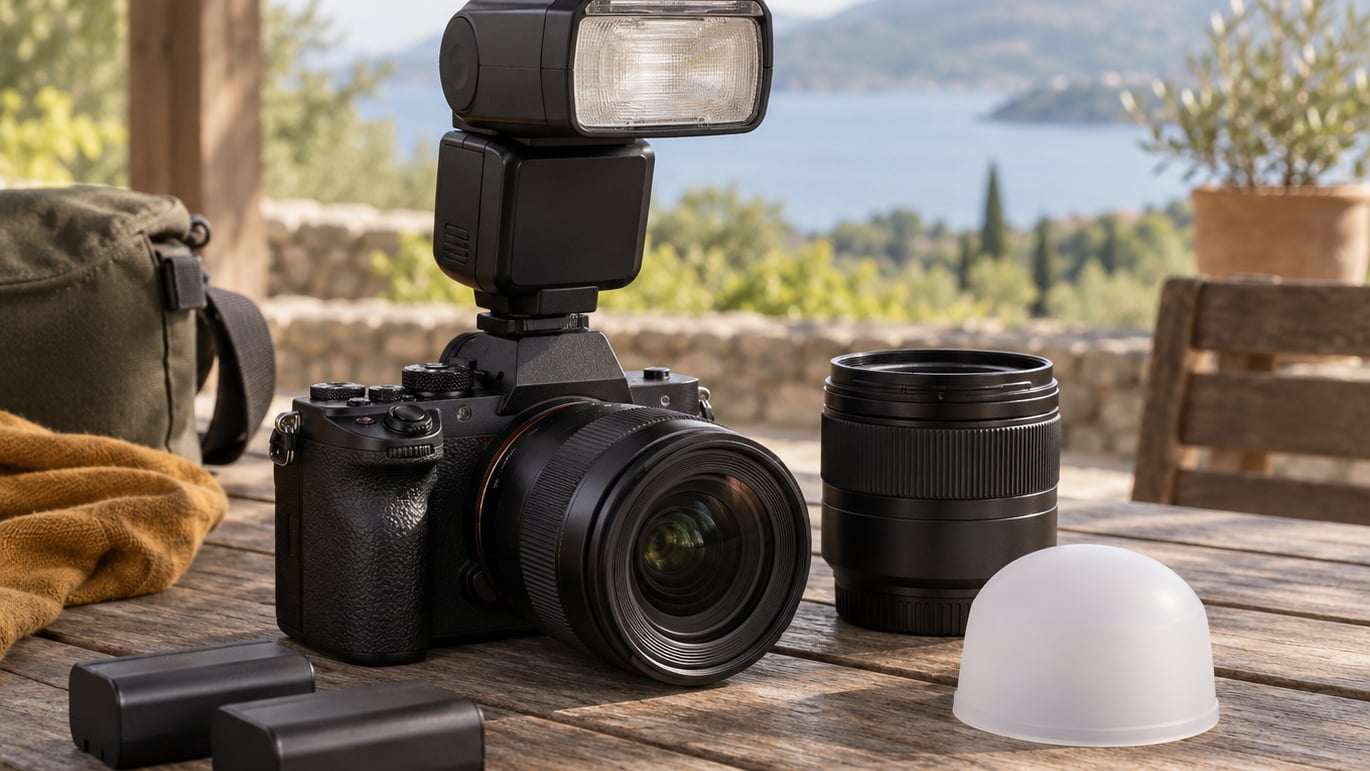
Using flash outdoors in daylight is mostly about control, not about adding more light. You expose for the sun first, then add just enough flash to lift the shadows under your subject’s eyes and chin. Get that balance right and the picture looks like sunlight, not like a camera flash.
The whole method takes about five minutes to set up once you know what to look for. Below is the workflow I use on sunny days: read the light, set the ambient exposure, bring the flash up in manual power, angle it away from the lens, and check the histogram.
Table of Contents
- What You Need Before You Go Outside
- Step-by-Step: How to Use Flash Outdoors in Daylight
- 1. Assess the Sunlight and Choose Your Priority
- 2. Set the Ambient Exposure First
- 3. Use Flash Outdoors in Daylight: Manual, TTL and Flash Exposure Compensation
- 4. Position the Flash and the Subject
- 5. Shape the Light for Better Outdoor Results
- 6. Test, Review, and Adjust
- Daylight Flash Settings by Situation
- Common Mistakes and How to Fix Them
- Frequently Asked Questions
What You Need Before You Go Outside
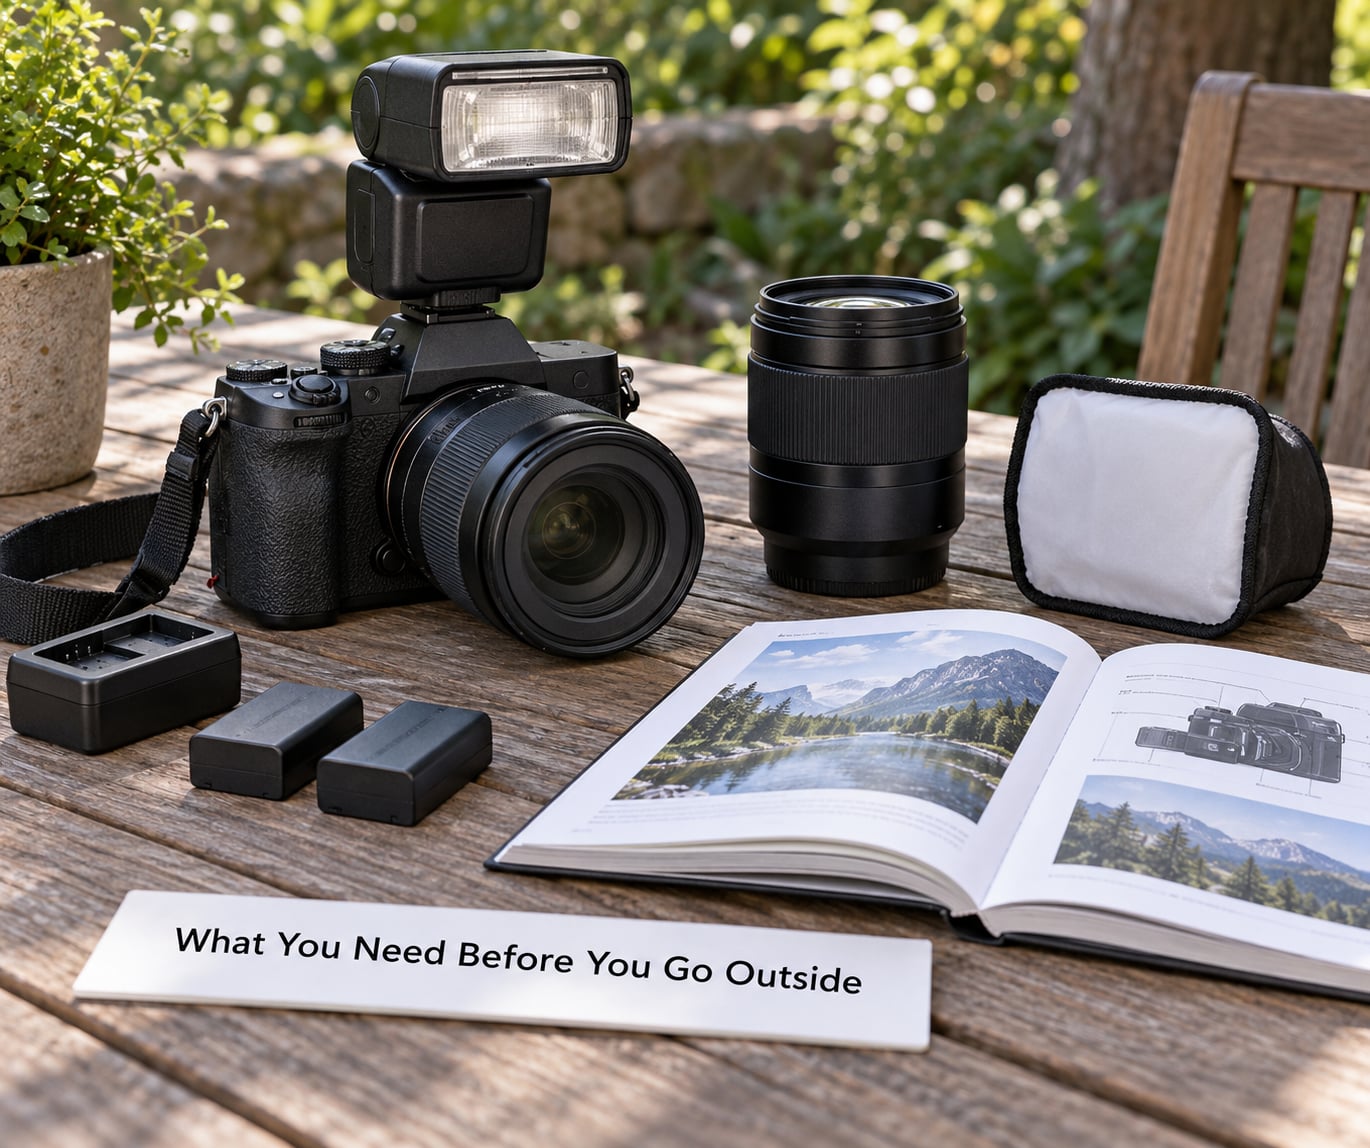
You need less gear than most people expect. A camera, a flash, and one modifier cover almost every outdoor situation you will run into.
- A camera with a hot shoe. Any interchangeable lens camera with a flash sync connection works. Phones and fixed-lens compact cameras have no way to add a real flash unit.
- A dedicated flash unit. A speedlight with a swivel head and manual power control is the workhorse. Any hot shoe flash with manual mode will do the job.
- Spare batteries. Flash units recycle fast outdoors, and warm weather shortens battery life. Two batteries means you never lose a shot waiting for a recycle.
- One modifier. A small softbox or diffuser for portraits, a white foam board or card as a bounce surface for close work.
- A trigger or a cable, if you plan to move the flash off the camera. Radio triggers are worth it once you start shooting groups.
The built-in pop-up flash on your camera is a different tool. It is weak and it fires from the lens axis, so it throws a hard shadow straight back behind your subject and makes the photo look like a snapshot. It also reaches only a few yards in bright daylight. Use it to lift a face at close range and nothing more.
Phone flash is weaker still and has no manual control. If you shoot on a phone, use a small LED light or an off-camera panel instead, and treat the built-in flash as a last resort.
Step-by-Step: How to Use Flash Outdoors in Daylight
1. Assess the Sunlight and Choose Your Priority
Stand where your subject will stand and look at where the light is coming from. Direct overhead sun puts black sockets under the eyes and a hard shadow under the nose. Open shade gives soft, even light and you probably do not need flash at all. Backlighting means the sun is behind your subject and the face is in shadow, which is the strongest case for flash.
Pick one priority before you touch a dial:
- Accurate, natural-looking exposure of both subject and background.
- Detail recovery, so a bright sky does not turn to pure white.
- Shadow control, so the face is readable under a hat brim.
- A deliberate look, where flash is meant to overpower the sun.
Then find the brightest area you want to keep. That is the part of the frame most likely to blow out, and it is what you meter from.
2. Set the Ambient Exposure First
Meter the sunlight before the flash is switched on. Switch to manual, set ISO 100, choose an aperture for the depth of field you want, then set the shutter speed the meter calls for. Spot meter on the brightest area of the background and check the histogram. If the highlights clip, close the aperture or speed up the shutter to bring them back.
Keep the shutter at or below your camera’s flash sync speed, usually 1/200s or 1/250s on modern cameras. Need a faster shutter? That is what high speed sync is for. It pulses the flash instead of firing it in one burst, which cuts effective flash output by several stops, so reserve it for situations where you truly need the shutter speed.
3. Use Flash Outdoors in Daylight: Manual, TTL and Flash Exposure Compensation
Turn the flash on last, once the ambient exposure looks right. Manual power is the honest way to learn this. Start low, around one sixteenth to one eighth of full power, then raise or lower it until the face matches the sunlit side of the frame.
TTL works fine outdoors too, and it saves time when the light is changing fast. Turn it on, set flash exposure compensation to zero, take a test frame, and dial the compensation from there. Most photographers land somewhere between minus one and plus one stop outdoors.
Know the difference between the two compensations. Exposure compensation changes how the camera meters the whole scene. Flash exposure compensation changes only the flash, leaving your aperture, shutter and ISO untouched. Using the wrong one is the most common cause of a background that goes white every time the subject gets brighter.
Manual power works with any camera and any modifier, so start there even if you plan to live in TTL. Once you know what one eighth power looks like at a given distance, TTL stops feeling like guesswork.
4. Position the Flash and the Subject
Where the flash sits decides the shape of the light, not just its brightness. Straight on, it flattens the face and reflects off shiny skin. Moved up and to one side, it puts a small shadow on the far cheek that gives the face shape.
Flash output falls off quickly with distance, roughly with the square of it. Doubling the distance cuts the light to about a quarter. If the flash feels weak, move it closer before you raise the power, and stay out of the subject’s line of sight so nobody gets blinded mid-shot.
Turn the subject a little away from the sun. A face angled 45 degrees off the sun axis is far easier to light than one pointed straight into it, and it gives you a lit side and a shadow side to work with.
5. Shape the Light for Better Outdoor Results
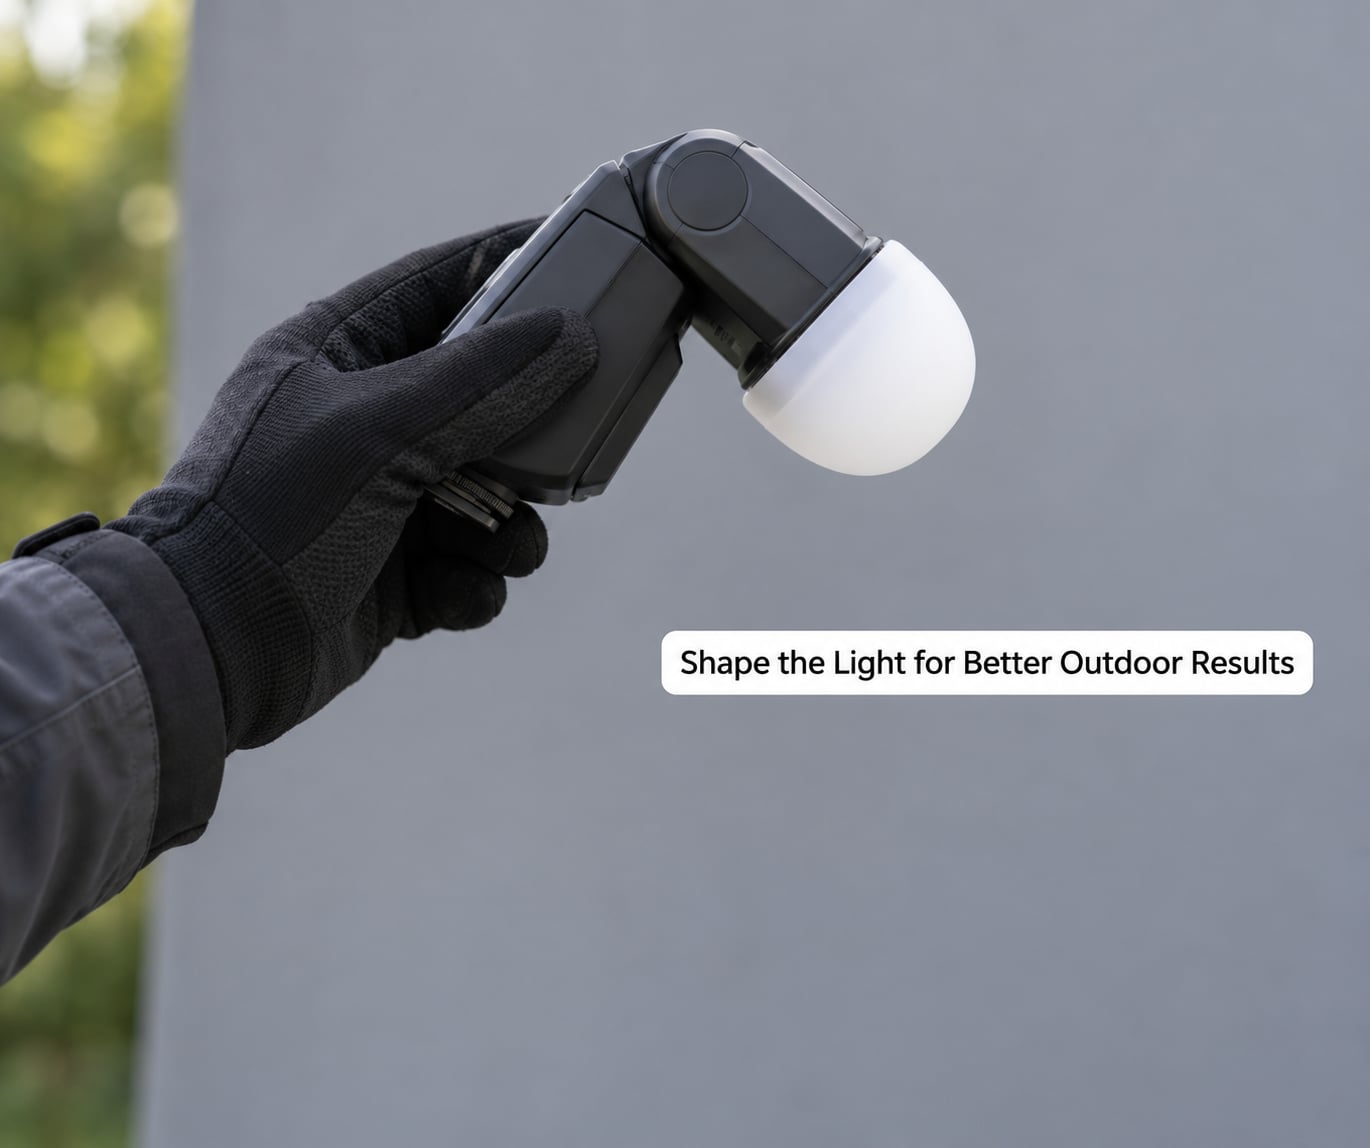
The sun is a huge light source, so to match it your flash needs to be soft. Anything that enlarges the apparent source will do it.
- Bounce. Tilt the head up and fire it at a light-coloured ceiling, wall or canopy. Outdoors this means a porch, a building overhang or a pale wall. Bounced flash from a broad surface is the softest flash you can get.
- Small softbox or diffuser. A white dome or fabric sock attached directly to the head enlarges the source and removes the hard shadow edges.
- Umbrella. A shoot-through or reflective umbrella gives you a source big enough to match direct sun. It is the closest thing to studio light you can carry outside.
- Move the bare flash. Even without a modifier, raising the flash above eye level and off to the side softens the shadow edges more than most people expect.
Watch for two giveaways. Light fired straight down from above creates the same socket shadows the sun makes, which defeats the purpose. And bare flash close to the face puts a bright reflection in eyes and on damp or oily skin. Bouncing or diffusing solves both.
6. Test, Review, and Adjust
Shoot one frame and look at it before you shoot ten. Compare the flash-lit side of the face with the sunlit background. If the flash side is darker, the flash is not doing anything yet, so raise the power. If it is obviously brighter and flatter than the background, back it off and look for a shadow edge under the nose or chin.
Check the histogram on both the face and the brightest background. Then blink at the screen rather than reading it, because your eyes adapt and a small difference will not show up on a bright display.
Adjust in small steps, a third of a stop at a time. Flash power on manual usually changes in thirds or halves, and flash exposure compensation moves in thirds too, which makes it easy to bracket settings without changing anything else in the frame.
The same adjustments apply when the subject moves fast. For action, widen the aperture to keep the ISO down and raise the flash power to match, because a wider aperture and more flash power travel together. Shooting animals outdoors needs a faster shutter, a wider aperture and a diffused flash held away from the eyes. Our guide to how to photograph dogs outdoors covers the movement and patience side of that.
Daylight Flash Settings by Situation
| Situation | ISO | Aperture | Shutter | Flash mode | Starting power |
|---|---|---|---|---|---|
| Harsh overhead sun, one subject | 100 | f/5.6 | 1/1000s with high speed sync | Manual | 1/8 to 1/4 |
| Backlit subject against bright sky | 100 | f/4 | 1/160s | Manual | 1/2 to 1/8 |
| Open shade | 100 | f/2.8 | 1/500s with high speed sync | Manual | 1/16 or lower |
| Family group in flat midday light | 200 | f/5.6 | 1/800s with high speed sync | TTL plus compensation | Start at zero compensation |
| Beach or snow, bright surroundings | 100 | f/8 | 1/1000s with high speed sync | Manual | 1/2 to 1/4 |
| Children or pets running | 400 | f/2.8 | 1/1600s with high speed sync | Manual | 1/4 to 1/8 |
These are starting points, not fixed values. Meter the scene and adjust for what the histogram tells you.
Common Mistakes and How to Fix Them
Mixing up exposure compensation and flash exposure compensation. If the background changes brightness every time you adjust the flash, you are touching the wrong dial. Use flash exposure compensation for the flash and leave the camera compensations alone.
Trusting TTL without checking the frame. TTL meters a single instant through a small sensor and it cannot see a bounce off a pale wall. Take a test shot every time the scene changes, and learn manual power so you are not stuck when the meter guesses wrong.
Firing the flash too close. A bare flash at arm’s length on a face gives flat, shiny, over-bright skin. Bounce it, diffuse it, or step back until the light falls off naturally.
Putting the flash directly overhead. You get the same black sockets under the eyes that the sun gave you. Raise the flash above the subject but push it off to the side and behind the camera line, never straight down.
Ignoring backlight. When the sun is behind the subject the face goes dark and the sky blows out. Turn the subject, raise the flash, or expose for the background and let the flash open the face. Checking the histogram after the shot tells you which one happened.
Shooting above sync speed without high speed sync. Go past the sync speed on a camera without high speed sync and part of the frame will come out black, because the second shutter curtain starts moving before the first finishes. Turn high speed sync on or drop back to the sync speed.
Blowing out the highlights. The background in sunlit scenes has more brightness than the camera can hold. Meter for it, close the aperture or speed the shutter up, and then add whatever flash is needed to bring the face back. Protect the sky first and fix the subject with flash.
Ignoring colour temperature. Daylight is around 5200K and flash is rated close to it, but they rarely match exactly. Set the white balance to daylight instead of auto and the whole frame stays consistent, especially with a bounce off a coloured surface.
Frequently Asked Questions
Do you need flash outdoors in daylight?
Only when the sun gives you a problem. Direct overhead sun creates shadows too dark to expose for, and backlight leaves the face in shade while the sky burns out. In open shade or overcast light you will rarely need it. If the histogram shows a black face next to a blown sky, that is the signal to add flash and darken the background.
Is daylight balance enough for outdoor portraits?
Daylight balance only fixes the colour of the flash so it does not look blue or orange next to sunlight. It does nothing for brightness. You still have to set the flash power in manual or use TTL with flash exposure compensation until the lit side of the face matches the background. Set white balance to daylight to keep the colours consistent.
How much flash power should I use outdoors?
Start low, around one sixteenth to one eighth of full power at a few feet, then work up or down in thirds. There is no universal number, because output changes with distance, guide number, modifiers and ISO. Move the flash closer before raising power, since doubling the distance cuts the light to roughly a quarter.
Can I use flash when photographing pets outdoors?
Yes, with care. Bounce or diffuse the light so it is not a hard beam pointed at the animal, keep the unit out of reach and away from the eyes, and avoid repeated bursts around sensitive animals. Wider aperture and faster shutter will freeze movement, but soften the light so the fur does not blow out at the edges.
What do you do when the background is overexposed?
Expose for the background rather than the subject. Close the aperture, speed up the shutter, or drop ISO until the brightest area stops clipping on the histogram. The subject will go dark, and that is what the flash is for: raise its power until the face reads correctly against the recovered background.
Start on the next sunny day with one subject, one modifier, and manual flash power at about one sixteenth. Get the ambient exposure right first, add the flash, and check the histogram. Everything else in this guide is a variation on that sequence.
Once the basics feel automatic, the rest is about the situation: high speed sync when you need the shutter speed, more power when you want to overpower the sun, and underexposing the background when you want your subject to separate from it.