
Rear curtain sync fires your flash at the very end of the exposure, so the subject stays sharp while everything they moved past behind them turns into a soft blur trail. Learning how to use rear curtain sync takes about ten minutes of setup and changes the look of every low-light portrait, dance floor frame, and night event shot you make. You slow the shutter down, set the flash to fire last, and balance the ambient light so the blur reads as intentional.
It takes one full article to explain why that matters, because the difference between front and rear curtain sync is invisible until your subject is actually moving.
Table of Contents
- What You Need
- Step-by-Step
- Frequently Asked Questions
- Can I use rear curtain sync with any camera?
- Why does my photo show motion before the flash instead of after it?
- What shutter speed should I start with for rear curtain sync portraits?
- Does rear curtain sync blur the subject or only the background?
- What is the difference between rear curtain sync and slow sync?
- Can I use rear curtain sync with a speedlight or studio flash?
What You Need
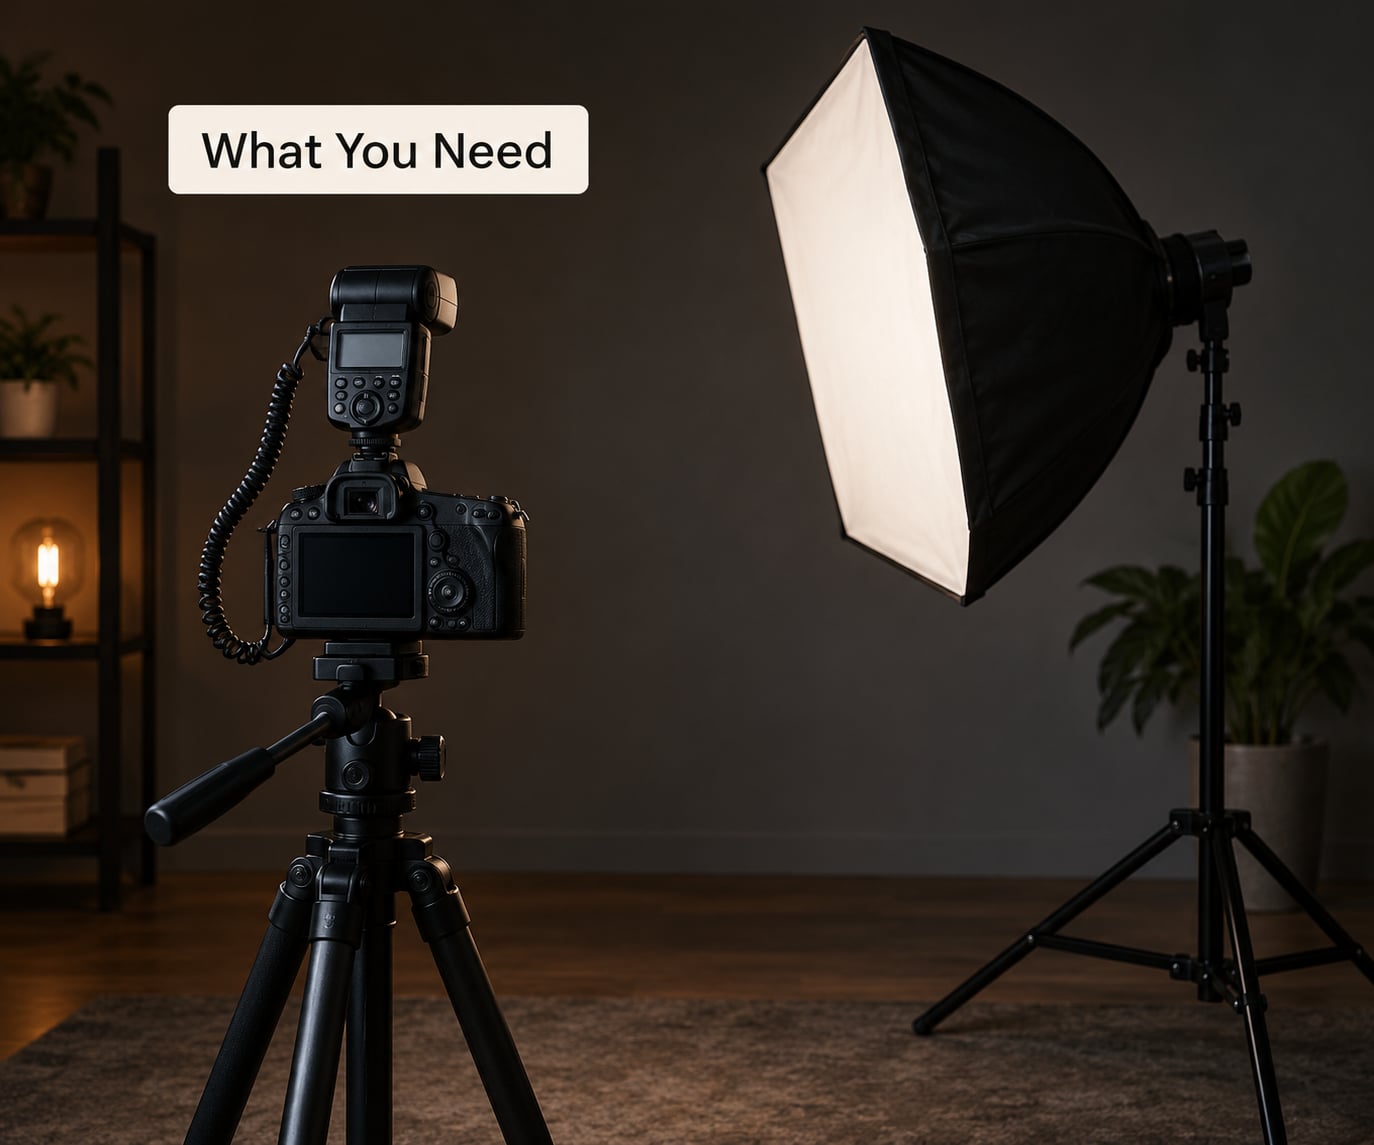
Four things carry the technique, and only the first two are hard requirements.
A camera with a focal-plane shutter. Rear curtain sync depends on a two-curtain shutter: a first curtain opens to start the exposure and a second curtain closes to end it. Almost every DSLR and most mirrorless bodies use one. Leaf-shutter cameras, which include a handful of compact and cinema-style bodies, do not, so there is no rear curtain to fire in front of.
An external flash with rear curtain control. Any dedicated speedlight with a rear curtain option will do. So will most studio strobes, either through a camera menu setting or through a flash trigger that passes the setting down.
A place with dim, directional ambient light. Rear curtain sync is a low-light technique. It needs light in the background to record as blur, plus a darker area behind your subject so that blur stays readable.
Something for the light to record. A sparkler, a glow stick, a light painting wand, a moving arm, a turning dress, a DJ uplight. Plain ambient light gives you blur; a bright moving source gives you trails.
If your camera body has no rear curtain option in the menu, check whether it lives on the flash instead. Canon bodies in particular often expose the setting on the flash, while Nikon and Sony usually put it on the camera. That single difference accounts for a lot of confusion when people switch systems.
Step-by-Step
1. Put the Camera in Manual or Shutter-Priority Mode
Manual exposure gives you full control and is the safest place to start. In shutter-priority, the camera picks a shutter speed and you have almost no say over it once the metering locks in, which makes the technique unpredictable in changing light.
One exception: many photographers run rear curtain almost continuously at receptions because it changes nothing at fast shutter speeds. If your workflow lives at 1/200s or above, a semi-automatic mode with a minimum shutter speed floor is convenient. Just know the camera is choosing.
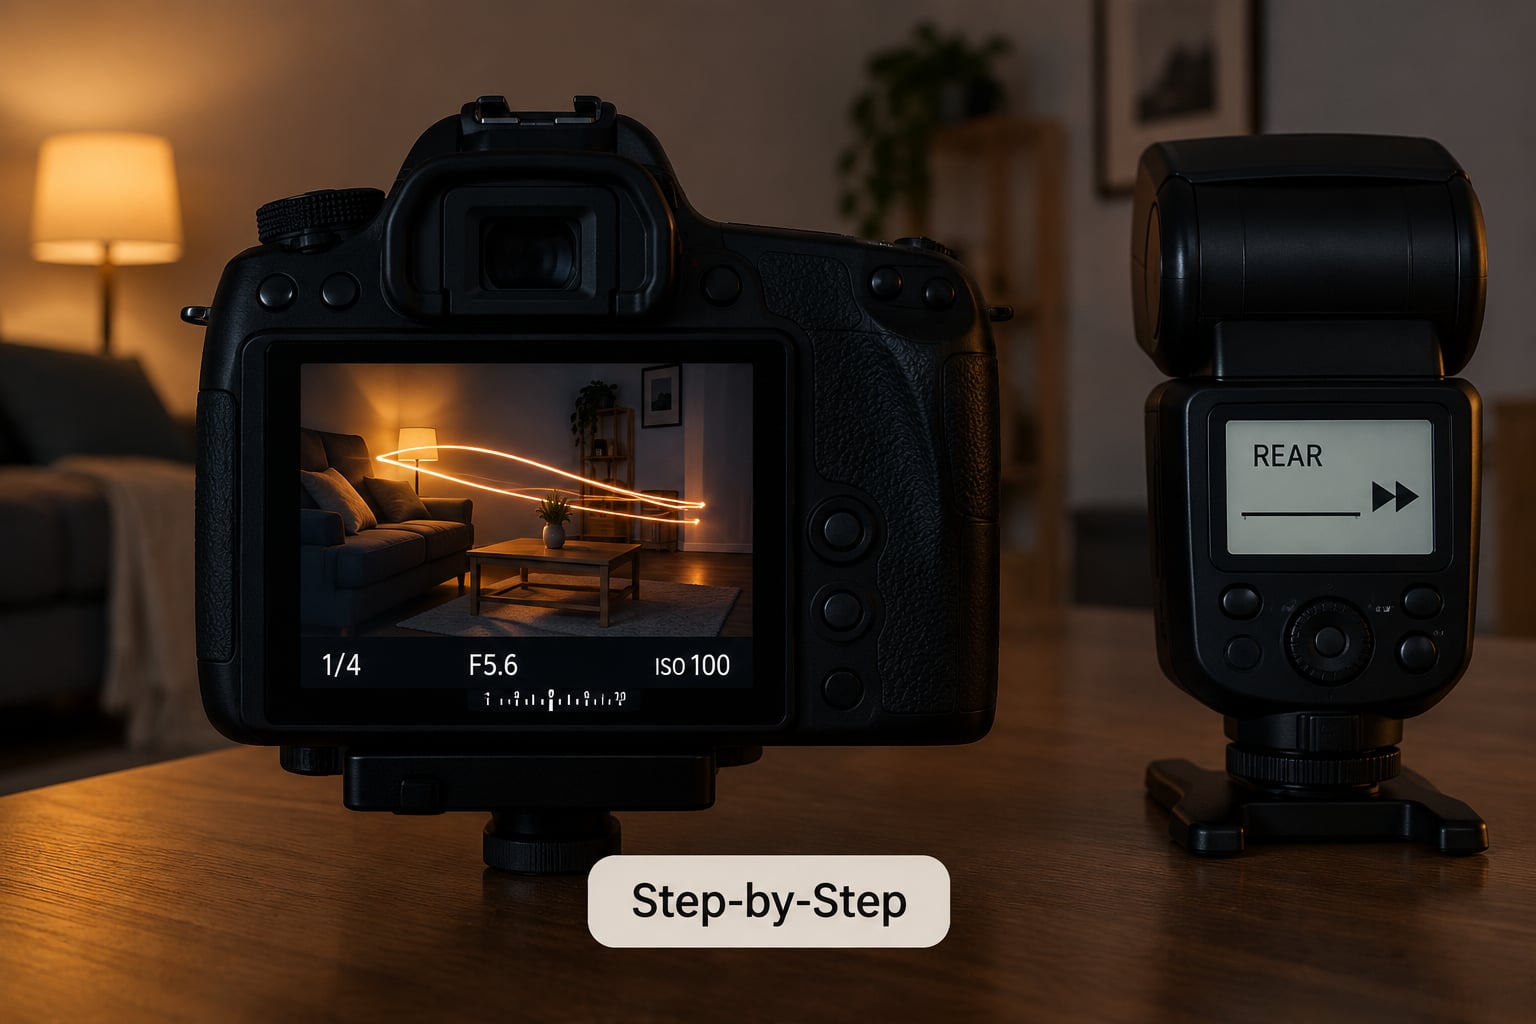
2. Select Rear Curtain or Second-Curtain Sync
Rear curtain sync is called second-curtain sync on Canon, 2nd curtain on Nikon and Fujifilm, and rear curtain sync or flash timing on most Sony bodies. Sony’s full-frame models let you place the flash at the start, the end, or the middle of the exposure.
Where the setting lives depends on the system, and this is where beginners lose time:
- Canon: the setting usually sits on the speedlight itself, under flash function settings for curtain synchronization.
- Nikon: set it on the camera, in the flash control menu, as shutter synchronization.
- Sony: on the camera, in the flash settings menu. Some bodies also place it on the flash.
- Fujifilm: on the camera, in the flash mode settings for sync mode.
Confirm the mode with a test shot before you build a whole shoot around it. A frame with no motion in it looks identical in both modes, which makes the setting easy to verify wrongly.
3. Choose a Shutter Speed That Creates Motion Blur
The shutter speed decides how much motion gets recorded before the flash fires. Anything fast enough to freeze action gives you no trail at all, because the flash arrives after the movement has already been captured sharply.
Starting points that work for most subjects:
- Walking subject: 1/15s to 1/30s. A full stride turns into a soft trail while the final position stays sharp.
- Hand gestures or a hair toss: 1/60s to 1/125s. Enough trail to read as movement, short enough that the pose still holds.
- Dancers: 1/4s to 1/2s. Long exposures need a still camera, so use a tripod and direct the movement into one repeatable path.
- Vehicles, sparklers, light painting: 1 to 2 seconds with the camera locked down. The subject starts, the flash catches them at the end.
- Falling objects: 1/4s to 1 second, and expect to lose some frames to ghosting since the object travels during the whole exposure.
Long exposures also mean your tripod and your subject both have to hold still. That constraint shapes the shot before the flash does.
4. Set the Flash Output and Ambient Exposure
The flash handles the last fraction of a second, and the ambient light handles everything before it. Your job is to meter those two independently.
Start by exposing for the background. Set your aperture and ISO, then take a test frame without the flash firing to see what the ambient light alone does to the exposure. Once that part looks right, add flash power on top until the subject sits about a stop brighter than the background. For most portraits that lands between f/2.8 and f/5.6 at ISO 400 to 1000 in a dim room.
If you are metering the flash with TTL, dial in a negative flash exposure compensation, usually between -0.7 and -1.3, to pull it back toward the ambient level. A flash that dominates the frame is the single most common way these frames go wrong.
Rear curtain sync and continuous LED or RGB sources work well together. The LEDs light the scene for the whole exposure and draw the trail, while the flash lands at the end to freeze the subject.
5. Compose the Shot and Take the Photograph
Decide where your subject finishes before you decide where they start. That single habit removes most of the timing frustration, because you are no longer guessing about a one-second window.
For moving subjects, count them in. Mark the finish position with tape on the floor if you are shooting indoors, coach the movement into one clean path, and shoot several variations of the same gesture rather than one attempt.
There is no viewfinder feedback for when the flash will fire, so the sequence you want is: focus, confirm the finish line, start the movement, fire. On a tripod you can also add a slow twist or zoom during the exposure for a curved blur, which turns an ordinary trail into a deliberate one.
6. Review the Result and Adjust
Read the frame like a diagnostic. Each failure has one cause.
- Subject sharp, trail behind them: working as intended.
- Everything sharp, no trail: the shutter speed is too fast. Drop it one or two stops.
- Trail in front of the subject, sharp at the start: you are in front curtain sync. Check the setting on the flash as well as the camera.
- Two or more copies of the subject: they moved during the ambient portion. Shorten the shutter speed or ask for a slower, more contained movement.
- Flash-blown highlights with a dark background: the flash is overpowering the ambient. Apply negative flash compensation or drop the output a third of a stop.
Getting how to use rear curtain sync right is mostly this loop: shoot one frame, name what is wrong, change one setting, shoot again.
Common Mistakes
Shutter speeds that are too fast. Anything at or above the camera’s normal sync speed erases the trail, because the flash lands after the motion has been recorded. Slow down until blur appears, then fine-tune.
Front curtain sync still selected. This one hides easily because the two modes look identical on a static subject. Test with a person walking across frame before you trust the setting.
Treating flash duration like shutter speed. A speedlight’s flash lasts a fraction of a second at any given power, but the subject is only truly frozen by that burst. At high flash output the burst is very short; at low output it can stretch long enough to soften a moving subject, which surprises people.
Underexposing the ambient portion. If you meter the whole frame off the flash, the background goes black and the technique disappears. Expose the background first, then add the subject.
Expecting rear curtain to work in aperture priority. With auto ISO and auto shutter speed, the camera can pick a fast shutter and you will get a sharp frame with no trail and no explanation for it.
Using a leaf-shutter camera. There is no second curtain, so the mode does not exist. If you own one, you can simulate the effect by triggering the flash late with a remote or interval timer during a longer exposure.
Frequently Asked Questions
Can I use rear curtain sync with any camera?
Only cameras with a focal-plane shutter, which is nearly every DSLR and most mirrorless bodies. Leaf-shutter cameras have no second curtain, so the mode is unavailable and you would need to trigger a flash late with a remote or interval timer instead. Also confirm your flash supports it, since some older or budget models skip the option entirely.
Why does my photo show motion before the flash instead of after it?
The camera is in front curtain sync, also called first curtain, which fires the flash the instant the shutter opens so the subject is sharp at the start of the movement. Check the flash as well as the camera body, because on Canon the setting usually lives on the speedlight while Nikon, Sony, and Fujifilm put it on the camera menu.
What shutter speed should I start with for rear curtain sync portraits?
Start at 1/30s for a standing subject making a small gesture and move to 1/4s for someone walking across frame or turning. Below 1 second you will want a tripod and a stationary camera. Faster speeds than about 1/125s usually leave no visible trail at all, since the flash arrives after the movement has already been recorded.
Does rear curtain sync blur the subject or only the background?
Only the part of the subject that moves before the flash fires. The burst at the end of the exposure renders them sharp at their finishing position, while everything recorded earlier becomes a trail. Subjects who hold completely still will look equally sharp in both modes, which is why the setting is hard to verify without testing a moving subject.
What is the difference between rear curtain sync and slow sync?
Slow sync refers to deliberately dragging the shutter below the normal flash sync speed so the ambient light accumulates during the exposure. Rear curtain sync describes when in that exposure the flash fires, at the end instead of the beginning. You can combine them, and most working setups do exactly that.
Can I use rear curtain sync with a speedlight or studio flash?
Both. Speedlights have the option built into the flash, and studio strobes expose it through the camera menu or a wireless trigger that passes camera settings to the flash. In a two-flash setup, put one on the camera and one off camera, but only one unit can fire the burst unless you have a second, more advanced strobe.
Start with one shot: manual mode, second curtain selected, 1/30s, and the flash a stop brighter than the background. Once that single frame shows a clean trail behind a sharp subject, you already know how to use rear curtain sync for everything after it, and the rest is just adjusting how much motion you want to keep.