
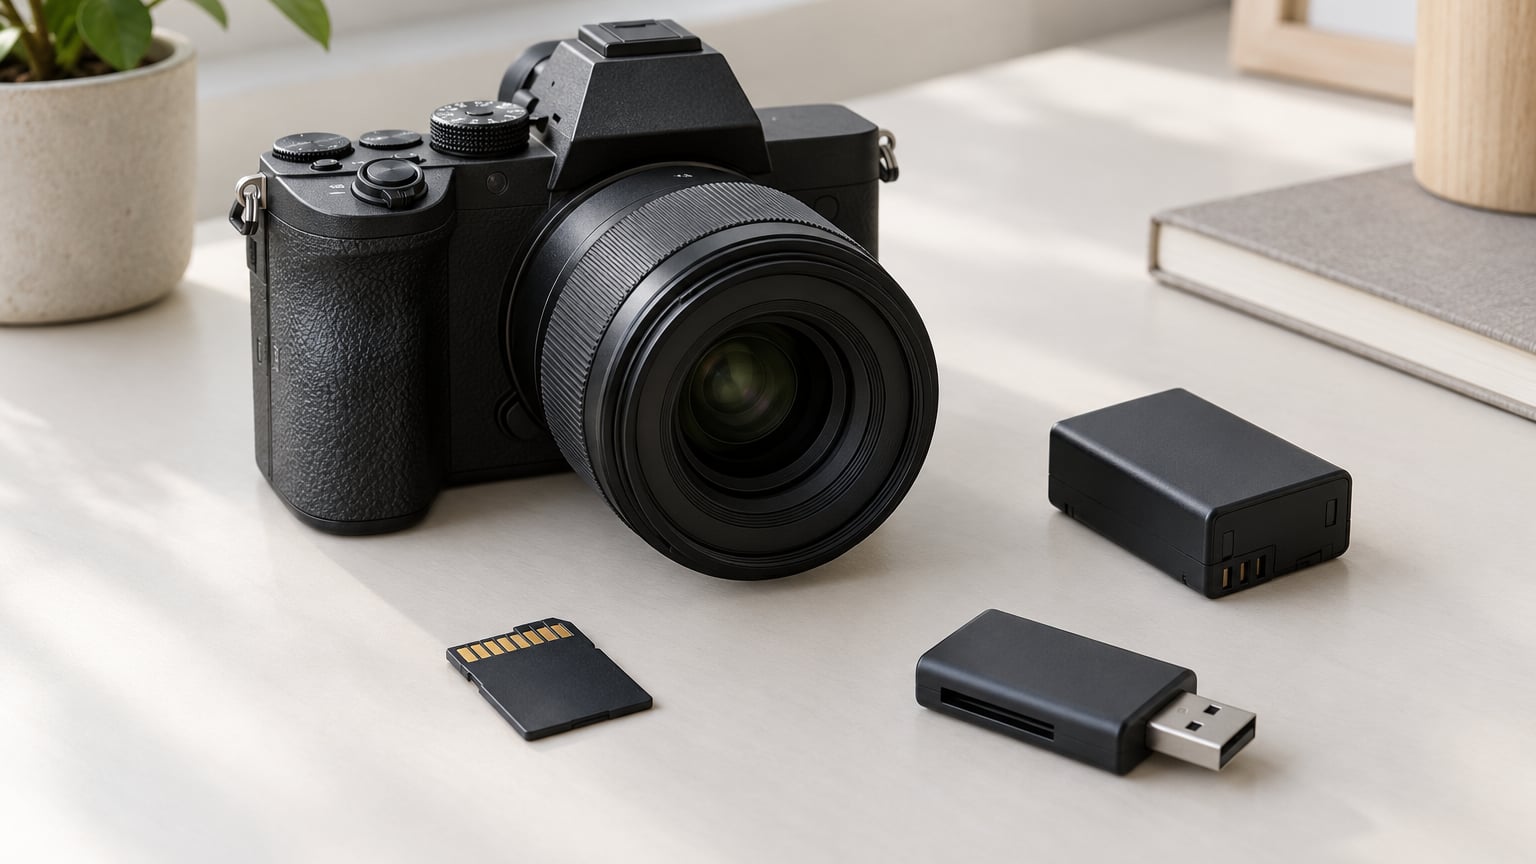
To format an SD card in a camera, switch the camera on with the card inserted, open the setup or tools menu, choose the format card option, pick the right slot, and confirm the erase. It takes about a minute. But formatting permanently erases every photo and video on the card, so the backup comes first, not after.
New cards ship with a file system the camera may not expect, and cards that have been filled and deleted from over and over end up fragmented. Rebuilding the card through the camera’s own menu gives you a clean allocation table that matches the body you are about to shoot with. Below is the sequence I use, plus the menu wording differences between brands and the points where people usually lose their footage.
Table of Contents
- What You Need
- Step-by-Step
- Common Mistakes
- Frequently Asked Questions
- Will formatting an SD card in a camera delete my photos?
- Should I format an SD card in the camera or on a computer?
- Why does my camera say it cannot format the SD card?
- What file system should I choose for photos and videos?
- Can I use a 128GB, 256GB, or larger SD card in my camera?
- What should I do if formatting fails or the card disappears?
- Conclusion
What You Need
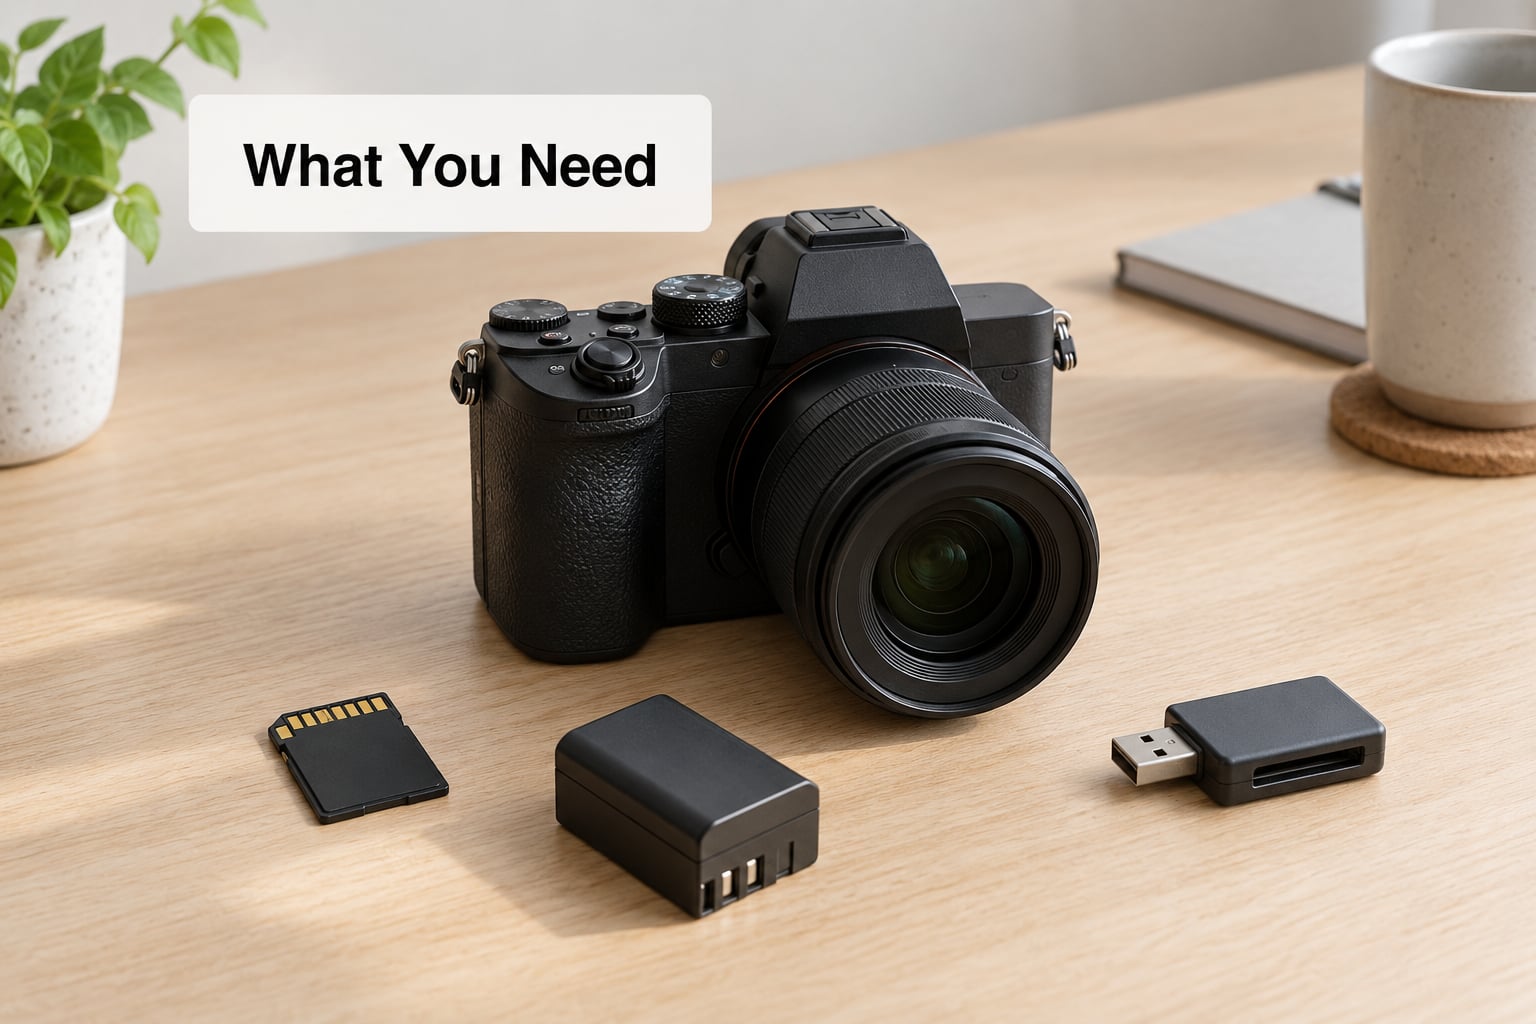
You need four things: the camera, the card, a charged battery, and somewhere for the files to go first. A card reader and a computer are optional, but they are how you make the backup before you touch the format option.
The battery matters more than people expect. Many cameras will refuse to format on a low battery, and a body that dies halfway through a long format is the fastest way to an unreadable card. Charge it fully or run it from a fresh power supply.
Check the card against the manual before you start. Some bodies cap at 32GB, some stop at 128GB, and professional models with CFexpress slots will not touch an SD card in that bay at all. Speed class matters too: a V30 card is enough for stills and moderate clips, V60 and V90 are the sensible floor once you record high-bitrate video, because a card that cannot sustain its advertised write speed is what causes dropped frames and buffer overflow. If you carry a spare card in your camera bag kit, format it at home too.
Step-by-Step
Work through these in order. The first two steps protect your data, and everything after them is quick.
1. Back Up Important Photos and Videos
Formatting is not a delete. There is no undo, no recycle bin, and no way to get the files back from a formatted card without specialist recovery work.
Copy everything off the card to your computer, then copy it again to a second drive or an online backup. Two copies is the point where a card failure stops being a disaster. If the card holds video you have not copied, open a couple of the clips and confirm they play all the way through before you continue.
2. Check the Card and Camera Compatibility
Confirm the capacity class and speed class printed on the card match what your manual supports. SDHC covers up to 32GB and SDXC covers 32GB to 2TB, and cameras are picky about which labels they accept.
On full-size SD cards there is a small slider along one edge. Slide it to the unlock position so the write-protect switch does not block the format. It is easy to nudge back accidentally when the card sits in a camera bag.
Format a card when it errors, after a card-door incident or a battery pull mid-write, when files start going missing, or when it is new. Do not bother for its own sake.
3. Open the Camera’s Format or Format Card Menu
Press the menu button and find the setup menu, often marked with a wrench icon on Canon bodies. Nikon puts Format under the setup menu, typically reached with the menu button and the custom dial; Sony uses the setup entry inside the control wheel menu; Fujifilm places Format Card under the user settings; Panasonic calls it Format Memory Card under the wrench menu.
The label varies more than the logic does. Some bodies say Format, some say Format Card, some say Format Memory Card, and the path is different enough between models that the manual is worth a glance. Every one of them does the same thing.
4. Select the SD Card and Confirm the Format
If your camera has two slots, choose the one holding the card you want to format. Dual-slot bodies let you write both cards or back up to the second one, and formatting the wrong slot erases the wrong card.
A warning appears about erasing all data or the number of images affected. On Canon bodies you also see quick format and low-level format options at this point. Choose carefully, then confirm with OK, Yes, or Enter.
Never accept the format prompt that appears inside a camera error dialog if there are images on the card you still want. Make a rescue copy first.
5. Wait Until Formatting Finishes
Do not turn off the camera or remove the card until the process finishes. A progress bar on a fast card takes a second or two; a low-level format on a large, slow card can run for several minutes.
An error message here usually means the camera could not write the new structure, often because the lock switch is engaged, the card is too small or the wrong type, or the card itself has failing memory cells. None of that gets better by retrying straight away.
6. Verify the Card and Take a Test Photo
Go back into the card information screen. The card should show its name and full capacity, not a fraction of it, and the remaining-shot counter should reflect the whole card again.
Take a test photo, play it back at full size, and check it is sharp. Record ten seconds of video and replay it. This is also the moment to decide whether the settings you are using suit the look you want, which you can read about in our guide to camera picture styles and monochrome mode.
7. Safely Eject or Remove the Card
Switch the camera off before you open the card door, or at least before you press the card release. Pulling a card while the camera is still writing can corrupt the file you were in the middle of.
If you formatted through a computer instead, use the operating system’s eject or safe-remove command first and wait for the confirmation that it is safe to remove the media. On Windows that is the eject icon in the notification area; on macOS, eject from Disk Utility or drag to the trash.
Common Mistakes
Formatting the wrong slot. Dual-card cameras show both slots. Read the slot number on the confirmation screen before you press OK.
Pulling the card mid-process. Interrupting a format leaves the allocation table half-written, and the next shoot starts with a corrupt card.
A card that is too small. A 16GB card in a body that requires SDXC simply will not format. Check the supported capacity list in the manual.
A tired battery. Format failures and frozen menus during the process are usually a flat battery, not a broken card.
Guessing at the file system. FAT32 has a 4GB per-file ceiling, so long RAW clips and high-bitrate video will not fit. exFAT handles large files and is what most modern cameras expect. NTFS is not something most camera bodies can read, so a card formatted that way on Windows will be refused.
Expecting the computer to be equivalent. Windows formats the card, the camera still complains about the allocation table or file structure. If a computer-formatted card keeps failing in the body, format it in the camera instead.
Believing you can undo it. Erased files are gone once the card is reused. If a card still holds data you need, stop writing to it and use write-protect or the lock switch on a full-size card before attempting recovery.
Format in the body you are about to shoot with, keep a spare card formatted the same way, and check the lock slider before every shoot. A format takes under a minute and removes a whole category of mid-shoot failures.
Frequently Asked Questions
Will formatting an SD card in a camera delete my photos?
Yes, without exception. Formatting rebuilds the card’s file system and removes every image, video, and folder on it. There is no undo and no recycle bin inside a camera. Copy your files to two separate places and open a few to confirm they play before you select the format option.
Should I format an SD card in the camera or on a computer?
Format it in the camera whenever the card will be used in that body. The camera writes the exact file system and allocation table it expects, which avoids compatibility errors and fragmented cards. Format on a computer only when the camera will not format the card itself, then re-check it in the body before a shoot.
Why does my camera say it cannot format the SD card?
The usual causes are the write-protect or lock switch being engaged, a card smaller than the minimum the camera supports, a card of the wrong class such as an SDXC card in a body limited to SDHC, or memory cells that have started failing. Charge the battery fully, unlock the card, and confirm the capacity in the manual before assuming the card is dead.
What file system should I choose for photos and videos?
Use exFAT for cards over 32GB and for any recording that produces files larger than 4GB, such as long RAW clips or high-bitrate video. FAT32 works for smaller cards and stills-only workflows but cannot hold a file above 4GB. Most cameras choose the file system themselves, so pick it in the menu only when the camera offers the choice.
Can I use a 128GB, 256GB, or larger SD card in my camera?
Only if your camera supports that capacity. SDXC covers 32GB to 2TB, but many bodies cap lower, and older models may not read SDXC at all. Check the supported media list in your manual. If the capacity is supported, format the card in the camera on first use so it is initialised correctly.
What should I do if formatting fails or the card disappears?
Turn the camera off, reseat the card firmly, check the lock switch, and try again on a full battery. If it still fails, format the card on a computer, then put it back in the camera and let the body format it again. Repeated failures point to a failing card, so test it with a card reader and replace it if the computer also throws errors.
Conclusion
Start with the backup. Copy the card to two places, open a few files to confirm they are intact, and only then open the format menu. From there the sequence is short: fully charged battery, card inserted, setup menu, format card, correct slot, confirm the erase, wait for the progress bar, then take a test photo before you rely on the card.
Menu wording changes between brands and models, so check your manual for the exact path on your body. Formatted in the camera you are shooting with, the card will write clean, playable files all day. If you are still tuning how the camera renders your photos, start with our walkthrough of camera settings for black and white photography.