
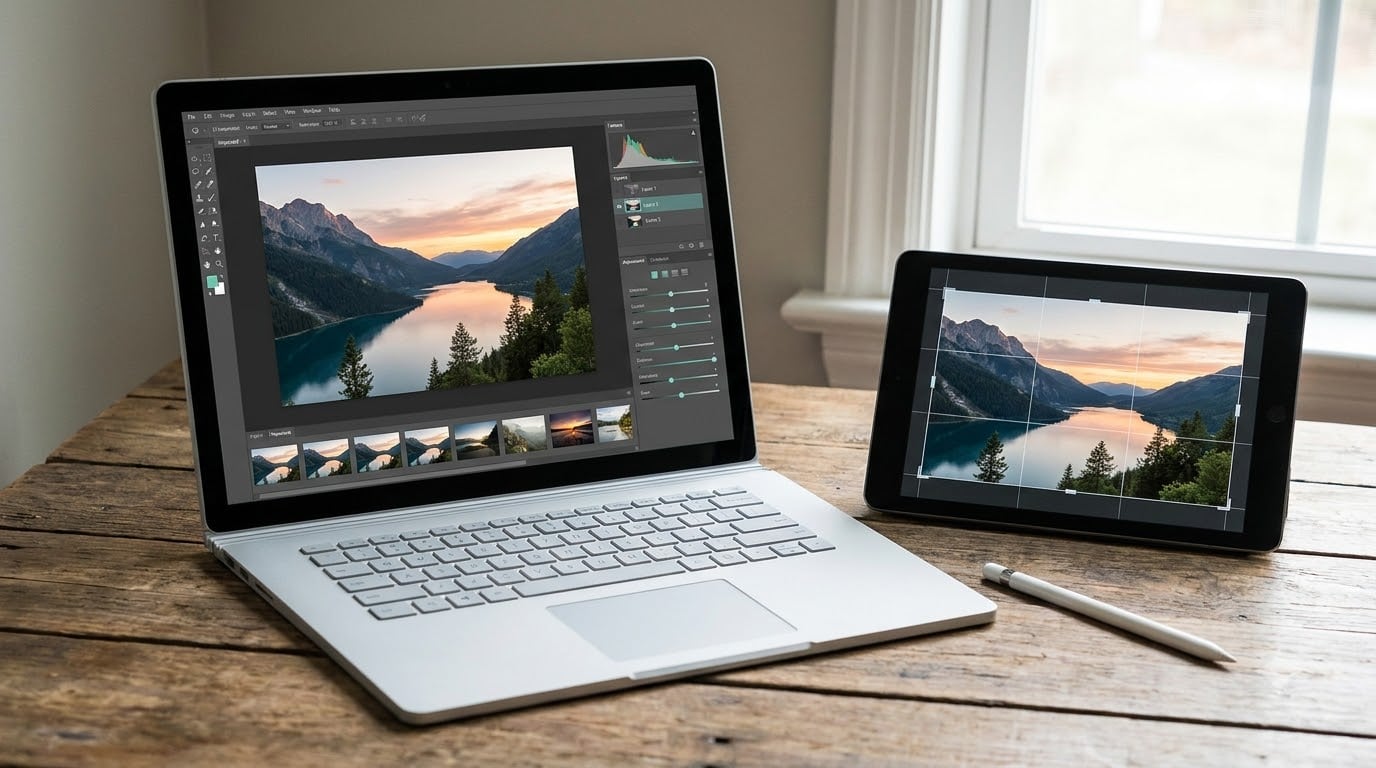
The best free photo editing software for beginners is GIMP if you want real power on a computer, and Photopea if you would rather open a browser tab and start editing in the next thirty seconds. Both cost nothing to download, both handle layers, and both can finish a crop, an exposure fix and a clean export without a subscription.
That is the honest starting point in 2026. Paid suites like Adobe Photoshop and Lightroom are excellent, and the subscription is the single biggest reason people search for free alternatives, but the everyday jobs most beginners need, cropping, straightening, exposure, colour, skin retouching, resizing for social, are covered by software you can download today and pay for never.
What differs is the shape of each tool. Some look like a professional application with thirty menus, some look like a phone app with a row of filters, and some are a website. The ten below cover all three, and I have flagged honestly where each one stops being useful.
Table of Contents
- Free Photo Editing Software for Beginners at a Glance
- 1. GIMP: full power on desktop, with a real learning curve
- 2. Photopea: a full editor that runs in a browser tab
- 3. Canva: social graphics and collages, not photo correction
- 4. Paint.NET: quick Windows fixes with a familiar ribbon
- 5. Krita: painting and illustrated edits
- 6. darktable: a free RAW workflow for photographers
- 7. RawTherapee: deep tonal work and colour grading
- 8. Polarr: preset edits that follow you between devices
- 9. Snapseed: the strongest phone editor
- 10. Pixlr X: two-minute fixes in any browser
- Frequently Asked Questions
- Where to Begin
Free Photo Editing Software for Beginners at a Glance
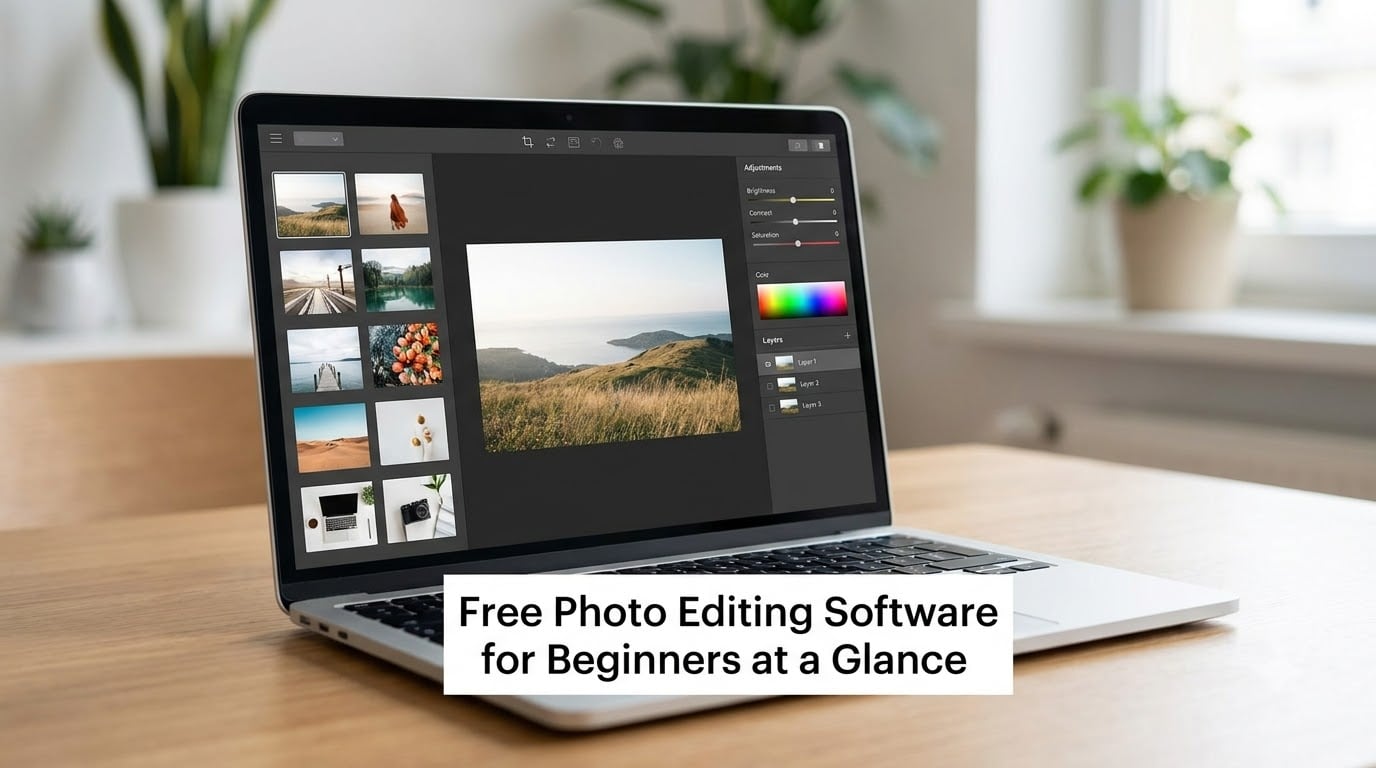
Here is the short version before the detail:
- GIMP: best for full power on Windows, macOS or Linux, if you are willing to spend a weekend learning it.
- Photopea: best for a Photoshop-shaped editor with no download and no account.
- Canva: best for social graphics, collages and posters rather than photo correction.
- Paint.NET: best for fast everyday fixes on a Windows PC.
- Krita: best for digital painting, illustration and hand-drawn edits on photos.
- darktable: best for a free non-destructive RAW workflow for photographers.
- RawTherapee: best for deep tonal work and colour grading on camera files.
- Polarr: best for preset-driven edits that follow you between phone and desktop.
- Snapseed: best for serious editing on a phone, with no subscription attached.
- Pixlr X: best for two-minute fixes and quick text overlays in any browser.
| Software | Platform | Best for | Learning curve | Free model | Watermark | RAW | Layers |
|---|---|---|---|---|---|---|---|
| GIMP | Windows, macOS, Linux | Full photo editing on desktop | Steep | Completely free, open source | None | Via separate RAW plug-in | Yes |
| Photopea | Any browser, offline-capable | Photoshop-style editing, no install | Moderate | Free core, optional paid plus tier | None | Partial, limited presets | Yes |
| Canva | Web, iOS, Android, desktop | Social posts, collages, posters | Very low | Freemium, assets paid | None, paid elements blocked | No | Limited |
| Paint.NET | Windows | Quick corrections and resizing | Low | Free core, paid optional | None | No, with plug-ins | Yes |
| Krita | Windows, macOS, Linux | Painting and illustrated edits | Moderate | Completely free, open source | None | No native | Yes |
| darktable | Windows, macOS, Linux | Non-destructive RAW workflow | Steep | Completely free, open source | None | Yes | Yes |
| RawTherapee | Windows, macOS, Linux | Tonal work and colour grading | Steep | Completely free, open source | None | Yes | Yes |
| Polarr | Web, iOS, Android | Presets synced across devices | Low | Free tier, paid plus tier | None | Limited in free tier | Yes |
| Snapseed | iOS, Android, desktop | Phone editing done properly | Low to moderate | Completely free | None | No | Yes, via the stack |
| Pixlr X | Any browser | Fast crops, filters and text | Very low | Free tier, paid plus tier | None, premium tools gated | No | Yes |
What “free” means in photo editing software for beginners
Three different things get called free, and the difference matters more than any single feature. Permanently free means the whole program is available at no cost with no account and no tier. GIMP, Krita, darktable, RawTherapee and Snapseed all sit here. Freemium means the core editor is free but some tools, presets, fonts or export options are paid. Canva, Polarr, Pixlr X and Paint.NET are here. Free-with-account means you sign up and your images live on someone else’s server, which is how Canva, Polarr and Photopea’s optional plus tier work.
None of the ten stamp a watermark on a normal export. The real limits are elsewhere: Canva hides pro elements behind a paywall, Pixlr X and Polarr gate some tools behind plus, and browser editors need an internet connection unless you turn on their offline mode.
Where your photos actually get processed
This is the question people rarely ask and I think should be answered plainly. Desktop programs such as GIMP, Krita, darktable, RawTherapee and Paint.NET open files on your own machine, so nothing is uploaded. Browser editors vary: Photopea and Pixlr X do their work inside your browser and can run locally once cached, whereas Canva and Polarr’s account tiers send your image to a server to apply presets. If you shoot client work, portraits you cannot reshoot, or anything you would not hand to a stranger, keep it on a desktop tool.
1. GIMP: full power on desktop, with a real learning curve
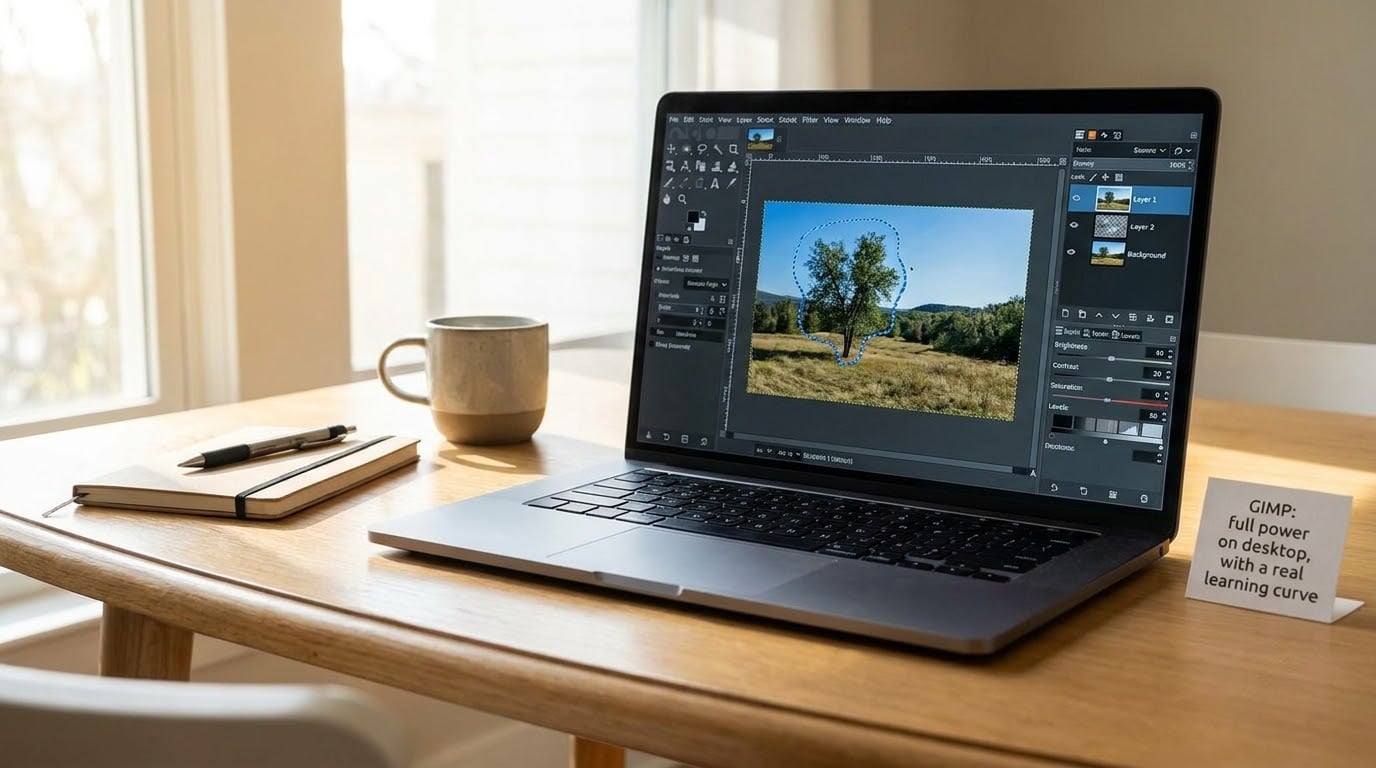
GIMP is the most capable program on this list and the one photographers on Reddit most often call the most Photoshop-like free option. It is open source, completely free, and runs on Windows, macOS and Linux. Nothing is locked, nothing expires, and there is no account to create.
Installing it takes a couple of minutes. Download the installer from the official GIMP site, choose the default options unless you know you want something else, and open it. The first launch is slow, with a font cache to build, and then the interface appears: a toolbox on the left, a canvas in the middle, and layers on the right. Menu paths here are the same style as Photoshop, with File, Edit, Select, Layer, Filters and Image along the top.
A first edit in GIMP looks like this. Open your photo with File, then Open. Crop with the Crop tool from the toolbox. For brightness, open Colors, then Brightness-Contrast, and for anything more deliberate use Colors, then Levels or Colors, then Curves, which is the single most useful control in the program. Select areas with the Rectangle Select tool, refine the edge with Select, then Feather. Retouch with the Clone and Healing tools. When you are done, use File, then Export As, and save a flattened copy as JPEG.
Layers work the way you would expect, including layer masks, groups and opacity, and GIMP opens and saves Photoshop PSD files, so you are not locked out of someone else’s work. Camera RAW files need a separate plug-in, such as RawTherapee’s or darktable’s, because the program does not open them natively. That is the one limitation that catches beginners out.
The learning curve is the honest drawback. On r/GIMP and r/AskPhotography the same complaint repeats, that GIMP is powerful enough to replace Photoshop for everyday work but intimidating in the first session. Allow yourself a weekend. Watch one tutorial that matches what you want to do, then repeat the same edit until it feels mechanical. After that, most people stop noticing the interface entirely.
Install size is the other thing people underestimate. GIMP and its bundled libraries take a few hundred megabytes on disk and pull in a runtime the first time it starts, so plan on a couple of gigabytes free if you want room to work. The download deterrent is real but small compared to what you get for nothing.
2. Photopea: a full editor that runs in a browser tab
Photopea is the answer when you want GIMP’s power with none of the installation. Open photopea.com in any browser and you get a layout that will look instantly familiar if you have ever opened Photoshop, down to the layers panel on the right and the toolbar down the left. People describe it on Hacker News and r/software as a copy of Photoshop for free, and for light to moderate editing that description is fair.
Start by dropping an image onto the window, or using File, then Open. The Adjustments menu holds brightness, contrast, curves, hue and saturation. Select and mask are the tools that make it useful for beginners: make a rough selection, apply Select, then Select and Mask, and feather it so the edge is not visible. Layers and layer masks are fully supported, and PSD files open and save, which means you can accept a file from a designer and send it back.
Saving needs care. Photopea keeps your work in browser memory, so export or save to your own drive before you close the tab. You can also link cloud storage such as Dropbox or Google Drive if you want to keep a PSD there, and once you enable the offline option in the file menu the editor keeps working from its own cache without a connection.
The disadvantages are real and worth listing. There is no catalogue of your images, so a big shoot means relying on your own folder structure. RAW opening is limited compared to darktable or RawTherapee, and advanced raw work is not what this tool is for. And a very large file can make a browser tab feel slow, so a 50-megapixel file is a better fit for a desktop program.
For a beginner who edits a few photos a week, this is the tool I would try first. Nothing to uninstall later, nothing to keep updated, and the interface teaches you skills that transfer straight to GIMP or any paid editor.
3. Canva: social graphics and collages, not photo correction
Canva sits in a different category from the rest. It is a design tool first, with thousands of templates for Instagram posts, YouTube thumbnails, posters, invitations and menus. For a beginner whose real project is a social media graphic rather than a corrected photograph, that makes it one of the best free options going.
The workflow is drag and drop. Type a size into the custom design box, pick a template or a blank canvas, drop your photo in, and adjust it in seconds. The Magic resize feature changes a post into a story or a thumbnail, which alone saves hours on a content schedule. Collages, grids and text treatments are templates you fill with your own pictures.
What it is not good at is tonal correction. You get brightness, contrast, saturation, tint and warmth, and that is where photo editing stops. Curves, masks, dodge and burn, frequency separation and the rest of a real retouching toolkit are not there because they were never the point. For fixing a photo that came out flat, reach for something else.
Also know what you are getting into with the free account. Uploading your own images and exporting at full quality works fine, but pro elements such as much of the background remover, many fonts, most stock photos and some templates are locked. You design around them or you pay. And because your project lives in your Canva account, your images sit on their servers, which is a fair reason to keep client work elsewhere.
4. Paint.NET: quick Windows fixes with a familiar ribbon
Paint.NET is the option for anyone on Windows who wants to crop a screenshot, straighten a document photo, resize a batch for a listing and be done in ten minutes. The interface uses the ribbon layout familiar from Microsoft Office, so the adjustment buttons sit in a visible row instead of a buried menu, which is exactly what a beginner wants.
Its history explains the confusion. Paint.NET began as a replacement for Microsoft Paint and is sometimes mistaken for it. It is not the same program, and it is a separate project. Microsoft Paint itself is a basic drawing utility with no layers and limited format support, and a long-running community campaign eventually got layers added. Paint.NET is the more capable of the two and the one to use for photo work.
What Paint.NET does well: layers and layer groups, selections with a real antialiased edge, basic retouching with content-aware fill, resampling, and colour adjustment. It is free for core use on Windows, and a paid optional version adds a few conveniences without taking anything away. Plugins extend it, and a healthy plugin library covers things like resizing to social media sizes, opening extra formats and adding a RAW option, though plugins are a paid feature in the optional tier.
It is Windows only, which rules it out for Mac and Linux users, and it does not open camera RAW files without help. Neither matters much if your edits are small. For a fast everyday fix it is hard to beat, and it will not send you hunting through menus.
5. Krita: painting and illustrated edits
Krita is free, open source and available on Windows, macOS and Linux, but it is built for people who draw. If your editing involves painting over a photo, sketching on it, making an illustration or working frame by frame, Krita is the strongest free option and none of the others come close.
The brush engine is the reason. Hundreds of brush presets, stabilisers that smooth out shaky mouse movement, a wrap-around mode for seamless tiling, and pressure and tilt support on a drawing tablet. A beginner can get a soft round brush working in a minute and get useful results from a tablet by the end of a session. Transformation tools, masks, layers and reference images are all there, and the animation timeline lets you export short sequences frame by frame.
For photograph edits it works, but it is not where it is strongest. There is no RAW processing, colour work is a smaller palette than a photo editor offers, and the interface is dense with tool options. A beginner who opens it and tries to correct a flat portrait will find that GIMP or Photopea reaches the same result faster.
That is the honest framing: choose Krita when the picture needs something drawn on it, and choose a photo editor when the picture needs fixing.
6. darktable: a free RAW workflow for photographers
darktable is not a beginner’s first click, and if you shoot JPEG only, you will not need it. For anyone with a camera that writes RAW files, it replaces the core of a paid Lightroom-style workflow at no cost. It is open source and runs on Windows, macOS and Linux, processing images entirely on your own machine.
Everything is non-destructive. darktable never changes your original file. It builds a recipe of adjustments that you can revisit, switch off and reorder months later, which is why photographers who shoot thousands of frames per weekend care so much about it. Colour work happens in modules such as the basic corrector, the white balance module, the tone curve and the colour zones tool, where you can push colour into one part of a frame and leave the rest alone.
Two features make it feel like a professional tool. Tethered shooting lets the program act as your camera’s Lightroom, with live view and a trigger to save new frames. And batch export applies one recipe to a whole folder, which turns an afternoon of copying settings into a click.
The interface is the barrier. It is a catalogue: images in a grid in the centre, modules stacked down the left and right, a filmstrip at the bottom, and a colour target window that confuses almost everyone on day one. Click the lightbulb in the top right, the second item in the layout menu, and the whole thing changes to a single-window view that is far easier to read. Do that first, then work down the module stack in order.
Also know it has no canvas editor comparable to Photoshop. If your work involves compositing, text or painting, you want something else.
7. RawTherapee: deep tonal work and colour grading
RawTherapee shares darktable’s mission, completely free RAW development with no subscription, and takes a different route to it. Instead of a module stack, almost everything is a row of sliders grouped into a single panel, with separate sections for exposure, shadows and highlights, detail, colour and effects. There is no target or catalog in the way darktable has one, so the screen stays focused on the image.
For tonal work it is excellent. Exposure and contrast are separate controls, so you can lift shadows without blowing highlights, and the local adjustments let you paint a mask over a specific area and adjust only that region. The colour grading tools, including the RGB curve and the primary chromaticity sliders, handle a look consistently across a series of shots better than most paid presets.
It handles RAW natively, batches folders on export, and is fully open source with nothing gated. Serious photographers use it as their only raw processor and hand the JPEG to a lighter editor for final touches.
The controls are many and the naming is precise, so there is a real learning cost. A beginner should ignore almost everything on the first pass and work in this order: white balance, exposure, then the tone curve, then sharpening at the end, and only then colour. Start there and the rest becomes optional. The open-source community is also large, so answers to specific questions are easy to find.
8. Polarr: preset edits that follow you between devices
Polarr is built around presets. You adjust a photo, save the settings as a preset, and apply that same look to the rest of the shoot or to your next shoot without touching a slider again. That is a genuine advantage when you shoot events, product work or a series where consistency matters more than individual perfection.
You can use it in a browser or install the companion app for iOS, Android, macOS and Windows, and your library and presets move with your account between them. The editing panel itself is simple, with a few tools for exposure and contrast, colour, a crop and a healing tool for small cleanups, which is more than enough for everyday corrections. A library view, presets panel and a before-and-after split view make comparisons easy.
Be clear-eyed about the free tier. It gives you the core editor and a set of presets, and paid tiers add the much larger preset catalogue, advanced settings and cloud features. There is no watermark, but there are limits, and RAW handling in the free tier is restricted. If your files are already JPEG, you will not notice much. If you shoot RAW, check the current limits before you commit.
Because your library sits in your account and presets are applied server-side, this is a cloud workflow, not a private one. That is fine for personal photos and a poor fit for confidential client work.
9. Snapseed: the strongest phone editor
Snapseed is the free photo editing software for beginners who never touch a computer, and it is genuinely difficult to argue with. It is made by Google, runs on iOS and Android with a desktop companion, costs nothing, shows no adverts and puts no watermark on anything. Almost nobody uses it seriously and that is a shame.
The reason it beats phone apps that look flashier is that it is non-destructive. Nothing you do is applied to the original. Each tool pushes a change onto a stack, you can go back and tweak any of them at any time, and the Looks section holds one-tap filters that are genuinely good rather than decorative. Nothing is ever baked in.
Four tools do most of the work. Tune Image for exposure, contrast, saturation, highlights and shadows. Details for structure and sharpening. Selective, where you tap a point on the picture and adjust only that spot, which is how you brighten a face without touching the sky. And Portrait, which handles face-aware brightness, skin smoothing and eye brightening with a dial you drag up or down, plus a headroom control for that slightly blurry, too-wide portrait look. The Healing tool removes distractions you brush over with a swipe.
Export offers two choices. Save keeps the editable stack inside Snapseed, Export flattens to a JPEG, and Export As lets you choose size. That is the only decision you need to make, and the answer is usually: save first, export second.
Limits worth knowing. It works on phones and tablets, not laptops in any meaningful way, and it cannot open camera RAW files. For social images, travel shots and quick daily edits on a phone, it is the best free tool on this list.
10. Pixlr X: two-minute fixes in any browser
Pixlr X is the fastest route to a finished image when you do not want to learn anything. Open it in a browser, drop in a photo, and you have filters, adjustments, a text tool with a large choice of fonts, shapes, overlays and a stack-based edit history that lets you undo non-destructively. Crops, flips, rotations, resizing and a healing tool are all one click away.
It suits the classic quick jobs. Resize a wide photo into a square for a post, add a caption in a nice font, apply a filter to match a set of images you have already posted, and be gone. The interface is clean enough that someone who has never edited a photo will understand it without instructions, which puts it close to the top for a true first editor.
Now the split. The free tier covers the common tools, while a paid plus tier unlocks things like the more advanced filters, extra fonts, the AI generation features and higher resolution handling. There is no watermark, but the tools you may want most are the ones most likely to be behind the paywall, so check what your specific task needs before you rely on it. And like any browser editor, you are dependent on having a working connection unless you install it as a desktop-style app, which it supports.
For serious layer work, use Photopea. For a two-minute fix, use Pixlr X.
Frequently Asked Questions
Which free photo editor is 100% free with no watermark?
GIMP is the safest answer, and it costs nothing in full: no account, no tier, no watermark, no feature locked. Krita, darktable and RawTherapee are the same deal and are open source, so they are free indefinitely rather than for a trial period. Snapseed is also fully free on iOS and Android. Canva, Polarr and Pixlr X are free to start but gate tools or assets behind paid plans, and they add no watermark. Whichever you pick, the export is a clean file you own.
Do free photo editors add a watermark?
None of the ten listed here stamp a watermark on a normal export. The limits they apply are different ones. Canva locks pro elements, templates, fonts and the background remover behind a paid plan, so you design around them or pay. Polarr and Pixlr X gate some tools and presets behind a plus tier. Photopea has a free core and an optional paid tier. If a tool watermarks your file, it is a trial rather than a free editor, so check before you start a large batch.
Can I edit RAW files for free?
Yes, and two of the free options do it natively. darktable and RawTherapee are built specifically for camera RAW files, both are open source and completely free, and between them they cover a professional developer’s entire raw workflow. GIMP opens RAW through a separate plug-in rather than natively. Photopea and Polarr handle RAW with restrictions in their free tiers. Canva, Paint.NET, Krita, Snapseed and Pixlr X do not open RAW files at all, so convert to JPEG first if you use those.
Which free photo editor works on a phone?
Snapseed is the clear pick: free in full, no adverts, non-destructive stack editing, and tools such as Selective, Portrait and Healing that no other free phone app matches. Polarr is the second option if you shoot a series and want one preset applied across it, since its library and presets sync between phone and desktop. Canva on mobile is for social graphics rather than photo correction. If you want the full desktop experience on a tablet, Photopea in a mobile browser comes closer than any other free route.
Is GIMP better than Photopea for beginners?
Neither is better; they suit different people. Photopea opens in a browser, needs no install, and needs no local storage, so you can start in seconds and it works on any computer, which makes it kinder to a complete beginner. GIMP is a desktop application with more tools, deeper file format support and native offline processing, so it suits someone who edits regularly or handles confidential images. Both use a familiar top-menu and layers panel, and skills move between them and paid editors without loss.
What are the disadvantages of Photopea?
The main ones: there is no catalogue, so organising a large shoot depends on your own folders; RAW support is limited next to darktable or RawTherapee; very large files can slow a browser tab; and your work is held in browser memory, so export or save to your own drive before closing the tab. It also needs a connection to load unless you switch on its offline mode. A paid plus tier exists for heavier use, but the free core handles everyday cropping, colour, layers and PSD files.
Where to Begin
Pick the simplest editor that matches the device in front of you and the project you actually have this week. On a phone, that is Snapseed. At a computer with nothing installed, that is Photopea. On Windows for small quick fixes, that is Paint.NET. For social graphics rather than photo correction, that is Canva. And if you intend to get serious, that is GIMP, with a weekend set aside for it.
Whichever you choose, run the same loop every time: open the file, crop it to the shape you need, fix exposure then colour, export a full-size JPEG, and keep the original untouched. Repeat that until your hands know it, and the tool you started with stops being the thing you are thinking about. That is the whole trick to getting better at this for free.