
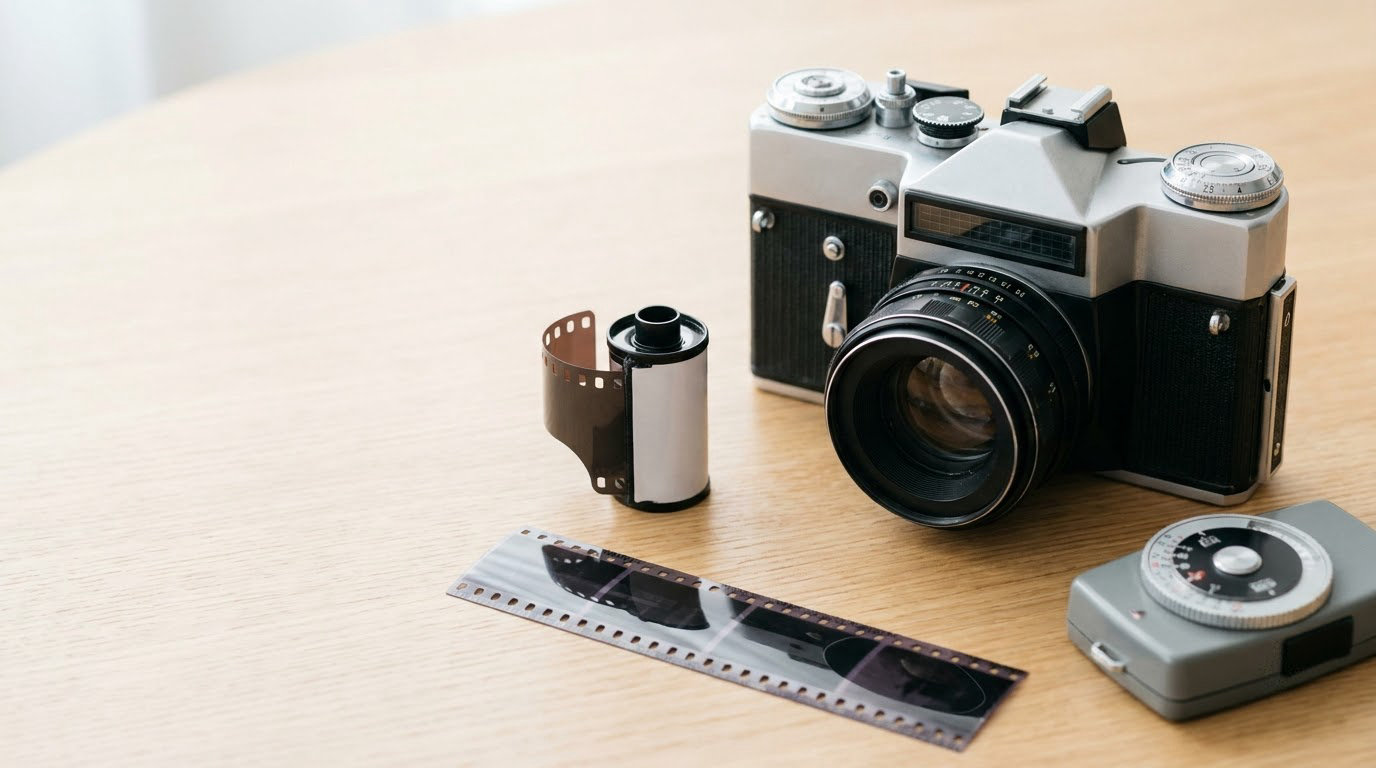
Expose for the shadows and develop for the highlights. That single rule, plus a beginner-friendly ISO 400 film and a light meter you trust, is enough to shoot a roll of black and white film that comes back worth printing.
Learning how to shoot black and white film takes about an hour of practice plus the waiting. There is no preview screen, so the decisions you make at the frame are the decisions you keep. That constraint is exactly what makes it worth doing: you start seeing light and shape instead of chasing settings.
Below is the whole process, from the gear on your desk to the negatives in a mailer, with the numbers a beginner actually needs. If you want the one-sentence version: load ISO 400, meter the shadow that matters, keep your shutter speed above 1/focal length, and let the film do the rest.
Table of Contents
What You Need
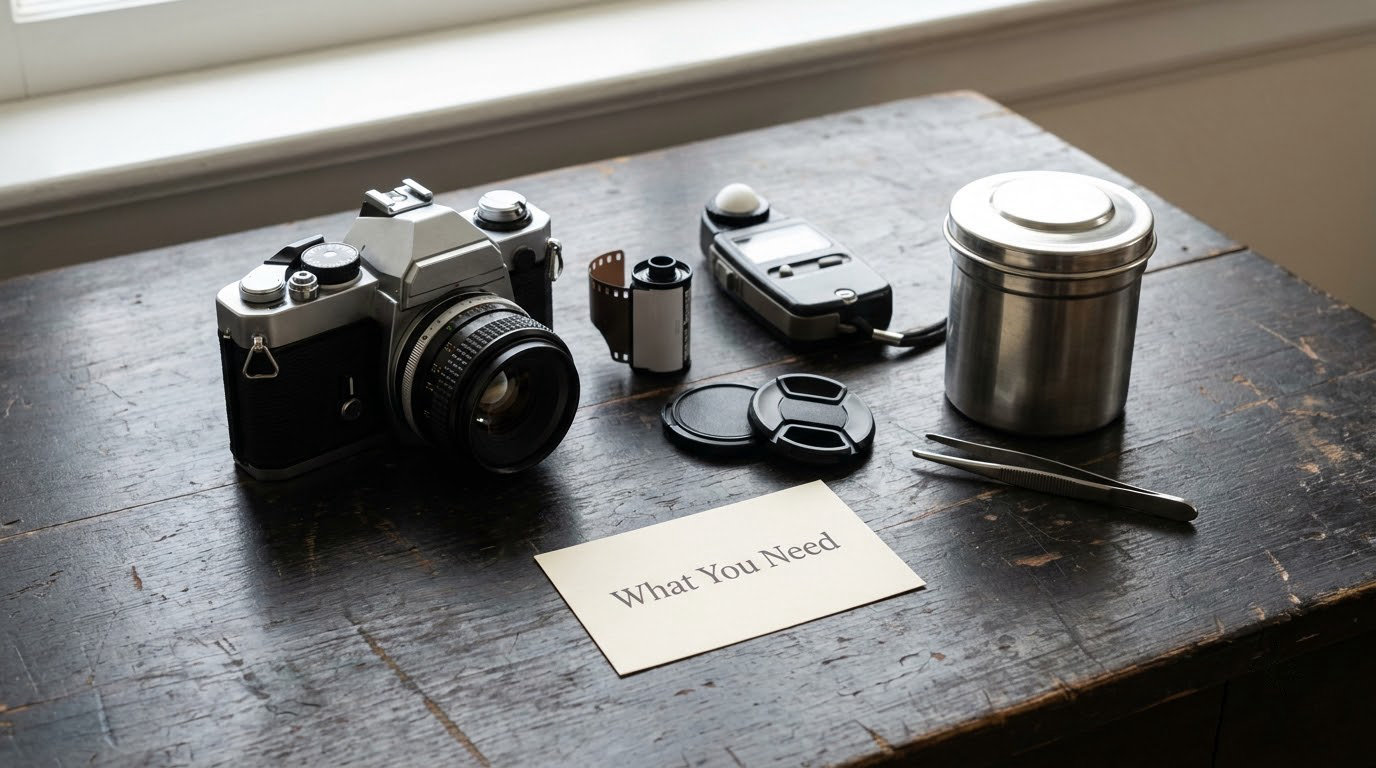
You need less than the shops would like you to believe. A working 35mm camera with a light seal, one fast lens, a roll of black and white film, and somewhere to get that film developed will carry you a long way.
A camera with a built-in light meter saves money immediately. If yours has no meter, a handheld meter is the cheapest upgrade you can make, and a phone app with an incident-light calculation covers a lot of daylight situations before you spend anything.
To load and unload safely you want a film canister opener or a bottle opener, a small brush for dust, and a changing bag for any rewind that happens outside a bathroom. A changing bag costs very little and it is the difference between changing film in daylight safely and fogging your entire roll.
For processing at home, add a developing tank with a reel, a thermometer that reads to half a degree, a graduate, a timer, and three chemistry containers: developer, stop bath, and fixer. Gloves and a plastic measuring pitcher, too. If you are not developing at home, skip all of it and mail the roll to a lab.
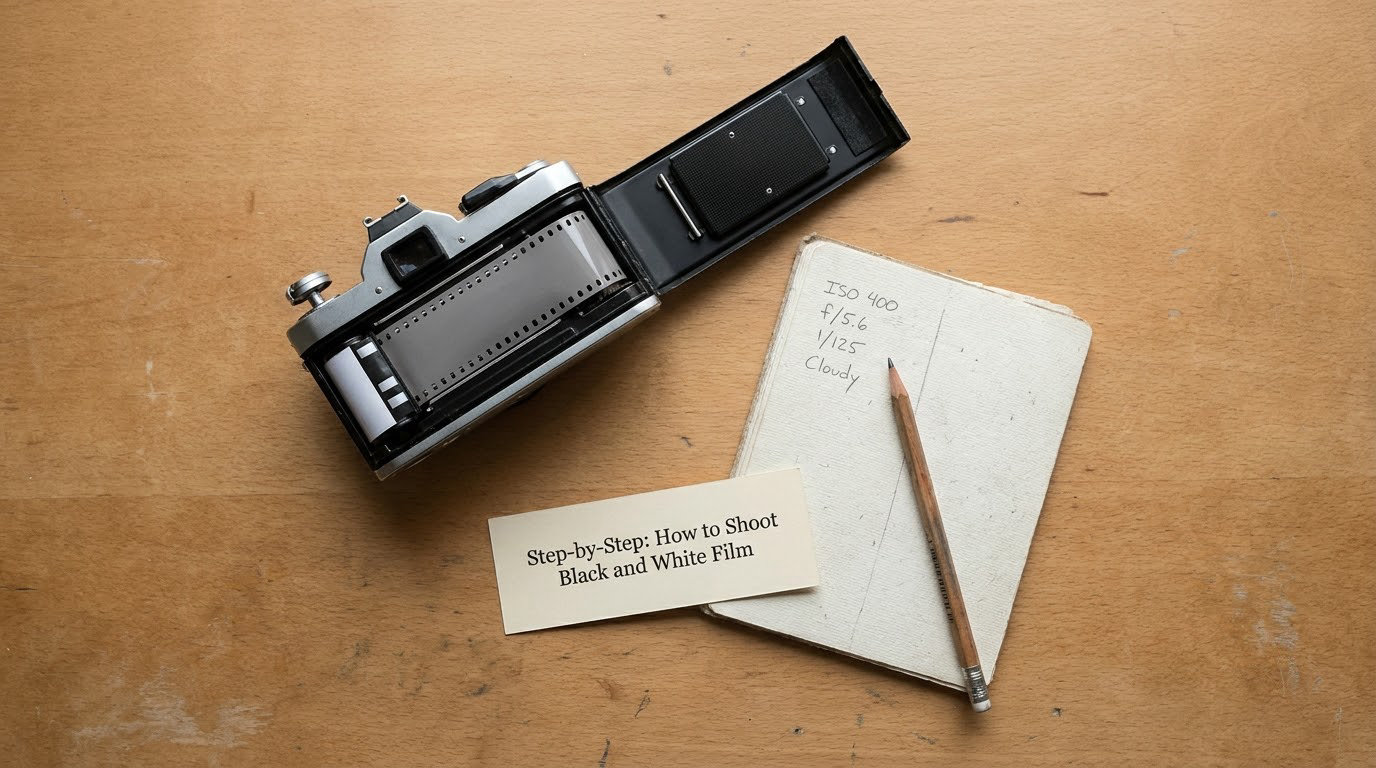
Write everything in a notebook. Frame number, aperture, shutter speed, ISO, and what the light was doing. Ten rolls of notes will teach you more than a hundred rolls of guessing.
Step-by-Step: How to Shoot Black and White Film
Choose a Black-and-White Film Stock
Start at ISO 400. That single decision removes most beginner problems: it is fast enough for daylight and overcast light without a tripod, wide enough to meter in bright sun, and forgiving when you guess wrong.
Every film below is rated at box speed here, meaning you set the camera to the ISO printed on the canister. Box speed is the manufacturer’s tested rating, and it is where a beginner should start every time.
| Film | ISO | Grain | Contrast | Exposure tolerance | Best for |
|---|---|---|---|---|---|
| Kodak Tri-X 400 | 400 | Medium, pronounced | Medium-high | About 1 stop over, limited under | Documentary, street, gritty portraits |
| Ilford HP5 Plus | 400 | Medium, visible | Medium | Around 2 stops either way | First film, available light, high contrast |
| Ilford Delta 400 | 400 | Fine | Medium-high | About 1 stop over | Detailed work, texture, print enlargements |
| Kodak TMax 400 | 400 | Fine, modern | Medium-high | About 1 stop over | Sharp, clean tonal separation |
| Fujifilm Acros 100 | 100 | Very fine | Medium-high | Wide both ways | Portraits, tripod work, smooth gradients |
| Ilford FP4 Plus | 125 | Fine | Medium-high | About 1 stop over | Outdoors with a tripod, wide views |
| Ilford XP2 Super | 400 | Medium | Medium | About 1 stop over | Rain, night, anywhere light is scarce |
| Kentmere Pan 400 | 400 | Medium, pronounced | Medium | About 1 stop over | Practice rolls and frame counting |
r/filmphotography repeats one recommendation more than any other: Ilford HP5 Plus as the first film, because at ISO 400 it is versatile and forgiving. Developers on the same forums consistently report that HP5 and Tri-X tolerate overexposure far better than underexposure, which matches the published data above. If you are learning exposure rather than chasing a look, that tolerance is what saves you.
Expired film still shoots. A roll that has been cold for ten years usually shows more grain and a lower contrast, but nothing structural fails. Shoot it at its rated ISO rather than pushing it, and expect to meter carefully.
Set the Camera for Black-and-White Exposure
Set the ISO dial to match the film, choose your aperture, then let the meter set the shutter speed. Black and white film is judged differently from colour because colour negative film is a forgiving log curve, while monochrome film is closer to print paper: it clips quickly and the midtones matter.
Meter the shadow area that matters, not the brightest sky in the frame. That is the practical version of the expose-for-the-shadows rule, and it protects texture in the part of the picture your eye lands on first. A gray card in open shade is the most reliable reading you can get, and a spot meter over a small area of subject tone beats a broad average every time.
| Situation | Aperture to start at | Shutter speed | Note |
|---|---|---|---|
| Portrait in window light | f/2.8 to f/4 | 1/60s and slower | Put the face one stop brighter than middle gray |
| Street, daylight | f/5.6 | 1/250s | Zone VI to VII on a bright face or shirt |
| Open shade, overcast | f/2.8 | 1/60s | The easiest light there is |
| Architecture, hard sun | f/11 | 1/250s | Watch for blown skies, focus two thirds into the scene |
| Wide outdoor scenery | f/8 to f/11 | 1/125s with a tripod at ISO 100 | Meter for the foreground, not the brightest cloud |
| Indoor, available light | f/1.4 to f/2 | Whatever the meter gives | Brace elbows or use a wall; ISO 400 film is the fast film |
| Night, ISO 400 | f/2 | 1/30s or slower | Fine, with flash or a support. Push to 800 if the light collapses |
The Zone System is worth a paragraph because it makes every other number on this page make sense. Place a subject in a zone, each zone being one stop: Zone II is deep shadow with no detail, Zone V is middle gray, Zone VIII is bright with a little detail, Zone X is blown white. Zone V is what a meter aims for by default, and for most black and white frames you want your subject between V and VII. Beginners who learn to place tones in zones stop worrying about the meter entirely.
Two technical notes. First, keep your shutter speed at or above 1/focal length, so 1/60s with a 50mm lens, and you will not lose the frame to camera shake. Second, older films and very long exposures need reciprocity compensation, meaning the metered time needs to be extended further than the meter suggests. On ISO 400 in daylight you will rarely run into it.
Focus and Compose for Tonal Contrast
Without color, your eye has to find something else to hold onto. Tonal contrast is that something: the difference in brightness between two areas next to each other. A dark coat against a pale wall reads instantly in black and white. The same coat against a wall one shade darker turns into a shapeless smear.
Look for texture and form before you look for subject. Brick, peeling paint, wet pavement, hair, fabric folds. Side light rakes across texture and makes it pop; flat overhead light kills it. Backlight gives you a silhouette with a clean edge, which is a legitimate and strong choice rather than a failure.
Place things so their tones do not merge. If two elements share a tone, separate them with depth, overlap them deliberately, or move until the background sits a clear step lighter or darker. Then leave space in the direction someone is facing or moving, and stop there. Each frame is costing you money, and that constraint is what teaches you to decide before you lift the camera.
Load, Shoot, and Unload the Roll Safely
Here is the workflow, in order, and this is the part that produces ruined rolls.
- Load in dim light. Change film indoors, in a bathroom with no window, or inside a changing bag. Open the canister, trim the leader square, and seat the tongue of the film under the take-up sprocket.
- Advance and confirm. Wind the advance lever twice, then check the sprocket holes are engaging and the rewind crank turned slightly as you wind. If the crank does not move, the film is not threading. Open the back and reseat it.
- Advance past the leader. After two full lever strokes, wind on to frame 1. Some cameras have a frame counter you reset to 0, some have a type 1 or an X to align. The counter is a guide, not proof.
- Set the ISO and compose. Meter, focus, and fire.
- Advance after every frame. Not every other frame, not when you feel like it. One click per shot, every shot. A forgotten advance gives you a double exposure; a skipped click gives you a blank frame.
- Watch the counter. The gap in the numbers at the end of the roll is the frame you cannot reach. Stop one short of 36 if you want every frame exposed to spec.
- Rewind fully. Press the rewind release button, turn the crank until you feel the tension release as the film comes off the take-up spool, then keep turning a few more turns. This is the single most common way beginners lose a whole roll. r/filmphotography flags closing the rewind crank before confirming the film is actually moving as the classic rookie error, and the symptom is a completely blank strip of negatives.
- Only then open the back. If the crank felt tight right to the end, the film may still be partly on the spool. Try again. Only when the crank spins freely with no resistance is the roll properly wound back in.
Once it is rewound, label the canister with the film type and the date before you put it in a pocket. Unlabelled canisters get developed as colour, and a roll of Tri-X through a colour chemistry chain comes back with muddy, low-contrast frames.
Develop or Send Your Film for Processing
For your first rolls, send them to a lab. Search for a lab that still runs a wet process for black and white, ask for the price per roll including scanning, and check the turnaround before you mail anything. When you fill in the order form, be specific:
Black and white 35mm, 36 exposures, develop only.
Standard contrast, normal development, do not push.
Scan at high resolution, TIFF, plus the negatives returned in a sleeve.
If I have written a push or pull note on the canister, follow the note.
Developing at home is entirely doable and cheaper per roll once you have the kit. The basics: develop at 20C, agitate in a consistent pattern and time, stop, fix, wash, and dry the negatives in a sleeve with a clip. Stand development, where you let the tank sit without agitation for part of the time, gives you slightly more contrast and less grain. Nudie sleeves stop negatives from curling before you scan them. Whatever you do, follow the data sheet and the chemistry instructions exactly the first time, because temperature errors are what turn a roll into a grey mess.
Scanning at home is straightforward with a holder and a flatbed or phone-based scanner, and phone holders that clamp over a phone are cheap enough to be worth it. Dust and scratches show up hard on a high-resolution scan, so clean the glass and the film holder first. Keep every negative. Film is the only copy, and you will rescan a roll a year later when your scanning setup improves.
If you shot a roll and want a different look, you do not have to shoot another one. Pushing means rating the film faster than its box speed, so shooting HP5 at ISO 800, then telling the lab to push one stop, which raises contrast and grain. Pulling means the opposite: shooting at ISO 200 and asking for a pull, which lowers contrast and keeps more shadow detail.
| Goal | At the camera | On the order form | Risk |
|---|---|---|---|
| More contrast and grain | Set ISO one or two stops above box speed | Push 1 stop (or push 2) | Soften shadows, highlight clipping |
| Smoother, more shadow detail | Set ISO one stop below box speed | Pull 1 stop | Flat result, possible fog |
| Just normal development | Shoot at box speed | Standard contrast, no push or pull | None |
Rating a film slower than box speed is a pull, not a push. That confusion shows up constantly in film groups, so note it in your notebook and on the canister before the roll goes in the mailer.
Common Mistakes and How to Fix Them
Blank rolls or blank frames. A rewind that did not fully pull the film off the take-up spool, or a light leak through a worn camera back. Fix: rewind until the crank spins free, and replace the light seal foam on any camera older than a few years.
Underexposed frames with no shadow detail. You metered a bright area and the shadows went solid black. Fix: meter the shadow that matters, or add compensation. On HP5 and Tri-X, one to two stops of underexposure is the mistake that cannot be rescued in the darkroom.
Blown highlights. Metering off a bright sky dragged the whole frame dark, or you overexposed by two or three stops. Fix: check the brightest area you care about, and remember black and white film clips highlights faster than digital does, so treat bright skies as a real risk.
Everything too contrasty. Usually a default developer set to high contrast, or a push on a film that did not need one. Fix: standard contrast for your first rolls, and do not push film you have not metered carefully.
Blurry frames. Shooting wide open with manual focus, or a shutter speed below 1/focal length. Fix: stop down one stop and focus on a hyperfocal distance, which is the distance where near and far both look sharp.
Two colors that looked different and printed the same. A green shirt against a red wall has almost no tonal separation. Fix: compose for tone, or use a filter that separates them. This is the mistake that pushes people toward filters in the first place.
Development fog. Chemistry too warm, development too long, or chemistry used more times than its capacity. Fix: use a thermometer, follow the data sheet, and change the tank water between runs.
How to Create Consistent Results
Consistency comes from repeating the same decisions, not from being more careful every frame. Pick one film, one developer, one contrast setting, and one development time. Repeat them for five rolls and change exactly one variable at a time.
On your first roll, give the 36 frames an assignment: six frames of shadow shapes, six of texture, six of one portrait in consistent light, six of straight-on geometry, six of whatever the light is doing at that moment of the day. It sounds gimmicky and it works, because you end up testing your eye instead of your film canister.
Review your scans in a fixed order every time: focus, then exposure, then shadow detail, then highlight detail, then tonal separation, then composition. Reviewing in the same order means you notice the same things every roll and you improve at a measurable rate.
Two habits do most of the work. Note the exposure for any frame you liked, and compare it to the one you did not. And keep the film you have not finished yet in the fridge, sealed, because heat and humidity fog the emulsion long before anything else goes wrong.
Filters are the last piece. A colored filter placed over the lens darkens a particular color band in the scene and holds it as a different tone, which increases separation on hazy days, cuts glare, and darkens skies in a way that digital grading only fakes.
| Filter | Tonal effect | Filter factor |
|---|---|---|
| No filter | Honest tonal rendering | None |
| Yellow | Slightly darker skies, mild haze penetration, natural look | About 1 stop |
| Orange | Stronger sky darkening, dramatic clouds, more contrast | About 2 stops |
| Red | Very dark skies, heavy haze cut, hard graphic landscapes | About 3 stops |
| Green | Lightens foliage, darkens blue skies, flattens some skin tones | About 2 stops |
Compensate the filter factor on your meter, or your frame comes out one, two, or three stops under. A yellow filter on an overcast day is the cheapest tonal tool in the bag, and it is the one most beginners skip. If you shoot wide open at f/1.4, step down to f/2.8 or f/4 so the filter stays even across the frame.
Frequently Asked Questions
How do you expose black and white film?
Expose for the shadows and develop for the highlights. Set the ISO to the film’s box speed, choose an aperture that suits your depth of field, meter the shadow area that matters most to the picture, and let the meter set the shutter speed. Keep that speed at or above 1/focal length to avoid shake. On your first rolls, a film with wide exposure tolerance like HP5 Plus gives you room to be a little wrong.
Is ISO 200 or ISO 400 better for beginners?
ISO 400, without much argument. It handles daylight, overcast light, and ordinary indoor light without a tripod, and it gives you two stops more exposure latitude than ISO 100 if you misjudge the light. ISO 200 film is a reasonable choice indoors or in a dim house, but it slows the shutter speed in ordinary light. Rating ISO 400 film at 200 is technically a pull, and the lab needs to be told.
What is the best 35mm film for a beginner?
Ilford HP5 Plus at ISO 400 is the pick most experienced film shooters name, because its exposure tolerance runs roughly two stops in either direction and it handles available light well. Kodak Tri-X 400 is the other standard, with a more pronounced grain and a slightly less forgiving response to underexposure. Buy one, shoot a full roll, then decide which look you actually prefer.
Can I process black and white film at home?
Yes. You need a developing tank, reel, thermometer, timer, and three containers of developer, stop bath, and fixer, and you follow the film data sheet’s temperature and time. Developing at 20C with consistent agitation gives results you can repeat. For your first few rolls, a lab is inexpensive and removes an entire category of mistakes, so it is worth using before setting up a darkroom.
Will a 20 year old 35mm roll still work?
Usually yes. Properly stored film that has been kept cool and dry will develop into usable negatives, with more grain, lower contrast, and a slightly thinner image than fresh stock. Shoot it at its rated ISO rather than pushing it, meter more carefully than usual, and expect a flatter result. Fogged or warm-stored film is the version that disappoints, so keep the rolls you care about in the fridge.
Do I need a yellow filter for black and white film?
No, you can shoot a full roll without one. A yellow filter darkens blue skies slightly and cuts atmospheric haze, which gives you a bit more separation between planes in distant scenes. It is most useful in hazy weather and least useful on an overcast day, where the contrast you want to add does not exist yet. Compensate about one stop on your meter when you use one.
Load ISO 400, meter the shadow that matters most to your frame, keep the shutter speed above 1/focal length, and rewind until the crank spins free. Shoot one roll, write the numbers down, and get it developed before buying anything else. That is the whole of how to shoot black and white film, and the rest is repetition.