
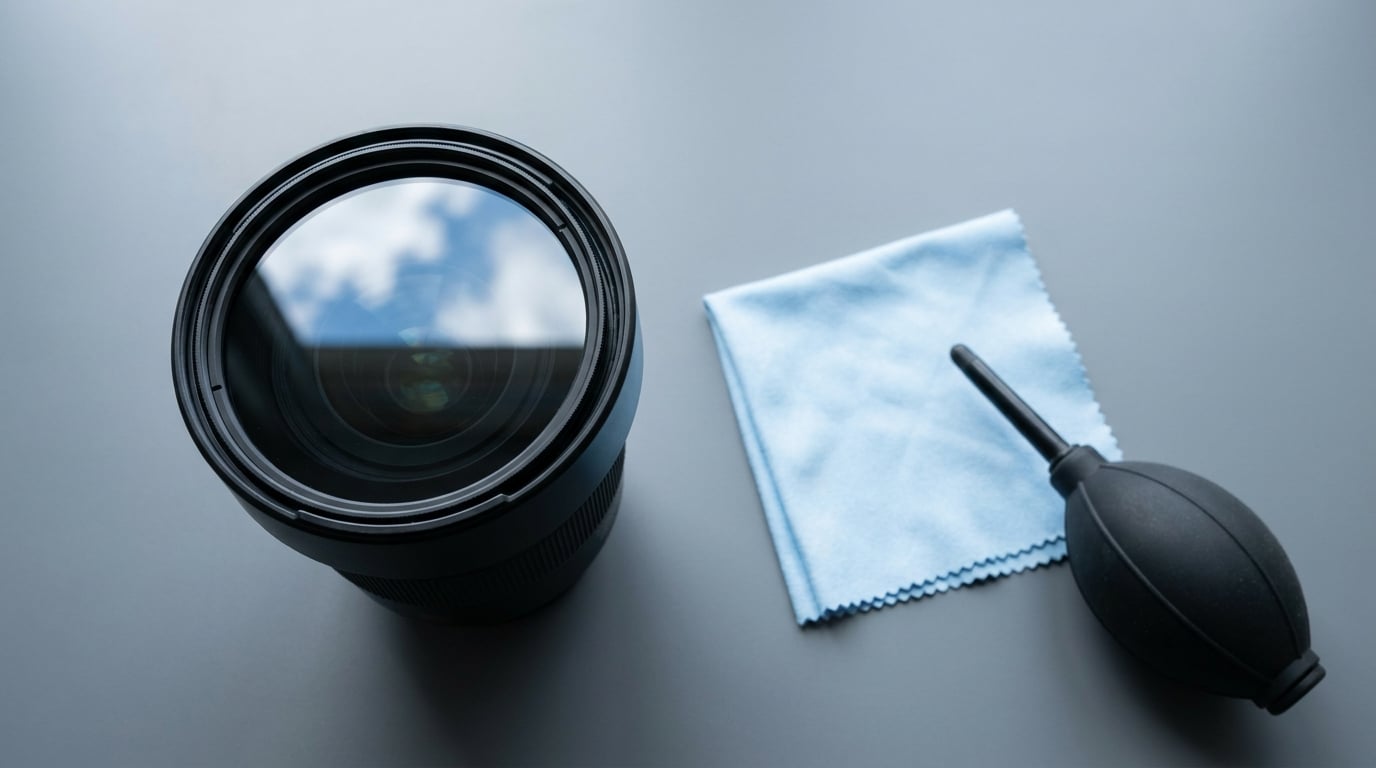
Learning how to use a polarizing filter comes down to four moves: screw a circular polarizer onto the front of the lens, meter the scene, rotate the front ring until glare and haze disappear, then back the rotation off slightly before you re-meter and shoot. The whole thing takes about two minutes once you have done it a few times.
A polarizer is the one filter that changes what the light itself looks like rather than just how much of it reaches the sensor. That is why it cannot be faked afterwards in Lightroom, and why photographers keep one in the bag even though half their other filters sit unused at home.
In this guide I walk through the gear you need, the full seven-step procedure, the situations where a polarizer actively hurts the frame, and the numbers that decide whether your sky comes out blue or bruised.
Table of Contents
- What You Need
- Step-by-Step: How to Use a Polarizing Filter
- Step 1: Check That the Filter Fits Your Lens
- Step 2: Clean the Filter and Camera Lens
- Step 3: Mount the Polarizing Filter Correctly
- Step 4: Set the Camera to Manual or Aperture Priority
- Step 5: Rotate the Filter to Control Reflection and Contrast
- Step 6: Refocus and Recompose the Photograph
- Step 7: Check the Result and Capture Variations
- Common Mistakes That Ruin Photos When You Use a Polarizing Filter
- Frequently Asked Questions
- Can I use a polarizing filter with any camera lens?
- What is the difference between circular and linear polarizing filters?
- How many stops of light does a polarizing filter cost?
- Why does a polarizing filter make the sky look uneven?
- Can I use a polarizing filter through glass or on a wide-angle lens?
- Does a polarizing filter affect autofocus or image sharpness?
- What to Do First
What You Need
You need very little: a lens with a filter thread, a polarizer of the correct diameter, something to clean both surfaces, and about three minutes of daylight with the sun somewhere behind or beside you.
The filter itself
Buy a circular polarizer, usually sold as a CPL filter. Light bouncing off water, glass, leaves and wet pavement arrives at your lens already polarized, travelling in one plane. The filter holds a microscopic film that only passes light aligned to a single axis, so turning the front ring moves that axis and the reflection fades or returns. Circular types add a quarter-wave plate that splits polarized light into components the camera can read, which is why autofocus and the meter keep working.
A linear polarizer is simpler and often cheaper, and it still removes glare, but it scrambles the light reaching the viewfinder and many cameras. Autofocus hunts, the meter lies about exposure, and on a DSLR the screen goes black unless you flip the flip-switch or look through a second lens. On mirrorless and phone clip-ons, treat linear as a special-case purchase only.
Adapters and step-down rings
Filters come in diameters such as 52mm, 58mm and 77mm, and the number stamped on the front ring of your lens tells you which one you need. A stepping ring lets a larger filter sit on a smaller lens, at the cost of vignetting and a slight hit to corner sharpness. Thin glass in the wide filter matters more here than on a matched-size filter.
Supporting kit
A blower, a clean microfibre cloth and proper lens fluid keep the glass clear, which matters more than usual because every smudge on a polarizer scatters light across the frame. A hood helps you keep flare off the glass while you rotate. A variable neutral density filter is the only other piece worth having, since polarizers cost light and long exposures at dusk are where that bites.
Step-by-Step: How to Use a Polarizing Filter
Seven steps, in order, and the order is the point. Most first attempts go wrong because the filter is mounted before the exposure is set, or rotated after focusing, or left cranked all the way round.
Step 1: Check That the Filter Fits Your Lens
Read the thread size printed on the front ring of the lens, or on the side of the barrel, and match it to the filter diameter. The two numbers have to be identical for the filter to thread on cleanly.
Look at the lens from the front: the diameter is printed in millimetres, usually as 52mm, 58mm or 77mm on common wide, standard and tele zooms. The pitch is nearly always the same, 1mm per thread, so an adapter will physically fit, but forcing an oversized filter on is how glass cracks and threads get damaged.
Step 2: Clean the Filter and Camera Lens
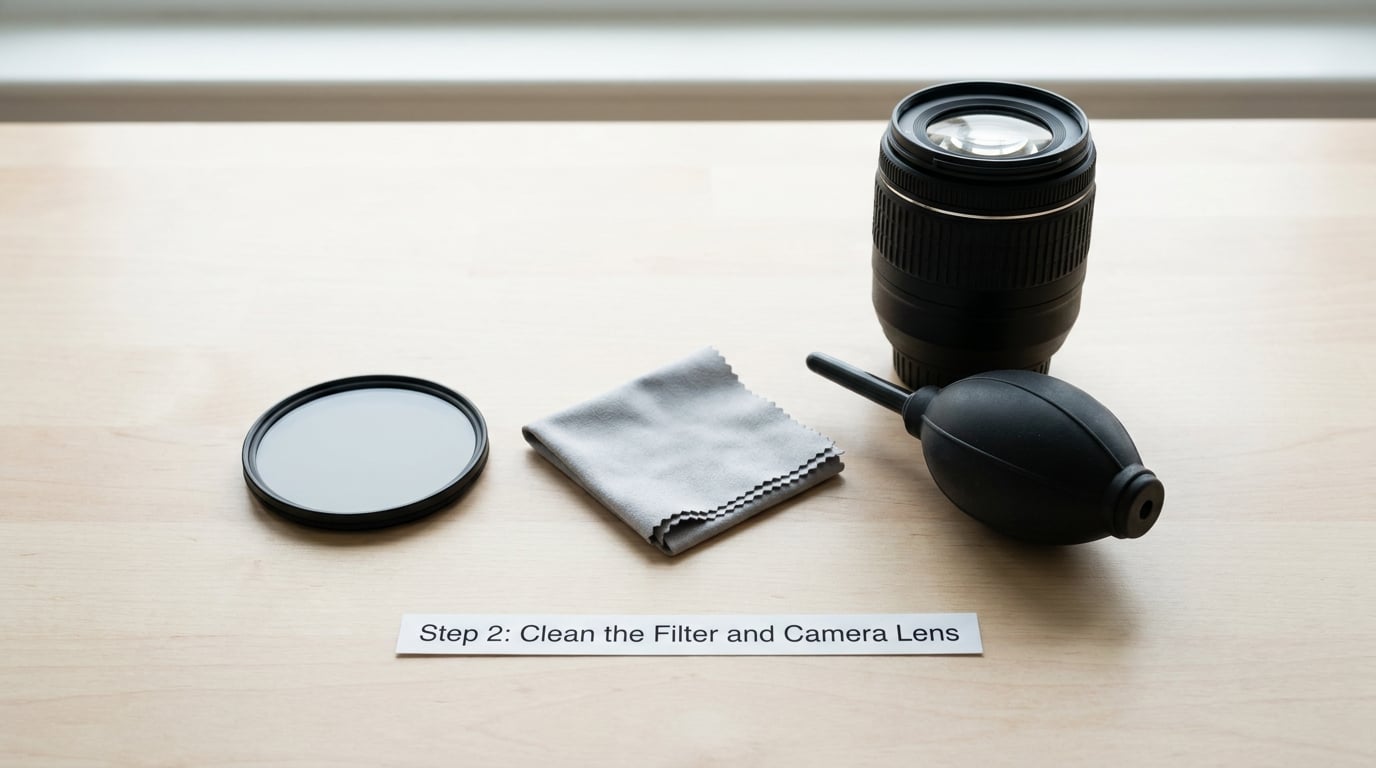
Clean both glass surfaces before mounting anything, because a dirty polarizer spreads every speck of dust into a bright blob across the sky. That is the single ugliest thing a filter can do to a frame.
Blow loose dust off with a hand blower, then wipe with a clean microfibre cloth and a proper lens fluid. Never use a dry tissue or the corner of a shirt, and never touch the glass with your fingers to test it. A fingerprint on a polarizer can cost you well over a stop of contrast around a bright light source.
Step 3: Mount the Polarizing Filter Correctly
Remove the lens hood or any existing filter, line the filter up with the thread, and turn it clockwise by hand until it seats. If it needs force, the size is wrong.
Once mounted, the outer ring on a standard design comes in two parts: one screws onto the lens and stays put, and the inner ring holding the glass rotates freely through a full 360 degrees. Make sure you have turned the free ring, not the whole filter. A thin layer of grease on the threads helps it come off cleanly later.
Step 4: Set the Camera to Manual or Aperture Priority
Set your baseline exposure before you start rotating, because turning the filter changes the light reading and a camera in auto mode will chase the change.
Meter without the filter, then add exposure compensation for the light you are about to lose. A typical polarizer costs one to two stops, and a strong one pointed at 90 degrees to the sun can hit the top of that range. If you mount the filter first, re-meter and dial in shutter speed, aperture or ISO again. Manual mode with a fixed baseline is cleaner for landscape work because every variation you shoot stays comparable.
Step 5: Rotate the Filter to Control Reflection and Contrast
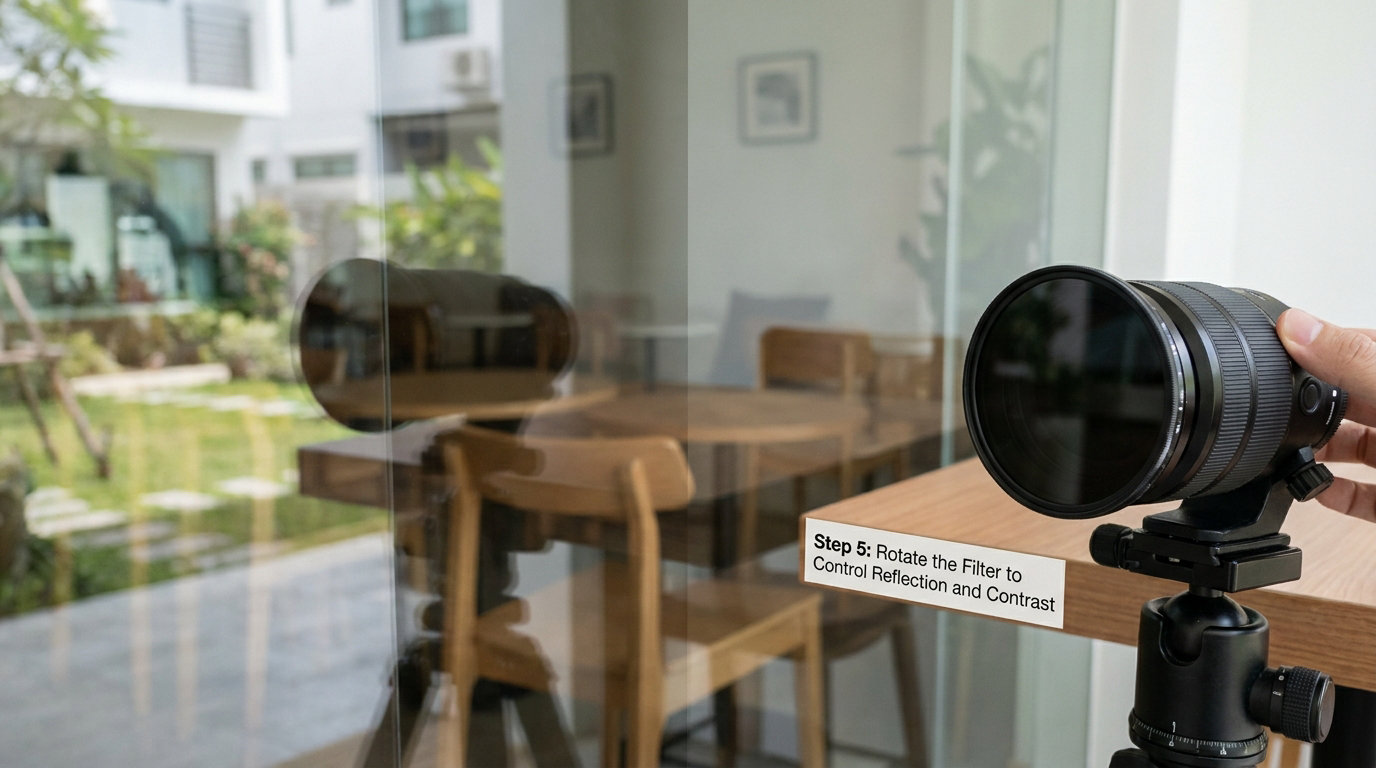
Turn the front ring slowly while watching the rear screen, and stop rotating when the glare, haze or surface reflection you are targeting disappears.
Effect strength depends on where the sun is, not just how far you twist the ring. Point the lens roughly 90 degrees to the sun, the classic fist-and-thumb trick: put your thumb toward the sun and let your fist point at the subject, and that angle gives the strongest polarization anywhere in the frame. Shoot into the sun or at a sunset and the angle is wrong, so the filter does very little. Rotate very slowly, even a full revolution, because the effect builds gradually and a few degrees can look like nothing when the difference is really a stop and a half.
Step 6: Refocus and Recompose the Photograph
Refocus after you mount and after every meaningful rotation, then check your framing again, since a wide front element can shift the view slightly as it screws in.
On most lenses the effect is small enough that autofocus stays put, but there is no reason to trust it. Confirm focus on the rear screen at 100 percent, and if you are at the edge of the focusing distance in low light, switch to manual before you start turning the ring.
Step 7: Check the Result and Capture Variations
Look at the histogram for clipped highlights, check that the sky holds detail near the horizon, and take two or three frames at slightly different rotation angles rather than one.
Reviewing on the rear screen matters because an optical viewfinder under-represents the polarization effect; the frame looks subtler in the finder than it turns out in the file. Shoot the full range, then compare them on the screen, not in the viewfinder. If the sky has gone dark navy with crunchy cloud edges, you have over-polarized. Back the ring off until the greens and skin tones stop looking matte and the blues stop looking printed.
Common Mistakes That Ruin Photos When You Use a Polarizing Filter
Almost every bad polarizer frame traces back to one of six mistakes, and all six have a simple fix.
Over-polarizing. Cranking the ring all the way round is the most reported error on photography forums, and it produces a muddy yellow sky, cloud contrast that looks scratched in, and dull skin. The fix is the field rule that circulates in comment threads: rotate to full effect, then turn back until the change is barely visible, then split the difference.
Forcing the wrong size. A filter that screws on only with pressure will crush the coating and can strip the lens thread. Cheap thin rings also bind to aluminium barrels over time, which is why experienced shooters pay for brass rings and reputable multi-coated glass.
Rotating too fast. Twisting hard and stopping at the first thing that looks different is how you end up at full polarization without meaning to. Take a full slow revolution to feel the whole range before you settle on an angle.
Ignoring the light loss. One to two stops is real, and skipping it leaves you a frame that underexposes the moment the filter bites. Re-meter, and remember that at dusk or in open shade a polarizer is a poor substitute for an ND filter, not a good one.
Using it at the wrong time of day. At night there is no polarized sky to deepen and no sun at 90 degrees, so you simply lose light. The same goes for most astro work. Leave it off after dark.
Wide angles with lots of sky. On a 16mm lens the corners of the frame sit at a different angle to the sun than the centre, so the sky darkens unevenly and the horizon can go pale while the top goes navy. Photographers on dpreview and Canon community threads report this clearly at 16mm and far less at 35mm. The fix is to step down one stop less, rotate more gently, or crop some sky out.
A few extras that save time. If you are stacking, attach the ND filter first and the polarizer on top, so the rotating ring stays reachable without unscrewing anything. Hold the filter in front of a phone or computer screen and rotate it until the screen goes dark, and you have just verified it works before it ever touches glass. A polarizer is a decent stand-in for a one to two stop ND when nothing else is in the bag, and the same physics that deepens the sky will intensify a rainbow if you rotate away from the usual angle.
Frequently Asked Questions
Can I use a polarizing filter with any camera lens?
Almost any lens with a filter thread will take one, as long as the diameter matches. Read the thread size stamped on the front ring, commonly 52mm, 58mm or 77mm, and buy exactly that. Adapters exist for mismatched sizes but add vignetting and slightly soften corners. Phones need a clip-on filter instead.
What is the difference between circular and linear polarizing filters?
Both remove glare and reflections by the same principle. A circular polarizer adds a quarter-wave plate that lets the camera read the light normally, so autofocus and metering work on any modern body. A linear one breaks the viewfinder image and many meters, so it is only worth choosing for a specific older camera or a phone clip-on.
How many stops of light does a polarizing filter cost?
Expect to lose one to two stops, depending on the filter strength, the surface you are shooting and how close the sun is to 90 degrees off the lens axis. At full rotation under midday sun a strong filter sits near two stops. Mount it, then re-meter rather than assuming, because sky angle changes the reading constantly.
Why does a polarizing filter make the sky look uneven?
Uneven skies almost always come from a wide angle lens. Because the corners of the frame sit at a different angle to the sun than the centre, the top of the sky polarizes fully while the area near the horizon barely does. It shows up badly around 16mm and much less by 35mm. Step down, rotate more gently, or crop the sky.
Can I use a polarizing filter through glass or on a wide-angle lens?
Through glass it works well. Reflections off shopfronts and car windows are strongly polarized, and rotating the filter can make them vanish to reveal what is behind. Wide angles work too, with the uneven sky caveat above. To judge, zoom the rear screen to 100 percent and check the corners, not just the centre of the frame.
Does a polarizing filter affect autofocus or image sharpness?
A good circular filter does not meaningfully affect autofocus, and any softness you see is more likely a dirty or scratched surface or a cheap multi-coated element. The optical viewfinder dims slightly because a filter already costs light. A thick filter on a wide lens can vignette the corners, so thin glass matters more on wide angles.
What to Do First
Hold the filter in front of a phone screen, turn it until the screen goes dark, then mount it, meter, and make one very slow rotation at 90 degrees to the sun. Judge it on the rear screen at 100 percent rather than in the viewfinder, and take three frames at three different angles. That single habit covers most of what people get wrong the first time, and it costs you nothing but a minute.
Since 2026, the same advice applies unchanged to mirrorless bodies and hybrid lenses with rear filter threads: the physics has not changed, only the gear the filter screws onto has.