
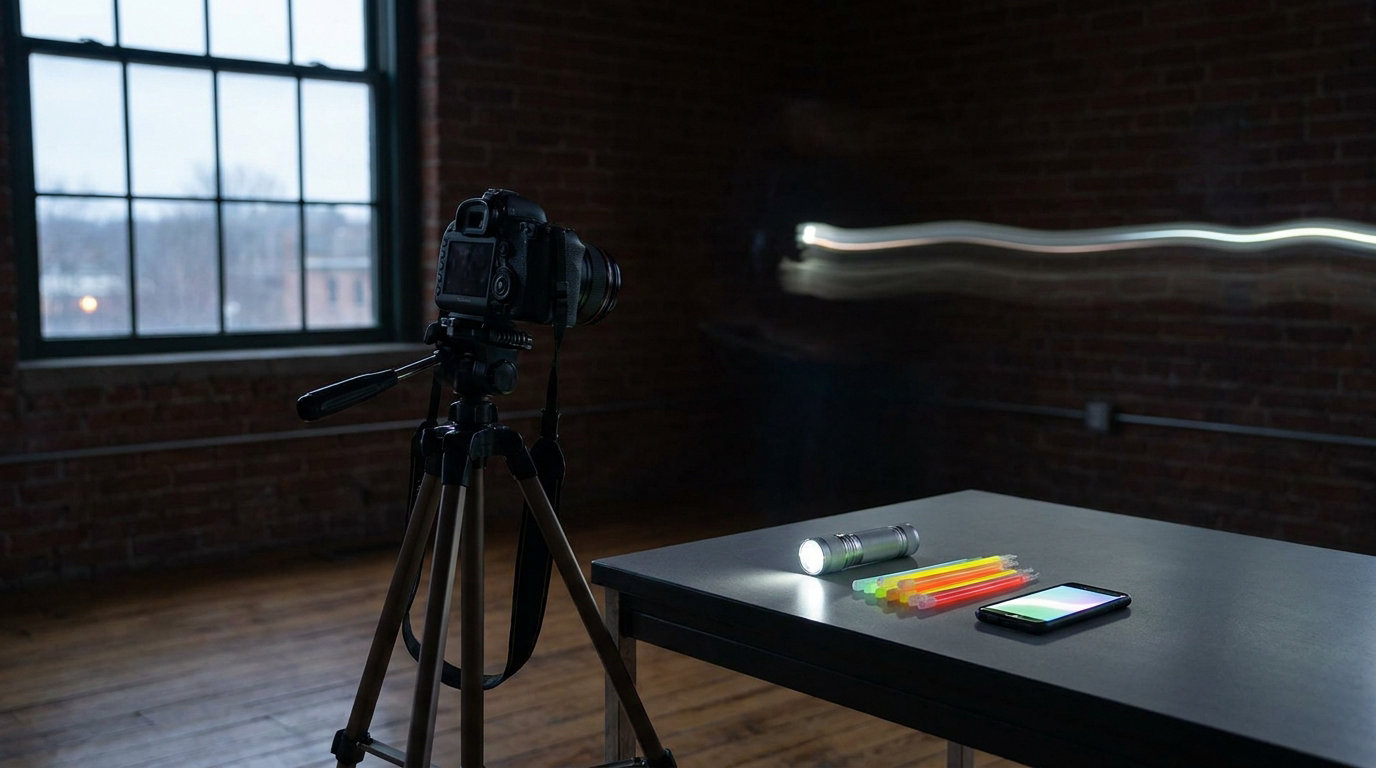
Light painting is a long-exposure technique. You lock the camera on a tripod, open the shutter for several seconds, and move a torch through the frame so the sensor records the path of the light as glowing streaks. Learn how to shoot light painting photos and you turn a dark backyard or an unlit spare room into a studio with almost no equipment. Here is the direct answer: manual mode, ISO 100 to 400, f/8 to f/11, a 10 to 30 second exposure, manual focus, and one continuous movement of the light.
The first session takes about an hour, and most of that hour is spent on your feet waving a torch around. The technique forces you to learn manual exposure properly, which is the real reason people stick with it.
Starting settings for your first light painting photo:
- Mode: Manual (M), or Bulb (B) if your camera has it
- ISO: 100 to 400 in a properly dark space
- Aperture: f/8 to f/11
- Shutter: 10 to 30 seconds, longer in Bulb
- Focus: manual, set before the lights go out
- Image stabilisation: off
- File type: RAW if the camera offers it
- Trigger: remote release, intervalometer, or the two-second timer
Table of Contents
- What You Need to Shoot Light Painting Photos
- Step-by-Step: How to Shoot Light Painting Photos
- 1. Choose a Dark Location and Design the Image
- 2. Set Up the Camera and Prevent Movement
- 3. Dial In the Right Exposure
- 4. Paint with Light During One Continuous Exposure
- 5. Change the Light’s Color and Intensity
- 6. Try More Advanced Light Patterns
- 7. Review the Test and Make Focused Adjustments
- 8. Capture the Final Version and Save Safely
- Common Light Painting Mistakes and How to Fix Them
- Frequently Asked Questions
- Conclusion
What You Need to Shoot Light Painting Photos
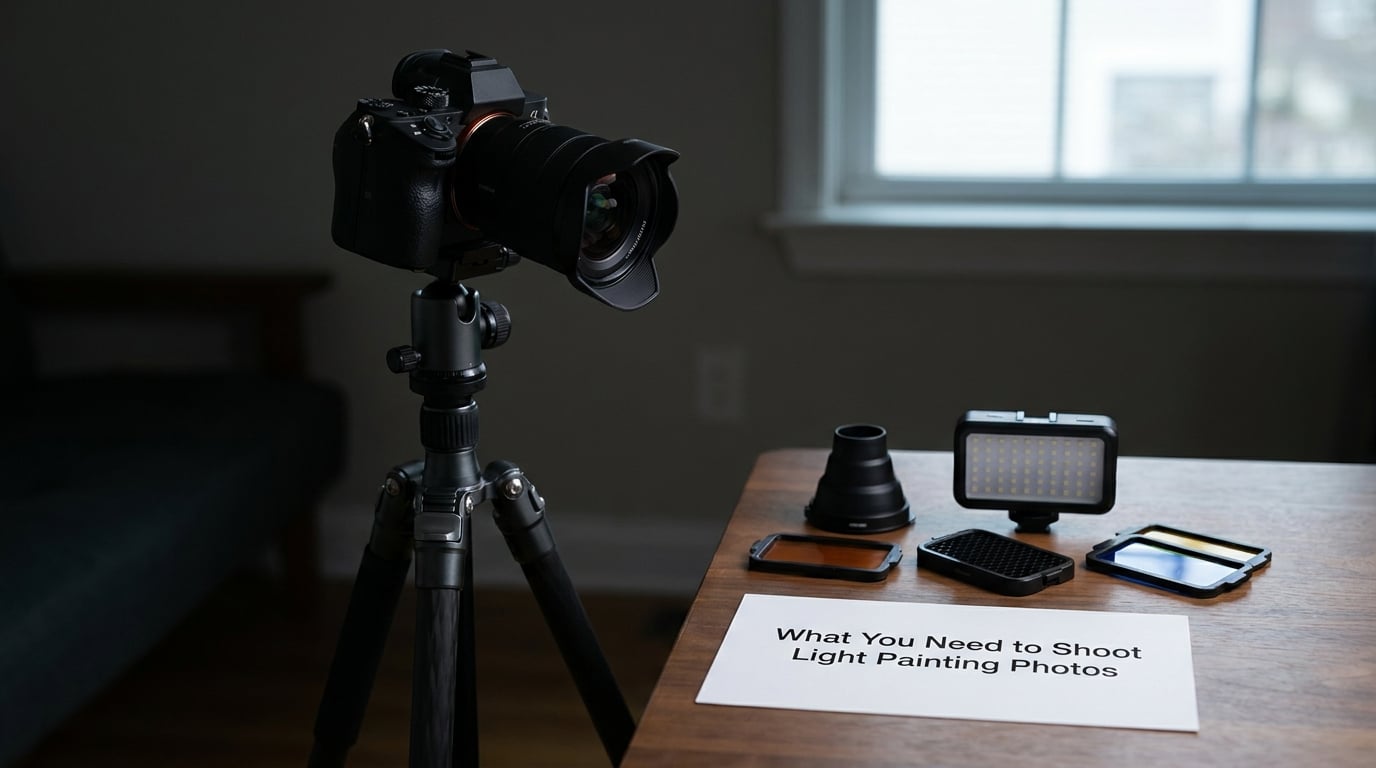
The gear list is short because the technique hides almost everything the camera does. You need a camera that offers manual exposure, something to hold it still, and one light source you can move by hand.
Camera with manual or bulb mode
Any DSLR or mirrorless body with a physical mode dial works. Bulb mode is a bonus rather than a requirement, since Bulb just holds the shutter open for as long as you press the release. Most current phone cameras can also do this with a manual or night mode that holds the shutter, though the control is less precise. As of 2026, manual focus and a manual exposure dial are standard on every interchangeable-lens body, so there is no reason to buy a specific model for this.
A tripod that does not move
Stability is the part beginners get wrong. A light tripod on a hard floor will drift during a 30 second exposure, and the drift shows up as a soft, slightly doubled background. Anything rated well above your camera’s weight is fine, and in wind you can hang your camera bag or a jacket from the central column. A wall, a stack of books, or a fence post works too when the ground is uneven.
One light source
A small LED torch is the standard tool. A cheap headlamp works, and plenty of good images come from one. What matters is that you can dim it, and that the beam is even rather than a hot centre with a dark ring. A zoomable beam lets you go from a narrow line to a wide wash mid-stroke.
You can also improvise. A coloured plastic cup slipped over the torch head, a square of tissue paper taped to the front, a string of LED tea lights, or a phone screen showing a solid bright colour all make usable sources. Hold a wand close to the subject and the trail goes soft; hold it far away and the trail stays sharp and narrow.
Simple light-shaping tools
Black card, gaffer tape, a sheet of baking paper, and a few plastic cups cover almost every shaping job. Card blocks spill light so it does not hit the lens, paper diffuses a beam into something softer, and cups with coloured gel inside give you saturated colour without buying filters.
A genuinely dark location
An unlit room, a garage, a field away from streetlights, or a beach after sunset all work. Dusk is trickier than full dark because the sky still contributes a bright, even wash that flattens the image. If you can wait for full dark, wait.
Optional and safety gear
An intervalometer or remote release saves you from touching the camera and is the single upgrade worth making. A two-second timer does the same job on any camera. A headlamp with a red mode lets you work without ruining your night vision, and gloves stop a cold torch slipping mid-spin.
Skip filters, ND grad kits, and expensive torches until you have a hundred frames under your belt. None of them fix a bad movement.
Step-by-Step: How to Shoot Light Painting Photos
1. Choose a Dark Location and Design the Image
Walk the location first, in daylight if you can, and decide what the light is going to draw around. A sketch on your phone takes thirty seconds and saves you from painting an empty frame for twenty minutes. Start with one gesture: a circle, a wave, a spiral, or a fan. Elaborate composite images come later, once a single stroke behaves.
Pick a subject that reads as a silhouette against the sky, such as a tree line, a fence, or a person standing still. If you shoot a person, brief them to stay perfectly still and to breathe normally, and make sure they are comfortable in the dark before you start.
2. Set Up the Camera and Prevent Movement
Mount the camera, extend the legs fully, and lock every collar and hinge. Frame the shot and switch off image stabilisation, because a stabiliser hunting for movement in total darkness can nudge the frame and the stabilisation adds nothing while the camera sits on a tripod.
Now set focus manually. Turn on autofocus, get a rough focus on a distant object, switch the lens or body to manual, and leave it there. The failure everyone hits is the camera refocusing to infinity once your torch moves away. In live view, zoom in on an object at your intended distance and pull focus until the edges are crisp, which is faster than guessing through the viewfinder.
Before you begin, trigger a short test exposure and check that the background is sharp and level. If the horizon tilts, fix it now. A tripod that has settled in the mud will not settle differently later.
3. Dial In the Right Exposure
Start in manual at ISO 100, f/8, and 20 seconds. That combination is forgiving: low ISO keeps the trail clean, f/8 holds the background reasonably sharp, and 20 seconds is long enough to draw in but short enough to rescue quickly.
The exposure triangle behaves differently here than in daylight. ISO controls how much the sensor amplifies, and a high ISO turns a moving LED into visible noise along the trail, so keep it low unless the scene is genuinely dim. Aperture controls depth of field and flare, and a narrower aperture spreads the beam thinner but makes lens flare more likely when a bright source points at the lens. Shutter duration controls how much of your movement you capture: 5 to 10 seconds suits a quick flick, 20 to 30 seconds suits a slow circle, and anything past a minute suits a full arm sweep around a stationary subject.
If your camera has Bulb mode, use it and cover the lens with your hand or a card for a few seconds before you press the release. That gives you a clean start, and you can build the image in segments by uncovering and re-covering the lens between strokes.
4. Paint with Light During One Continuous Exposure
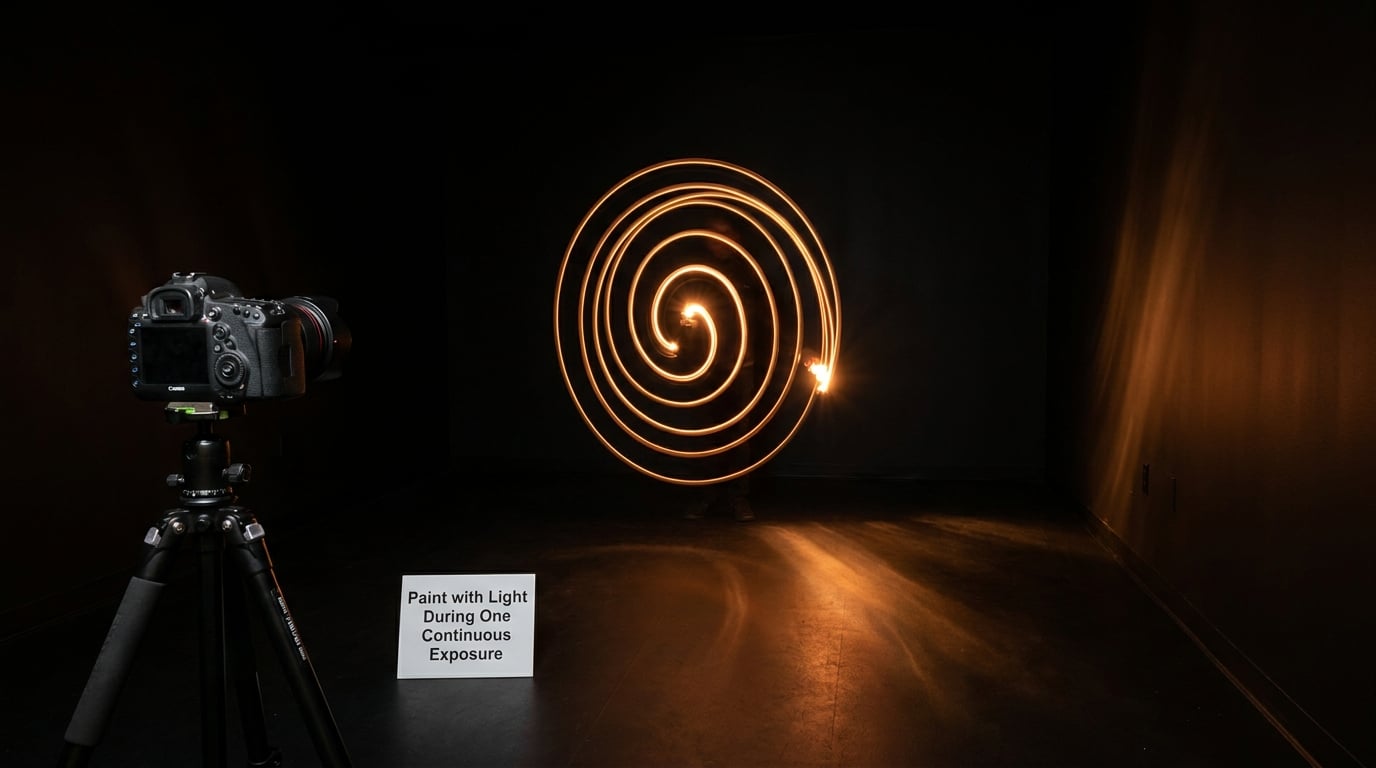
Start the exposure, then move immediately. The movement is the whole trick, and that is what separates light painting from a bright photo of somebody holding a torch. Keep the light in constant motion; hold it still for even half a second and you get a hot blob instead of a trail.
Work from the side of the frame, not from behind the lens. Light coming straight down the barrel flattens everything, fills the shadows, and reads like on-camera flash. Coming from the side or from below, the light wraps the subject and leaves the far side dark, which is where the mood comes from.
That is how to shoot light painting photos with control: the shape of the trail comes from where the light travels, the softness comes from how far the light sits from the subject, and the brightness comes from how close it passes to whatever you are lighting. A clean stroke finishes before the shutter closes, with a deliberate end rather than a fade-out as you run out of time.
5. Change the Light’s Color and Intensity
White LED light gives you a clean white trail and the least colour correction later. A coloured gel or a plastic cup with coloured film inside gives you saturated colour for almost nothing, and mixing two sources during one exposure gives you a gradient along the trail.
Dimmer is better. A torch at full power pointed near the lens creates flare, haze, and veiling reflections that flatten the image, and it clips the brightest part of the trail into a solid white core with no detail. Turn the brightness down or hold the light further away, then check the histogram: aim for the peak of the trail sitting around three quarters of the way up the scale rather than pinned at the right edge.
Changing the distance during a single stroke changes the line width on its own, which gives you depth without any editing. Closer means a brighter, wider band; further away means a thinner, softer one.
6. Try More Advanced Light Patterns
Once a single stroke is repeatable, four techniques open up. You can mask part of the frame so light only lands where you want it, rotate the light around a stationary subject to wrap it in a full circle, use two sources at once for opposite colours, or combine several separate exposures in post using layers and masks.
Working fire performers on mu-43 report planning two to five separate exposures with different ISO, aperture, and shutter settings set up in advance, then executing them in sequence without touching the camera. That is the difference between a lucky frame and a repeatable shot, and it is worth borrowing the habit early.
Users on r/AskPhotography also pair light painting with shutter drag, where the camera itself moves during the exposure, to push the result toward abstraction. That takes practice with framing, so treat it as a later experiment rather than a first-night goal.
7. Review the Test and Make Focused Adjustments
Review the frame on a screen with the brightness turned up, and check the histogram rather than your impression of the rear display. At night the screen looks far brighter than the actual file, which is why so many first attempts come home looking dim and turn out fine.
Four things to judge. If the background is black, you need ambient light in the frame or a longer exposure. If the trail is a flat white line with no core detail, it is clipping, so lower the ISO, stop down, or dim the light. If the background is soft while the trail is sharp, the tripod drifted, so weight it. If the trail has a hard edge, you moved too slowly, so speed up.
Change one thing at a time. Adjusting ISO, aperture, and shutter together after a bad frame tells you nothing about which change fixed it.
8. Capture the Final Version and Save Safely
Repeat the exact settings that worked, then make six to ten deliberate variations: slightly faster, slightly slower, a different angle, a different colour. Long-exposure frames are cheap compared with the effort of setting up, so shoot a sequence once the setup is right.
Stop down a little further if stray light is spilling into the frame, and save RAW where the camera allows it. White balance set to a fixed preset such as Daylight or Tungsten before the shoot gives you consistent colour across a sequence, which matters when you stack exposures later.
Duplicate the original card before you open anything in editing software, and copy the files to a second drive or cloud folder. A failed card in the dark is a familiar story and an avoidable one.
Common Light Painting Mistakes and How to Fix Them
Overexposed trails with no detail
A solid white streak means the brightest part of the trail has clipped. Dim the light, lower the ISO, or stop down one step, and re-check the histogram after the frame.
A completely black frame
Nothing but your light got recorded, so the scene has no detail at all. Lengthen the exposure, open the aperture, or expose for the ambient light by waiting for a lit scene and then painting into it. A park lit by a single street lamp gives you a background to work against.
A blurred or wobbly background
The camera moved, usually from a light tripod or from wind. Hang a bag from the column, tighten every leg, and keep your back to the wind.
Focus that drifts in the dark
Autofocus keeps hunting once the light leaves the frame. Focus manually before you begin, confirm it in live view, and leave the switch where it is.
Hard blobs and streaks instead of soft light
The light paused, or you stepped across the frame with it still on. Keep it moving, switch it off when you are walking, and hold it further from the subject for a softer edge.
Trails that all look the same
Every frame used the same path and the same speed. Change the distance from the subject, the direction, and the pace, and try painting from behind the subject toward the camera to wrap light around it.
For a first successful session: shoot short 10 second tests, keep the settings fixed, and only change one variable at a time. Twenty short deliberate frames beat one long attempt.
Frequently Asked Questions
What are the best camera settings for a first light painting photo?
Start in manual mode at ISO 100, f/8, and a 20 second shutter speed, with focus set manually and image stabilisation switched off. Shoot RAW if your camera allows it and set white balance to a fixed preset rather than auto. Use a two-second timer, remote release, or intervalometer to fire the shutter so the camera never moves. Change one setting at a time once you have a frame you like.
Can I shoot light painting photos with a smartphone?
Yes, with a little more care. Put the phone on something solid, switch to manual or the longest night mode it offers, lock focus and exposure, and confirm the frame is sharp before moving anything. A second phone or tablet with a solid bright colour on screen makes a surprisingly good light source, and many phones can act as a remote shutter for the first one. Results are less controllable than a dedicated body, but they are a real way to learn the movement.
How long should the shutter speed be for light painting?
Ten to 30 seconds suits most first attempts. Use 5 to 10 seconds for a quick flick or a written word, 20 to 30 seconds for a circle or a spiral, and a minute or more only when you are sweeping the light all the way around a stationary subject. In Bulb mode the exposure ends when you release the remote, so the timer matters more than the number on the dial.
Do I need complete darkness to photograph light painting?
No. A scene with some ambient light is often more useful than pitch dark, because you get a visible background to paint against instead of a black rectangle. Dusk is workable if you expose for the sky. Full dark is best when you want the trail to be the only thing in the frame, and it also gives you much more control over how bright the light source needs to be.
Why are my light painting photos overexposed?
Usually the light source is too bright or too close to the lens, which flattens the image and produces flare. Dim the torch, hold it further from the subject, lower the ISO, or stop the aperture down one step. Check the histogram after the frame: if the trail is pinned at the right-hand edge with no shape inside it, that is clipping, and the fix is less light, not more.
Conclusion
Do this on your first session: weigh down the tripod, set focus manually with stabilisation off, choose a 10 to 20 second exposure at ISO 100 and f/8, and paint one slow glowing circle in a dark space. Watch the histogram, adjust one setting, and shoot it again. Once a single stroke behaves, add colour, then masks, then multiple exposures.