
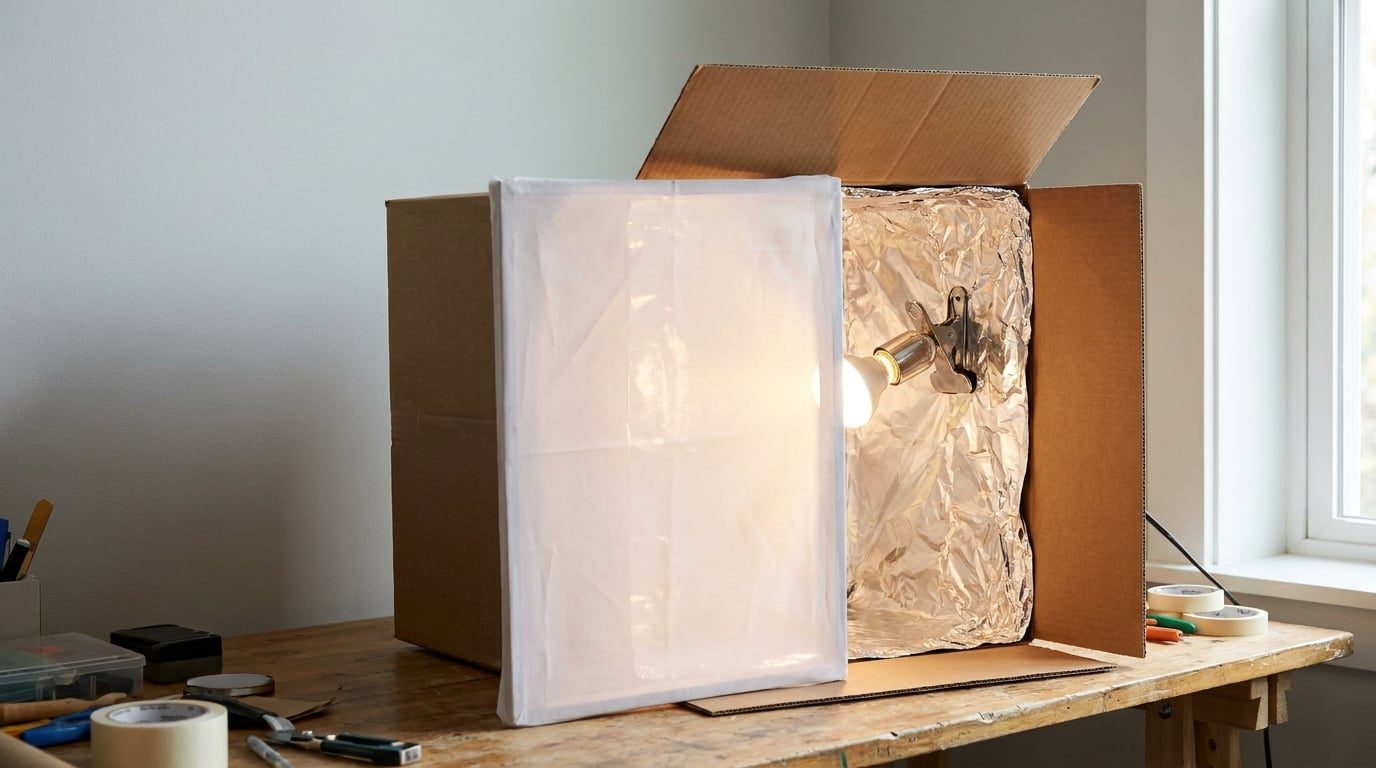
To make a DIY softbox, take a roomy cardboard box, line the inside with white board or aluminum foil, cut a window in the front, cover it with one or two layers of white fabric or parchment paper, and put your light inside aimed out through that panel. The whole build takes about an hour with a utility knife, a ruler and tape, and it turns a bare flash or desk lamp into a large, even light source.
If you have been wondering how to make a DIY softbox that genuinely softens shadows, the reason is simple: shadows get hard when the light source is small compared with your subject, and a bare bulb is about as small as light sources get. Wrapping it in a box and a diffuser makes the source look huge, so shadows fade out gradually instead of landing as black edges across someone’s face.
I built the first one out of a moving box that was heading for the recycling, and I have shot with it more than I expected. It is not a studio tool, but for portraits, product shots and video at home it does the job a costly modifier does, once you know how big to make it and how far away to stand.
Table of Contents
- What You Need
- Step-by-Step: How to Make a DIY Softbox
- Common Mistakes When You Build a DIY Softbox
- Frequently Asked Questions
- What is the best material to use for a DIY softbox?
- Can I make a softbox without a flash or studio light?
- How far should the light be from the subject?
- Is it safe to use foil or reflective material inside a cardboard softbox?
- What size box works best for portraits?
- How do I prevent the light from creating hotspots?
- Conclusion
What You Need
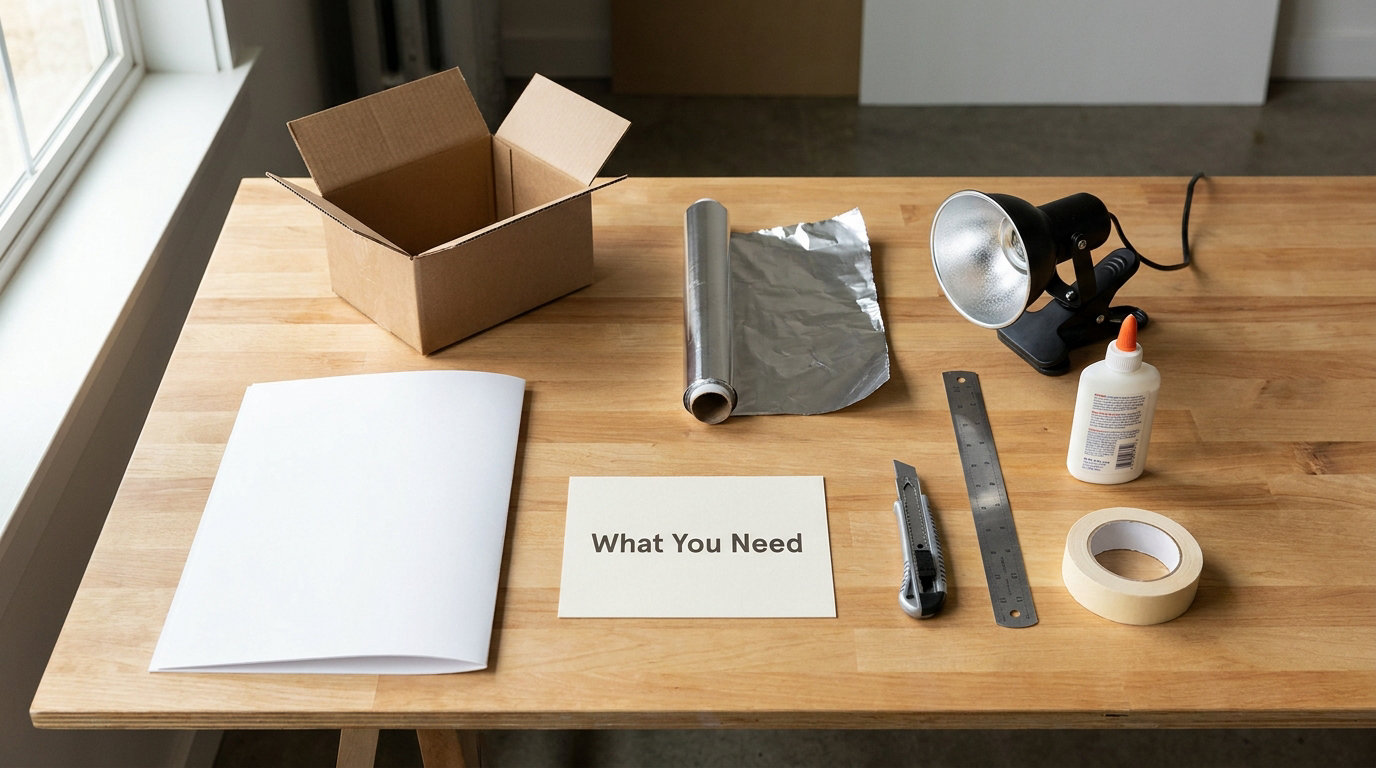
The list is short, and most of it you already own. Required items are the box, something to cut with, a ruler, tape, a diffusion layer and a light. Everything else is optional polish.
| Item | What it does | No-buy substitute |
|---|---|---|
| Large cardboard box | The shell, and the thing that sets how large your light source looks | A plastic storage bin with the lid removed, or a foam board cooler |
| Utility knife and steel ruler | Clean, straight cuts in cardboard | A serrated kitchen knife and a wooden straightedge |
| White poster board or foam board | Interior lining, plus the frame the diffuser attaches to | White-painted cardboard, or white paper taped in flat panels |
| Aluminum foil | Cheap reflective interior for a brighter box | Mylar tape, or just leave the white lining and accept a slightly dimmer box |
| White fabric, parchment paper or gauze | The diffusion panel that spreads the light | A white shower curtain, a thin bedsheet, or even a white pillowcase |
| Masking or duct tape | Holds the shell together and stretches the panel flat | Double-sided tape for the panel, gaffer tape for structure |
| Glue (optional) | Reinforces corners that will flex every time you move the box | Extra tape in a double layer |
| Light stand or clamp (optional) | Holds the box at face height and aimed correctly | A stack of books, a shelf bracket, or a boom arm clamped to a desk |
Optional but useful: a small hand drill or a hole punch for the mount, black foam board if you want to cut down spill later, and a spare sheet of your diffusion material for patches. Skip anything electrical work beyond plugging your light into a wall.
Step-by-Step: How to Make a DIY Softbox
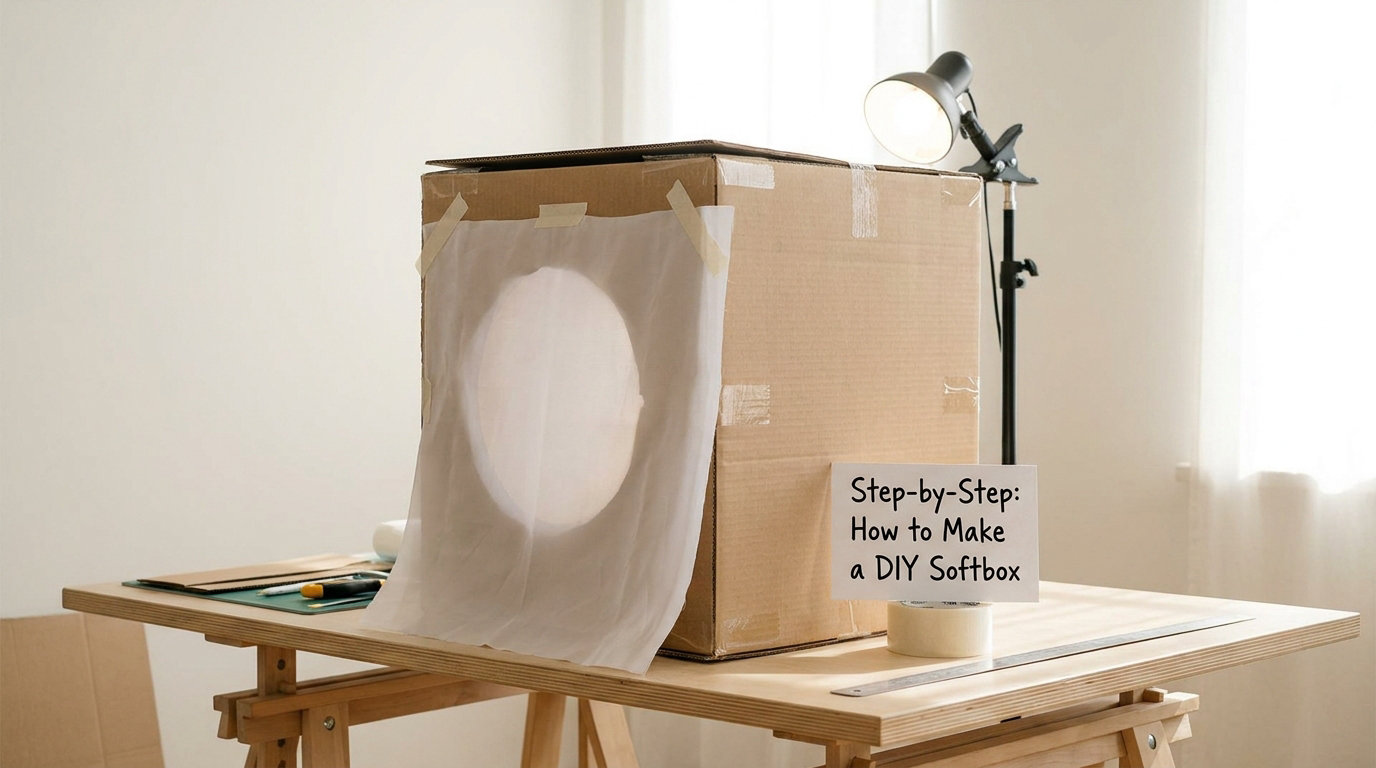
Work in this order and the build is straightforward. Give yourself an unhurried hour the first time.
1. Choose a Box and a Light for Your DIY Softbox
Pick a box that is comfortably bigger than the light, with room for air on every side. Front panel size drives the softness of the result, so aim for a face roughly as wide as your subject’s head and shoulders for a portrait, and wider than the product for tabletop work.
| Subject | Front panel width | Notes |
|---|---|---|
| Headshot or portrait | 60 to 90 cm | Big enough to wrap light around the face without reaching your subject |
| Half-body or group of two | 90 cm or wider | You need the panel wider than the lit area, not just the head |
| Product, food or craft | 30 to 45 cm | Distance does more work than size at close range |
| Video and streaming | 90 cm or wider | Even coverage matters more than dramatic falloff |
For the light itself, a continuous LED panel runs cool and needs no flash gear, which makes it the simplest first choice. A compact fluorescent bulb in a clamp light works and costs very little, but it runs hot, so leave generous clearance around the bulb. An on-camera flash is the brightest option and the one that freezes motion, but it needs a bracket or a speedring collar to hold the box.
You will know this step worked when the light sits in the middle of the box with at least a hand’s width of air around it and no bulb or socket touching cardboard.
2. Cut the Opening
Measure and mark the front opening one panel-width smaller than the face of the box, centred, and draw a light rectangle guide with a pencil. Score the marked lines several times with the knife held flat against the ruler, then cut through on the final pass. Scoring first keeps the blade from wandering and gives you a clean edge to tape against.
Fold the cut flaps outward and sand, scrape or tape over any sharp edge. This step is done when no edge of the opening catches a fingertip dragged along it, because you will be handling the box every time you set up.
3. Make the Diffusion Panel
Cut your diffusion material one inch larger than the opening on all four sides and stretch it across the front, fixing it to the back face with tape. Keep the tape pulling in opposite directions so the panel sits flat and taut; a slack panel shows up as blotchy, uneven patches in the finished photo.
A second layer of the same material evens the light further at the cost of brightness and a faint warm or green shift. If you want the box dimmer without changing the look of the light, that is the cleaner move compared with just closing the distance.
It is finished when the panel is flat enough that a flashlight behind it produces no visible ripples, seams or bright spots.
4. Add Reflective Interior Surfaces
Line the inside walls and back with white poster board, or with foil taped smooth and creased flat. White reflects less but keeps the color of your bulb untouched, while silver reflects more and can cool or warm the light very slightly. On a budget, white cardboard already bounces most of the light you would otherwise lose into the box walls.
Tape the lining so it never touches a hot socket or bulb. It is right when the inside is fully covered, nothing is loose enough to flap in front of the light, and no electrical part is touching cardboard or foil.
5. Position and Mount the Light
Center the light inside the box and point the open face at your subject. The farther the light sits from the diffuser, the more even the panel looks, so push it back toward the rear wall where you can. A small gap between the bulb and the panel is the single biggest cure for a hot spot in the middle of the frame.
This is the step people rushing how to make a DIY softbox most often skip, and it decides whether the panel glows evenly or shows a bright patch in the middle.
Then secure the box itself. Clamp it to a stand, screw it to a shelf bracket, or wedge it between two books on a table. The done test is simple: shove the mount and the box stays aimed where you put it, with no wobble.
6. Test and Adjust the Softbox
Shoot a test frame at your normal working distance before anything else. Fill the frame with a plain wall or a neutral grey card and look for a bright centre, dark corners or hard-edged shadows, which all point to different fixes. Move the light further from the panel for hot spots, add a second diffusion layer for patchiness, and drop the power or the ISO before you resize the box.
Also check the distance between the softbox and your subject. Light falls off with distance squared, so a box that looks correct at arm’s length can leave your subject’s chin noticeably darker. That is when you add a white bounce card on the shadow side rather than moving closer and re-lighting the whole scene.
Mounting the Light: Which Option Fits Your Setup
| Light source | How to mount the box | Good to know |
|---|---|---|
| Desk lamp or clamp light | Tape or strap the box over the shade, bulb pointing out | Cheapest route, and the easiest to vary while you learn |
| On-camera flash | Slide the flash head into the box and tape the head in place | Bright and freezes motion; keep the head clear of the lining |
| Strobe head | Bolt the box to a speedring or a bracket clamped to the stand | The most repeatable option once you are shooting on a schedule |
| LED panel | Strap or clamp the box over the panel face | Runs cool, needs no flash gear, and suits video work |
Common Mistakes When You Build a DIY Softbox
Nearly every disappointing homemade softbox fails in one of a handful of predictable ways. Work down this list before you buy better materials.
The box is too small. If the front panel is narrower than the lit part of your subject, you get soft light with hard shadow edges where the box stops. Buy a bigger box or move the subject further away, which shrinks its apparent size in the frame.
Fabric is resting on a hot bulb. A compact fluorescent or halogen bulb in an enclosed cardboard box gets hot enough to scorch material and start a fire. Keep several inches of clearance, and use LED if you are unsure.
Cut edges are left sharp. Raw cardboard edges split and cut your hands every setup. Score, fold and tape the opening’s edges or cover them with strips of poster board.
The front is too dark. Looking through a black or grey panel wastes a lot of light. White or silver on every interior surface, including the front frame, is the quick fix.
The light is mounted off-center or the box is crooked. A tilted box throws the beam at the ceiling instead of at your subject. Tape a temporary crosshair on the diffuser and check the pool of light lands where you want it.
The wiring is unsafe. Extension leads under tension, a bulb socket near cardboard, or a lamp balanced on a stack of books can all fail badly. Keep cords slack, use a proper socket, and support the weight on a real stand or clamp.
A hot spot sits in the middle of the frame. This is the most common complaint about a homemade build. Push the light deeper into the box, double up the diffusion layer, or add a second, more distant light so the subject is lit by two sources instead of one.
One more expectation to set: a softbox improves the light going in, it does not finish the photo. Product shooters on photography forums are blunt about this. Expect to still lift shadows, neutralize a warm bulb and clean up the background in editing, then treat the box as the reason you have less work to do.
Frequently Asked Questions
What is the best material to use for a DIY softbox?
A roomy cardboard box makes the best shell, because the walls hold a shape and you can cut them exactly to size. White poster board or foam board for the interior keeps the color of your bulb neutral, while aluminum foil is brighter but can shift the tone very slightly. For the front, two layers of white fabric or parchment paper give the most even spread with the least blotchiness.
Can I make a softbox without a flash or studio light?
Yes, and most beginners should. A desk lamp, a clamp light with a compact fluorescent bulb, or an LED panel all work, because the box is doing the work of enlarging and spreading whatever light you put in it. A flash or strobe gives you more power and freezes motion, but it is not required. A bright window is another free source you can face the box toward.
How far should the light be from the subject?
There is no single right distance, but light falls off with the square of distance, so closeness matters a lot. For portraits, start about one to two metres from the softbox and check whether the shadow side of the face is too dark. If it is, add a white bounce card rather than moving the light closer. For small products you can work much nearer, around 30 to 60 centimetres.
Is it safe to use foil or reflective material inside a cardboard softbox?
It is, with clearance. Foil and cardboard conduct heat, so neither should touch a bulb or socket directly, and the material needs enough air around it to shed heat. LED panels are the safest choice inside a sealed box. A compact fluorescent or halogen bulb can get hot enough to scorch fabric or start a fire, so keep several centimetres of clearance and never leave the box unattended while those bulbs are running.
What size box works best for portraits?
Make the front panel roughly as wide as the subject’s head and shoulders, which usually means 60 to 90 centimetres across. That ratio is what determines softness, not the depth of the box. A small panel on a large subject still gives hard shadows around the edge where the light stops. A leftover moving box is usually an ideal size for a head-and-shoulders portrait.
How do I prevent the light from creating hotspots?
A hot spot happens when the bulb sits too close to the diffusion panel, so the centre of the panel is far brighter than the edges. Push the light back toward the rear wall of the box to spread it out, and add a second layer of diffusion material. If the middle is still bright, step the softbox further from the subject or light it with a second source so no single point dominates.
Conclusion
Start with three things: a box with a front panel wider than your subject, a cool light source like an LED panel, and a white diffusion panel pulled tight across the opening. Line the inside white, centre the light deep in the box, and shoot a test frame before you build anything else.
Once you know how to make a DIY softbox that fits your own setup, the two changes worth making are a second layer of diffusion for evenness and a bounce card on the shadow side for depth. Keep the box, swap the panel, and you have a different modifier for the price of one sheet of material.